How to Emboss (No tools needed!)
This post may contain affiliate links. Read our disclosure policy.
Embossing is a fun and creative way to add unique textures and looks to your paper crafts. Learn the basics of how to emboss here.
If you love paper crafting as much as we do, here are a few projects you’ll love – Paper Treat Boxes, Cereal Box Purse, and No-Sew Paper Garland.
How to Emboss
Those who know me know that I have an obsession with stationery. There’s just something so fun about a new pad of paper or cute note cards!
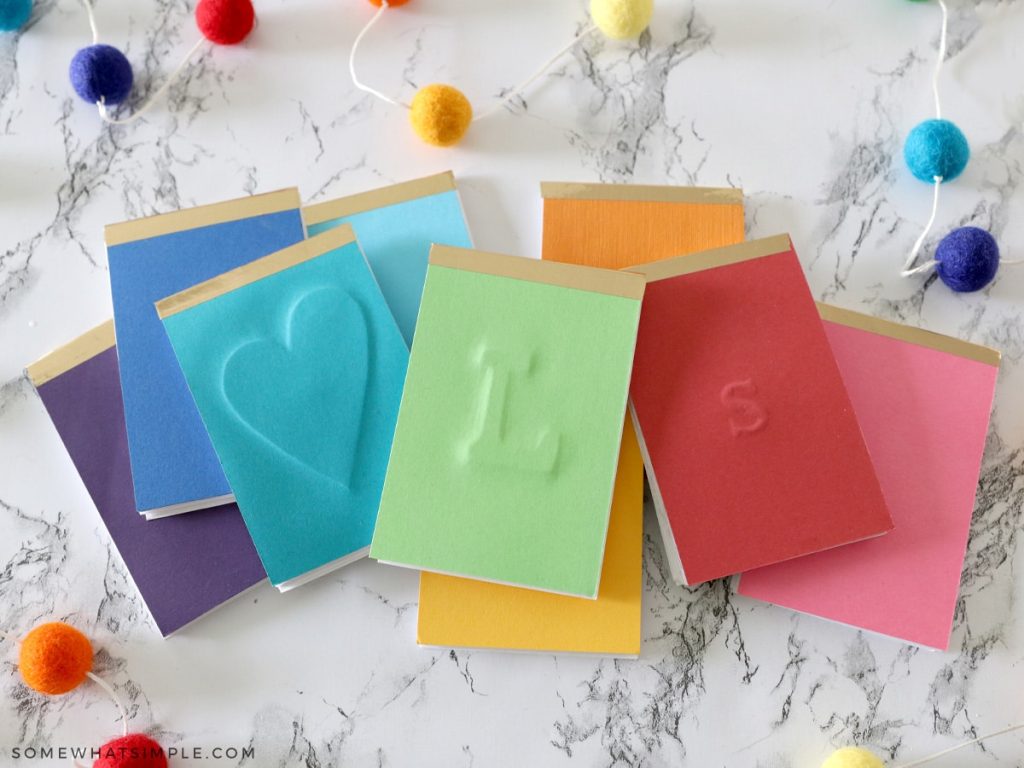
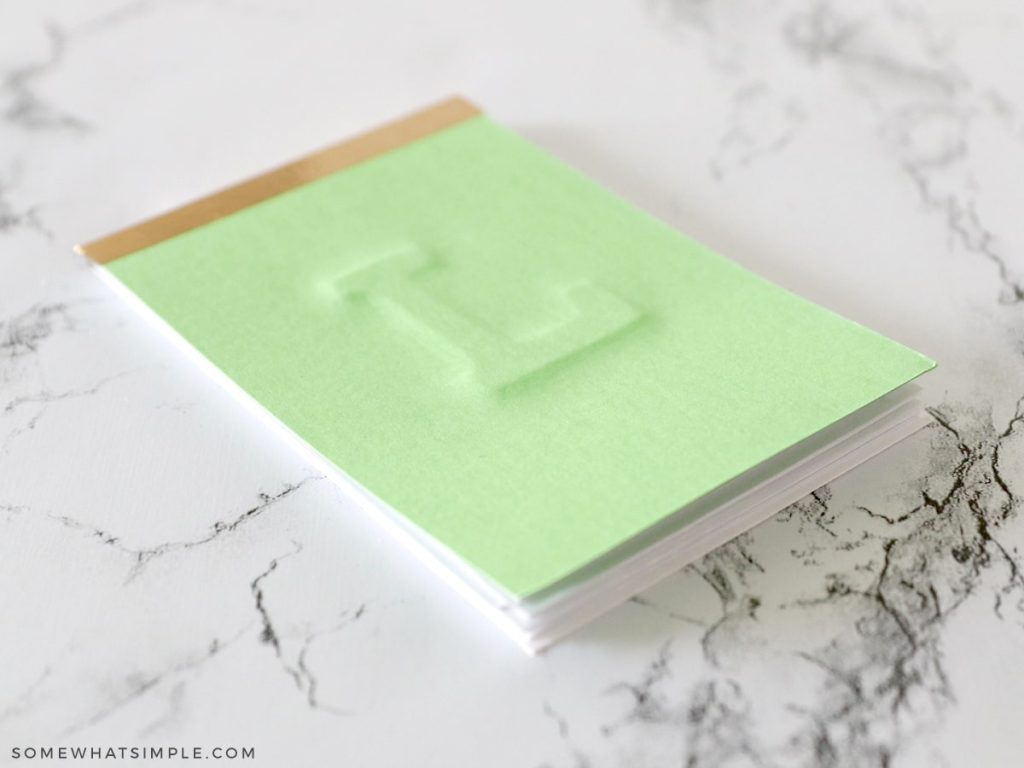
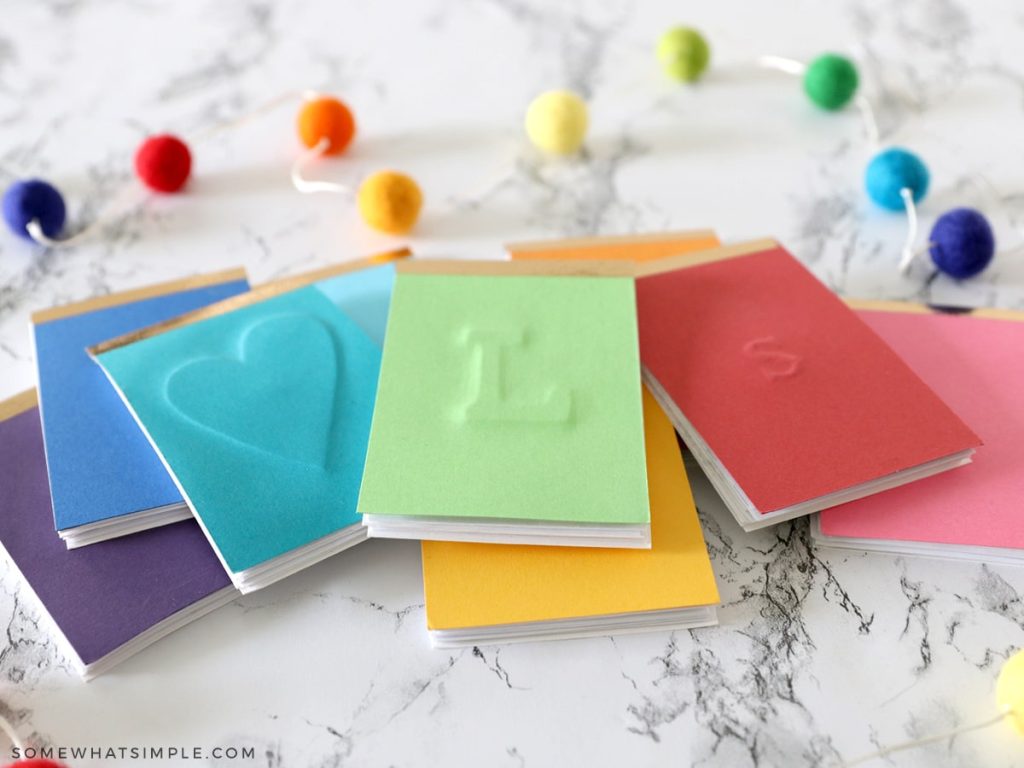
Recently while making some Scrap Paper Notepads, I decided to personalize them with some simple shapes and monograms. The watermark on each pad turned out even better than I thought it would, and I didn’t need any fancy tools!
These embossed pads are going to make great gifts for coworkers, neighbors, and friends. They’re simple to make, and affordable, too!
What is Embossing?
Embossing is a technique that makes a raised three-dimensional image on paper. There are two common embossing methods:
- Heat Embossing uses a heat gun, embossing ink, and rubber stamps to melt the embossing powder.
- Dry Embossing uses a stencil and a stylus. This is the method we’re using today because it’s easier and more affordable!
Creating personalized stationery and invitations is definitely easier than you think! Here’s a tutorial with 3 different ways to dry emboss. These methods are easy, fun, and can be done in just minutes!
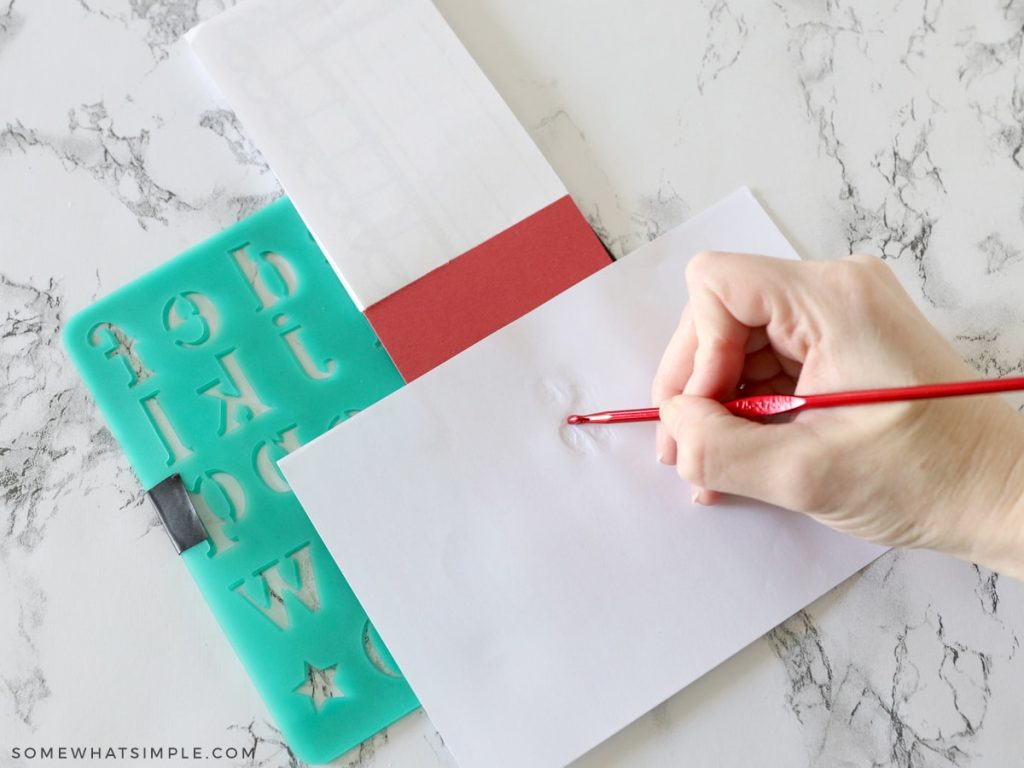
Dry Embossing Option 1
MATERIALS NEEDED –
- card or pad of paper
- stencil
- crochet hook
- piece of paper
DIRECTIONS –
Place your stencil upside down on a hard surface. Put your card face-down on top of the stencil, making sure the design you want to emboss is in the right position of your card. Place a sheet of paper over your card and then use your crochet hook to gently rub over the design in your stencil.
Dry Embossing Option 2
MATERIALS NEEDED –
- card or notepad
- wood letter or shape
- bone folder or other smooth, hard rubbing object
- piece of scrap paper
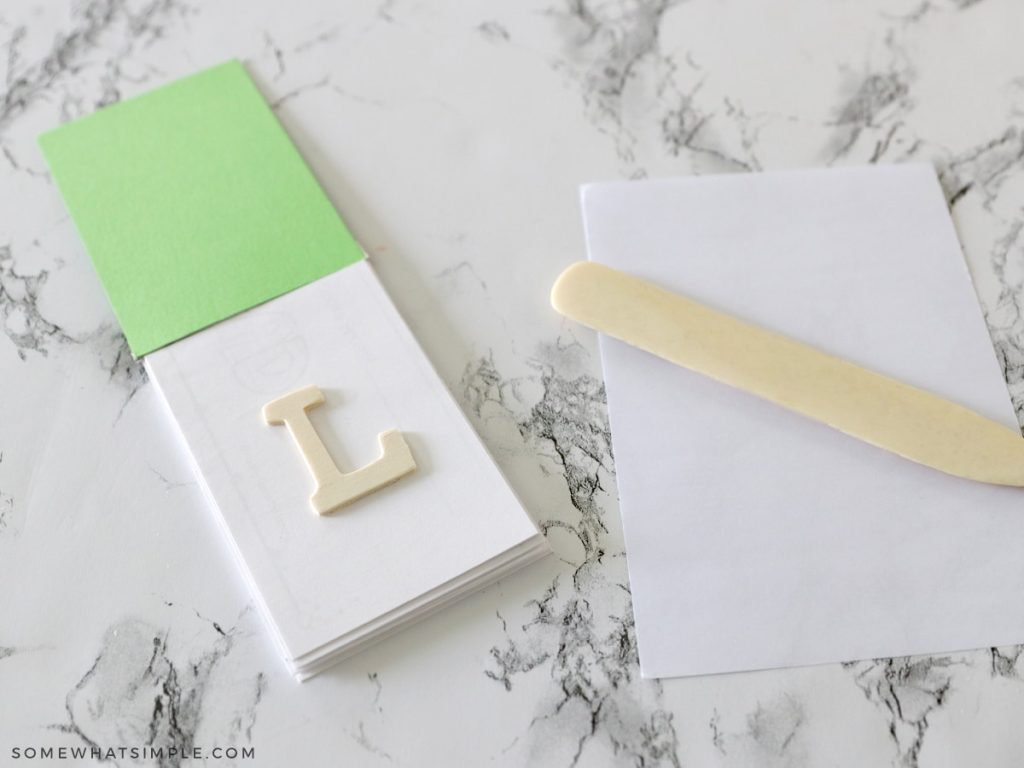
DIRECTIONS –
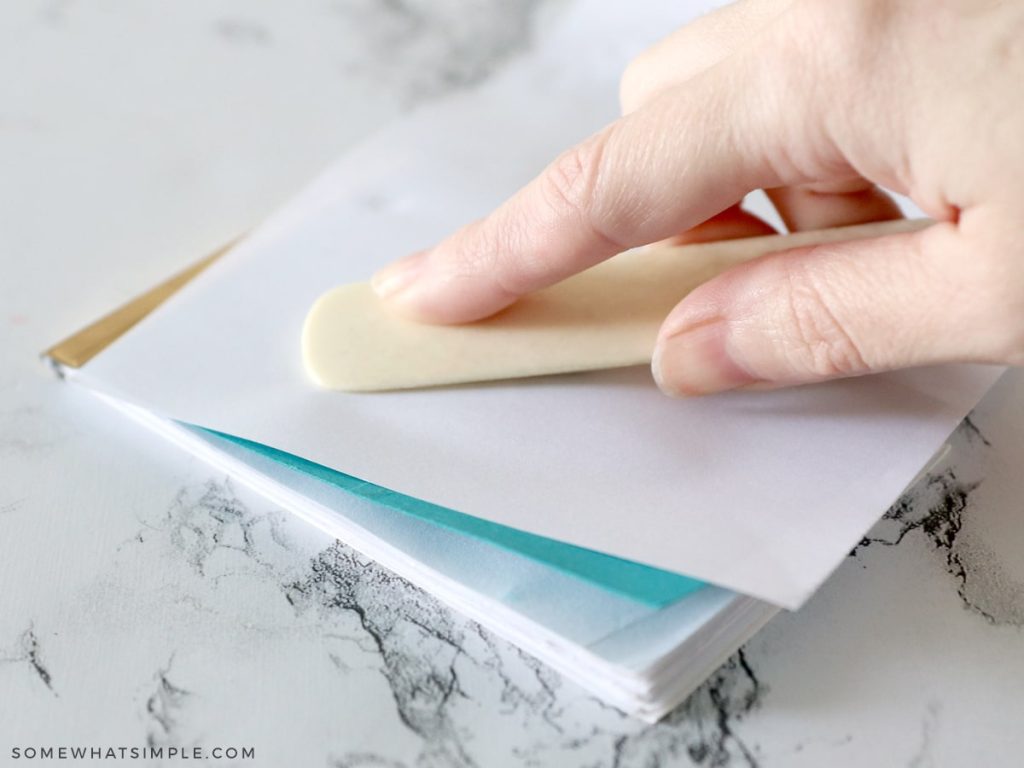
Place your wood letter right-side up on a hard surface, then cover it with your card or stationery pad cover.
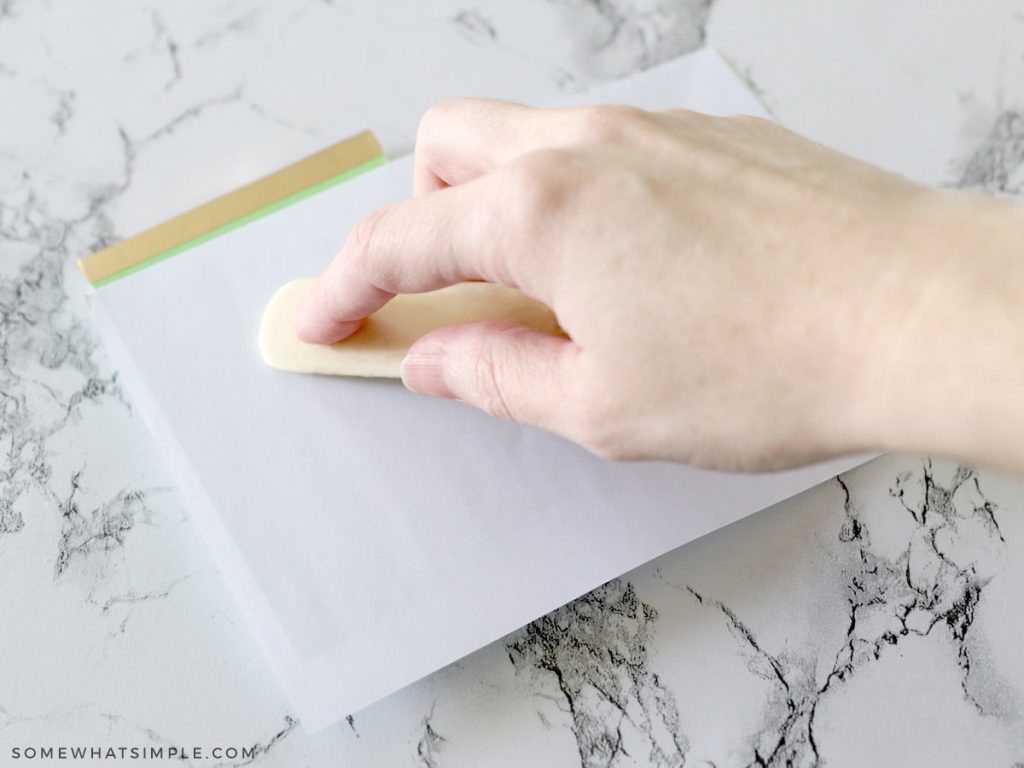
Place a piece of paper on top of your card, then rub the design with your bone folder.
Dry Embossing Option 3
MATERIALS NEEDED –
- cardboard box
- pencil
- scissors
- card or paper notepad
- bone folder or other smooth, hard rubbing object
- piece of paper
DIRECTIONS –
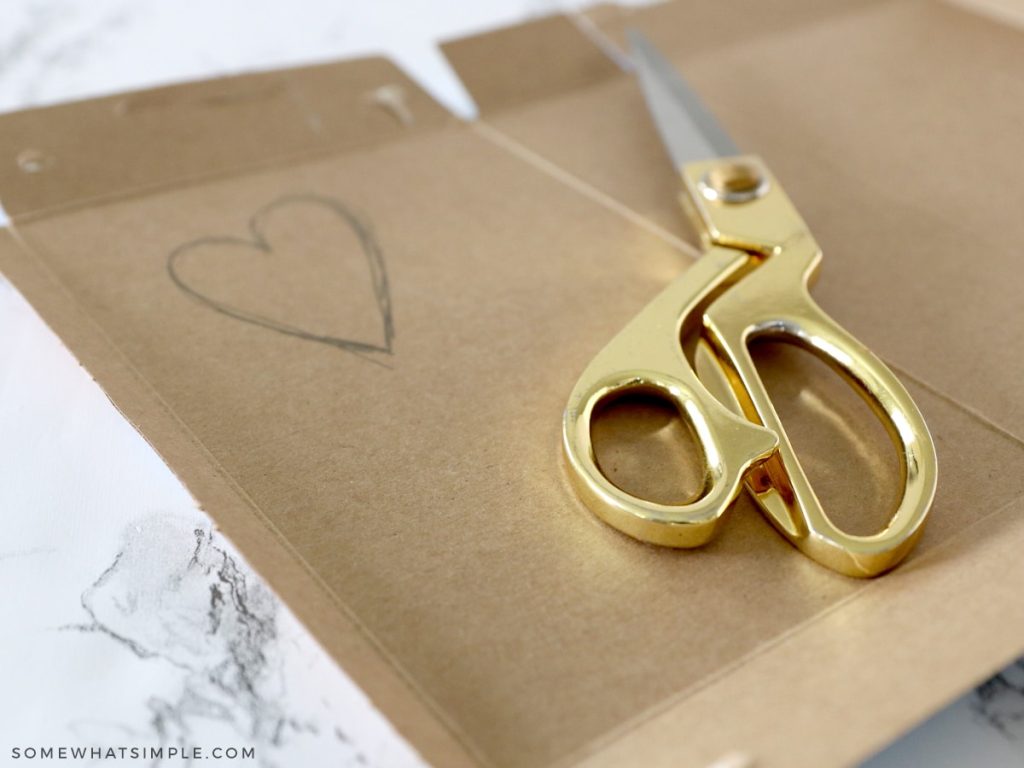
Draw your desired shape onto a piece of cardboard, then cut it out.
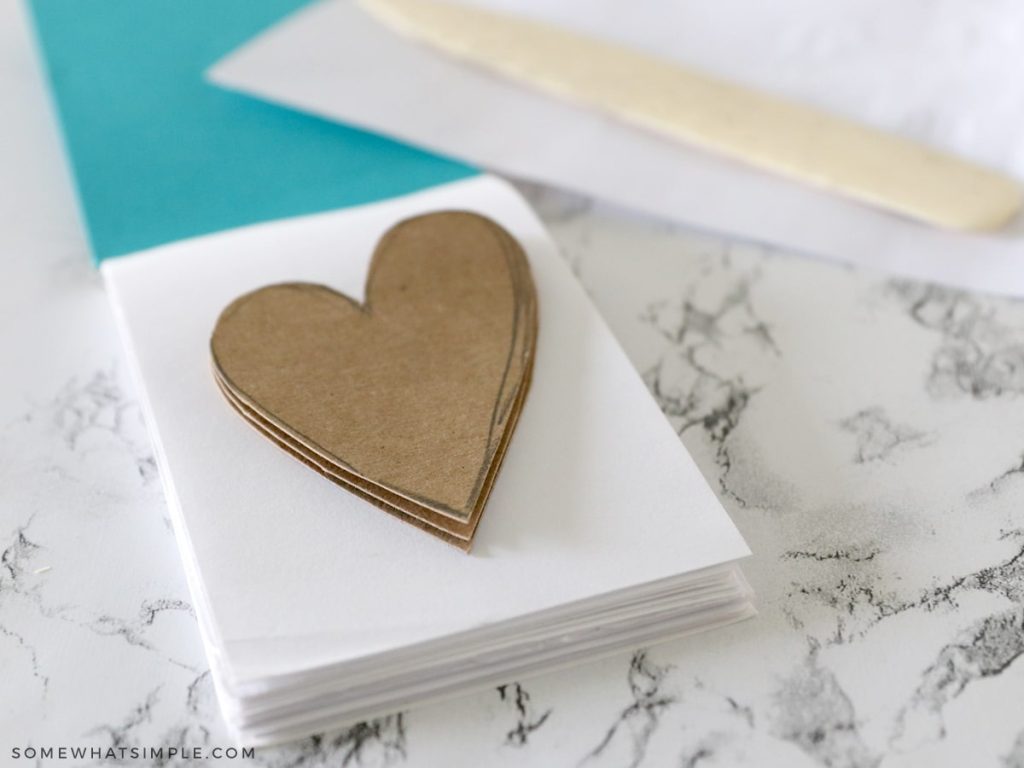
You’ll need your design to be thick enough to feel when it’s under your card or stationery. If your cardboard is thin, cut out multiple shapes that can stack on top of each other.
Place your cardboard design face-up on a hard surface, then cover it with your card or stationery pad cover. Place a piece of paper on top of your card, then rub the design with your bone folder.
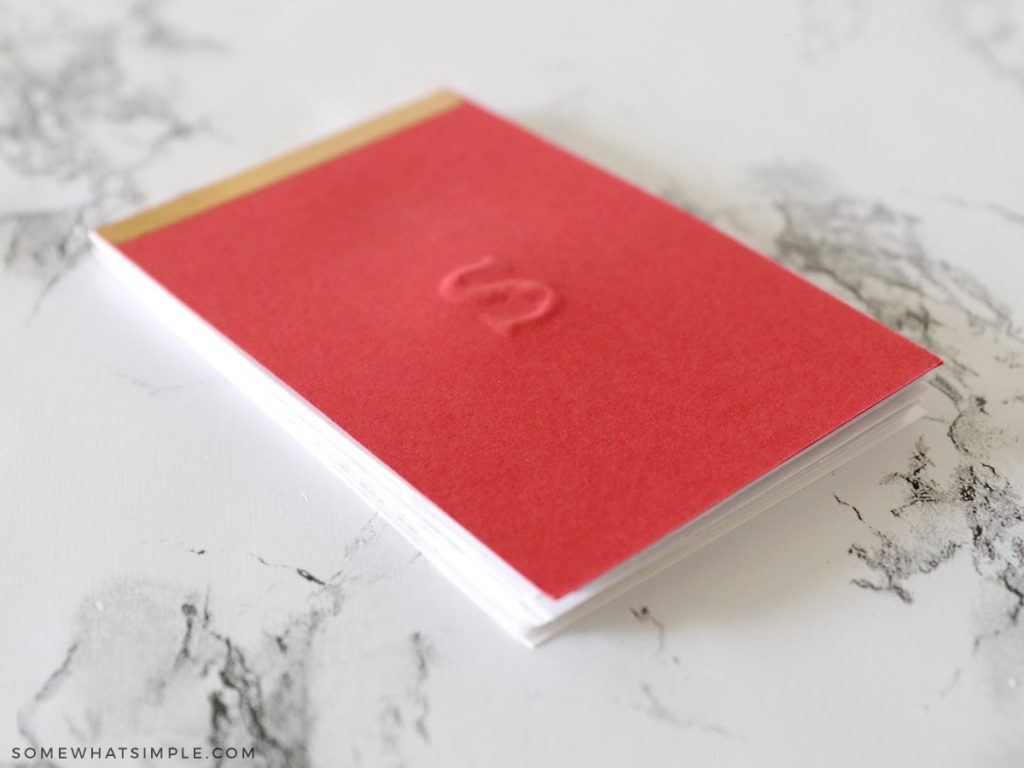
… and that’s it!
Ohhh I love this! Off to buy supplies!!
These look fantastic!
Whoa! LOVE IT! (but more than just "I love that" pretend I sang "love it" in a high funny opera voice!)
I love to emboss. It just makes stationery so much prettier.
ugh! love this! i had NO idea embossing could even be done at home! these would make great gifts. i can't wait to try this… thanks for the tutorial!
I love to do this. And yours is just beautiful!!
I've enjoyed embossing since we lived in Japan, they had a ton of supplies here and I use them every year on my Christmas cards! It is SOOO much fun to play with!
I love embossing! It is such a simple way to dress up any paper project. Great tutorial!
This could be dangerous! I may have just fallen in love…thanks for sharing!
I have always wondered how to emboss. I love how it looks. Just might have to go and get me some supplies now! Thanks so much!
I just became your follower just yesterday and I’ve already found so many fun ideas! Thanks so much!