Chalk Ice Summer Activity
This post may contain affiliate links. Read our disclosure policy.
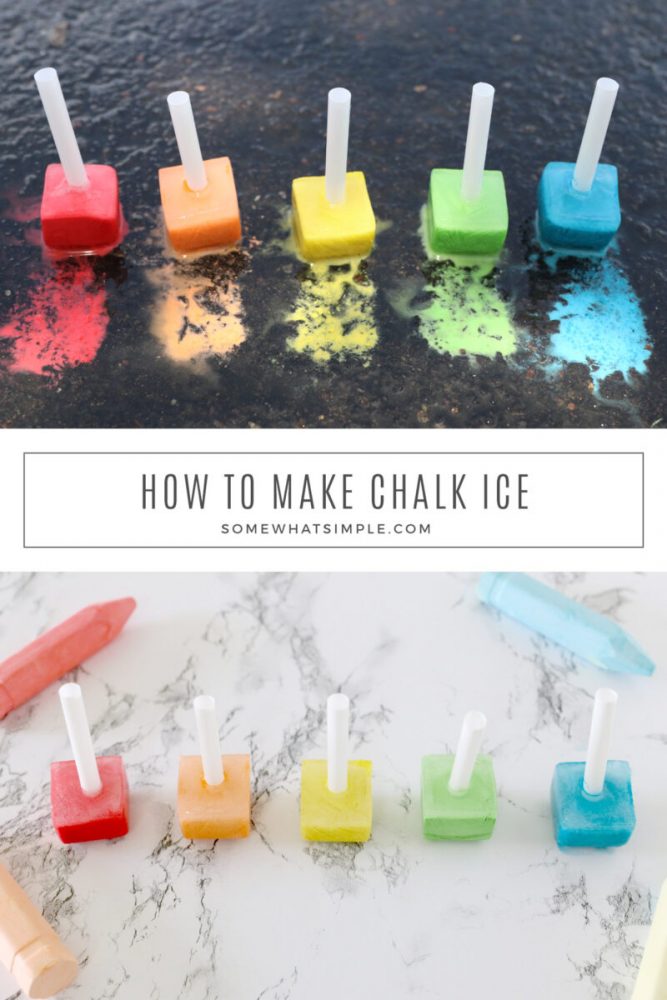
Take your sidewalk chalk up a level with a fun summer activity that the kids will LOVE! Chalk Ice is easy to prepare and so much fun to play with!
Here are a few more summer activities the kids will love – 3 Ingredient Glitter Slime, Printable Playdough Mats, and Indoor Boredom Busters.
There’s nothing better than playing and creating outside when school is out and the weather is nice. With all the active kids running around our house, I’m always looking for something new and fun to keep them busy, and these chalk ice “chalksicles” are so much fun!
Here’s how to make them –
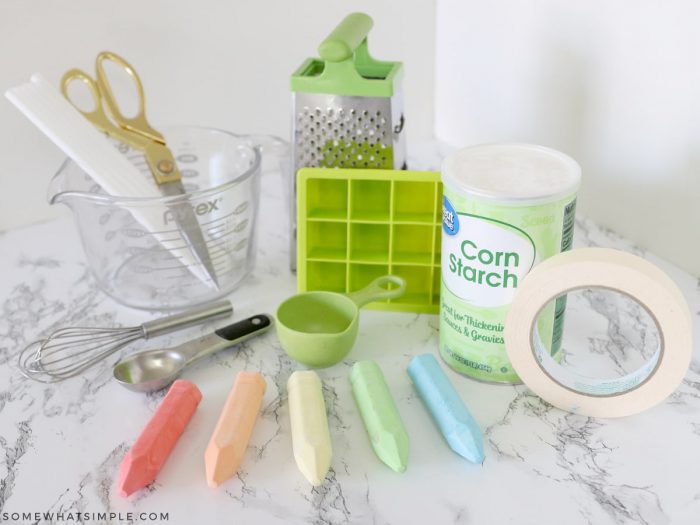
Chalk Ice Supplies
Makes 2-3 ice cube compartments. Repeat with more colors until your entire tray is filled.
INGREDIENTS –
- 1 piece of Sidewalk Chalk – Time to use up all those small pieces of sidewalk chalk you’ve been hanging onto! You will need the equivalent of one full piece of chalk.
- 2 Tablespoons of Corn Starch
- 1/4 cup of water
YOU WILL ALSO NEED –
- Cheese Grater
- Pourable Measuring Cup
- Ice Cube Tray – I got mine from Walmart, but the online link for them has multiple designs, and you don’t get to pick which style, so HERE’S an Amazon link for the same size one. It’s a little smaller than most trays, so this recipe will fill 3 of the ice cube compartments.
- Plastic Straws – I cut my straws into thirds and they worked perfectly!
- Tape – You’ll tape a grid over your ice cube tray to keep the straws standing upright
- Freezer – I put my filled silicone tray on a plate and then put it into the freezer to better stabelize it.
How to Make Ice Chalk
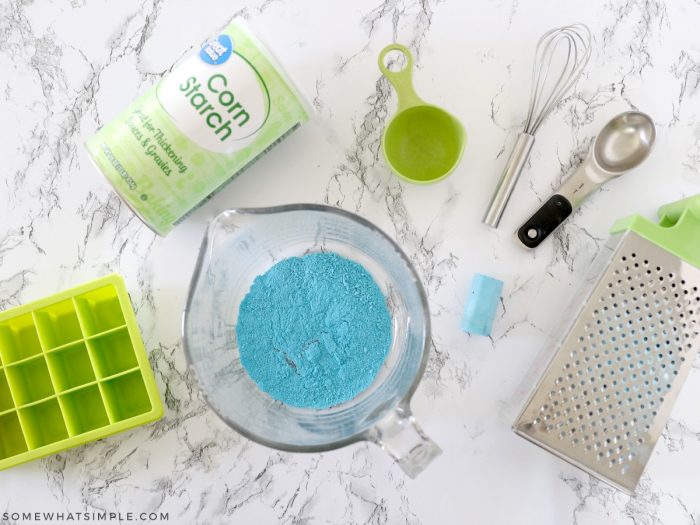
Grate one piece of sidewalk chalk into a glass measuring cup.
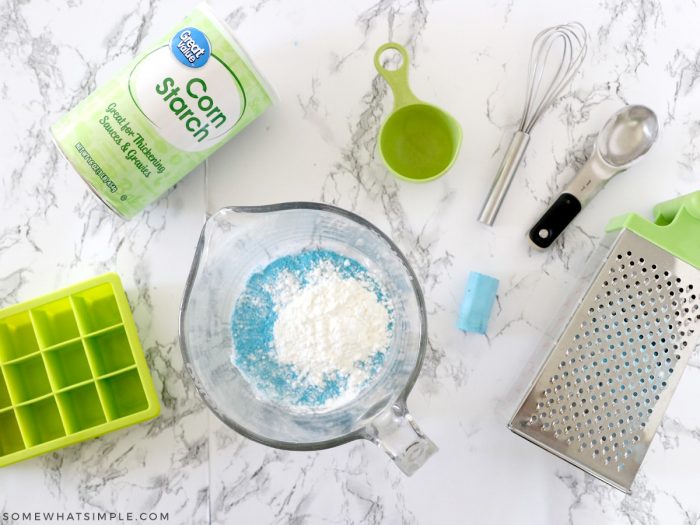
Add the cornstarch into the measuring cup.
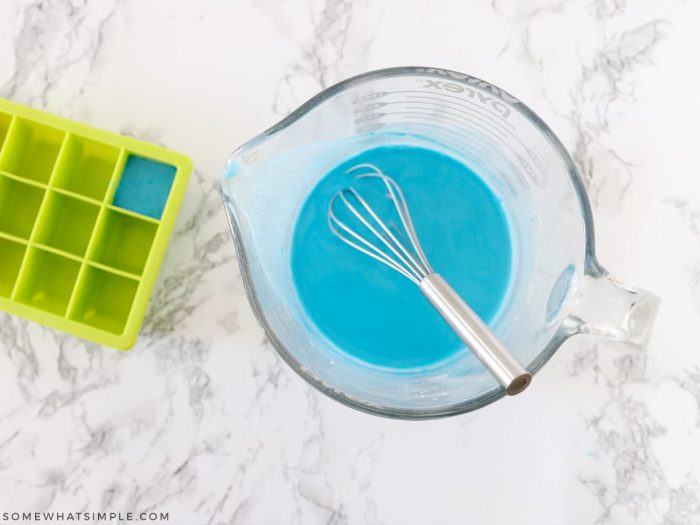
Add the water and mix with a metal whisk.
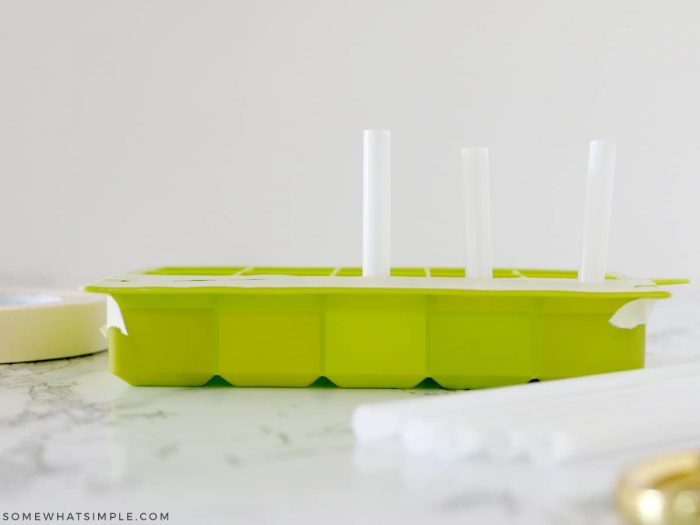
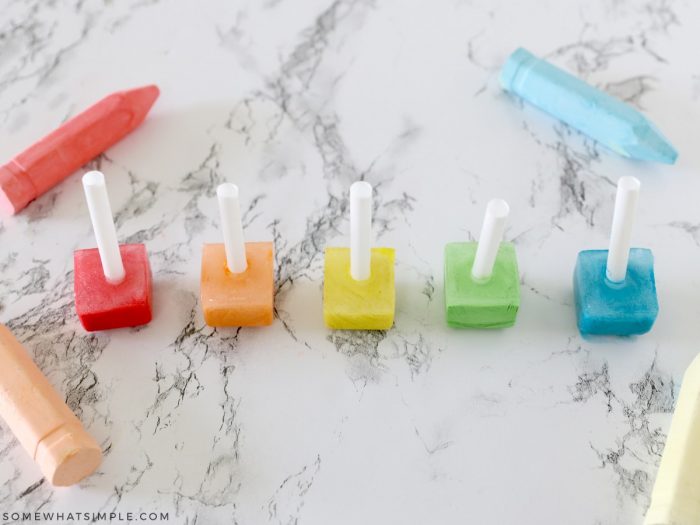
Pour the chalk mixture into an ice cube tray. Add some tape over each row to hold the straws upright, then stick a straw into the center of each cube.
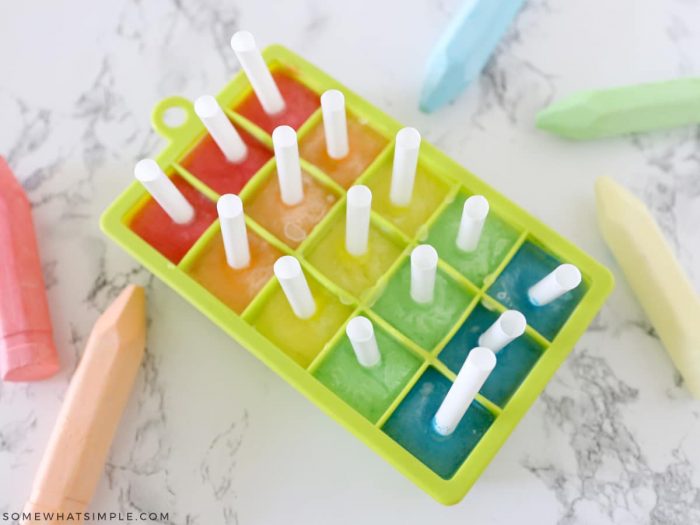
Place in your freezer until solid.
When you’re ready to use them, pull them out of the freezer and take the tape off. They might be hard to pull out of the tray at first, but within a couple minutes, they’ll slide right out!
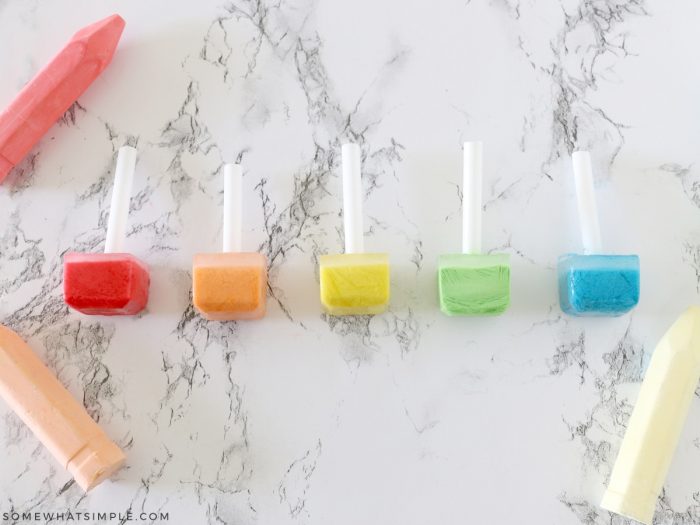
It’s best to use these chalks immediately. Once out of the freezer, the chalk ice will start melting, so the straws may start to wiggle in each cube.
Take them outside and have fun!
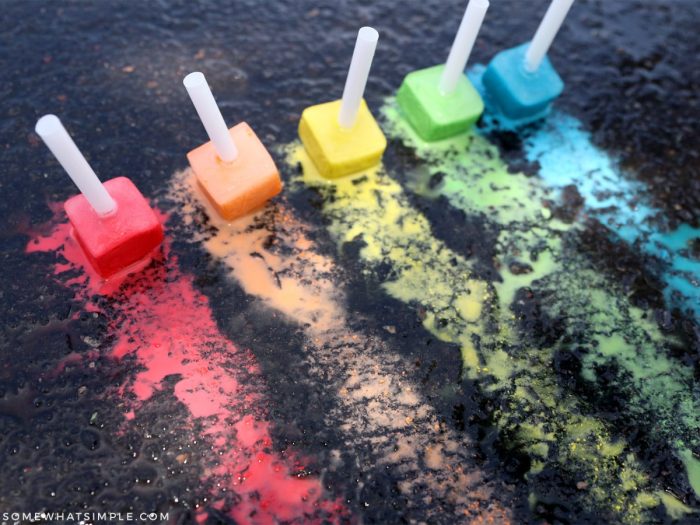
We like to wet the sidewalk or asphalt with a hose before we start painting so the cubes glide better and the colors are even more vibrant.
Washing the Chalk Off Your Sidewalk
When you are done admiring your chalk art, grab a hose and give it a good spray down.
Sidewalk chalk is washable, but I wouldn’t recommend using it on any brick or pavers. The more porous your surface is, the harder it will be to spray off.
I hope you have so much fun with this! ENJOY!