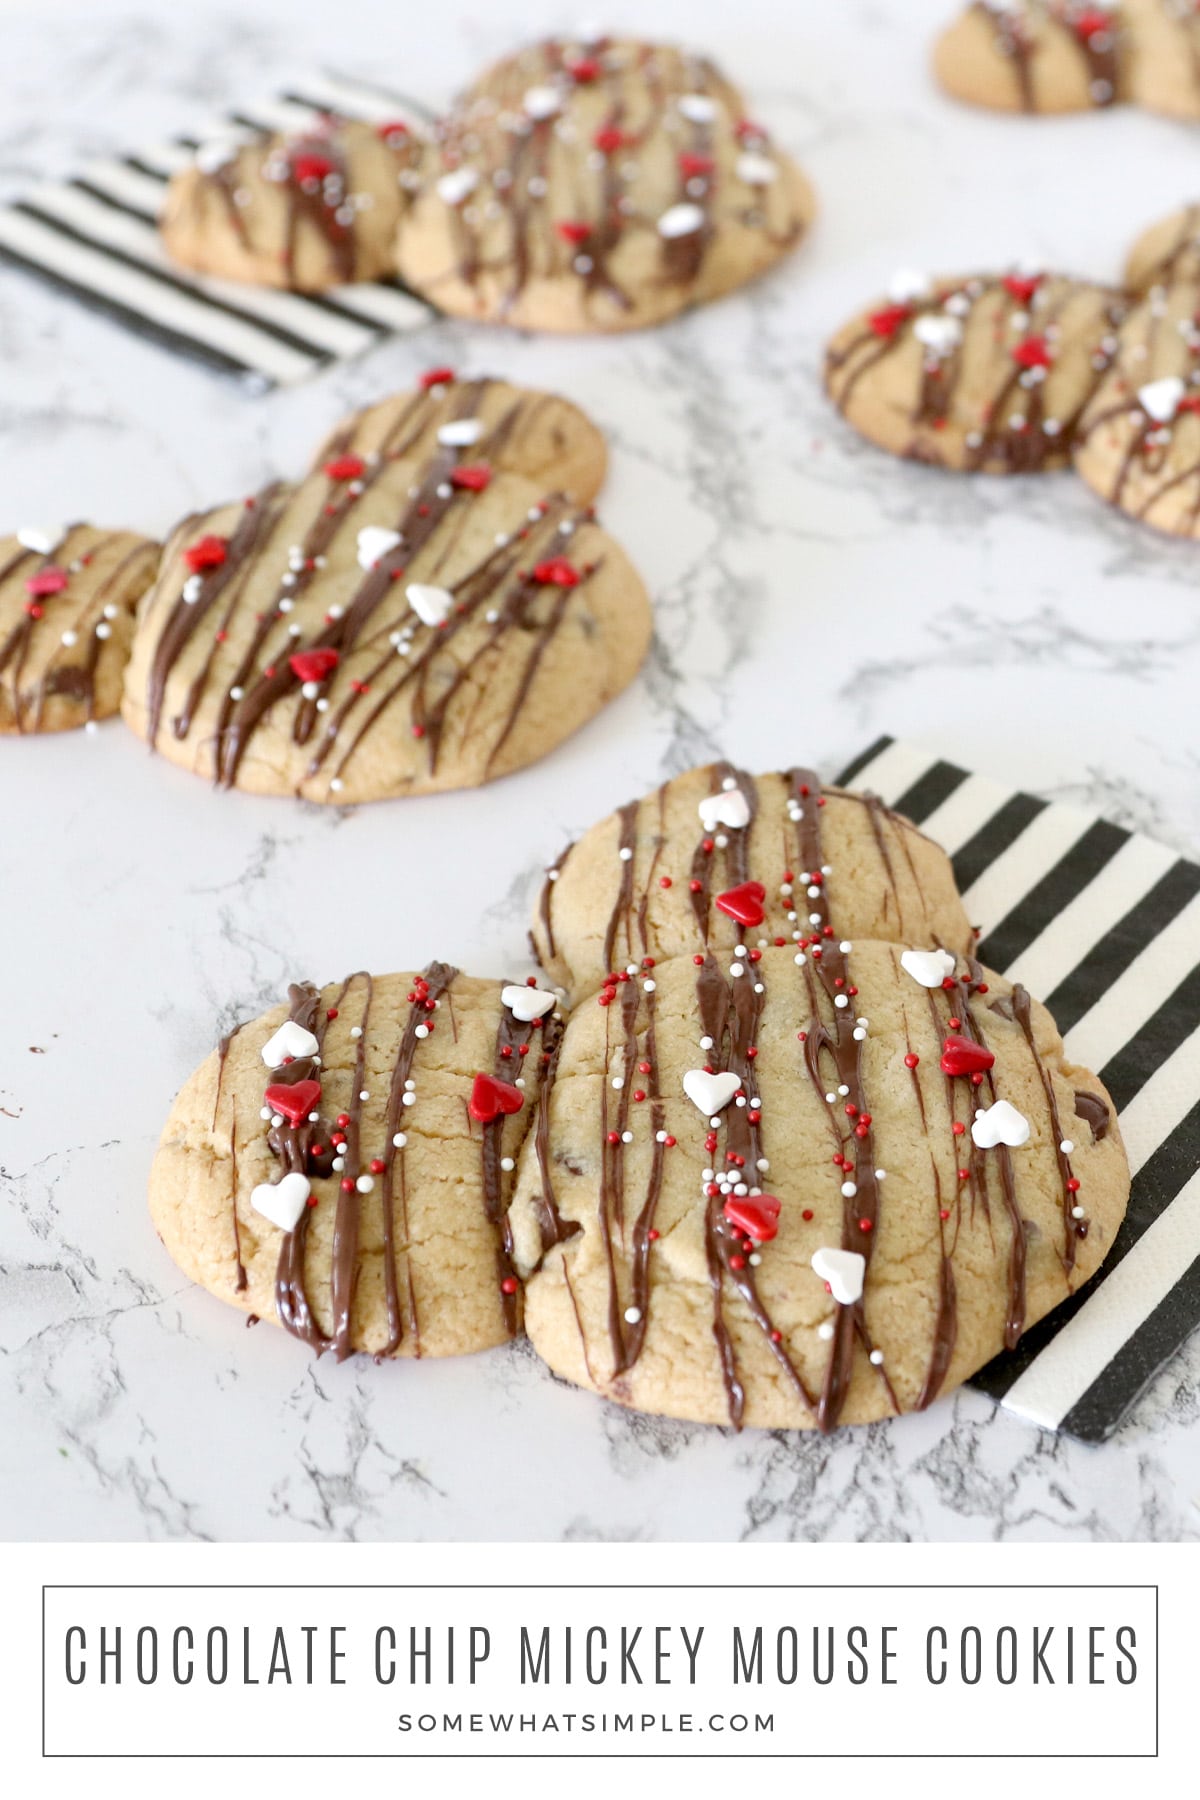
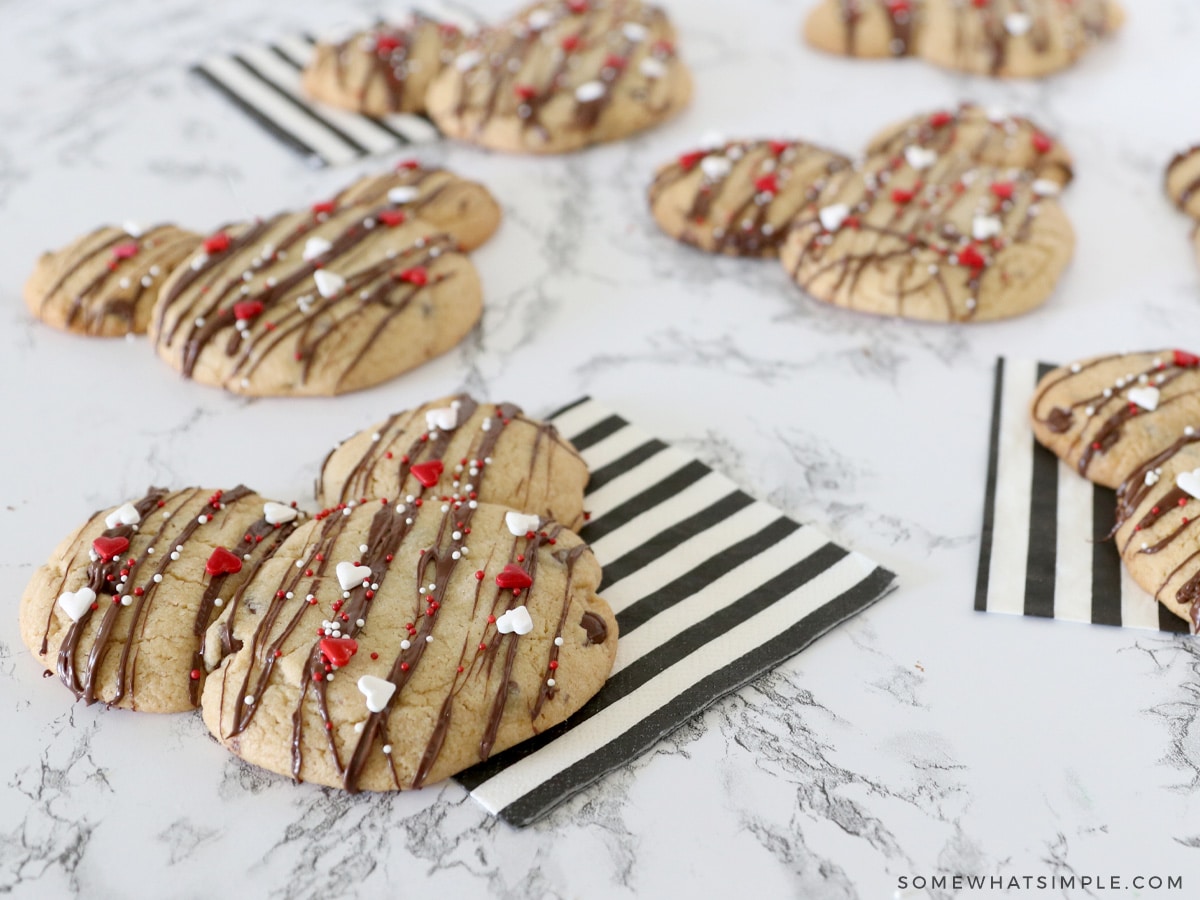
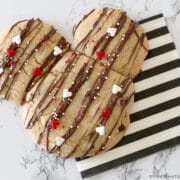
Inspired by a favorite recipe from Disneyland Paris, these Mickey Mouse Cookies will transform a simple chocolate chip cookie into something magical!
Here are a few more Disney fan favorites – Best Food at Disneyland, Where to Meet the Characters at Magic Kingdom, and Time-Saving Disney Tips.
A Disney Cookie Idea
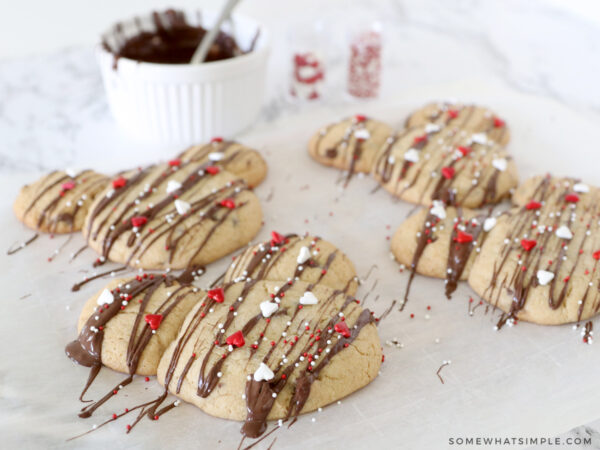
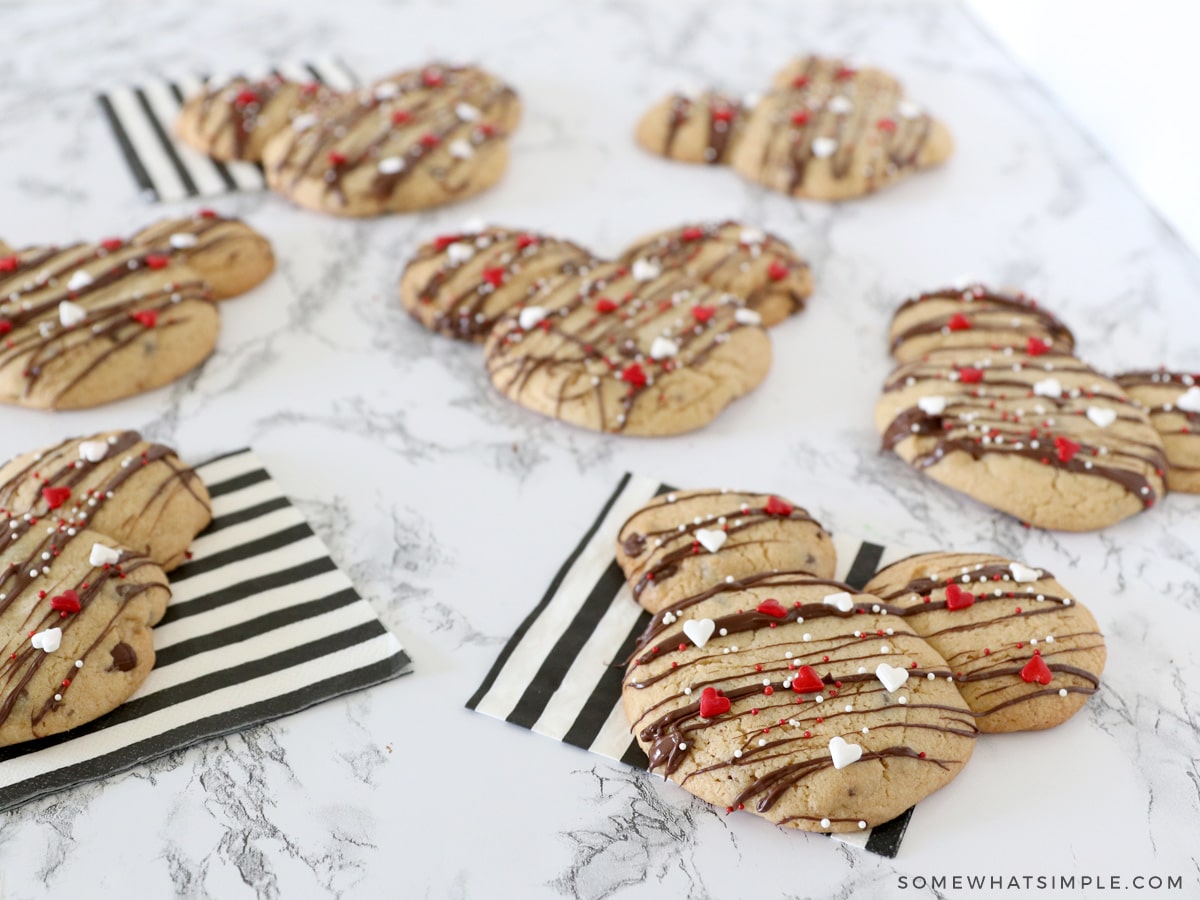
The Disneyland Paris pastry chefs created a BIG chocolate chip cookie that is sweet and soft and totally delicious! While their fancy cookie is topped with pecans, dried fruit, and a dark chocolate drizzle, our version is a little more kid-friendly… and colorful too!
We skipped the nuts and fruit and swapped them for red and white sprinkles – aren’t they so fun? As an added BONUS, this recipe is super easy to make! For all you Disney fans, here’s how make them.
Easy Mickey Mouse Cookies
(Recipe adapted from the Disney Parks Blog.)
To make this BIG chocolate chip cookies, you will need –
- ALL-PURPOSE FLOUR
- BUTTER – at room temperature
- SUGAR – This recipe uses both brown sugar and granulated
- BAKING POWDER
- SALT
- EGGS
- CHOCOLATE CHIPS – I always prefer semi-sweet in my chocolate chip cookies
- TOPPINGS – melting chocolate, sprinkles, chopped pecans, dried cranberries, optional

How To Make Mickey Mouse Cookies
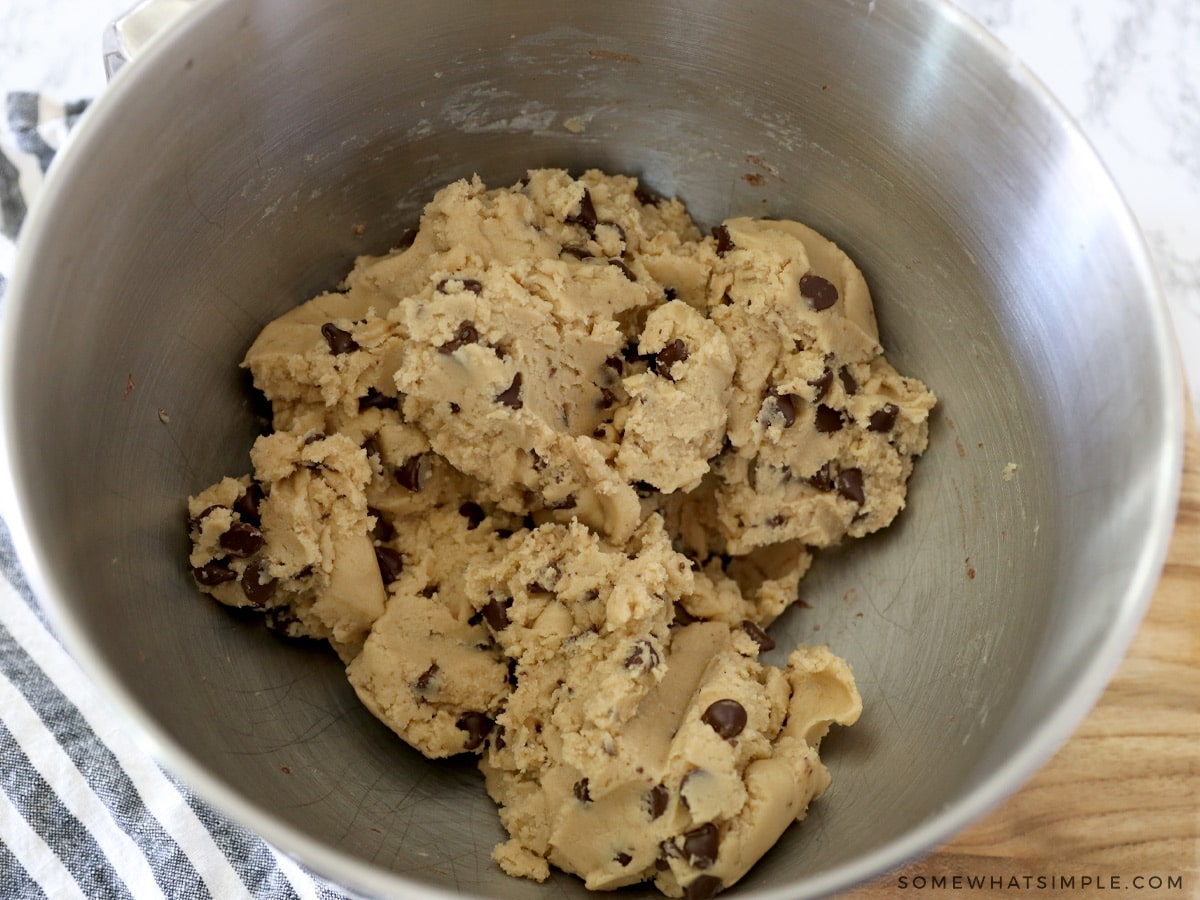
MIX – Add all the cookie ingredients to the bowl of a stand mixer, and mix until combined.
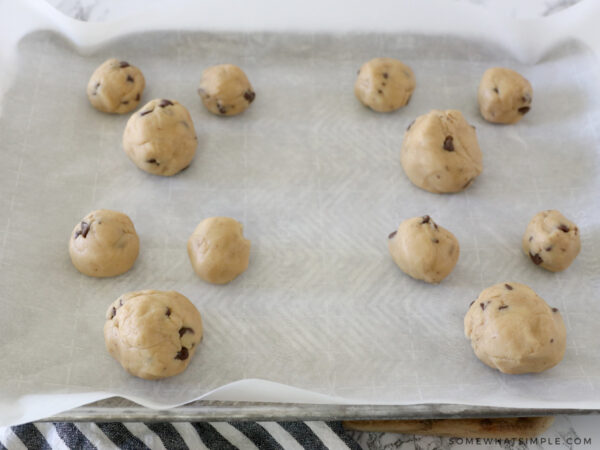
ROLL – Roll 8 balls of dough that each measure 1/3 cup to be used for Mickey’s head. Next, roll 16 balls of dough that measure 1 1/2 tablespoons that will be turned into Mickey’s ears.
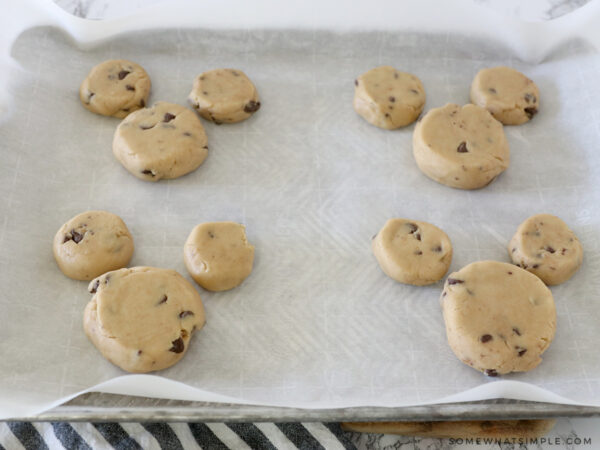
POSITION – You’ll want to place 4 heads on each baking sheet. Place two ears at the top of each head to form Mickey’s head and ears.

FLATTEN – You’ll want to slightly flatten each ball of dough with your hands as shown above. The Mickey ears should be about 1/4 inch (1/2 centimeter) from the head.
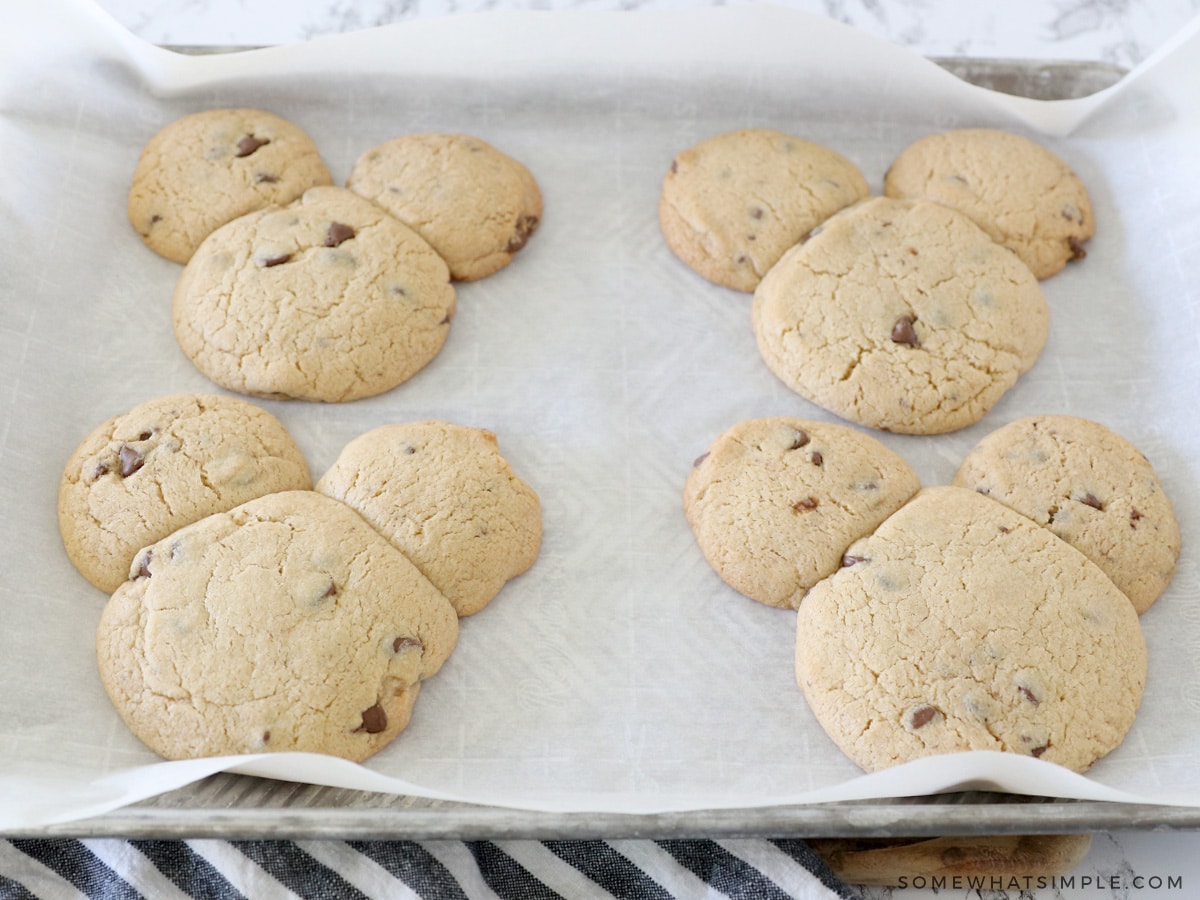
BAKE – Bake only one sheet at a time for about 17 minutes or until the edges of the Mickey cookies begin to brown.
COOL – Let the Mickey Mouse cookies cool on a baking sheet for about 5 minutes, then cool completely on wire racks before decorating.

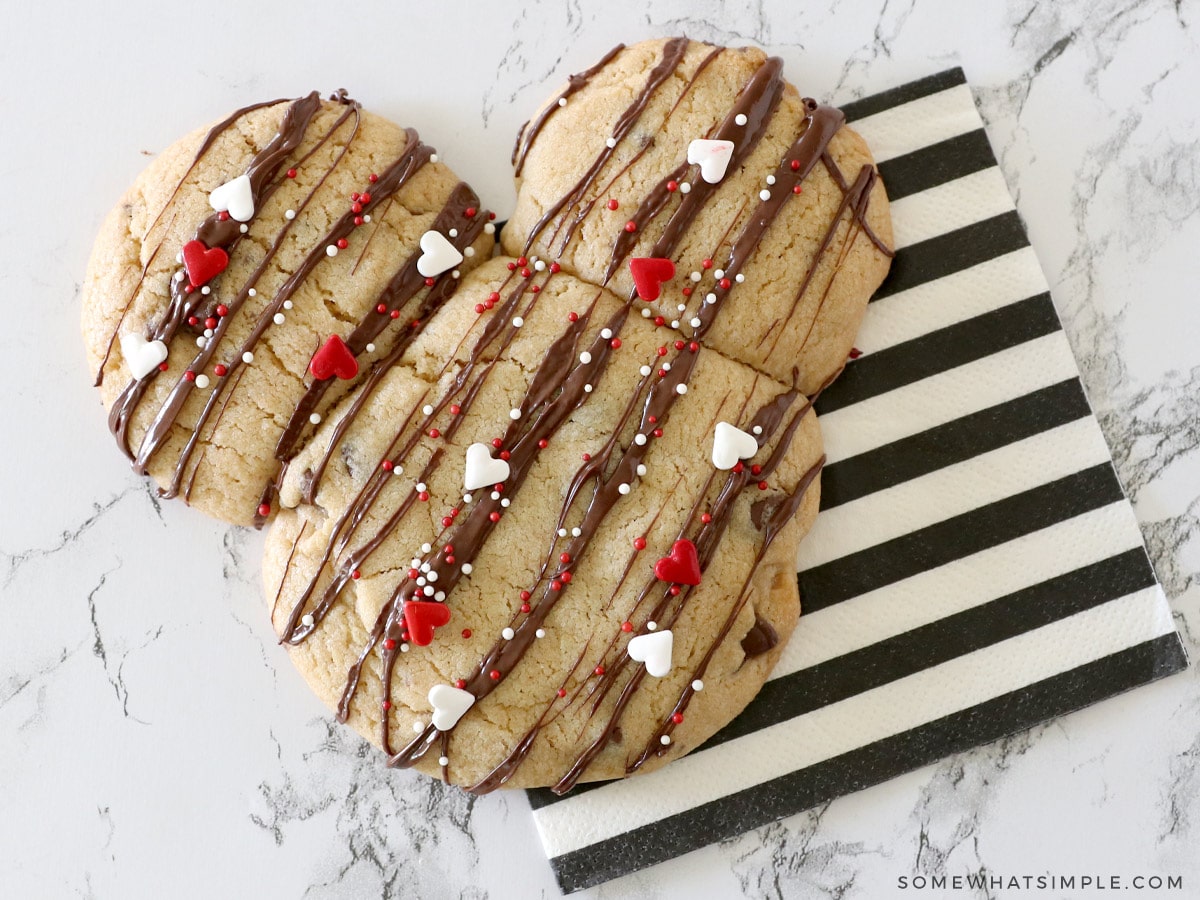
DECORATE – Melt the chocolate in a glass bowl in the microwave. Next, drizzle melted chocolate over the surface of the cookies. Finally, sprinkle them with sprinkles, candies, dried fruit, and nuts. Then allow the chocolate to set before eating.
Aren’t those so fun?
More Easy Cookie Recipes
- Easy Cake Mix Cookies
- Best Chocolate Chip Cookie Recipe
- 10 Minute Sugar Cookies
- S’mores Cookie Recipe
- Oatmeal Turtle Cookies
Here’s a printable recipe card –
Mickey Mouse Cookie Recipe
Ingredients
for the cookies –
- 1 cup butter, at room temperature
- 3 cups all-purpose flour
- 1/2 cup granulated sugar
- 1 cup brown sugar, packed
- 3 teaspoons baking powder
- 1/8 teaspoon salt
- 2 eggs
- 1 cup semisweet chocolate chips
for the toppings –
- 1 cup chocolate chips – more or less, as needed
- 1/4 cup sprinkles – more or less, as needed
Instructions
- Preheat oven to 375°F. Line two baking sheets with parchment paper and set them aside.
- Cut butter into sixteen small cubes and place in the bowl of an electric mixer fitted with a paddle attachment.
- Add flour, granulated sugar, brown sugar, baking powder, salt, and eggs; mix at low speed for 1 minute. Increase speed to medium and beat for 2 minutes, until soft dough forms.
- Add chocolate chips and mix at low speed until evenly distributed through the dough.

- Roll 8 balls of dough, each measuring 1/3 cup for Mickey’s head. Roll 16 balls of dough, each measuring 1 1/2 tablespoons for Mickey’s ears.
- Place 4 heads on each baking sheet. Place 2 ears on top of each head to form Mickey’s head and ears.
- Slightly flatten each ball of dough with your hands. The ears should be 1/4 inch from the head.
- Bake one sheet at a time for 17 minutes, until the edges of the cookie begin to brown. Cool on the baking sheet for 5 minutes, then cool completely on wire racks before decorating.
- Melt chocolate chips in a glass bowl in the microwave for 30 seconds, then stir. Repeat until chocolate is melted.
- Drizzle desired amount of chocolate over each cookie, then add desired toppings while the chocolate is still wet.
- Allow chocolate to set before eating.


Nutrition
Other Notes


Super cute and tastes so good!
Thanks Candace!
what is the recipe
You can use your favorite sugar cookie recipe to make the cookies.
Did the cookies taste bad? I have found that using the amount of coloring that you need to get the true black or red, usually makes the icing taste bad, ruining the taste of the cookie. I heard that Americolor Tulip Red is basically tasteless (or less tasty?) Just wondering. beautiful work btw. I am looking to make Mickey silhouettes from royal icing ahead of time to decorate the tops of cupcakes and flooded cookies with. I was looking to see what techniques people have used. That Google search brought me here. Thanks!
When you use a lot of red or black coloring in your icing, you can start to taste it, but I personally don’t find it bad. Yes, tulip red is supposed to be tasteless, but is less of a true red. Up to you on which you prefer!
How do you stick/paste the icing bows to the cookie?
Are the bows made from the royal icing recipe?
I was wondering how u got the icing physically on the cookie and if it is on both sides of the cookie
Robert- I apply the icing with squeeze bottles. You can find them at craft stores or kitchen supply stores. The icing is just on one side of the cookie. 🙂
I just LOVE these cookies! I am having a birthday party for my daughter at the end of the month and these will be perfect for her Mickey and Minnie party!
I had to laugh at your “you need to settle down because you ARE staying for Fantasmic!” because we just got back from our Disney vacation and I think I said those exact words! LOL
It really is the happiest place on earth…. even though there are meltdowns and a few fights. Seeing the magic through their eyes makes it ALL worth it! We had so much fun on our vacation, and I hope you did to!
I hope I do your cookies justice when I try to make them 🙂
These cookies are awesome, and I love how you surprised your kids with them!!
I love these cookies! I also loved how you told the kids you were going on vacation with them. I think I might have to “borrow” your idea when we surprise our kids. Thanks for the great idea!