
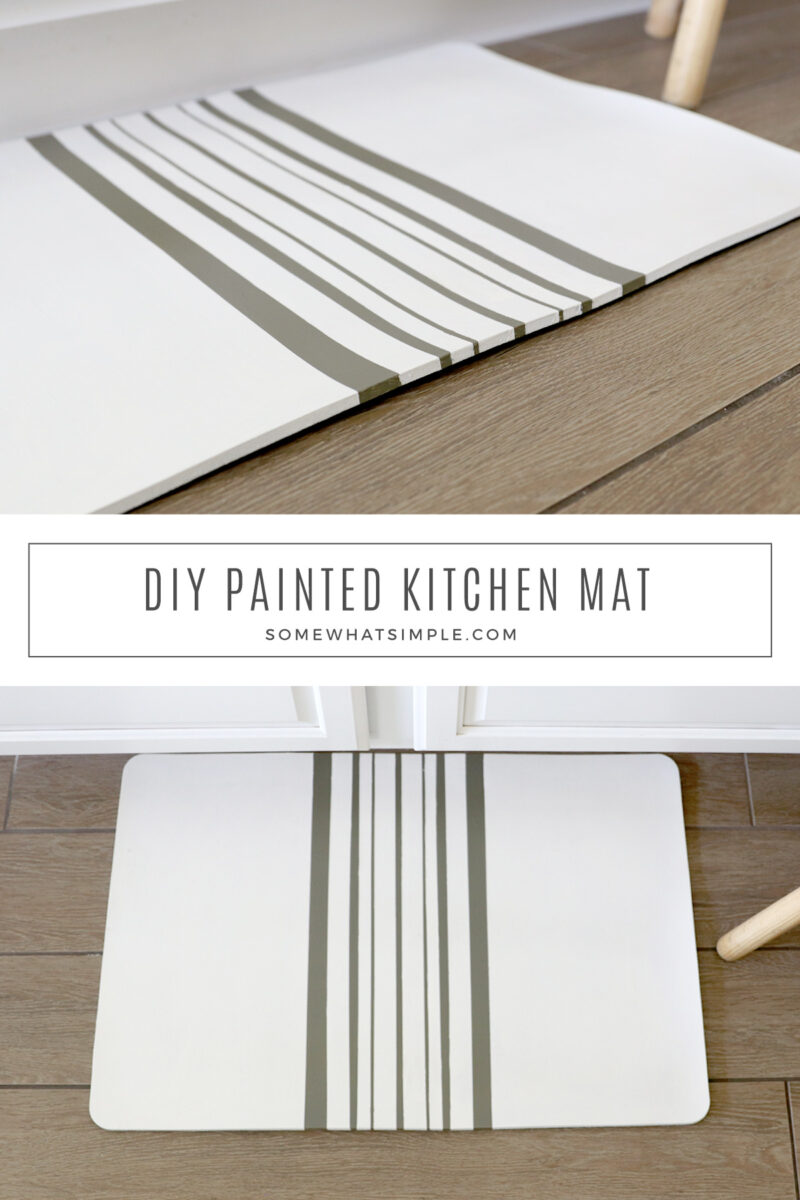
Adding some fun to your floors is as easy as making a painted kitchen mat! This easy guide will show you how to do it in just a few easy steps.
Be sure to check out our tutorials for a Funny Welcome Mat and DIY Bath Mat.
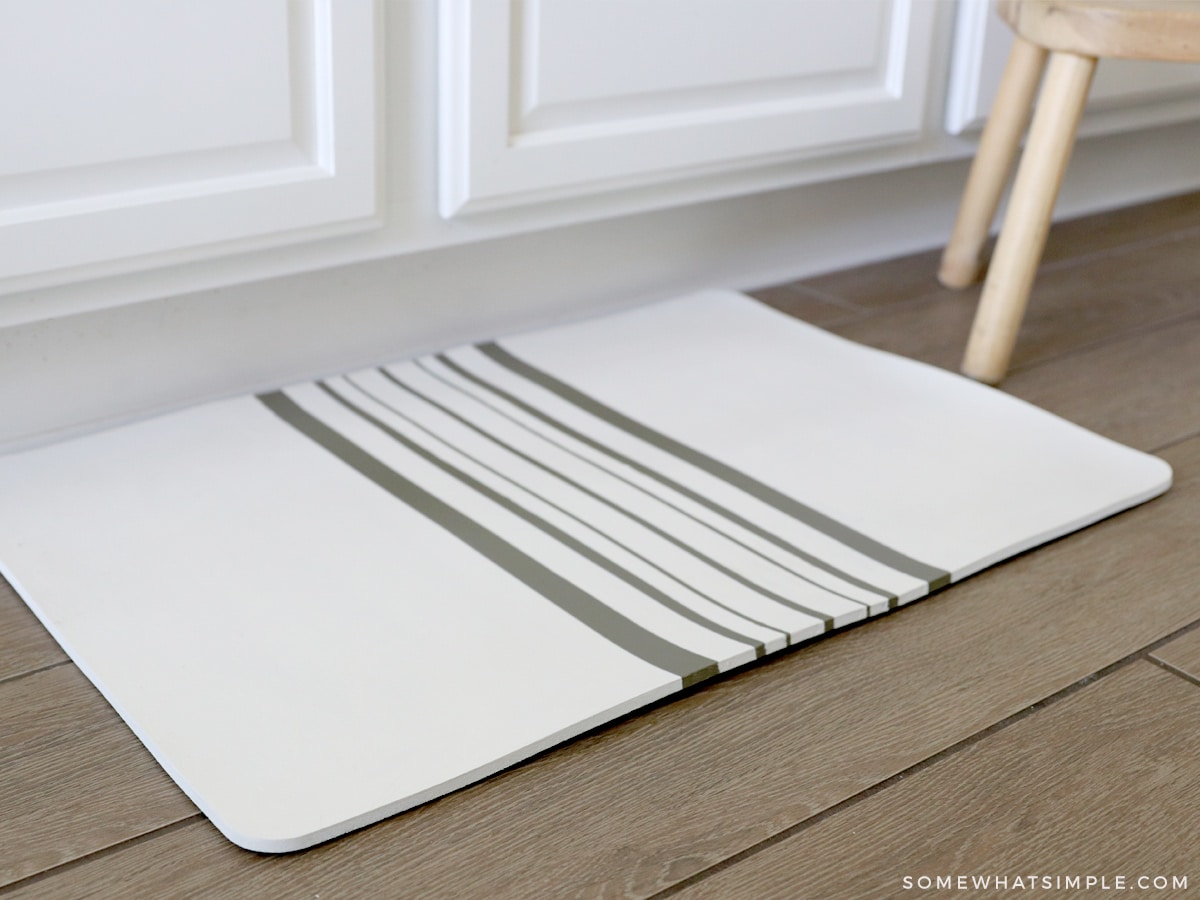
I bought a kitchen mat on clearance for $3. It didn’t match my decor and it started looking dingy really fast, but I had big plans for this little mat that would solve both of these problems!
I wanted the mat to be simple – clean lines and neutral colors are my best friend – so I came up with a simple design that couldn’t be any easier to paint. (And it looks amazing with my kitchen decor!)
You can definitely make this method work for any design you choose – I’ve done it before in a Greek Key pattern, and it would look cute in a chevron, plaid, abstract etc.
If you have any floor mats or rugs that need new life, here’s how to make your own –
How to Paint a Kitchen Mat
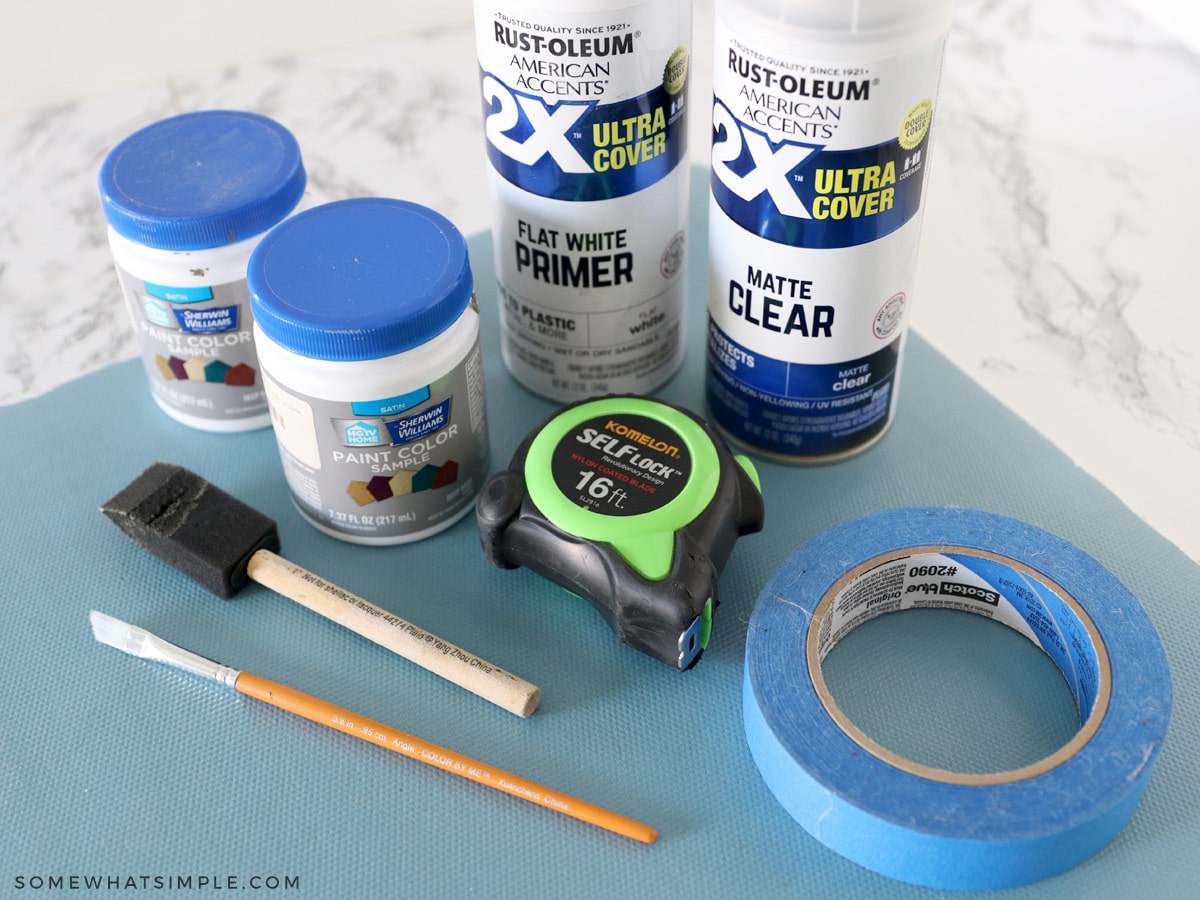
MATERIALS NEEDED –
- foam kitchen mat or runner: mine was a foam mat that was a rubber-like/ vinyl material with a little bit of a cushion.
- primer
- paint: 1 color for the base, 1 color for the design. I used leftover paint samples in a satin sheen. I’ve tried acrylic craft paint and it cracked as it dried, but the paint from Lowes worked great!
- paint brush: I used a sponge brush for the all-over color and a paintbrush to get crisp lines.
- painter’s tape: to tape off the lines in your design.
- ruler/tape measurer
- sealant: this is optional, but sealing it will keep it from cracking and allow you to more easily wipe down your kitchen rug when it is dirty.
* If you are freehanding your design, you may not need the painter’s tape. Instead use a pencil or chalk to draw your design.
INSTRUCTIONS –
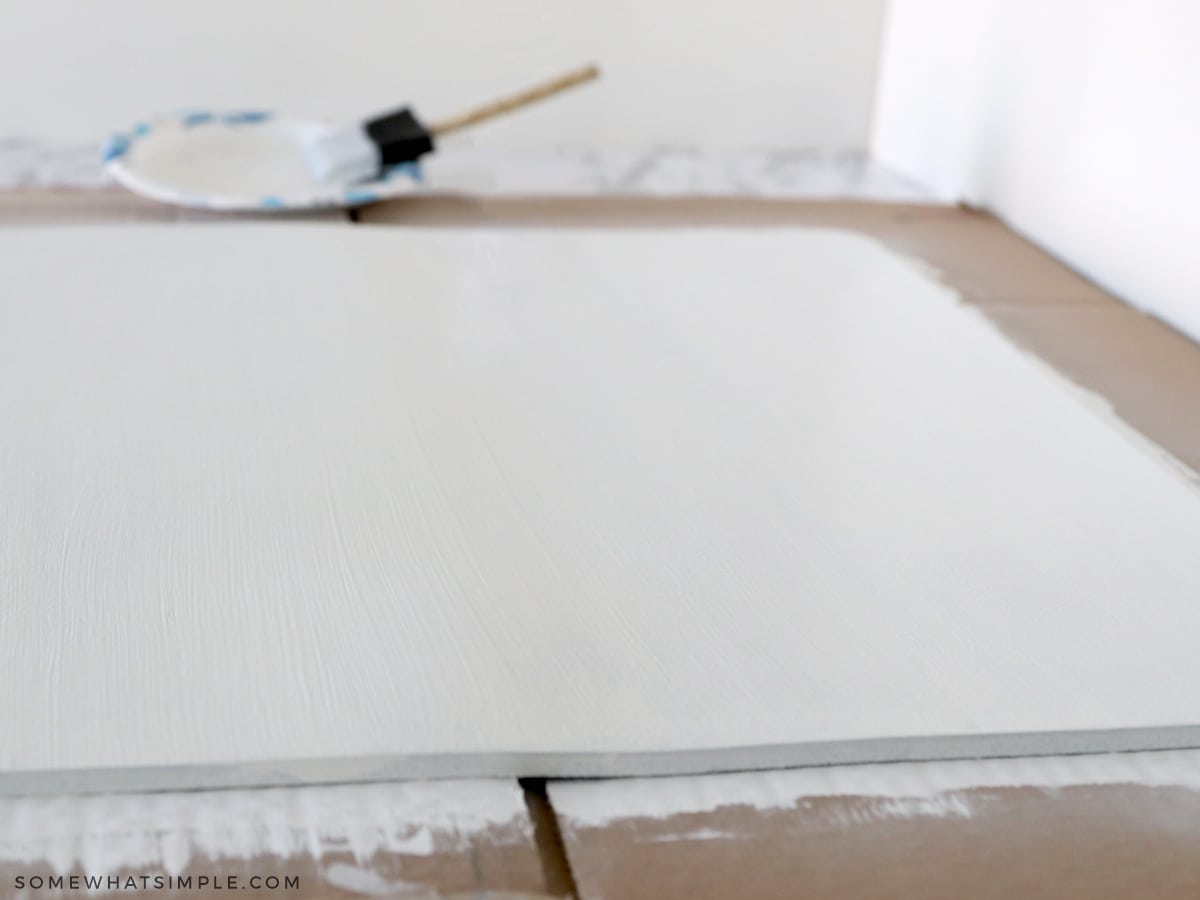
BASE COAT – Add a quick first coat of primer, then paint the entire area a base color you love.
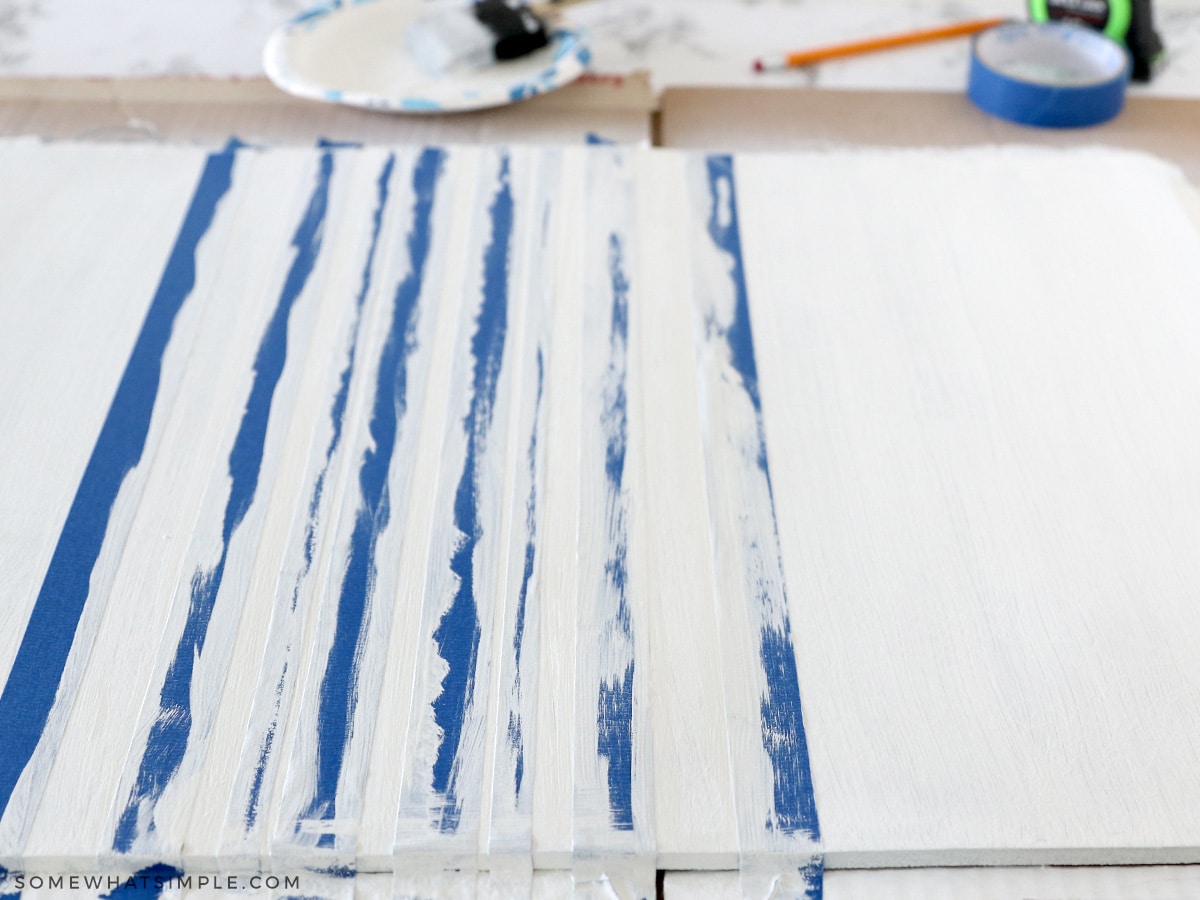
DESIGN – Tape off your design. When your design is taped down, run your fingers along it to make sure there is a good seal around the edges. Then, paint over the taped design with your base color. This will help avoid any bleeding underneath the tape when you paint it.
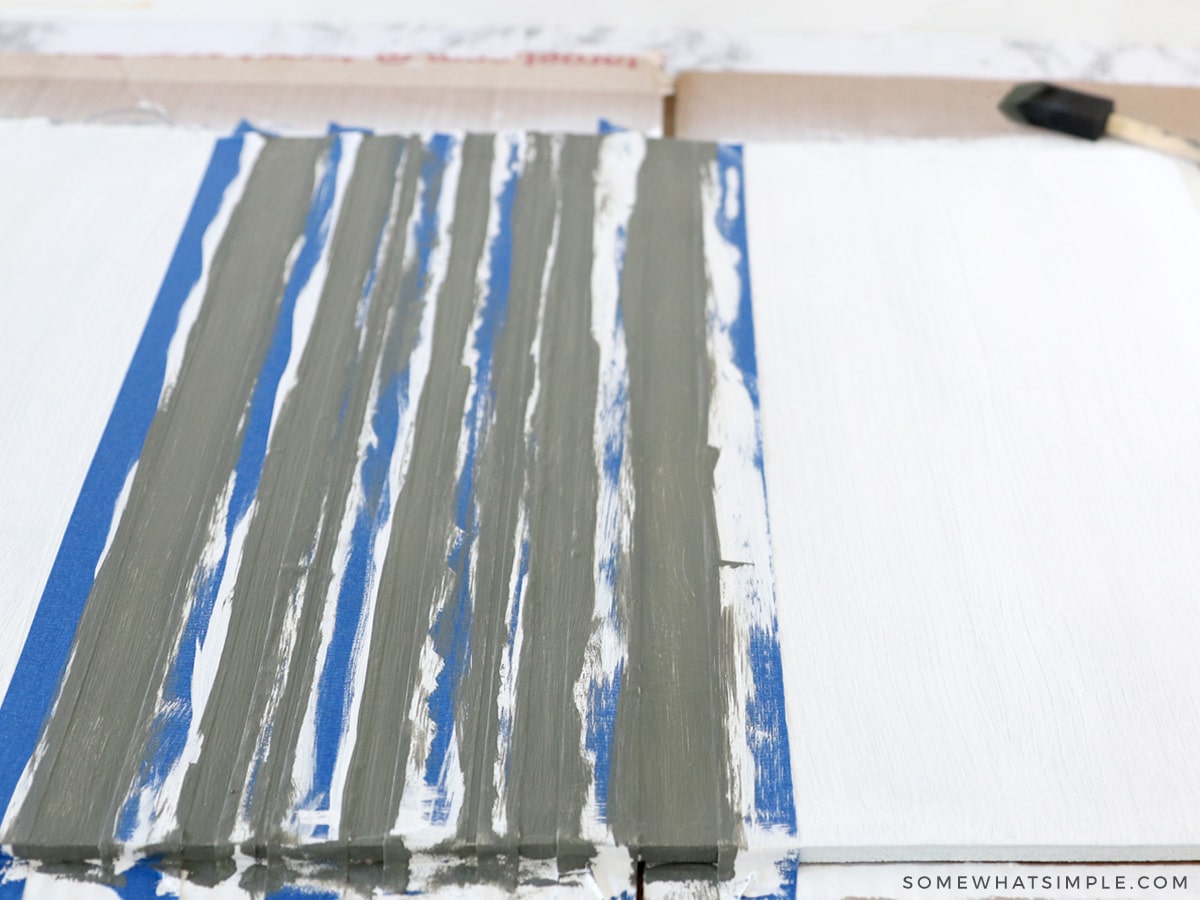
PAINT – Paint your design and let it dry completely. You may want to do a couple of coats of this to ensure nice, bold lines of color. Take off the painter’s tape before your design dries to avoid any chipping in the paint.
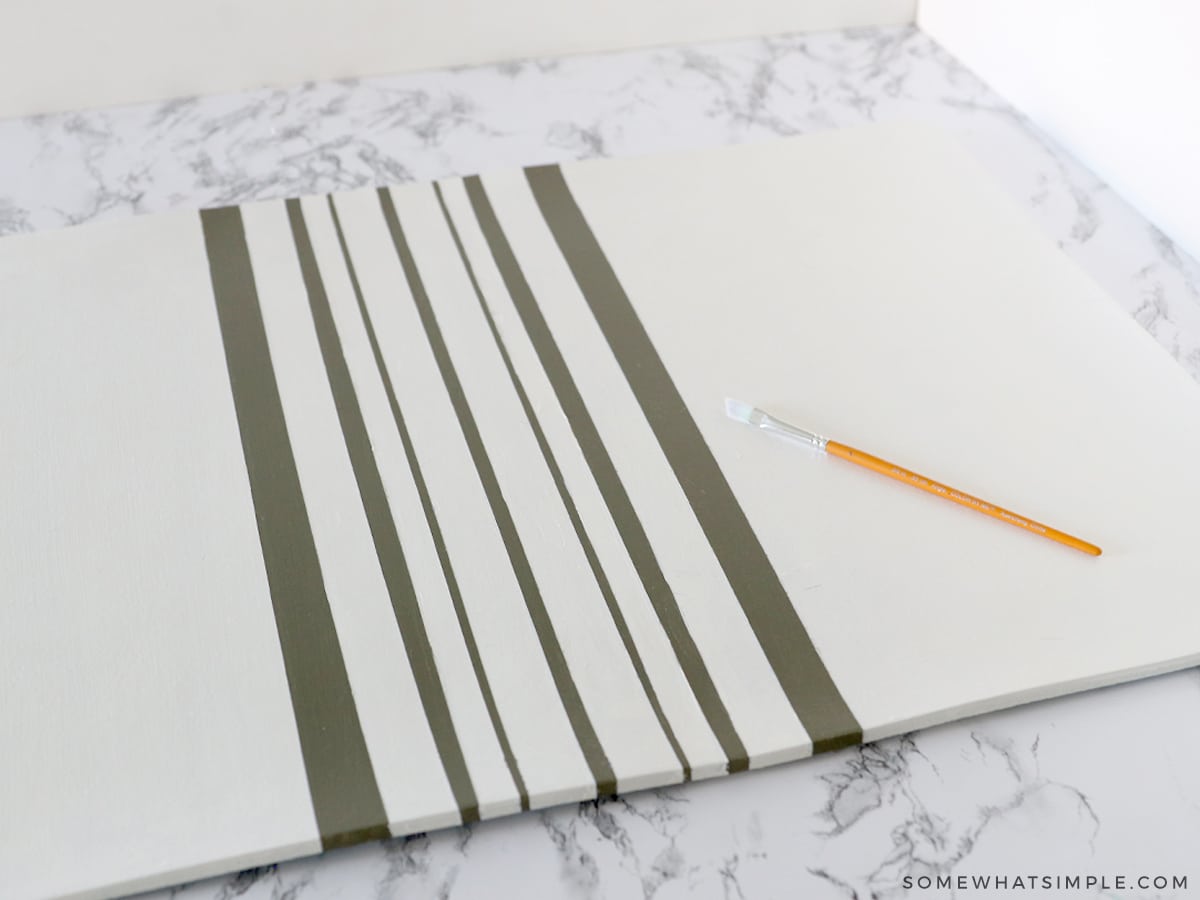
TOUCH UP – Use a paintbrush to touch up any parts of your design that bled or chipped.
LAST STEP – Add a coat of sealer. I’d use two coats if this is going to be in a high-traffic area.
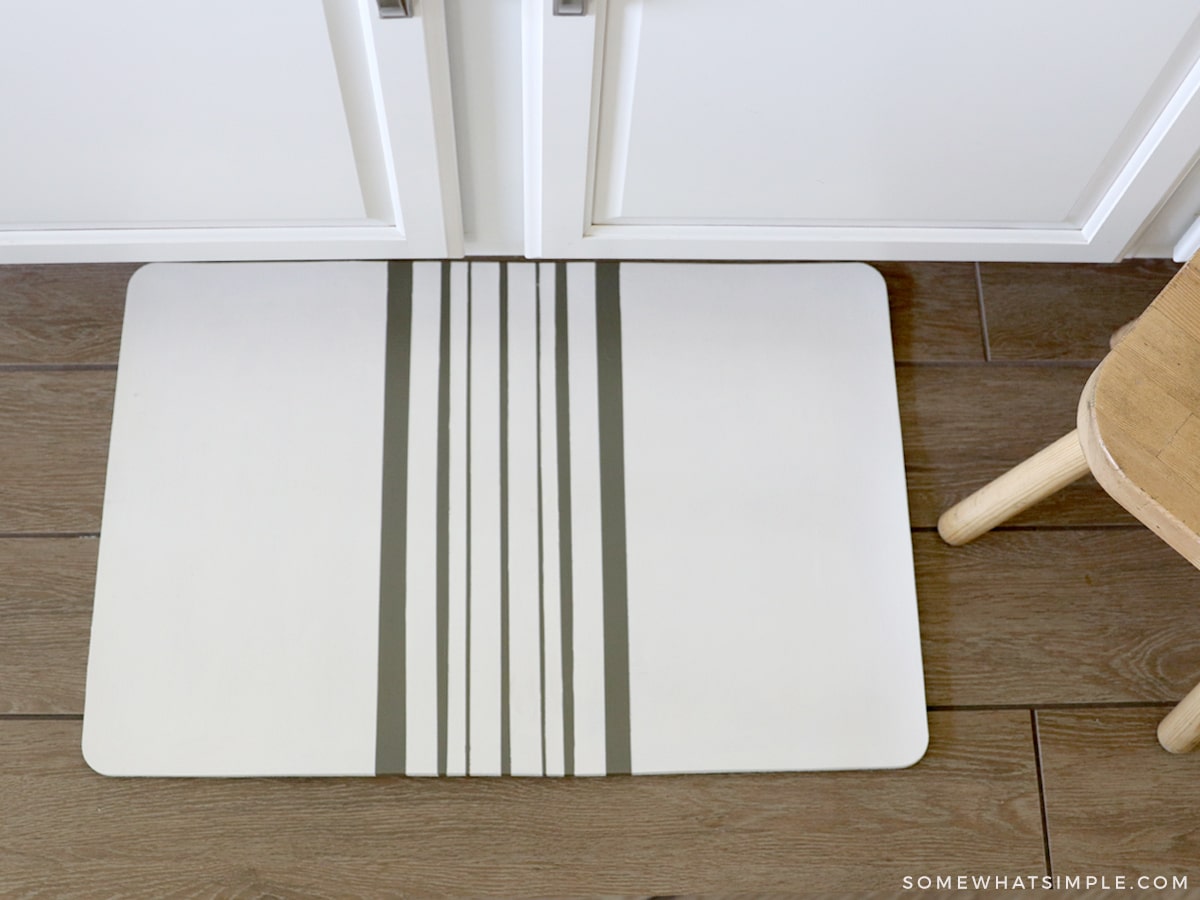
… and you’re done!
I love how simple and affordable this idea is to make something that matches your decor! It’ll look perfect in front of the sink in the kitchen or bathroom, and it’s perfect in front of the dishwasher!
ENJOY!


What type of paint was “Evening Stroll”? Matte? Eggshell? I have two that I use between the sink and the cooktop on my island. They constantly look dirty no matter how much I scrub. I can’t find any others as wide as these to fill in the fairly wide area. I thought why not paint them. I’m doing black and white check….very simple for a first attempt. I’m not an artist but I’m very determined…😂 Thank you for your tutorial and any suggestions you can make. All the best! 👍🏻☘️
I’ve actually tried this project with a bunch of different paints – craft paints, eggshell, and semi-gloss – they all worked well! I’ve never trid it with flat paint – I can picture that one not being very easy to clean. Good luck!
Wow! the taping must have taken forever but the look is fantastic!
If you pull the blue tape off….how is the finished results have blue on it?? The end result would be grey and white. The picture also looks like it is softened. What am I missing??
The Blue is the painters tape that she used to make the stripes.
Exactly what type of rug did you use for this project? Fiber?
I used a foam/squishy mat, but you can certainly use a different type of fiber. Here is a tutorial I made in february of this year about painting a bathroom rug- there are some helpful tips on this post, including watering down your paint so it soaks better into the fibers.
Hope that helps! 🙂
Discovered you from Pinterest and I LOVE this DIY idea! Did you use anything to seal the mat so the paint doesn’t crack or flake? My kitchen mats take a beating, and I’m worried that when I vacuum or shake this mat it will hurt the paint?
Hi Mindy, thanks for visiting from Pinterest! I didn’t seal it, though maybe I should. I have been using it for 2 months now and there isnt any cracking yet, but sealing it is probably a good idea!
What would you seal it with that stays transparent?
You can get clear craft paint – I’ve used this to seal other projects and it works well.
Love your floor mat and the non-traditional pattern you created!
Thanks Katie!
What a great project! I just love how it turned out!!
Thanks Amy!
I’m curious what kind of mat you used?
It is a squishy, foam-like mat- you can get them anywhere!
Thank you! Another question, did you seal it at all so it doesn’t crack?
I didn’t seal it, though maybe I should. I have been using it for 2 months now and there isnt any cracking yet, but sealing it is probably a good idea!
So fun! I love that size of rug for a project like this. Totally manageable!
Thanks Becca!
It turned out great! I love the Greek key design!
Thanks Kim! I appreciate you stopping by!