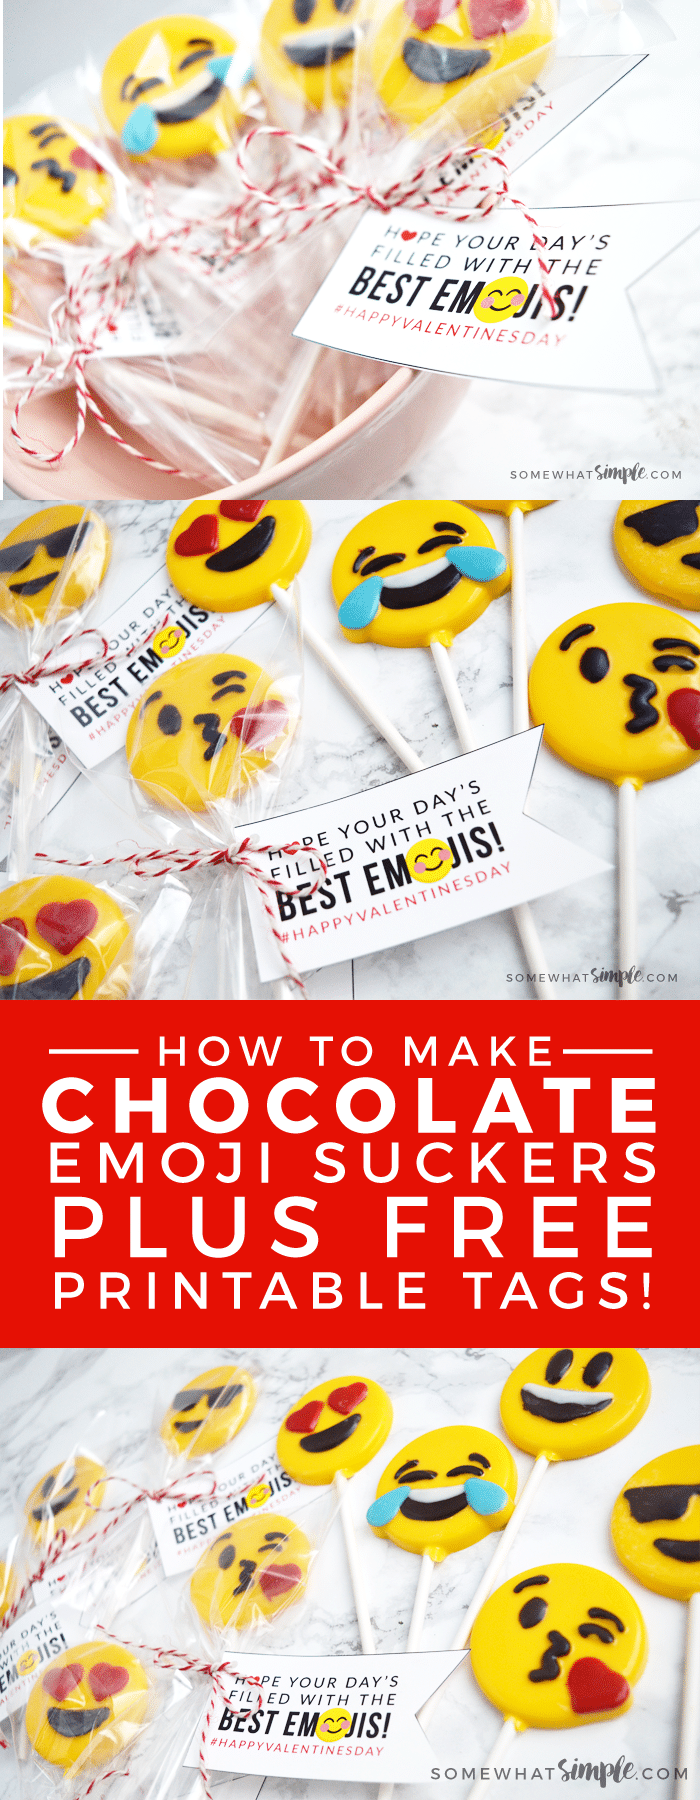
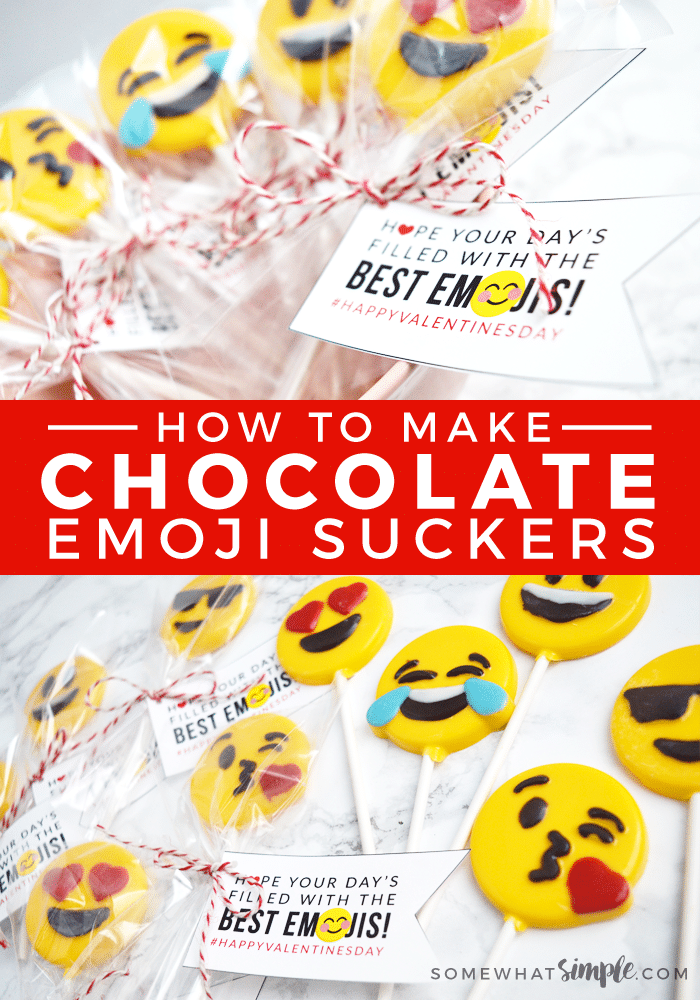
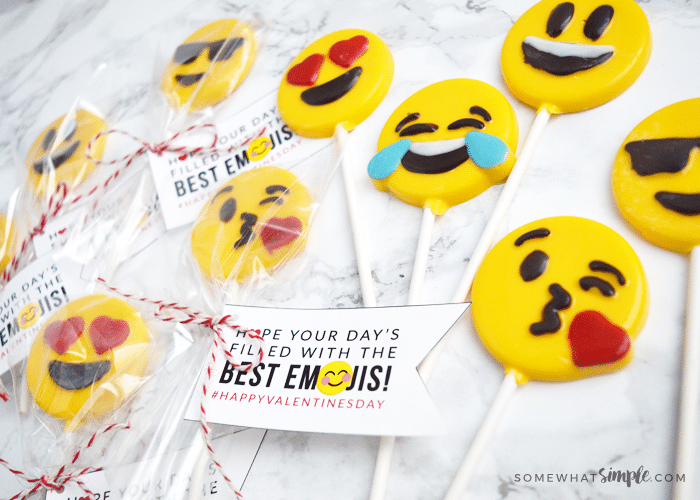
Making chocolate emoji suckers is easier than you think! Grab our free printable tags to turn these into an adorable Valentine’s gift!
You don’t need to be a master artist to handle painting chocolate. This was a classic activity around my house growing up. Chocolate suckers are such an EASY treat to make and it is a kid-friendly activity to do, just for fun! These things are way faster than cookies or cake pops if you’re in need of a quick gift.
Here is a video we made showing the entire process:
Chocolate Emoji Suckers
supplies:
- emoji chocolate sucker molds
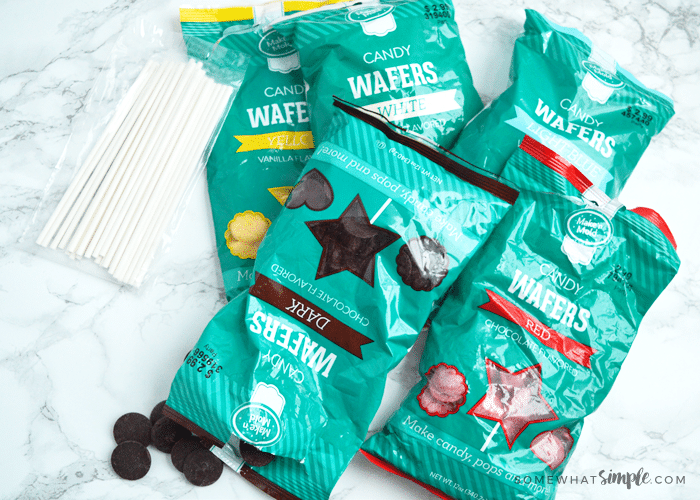
- chocolate candy wafers
- sucker sticks
- a glass bowl for each color you’re using
- a spoon + toothpick for each candy color
- microwave or hotplate
If you plan on using our FREE printable Chocolate Emoji tags and making these as gifts:
- clear plastic bags
- Emoji tags (download below)
- ribbon or twine
- scissors
directions:
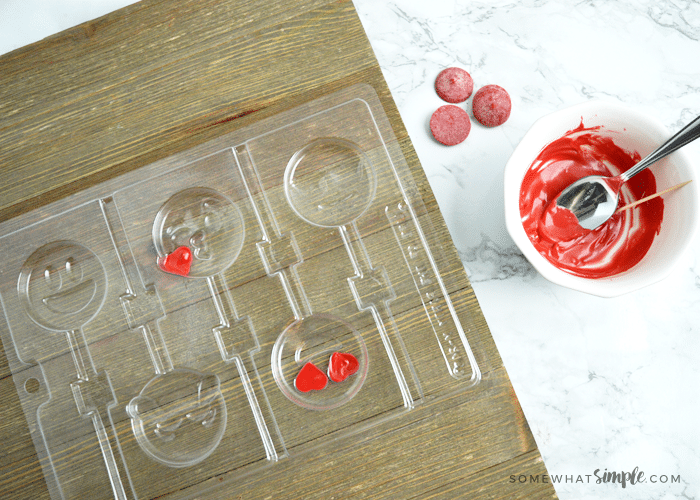
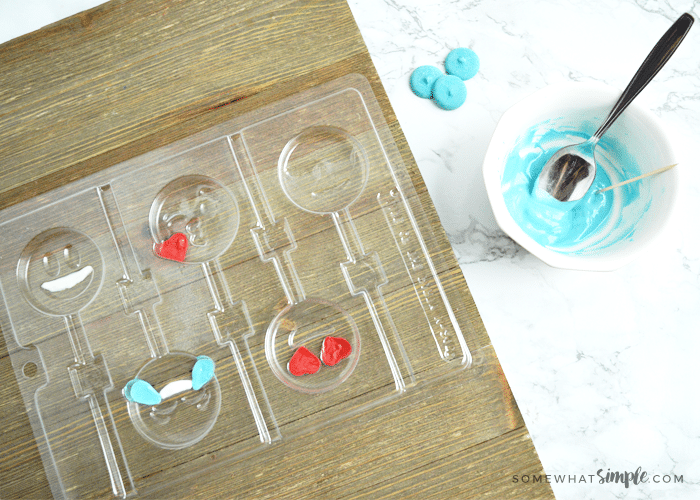
- Before you begin, remember that you layer your molds starting with the bottom color and working up. (Pop it in the freezer between any colors that are touching.)
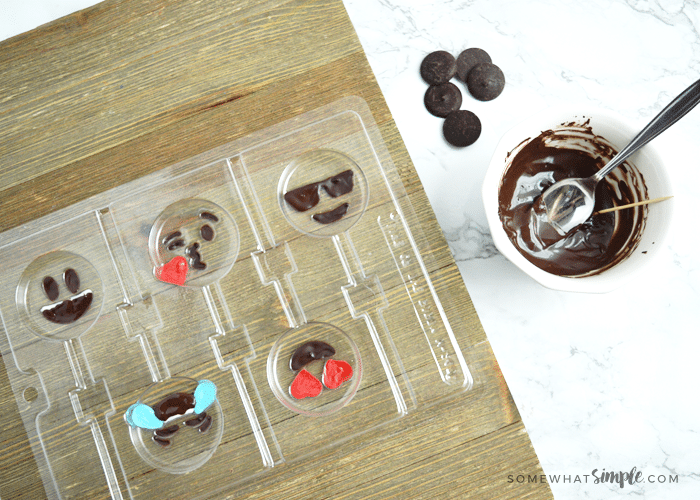
- Melting one color at a time, place 2-3 wafers in a glass bowl, and place it in the microwave for 10 seconds. Stir, and place it in for another 10 seconds if necessary, and until your chocolate is melted.
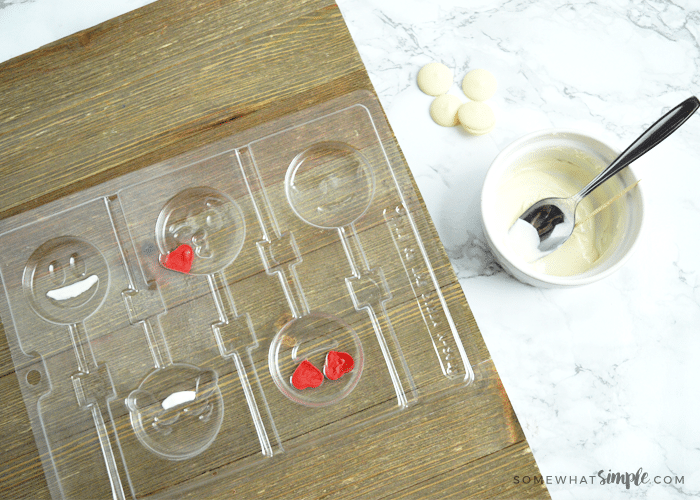
- Using a small spoon, add a tiny dollop into the spot where the color belongs.
- Using a toothpick, push the chocolate to the edges. After each section, remember to TAP your mold onto the counter or table- this releases any bubbles, and smooths it out.
I started with red:
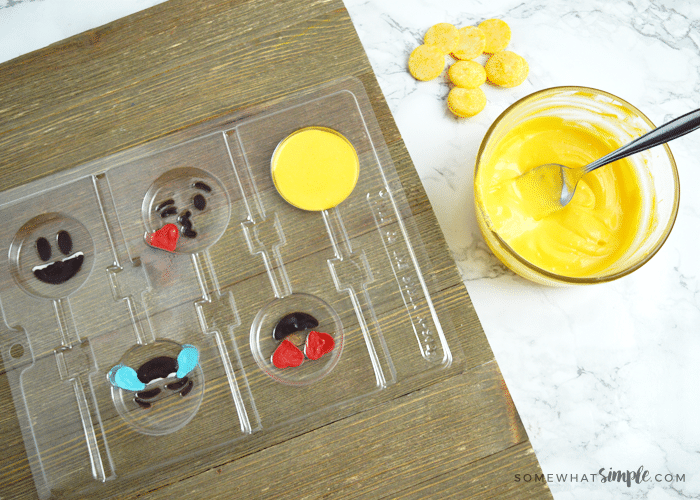
4. Once your Chocolate Emoji faces are finished, place the mold into the fridge for a few minutes to make sure the chocolate is set before adding the yellow.
5. When adding the yellow, only fill halfway so you have room to add the sucker stick. Remember to tap the mold.
6. After adding the sticks, cover the sticks with more of the yellow chocolate.

Don’t forget to tap. 😉
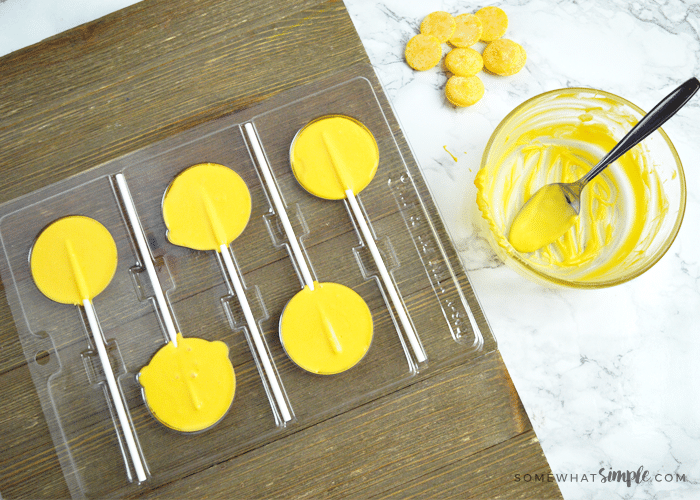
6. Once your sticks are covered, place your mold into the fridge until set, about 20 minutes. Then, remove from the fridge, and just pull your suckers out! If they are completely set, they will pop out without any problems.

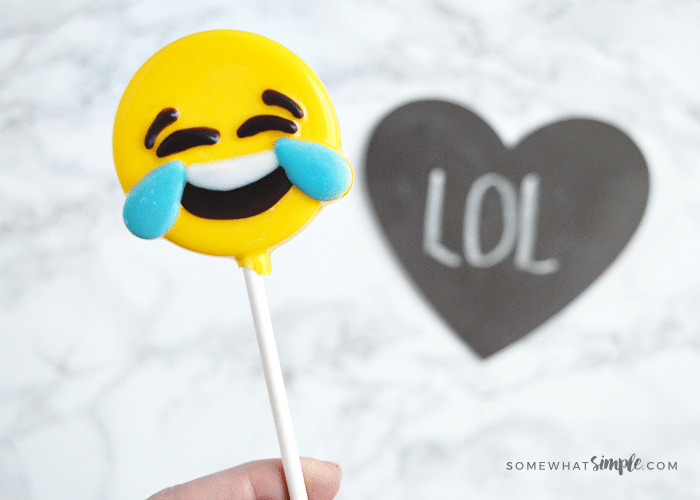
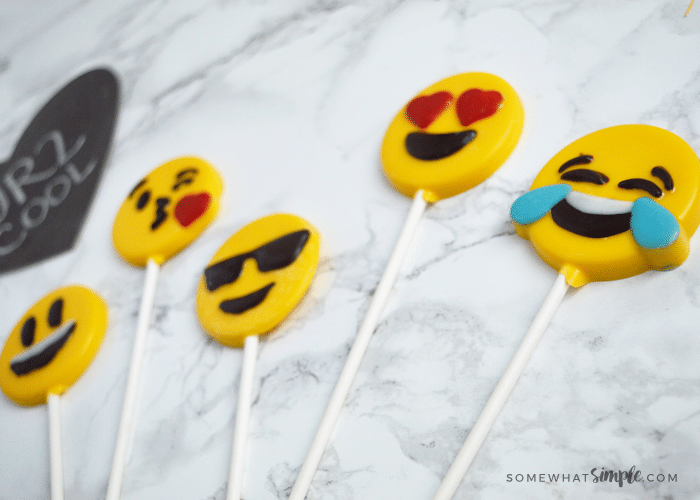
And your suckers are done! How adorable are these?!
Want to make these as gifts? Then grab the rest of the supplies, and let’s get started!
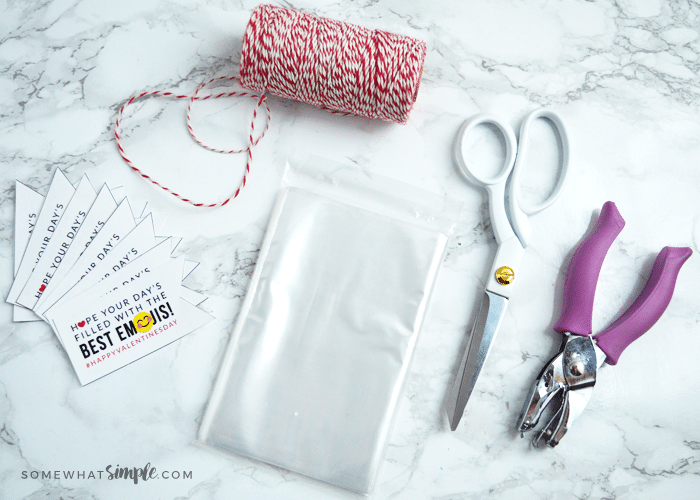
Place each sucker into a small, clear plastic bag.

Cut out as many tags as you need, punch a hole, and tie the tag onto the sucker stick with string or ribbon!

The cuteness is killing me.

click here to download our Emoji Valentine Tags
tips:
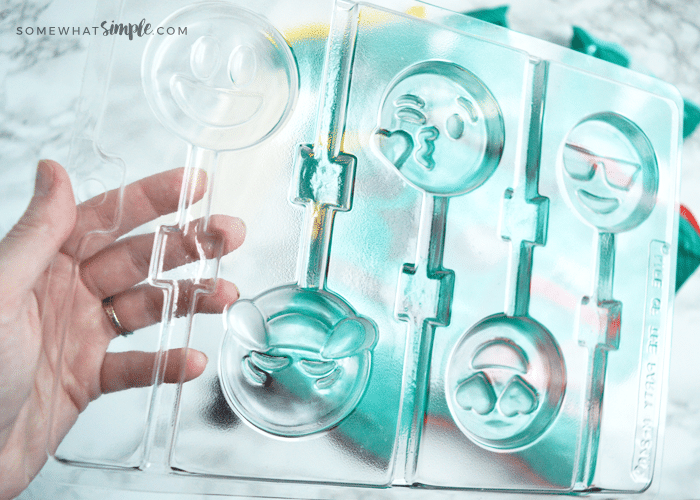
- You may notice that some molds are clear and some are white. The difference is that the clear ones are made for chocolate and the white ones are made for hard candy making AND chocolates. (They have a higher tolerance for the high temps involved in candy making). But both kinds can be used for molding chocolate.
- If you’re new at this, I recommend using the chocolate candy wafers. I found mine at Hobby Lobby (and this brand actually tastes good!).
- If you want to buy white chocolate and color it yourself, you need to make sure you use an oil-based color. Water-based food colorings, like the ones I use for frosting, will ruin the chocolate (chocolate and water DO NOT mix). Americolor oil candy color is a good brand.
- There are a few ways to melt your chocolate. You can melt it in a double boiler, or in the microwave but the trick is not to over-heat the chocolate or it will bloom. (Chocolate bloom is when it dries with a white-ish swirl or film on it. It is fine to eat, but doesn’t look pretty).
- Always use glass bowls. Glass retains the heat, so you don’t have to keep going back to the microwave and heating your chocolate back up.
Hope you enjoy making these Chocolate Emoji suckers! Don’t be afraid to try it – it’s actually so easy!!
Here’s to a Valentine’s Day filled with all the best emojis!
Our readers also loved these posts:
https://www.somewhatsimple.com/valentine-candy-bar-wrappers/
https://www.somewhatsimple.com/make-your-own-valentine-cards-10-creative-ideas/
https://www.somewhatsimple.com/calendar-printables/


