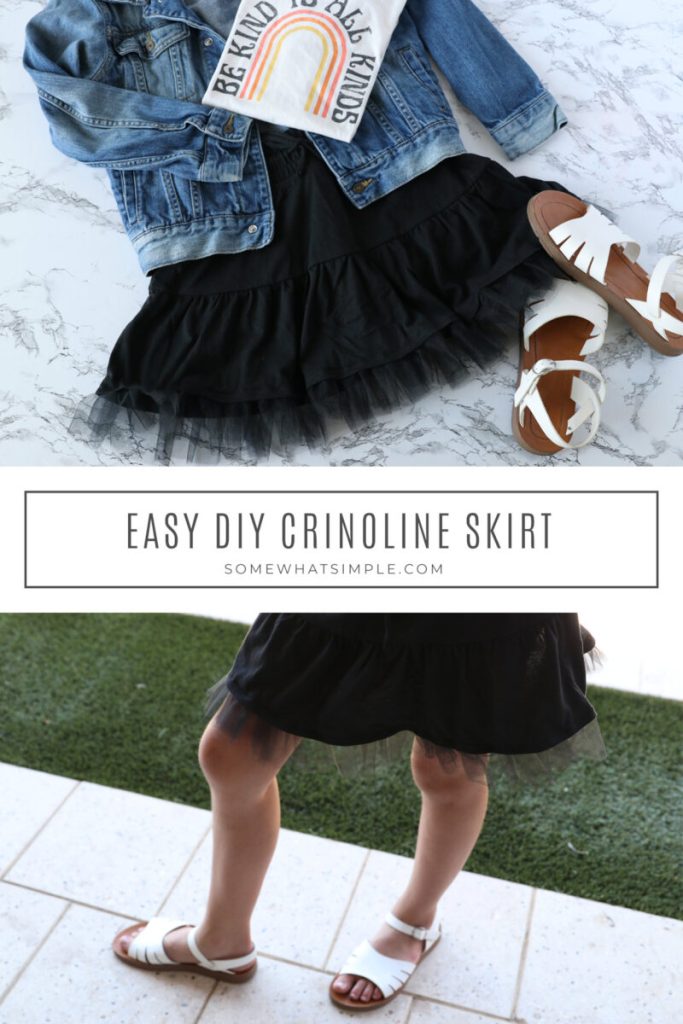
Crinoline Skirt Tutorial Made Easy
This post may contain affiliate links. Read our disclosure policy.
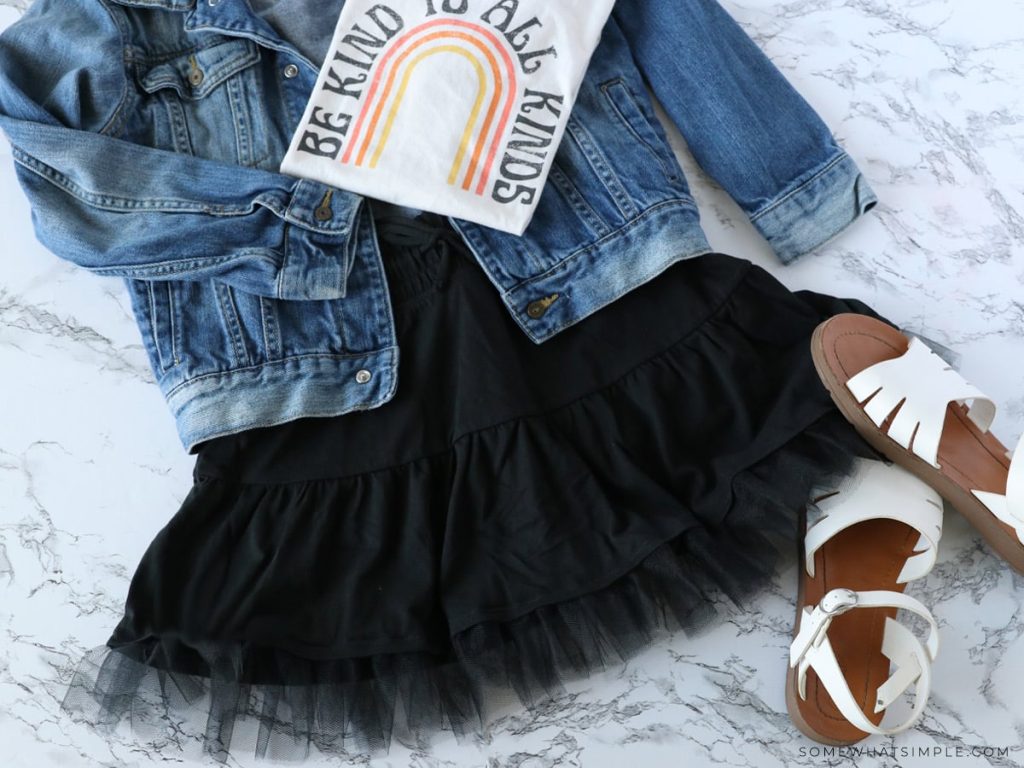
Making a crinoline skirt doesn’t have to be intimidating or hard! Here’s a simple version you can make in an hour or less!
If you’re looking for more easy sewing project ideas, be sure to read our list of 10 Simple Sewing Projects, Sewing Blogs I Love, and 20 Darling Pillow Tutorials.
A Simple Skirt Tutorial
My daughter saw a TV show with a girl her age wearing a cute puffy skirt and asked me to get her one for her birthday. (What little girl doesn’t want a frilly hoop skirt to spin and dance in?)
Lucky for her, I found a fabric skirt on clearance and was able to add some frills to it for just pennies! It was an easy project that got the approval of my 6-year-old who twirled and pranced around in this for hours!
What is a Crinoline?
Pronounced Krin-el-in, a crinoline is a stiff structured petticoat that holds out a woman’s skirt. It was popular at various times in women’s fashion since the mid-19th century.
How to Make A Crinoline Skirt
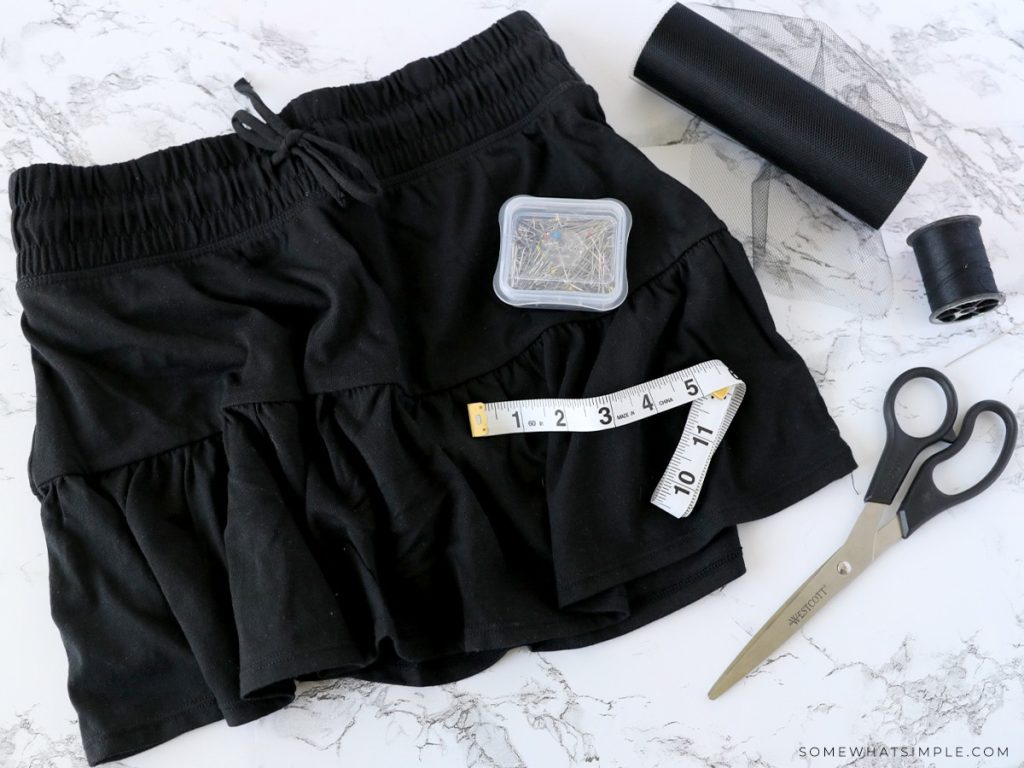
SUPPLIES –
- cotton skirt
- fabric measuring tape
- scissors
- straight pins
- tulle – I used 2 strips that were about 4 inches wide and twice as long as the circumference of my daughter’s skirt
- needle + thread
- sewing machine
DIRECTIONS –
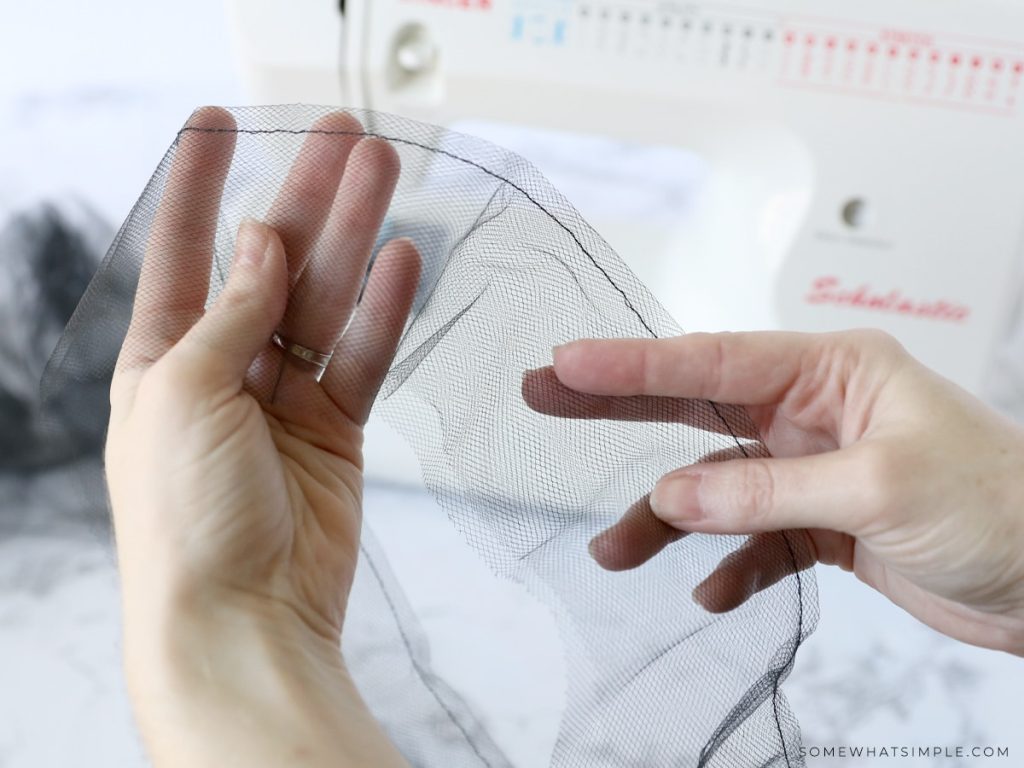
Step One – Sew the two pieces of tulle together using a wide stitch on your sewing machine.
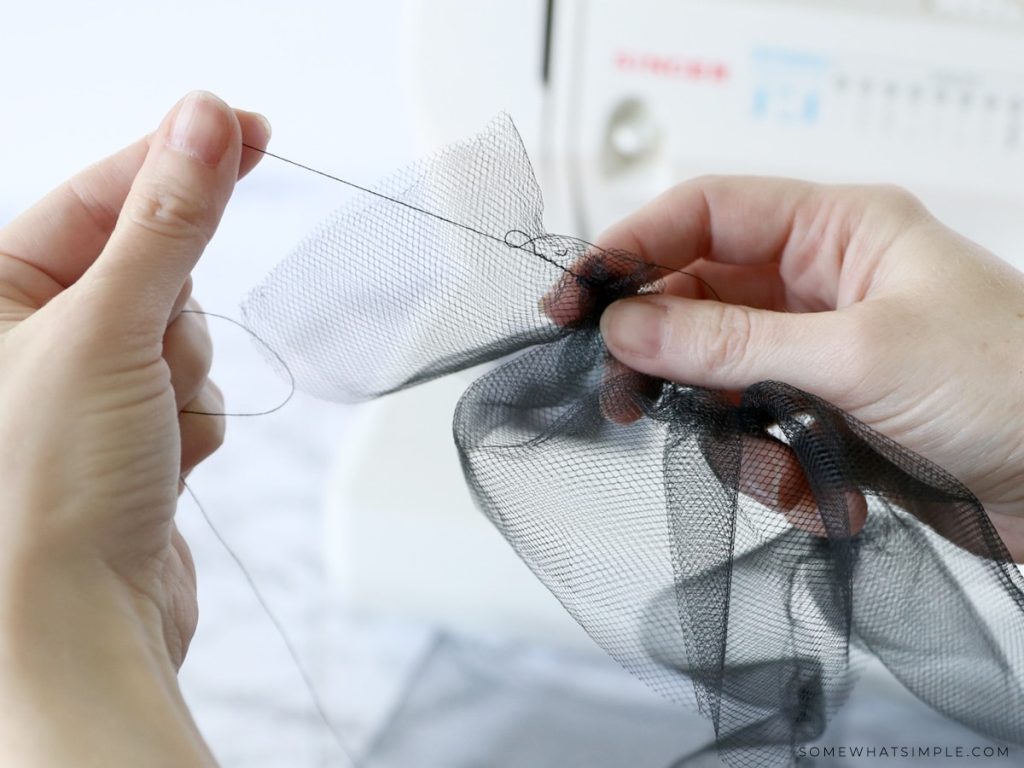
Step Two – Pull one end of the thread to ruffle the pieces of tulle.
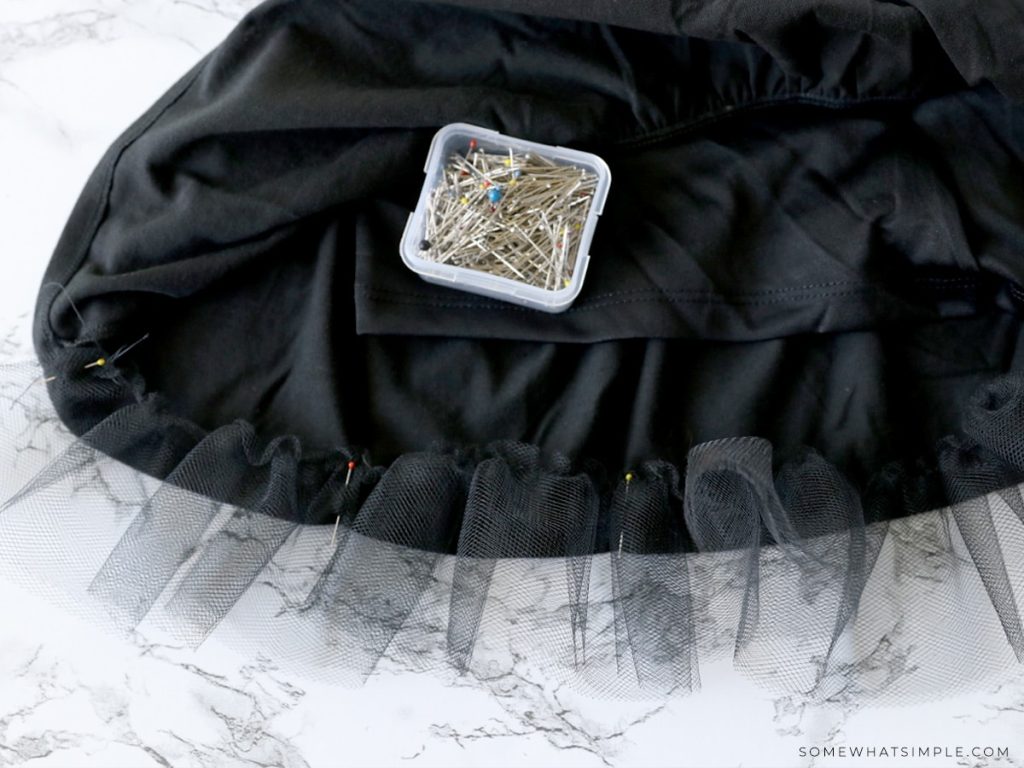
Step Three – Pin the ruffled tulle to the bottom of your skirt.
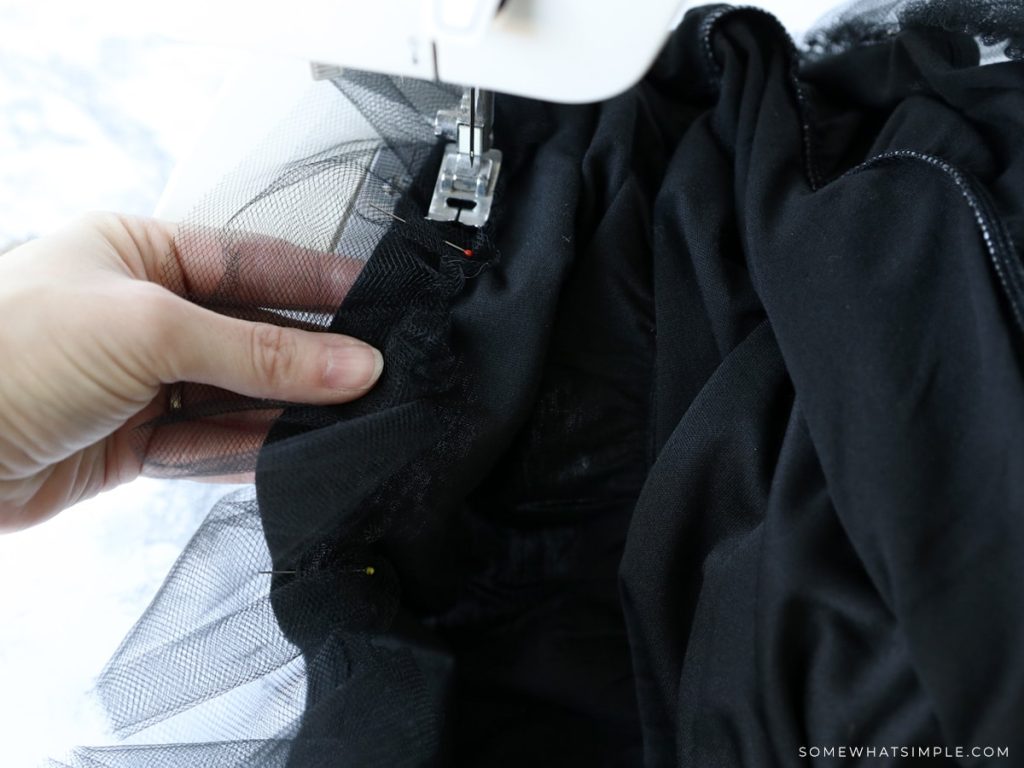
Step Four – Sew a straight stitch to attach the ruffle to the skirt, pulling the straight pins out as you finish.
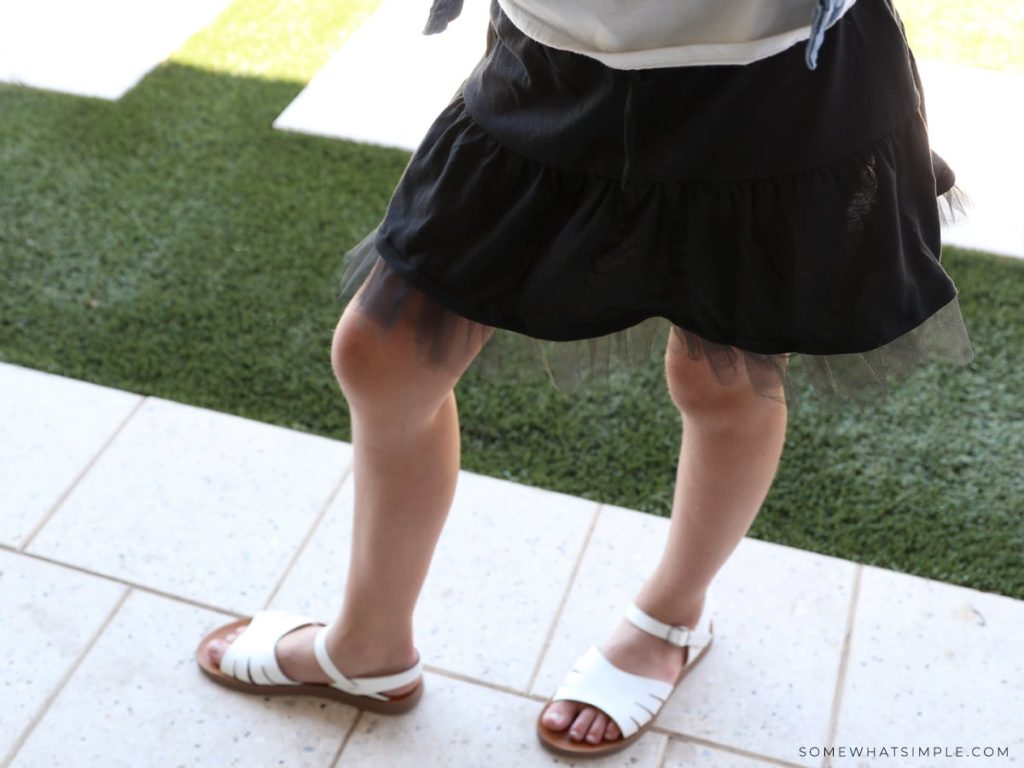
… and that’s it!
A fun, twirly crinoline skirt your daughter will LOVE!
Do you have any easy sewing projects you’d like to share?
Leave me a comment below – I’d love to hear about them!


It's just lovely, Disney.
LOVE your blog! Added it to my "favorites".
Meghan
http://tuckerstaketennessee.blogspot.com
http://www.mygreatretreat.com
http://mygreatretreat.blogspot.com
Disney! What a beautiful skirt! I love it:). Thanks for sharing with us all! And what a cute blog this is!
great skirt, love the little peeking out fabric detail
Great job Disney. You are just tooo talented!
cute, cute, cute!!!! I am in love with this skirt…thanks for sharing how to make it Disney! 🙂
This is so great! Thank you for the tutorial!
you've done it again Disney! Was that an old pillowcase you used!? it looks great! And thanks for directing me over to this great new blog to follow!
Cheers
Karina
Project K
Love you Disney!!! Such a sweet skirt!
Love her site…I just found it yesterday. What great timing!
LOVE, LOVE, LOVE this skirt!! I love that tulle peeking out from the bottom!!
I linked to your tutorial at Craft Gossip Sewing:
–Anne
Another great one Disney and thanks for the link to an exciting new blog…can't wait to explore Stephanie! A perfect idea to add some length to a skirt that is getting to short, but still fits in the waist!
So gorgeous! I love it! I have to learn how to do this, haha.
That is absolutely adorable!!! I love it!
très jolie, belle idée, merci beaucoup