Bandana Apron
This post may contain affiliate links. Read our disclosure policy.
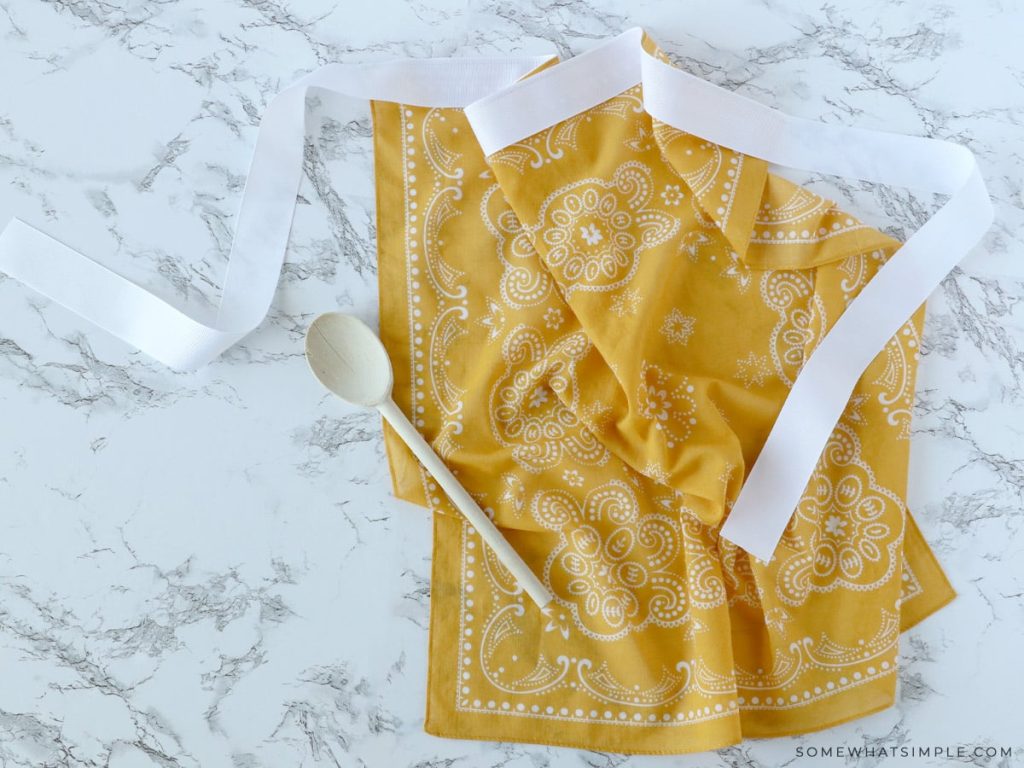
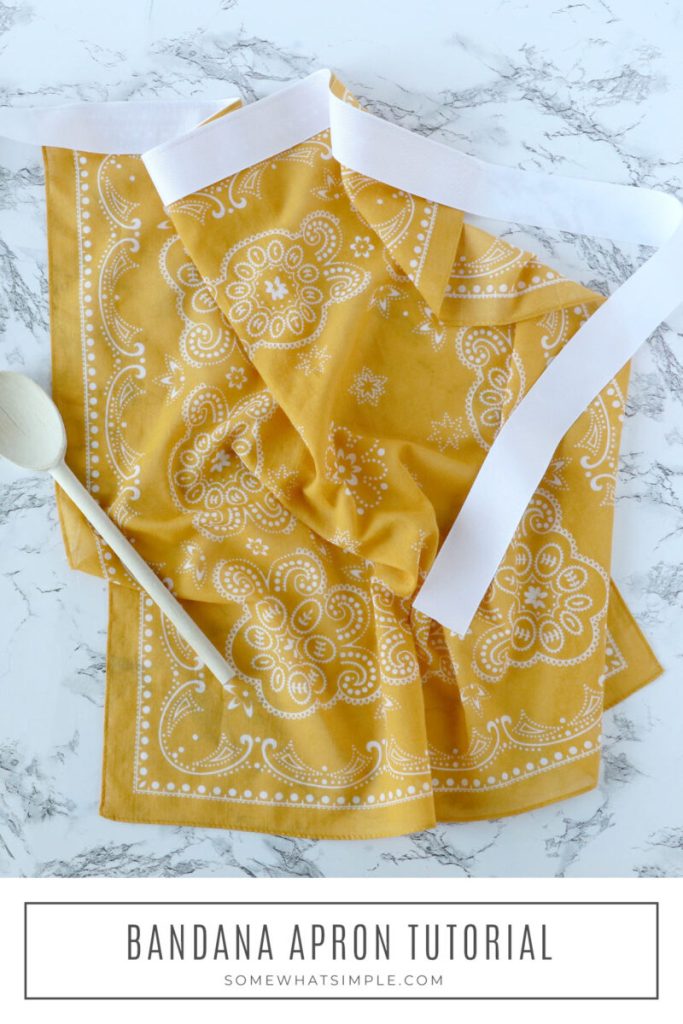
Not only is this Bandana Apron the easiest thing you will ever make, but it is also super cute and totally comes in handy!
Here are a few more simple sewing ideas we think you’ll enjoy – Placemat Aprons, Zipper Pouch, and DIY Bathmat.
I wanted something a bit different than the full-body aprons I have hanging in my pantry- something I could wear while entertaining that wouldn’t cover up the outfit I chose very carefully to wear to the party. After all, what’s the point of looking cute at a party if you have an apron covering your clothes, right?
Enter “half-apron” and better yet, make it coordinate with my party outfit and suddenly it all seems perfect!
I first saw this idea from Martha Stewart. She shows a simple straight-stitch method, which is how I made the one pictured above, but if you’re looking for a no-sew version, read ’til the end!
How to Make a Bandana Apron
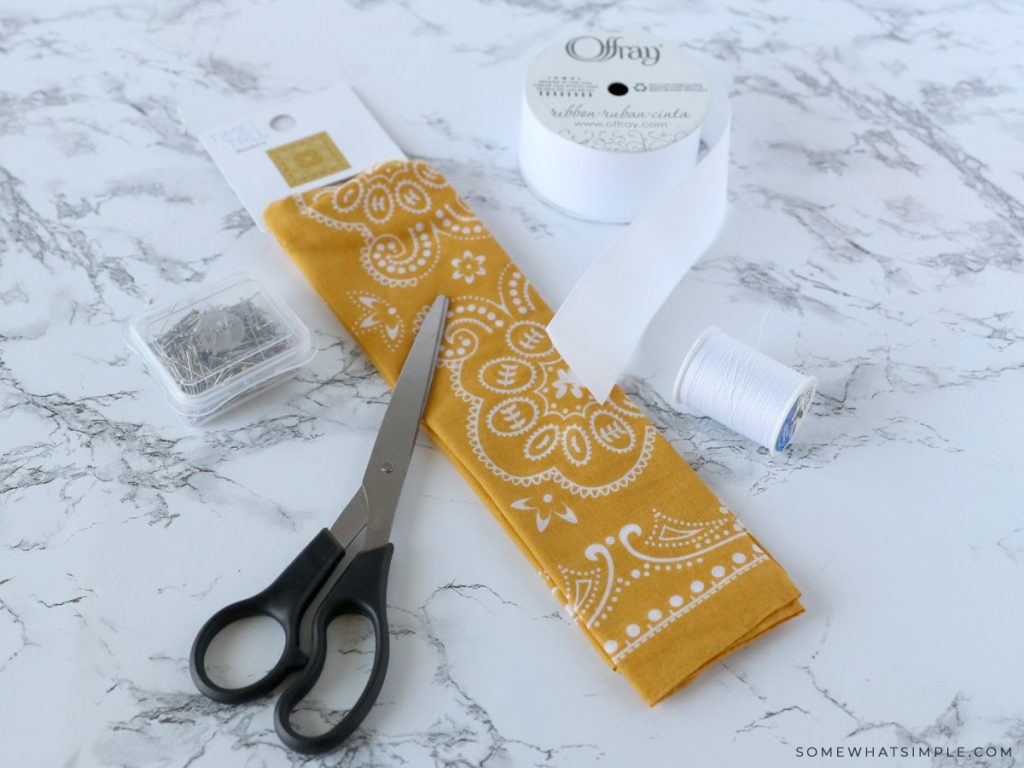
SUPPLIES –
- bandana – standard size is about 22 inches square
- ribbon- enough to fit around your waist and tie a bow from behind. Make sure you burn the edges of your ribbon to keep them from fraying.
- straight pins- unless you are better than me and can sew a straight line without using them.
- scissors
DIRECTIONS –
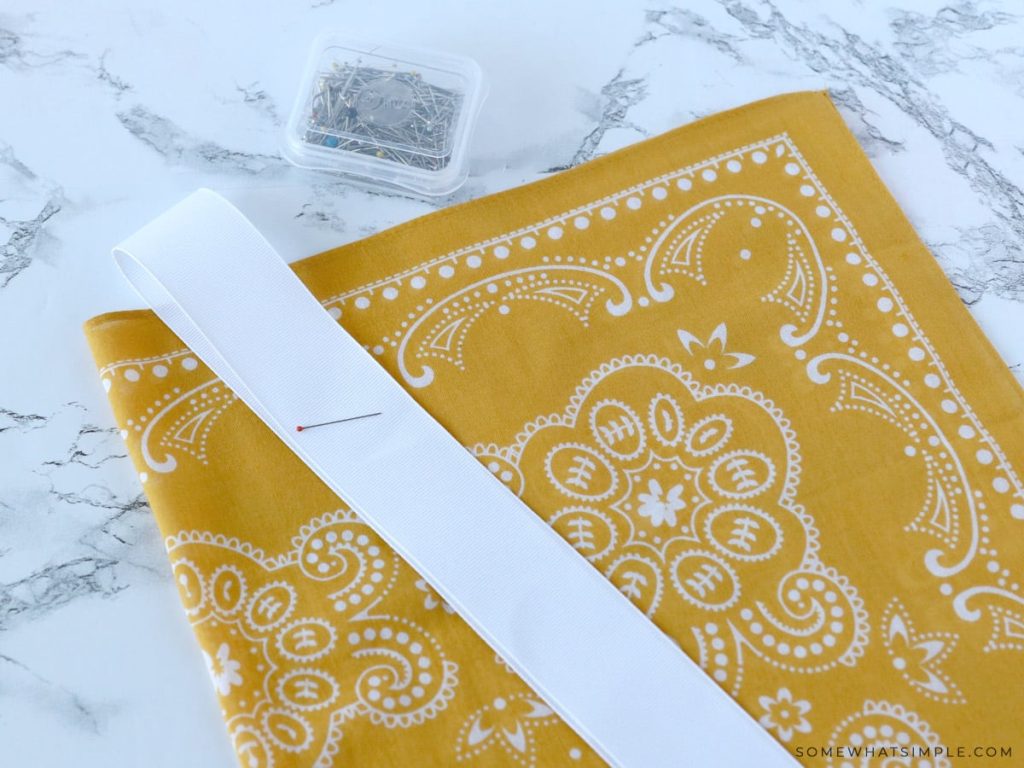
Step 1: Measure to find the center of your ribbon and place it on the center of your bandanna. If your bandanna has any words on it, like “Made in China”, you might choose to cover those up with your ribbon. Pin your ribbon to secure, then continue pinning along the length of the bandanna in the center of your ribbon.

Step 2: Sew both the top and bottom of your ribbon in a straight line. If you have a cute color thread, you might want to pick a cute stitch and do this along the ribbon for added detail. My thread was white, so I just kept it straight since you won’t be able to see it anyway.
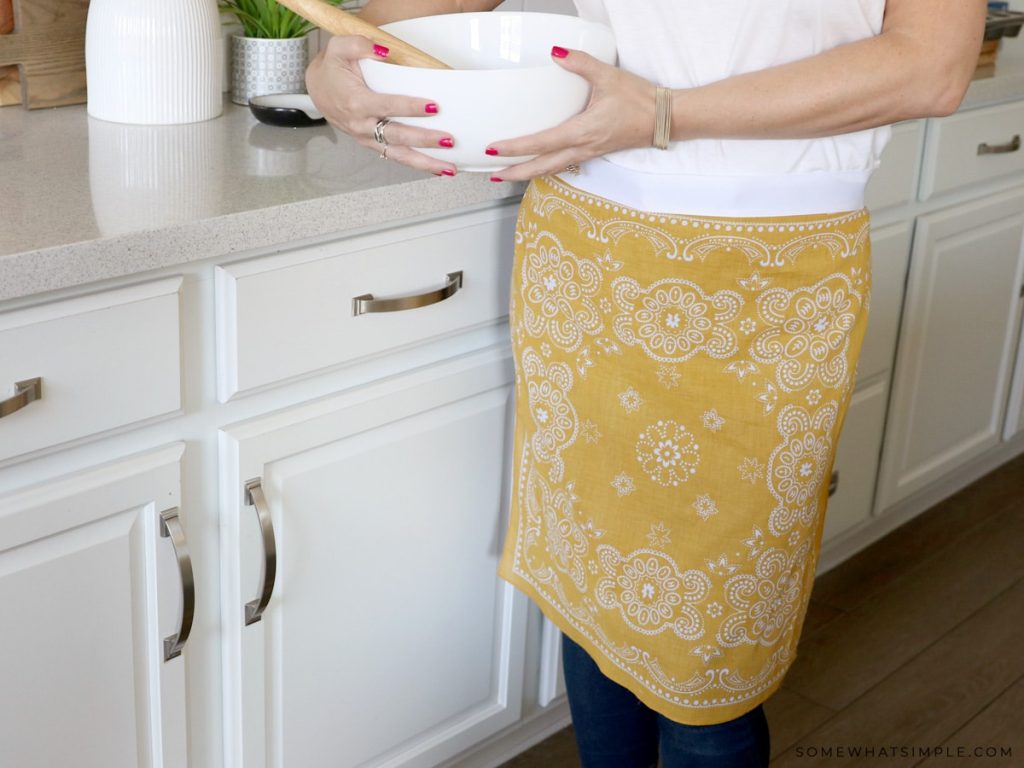
Step 3: Oh wait, you’re done! There is no step 3!!! Maybe step 3 will be “Throw a Dinner Party!” and use your new apron!
No-Sew Variation: The no-sew method involves the use of Liquid Stitch. It is less than $10 and worth every penny!!!
With the Liquid Stitch, you simply glue your ribbon to the bandana by following the directions on the package. It is AWESOME!!!
I love the idea of making these for each holiday too- bandannas come in every color, so you could make a black one with orange ribbon for Halloween, a brown one for Thanksgiving, a red and green for Christmas… seriously, do you need me to name all the holidays and their coordinating colors? Quit reading and start creating!!!
(This idea was one of the very first projects featured on Somewhat Simple in August of 2009!)

I looooove aprons. I love making them. And I love bandanas. Cute project! This would be super easy to make with Carly.
When Carly was little we used to make skirts for her out of bandanas:
Sew 2 together (or cut one in 1/2 and sew together for a tiny girl) add an elastic waist band (we usually used a coordinating fabric) and you have a cute little skirt!
so quick and fun! I'm making aprons like it's no bodys business these days…but these would be WAY faster.
So cute!! I am a huge apron fan too!! Love them. 🙂
I love this idea – so simple and so cute!
Brilliantly simple. I too like the half aprons. This is my kind of project! Thanks for the link!!
~Andy @ Poppies at Play
Very cute! I love how simple! Nice job!
GET OUT!
I love cute and love simple,, gonna have to try this. Thanks
Would make a cute little "happy" for Christmas
So stinkin cute! I'm going to go find a bandana and some ribbon…now!
this is adorable, you should see if you can rig it into an actual skirt! SOO Cute!
I absolutely LOVE this idea! I just need to learn how to sew now! 🙂
Very cute! I will try to make one! 🙂 Thanks!
cute, cute, cute! such fun colours too
I just got done making one for a friend, I used a black bandanna with white ribbon. So cute!
So, where do you get the bandannas?? I really want to make one!
chinesewang@yahoo.com
It turned out great. These would make great gifts.
Crazy simple and crazy cute! I love it!!
This is a cute idea…but I think I might need two bandanas for my more "shapely" figure!
Jane
Love Martha and love aprons! Yours turned out adorable…I need to make some of these! Thansk for posting – Happy Holidays!
Hi! Just wanted to let you know that I featured your project on my page today. Please feel free to check it out!
*Danielle*
This is such a great idea!! I’ve had a square bandana in my fabric box for months with no ideas for what it should be… this is definitely it!! Thanks for sharing this, it’s brill!
Nikki Joy x