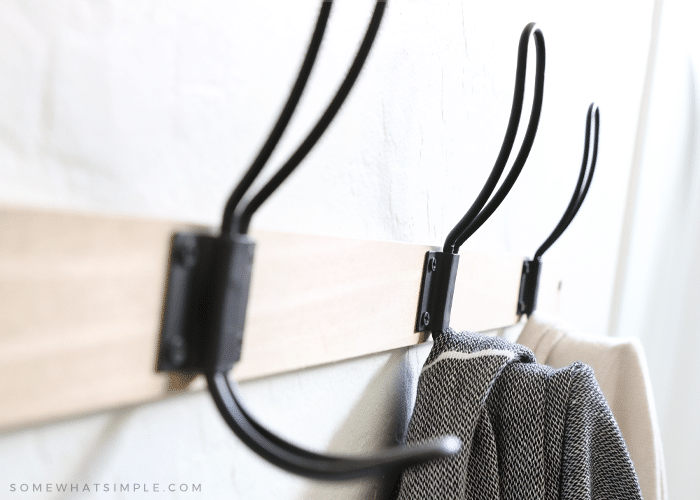
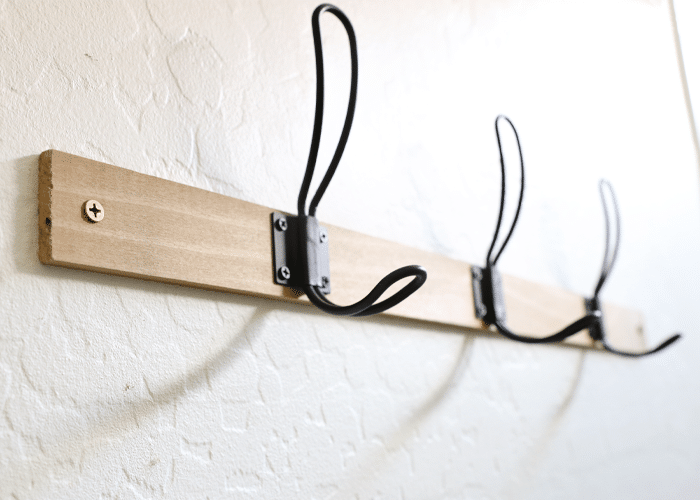
DIY Towel Rack
This post may contain affiliate links. Read our disclosure policy.
Keep the kid’s towels off the bathroom floor with this simple DIY Towel Rack that can be made in 30 minutes or less!
A few months ago I started to redecorate my kid’s bathroom. Along with updating some decor and framing my bathroom mirror, the goal was to make it more functional for them and solve a few issues we’ve been having:
Issue #1: Towels all over the floor.
My kids are still small, and they have a hard time hanging their towels on the towel bar that the builder put in each bathroom. Because of this, I am constantly finding 1 or 2 towels on the floor each night before bed.
Issue #2: No one claiming the towels on the floor.
All my towels are white, so when I find a towel on the floor, I have no idea who it belongs to. And no one ever claims it, so more times than not its ME who gets stuck taking care of them.
With this in mind, I set off to make a towel rack that would solve both of these two issues. Not only do I love the way it looks, it is also working perfectly!!!
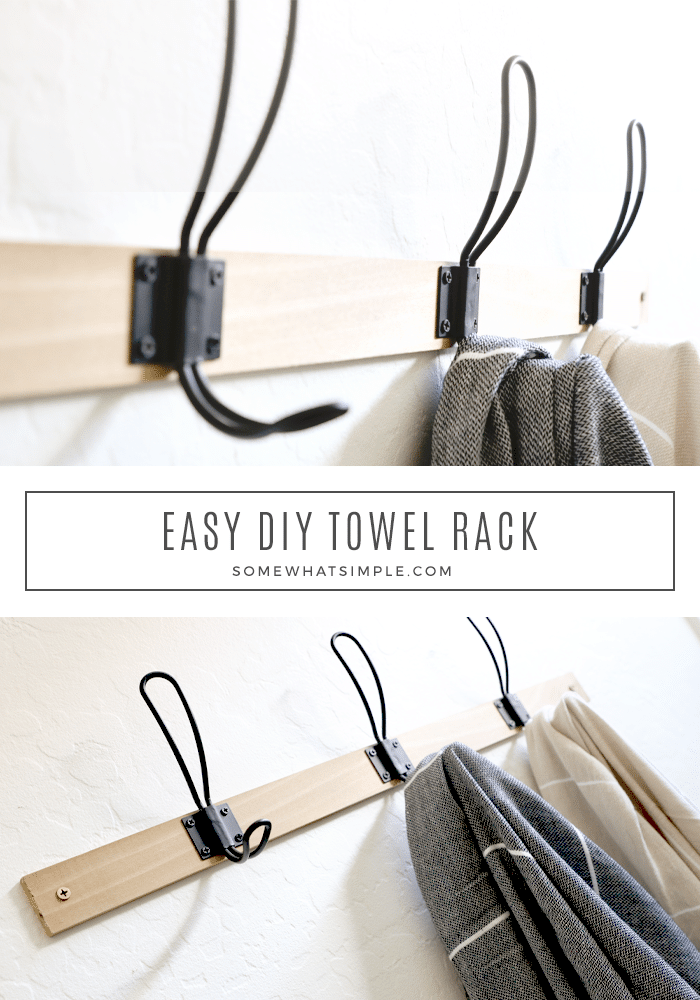
How to Make a Towel Rack
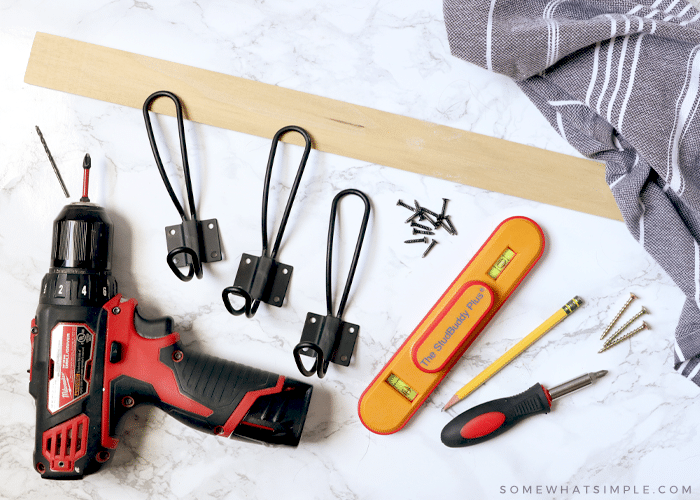
SUPPLIES –
- Pine Wood Lattice Moulding – I found mine at Lowe’s and they had different pre-cut lengths from 2 feet to 8 feet long.
- hooks with screws – Mine were from Amazon and I couldn’t believe how cheap they were! I’ve also seen some cute ones at Hobby Lobby.
- screws (to attach your piece of wood to the wall – I used 1 1/2″ drywall screws)
- stud Finder + leveller – We love the Stud Buddy – 2 in 1!
- drill – I love the smaller size of this Milwaukee one. It’s easier to hold and control!)
- drill attachments – I used the Phillips head bit for drilling in the screws, and a 3/32 regular drill bit for drilling a hole for the screws.
- wall anchor, optional (or, see my hack below)
- pencil
- Phillips screwdriver, if your hook screws are smaller and you don’t want to use the drill.
- measuring tape or ruler, optional
- different colored towels to hang up once you’re done! I found some of mine at HomeGoods, but THIS beige towel from Amazon is so cheap and SO soft!
DIRECTIONS –

First, locate the studs in the wall, then mark them with a pencil.
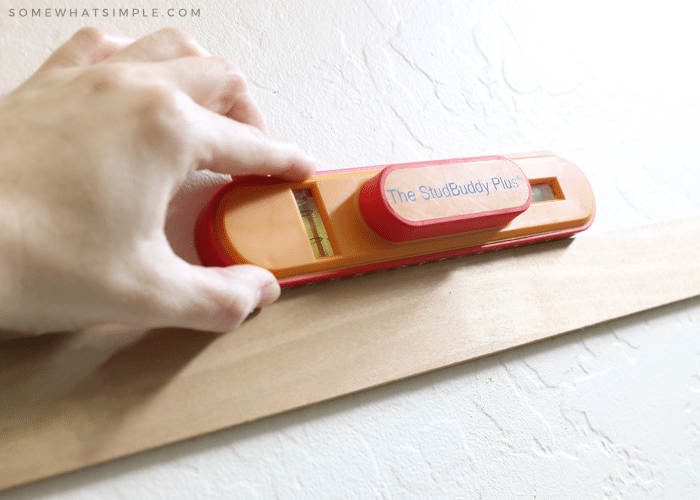
Center your piece of wood on the wall – try to line up the ends with a stud. If you can’t, you can use a wall anchor, or “fudge” it like I did (keep reading to see).
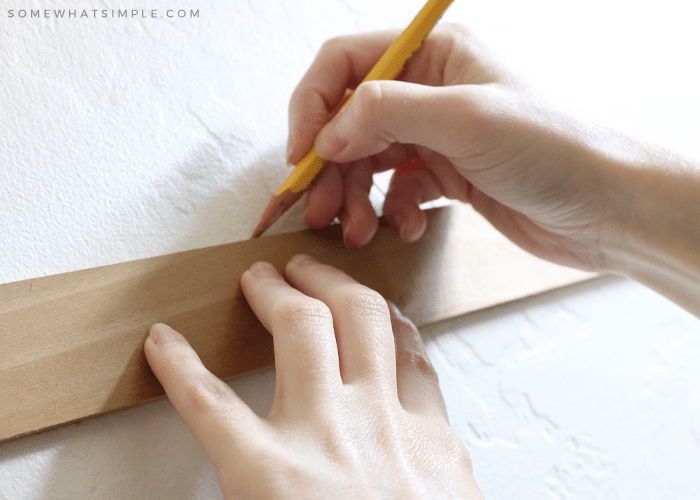
Using a leveler, make sure your piece of wood is straight, then using your pencil, trace a line on the top, then make a mark on the wood where your screws will go (where the studs are).
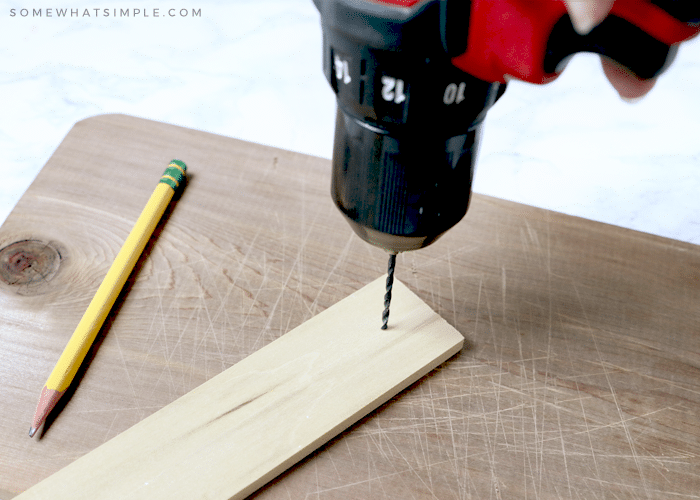
Place your piece of wood onto a scrap piece, or even outside – you’re going to use your drill bit to make a hole where you’ve made your stud marks on the wood, and you don’t want to drill into a counter or floor.

After you’ve drilled your holes, take it back to the wall and line it up with the pencil line you made earlier, and start drilling in the screws.
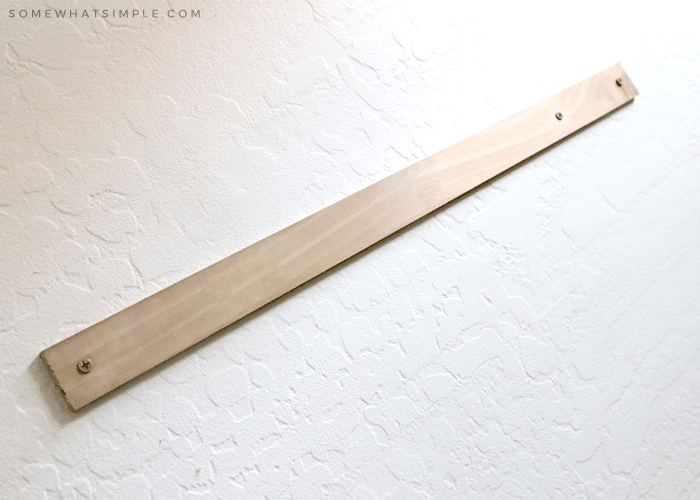
My board went a little past the stud, so I drilled 3 holes- the off-center middle one was secured into the stud, but then I attached one on the end purely for looks.

I then placed a hook over the off-centered screw to hide it.
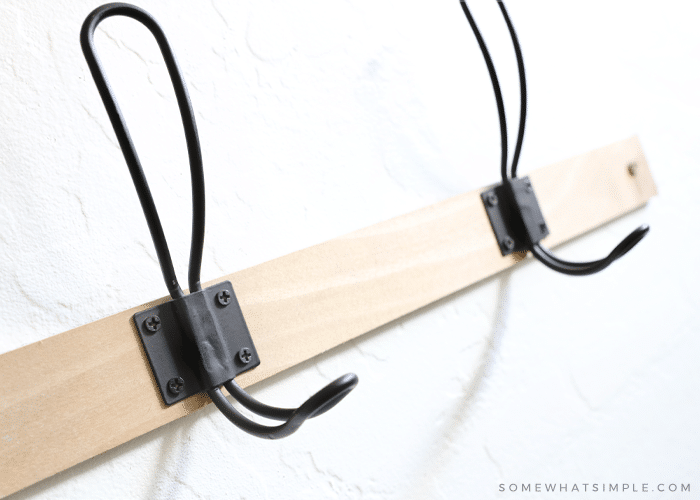
With your pencil, mark where you want to place your hooks. (You can eyeball it, or measure it out. Since I had only 3 hooks, I just eyeballed it.)
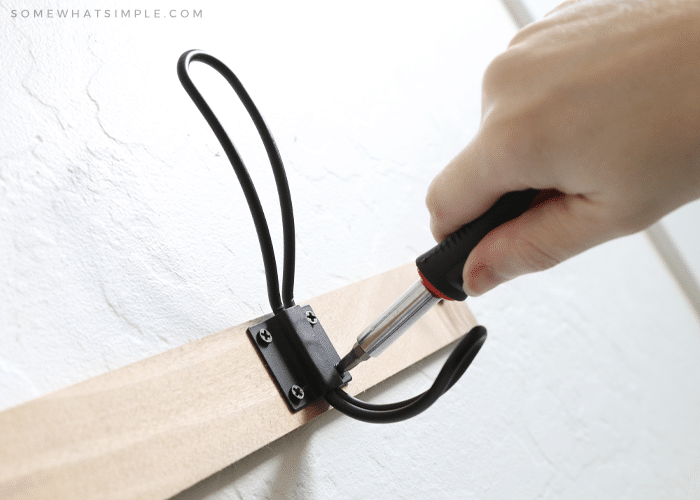
Attach your hooks with the screwdriver.
And voila! A super quick and (fairly) simple update to your wall!

And don’t forget those cute towels!

This is also a GREAT project for those who want to get more comfortable with DIY projects and a drill. Don’t let those power tools intimidate you!
I love your site!
The towels are such a great idea!
I LOVE your technique. Your plaque hooks turned out awesome- thanks for sharing, Stephanie!
Steph,
I love your blog!
Cute project, Steph.
xoxo, the twins
I love the towel rack, so cute and great for the kids, they love to see something just for them on the wall.
Love it!!!
Loving your towel rack!! I need that for my 4 kiddos.
Love this! 🙂
I love that project! It’s simply amazing and so inspiring.
what great towel hooks!
those towel hooks are pretty sweet!
Completely adorable towel hangers! Love!
I love that project! Great idea and job! 🙂
My kids are older and they still have problems getting the towel on the rack. Nice system you came up with.
Cute idea for a kid’s bath!
Love how yours turned out. 🙂
Stephanie,
Love the towel rack! so cute.
Love the site and love this idea!
I just put up your bathroom hook idea in the kids bathroom and I love it! Thank you so much for the great tip and ideas. No more wet towels on the floor – yes!!! 🙂
Yay for no towels on the ground!!!!! I am glad you liked this idea- thanks for stopping by! 🙂
Your exact rack would be perfect for our bathroom! Can I buy one from you?
Thanks for the compliment, I am glad you like it! 🙂 Unfortunately, I don’t have any for sell- but they are so simple to make, I promise- give it a try!