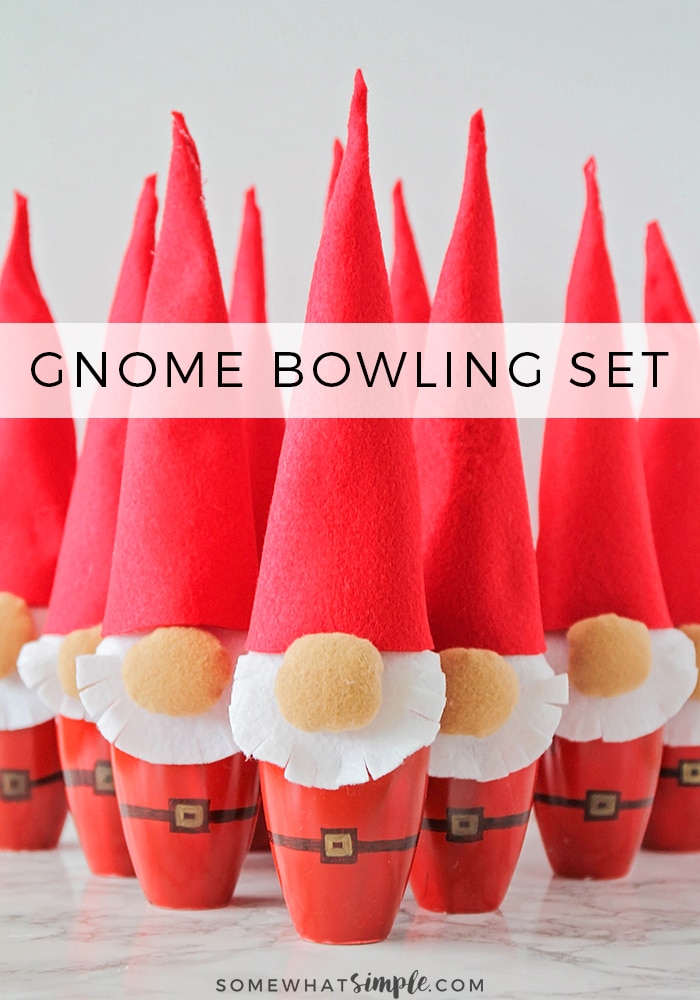
This adorable and fun gnome mini bowling set is so quick and easy to make, and it is the perfect kids bowling activity to do indoors!
My kids have always loved garden gnomes. They’re cute, they’re funny, and they’re the perfect addition to any garden. We absolutely loved seeing Gnomeo & Juliet in the theater a few years ago, and it’s a movie we watch on repeat at our house!
Since my kids love it so much, we thought it would be fun to do a craft project together in honor of the upcoming sequel, Sherlock Gnomes. My kids love games that they can play inside when the weather’s bad, so a bowling set was just the ticket! We love the goon gnomes from the movie and find them totally hilarious. What could be better than making bowling pins that look just like our favorite gnomes?
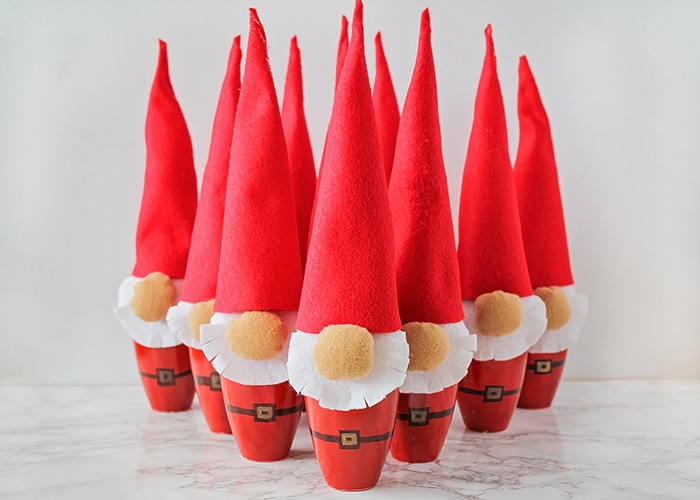
Our gnome bowling set turned out adorable, and was easy and fun to make together! My kids helped me make the noses and cut out the pieces, and my husband and I handled the hot glue to avoid any little burned fingers. We have had hours of fun playing with our new bowling set!
Gnome Mini Bowling Set
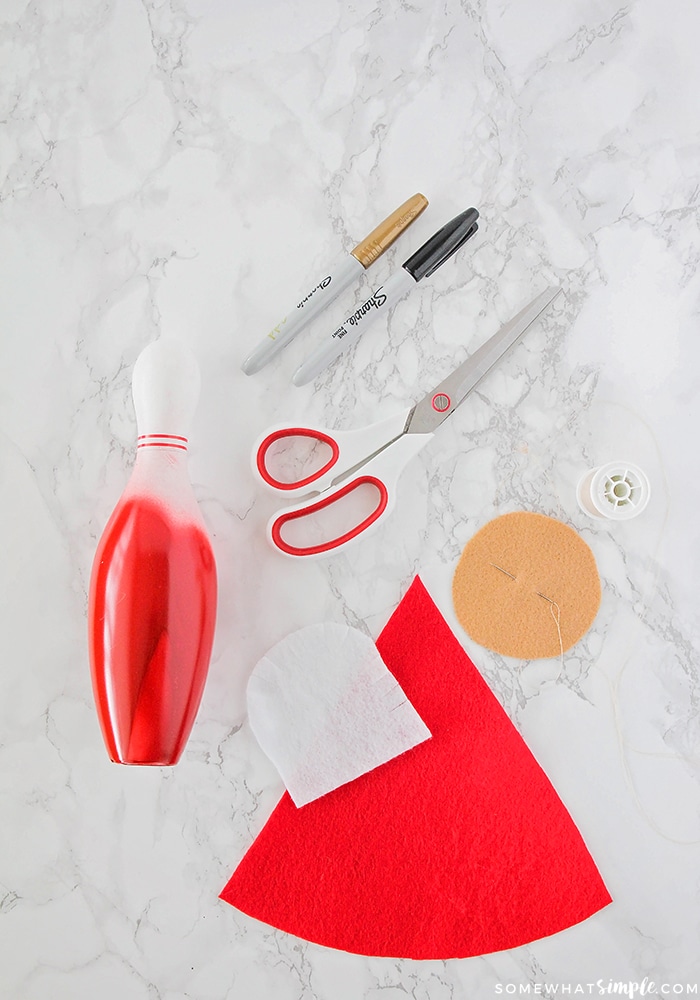
Materials needed –
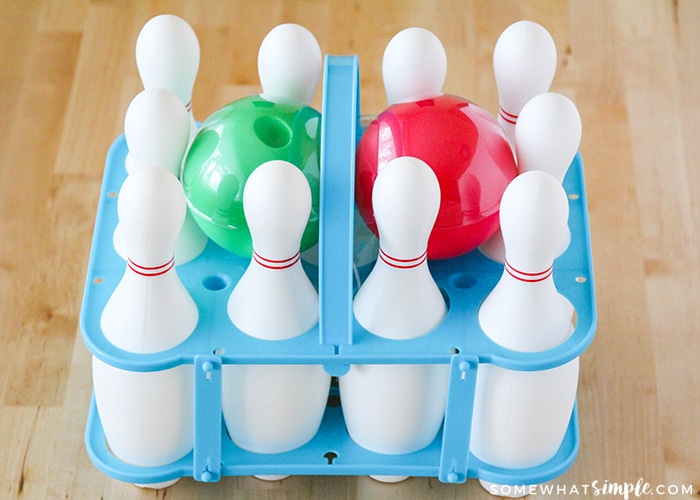
- 1 miniature plastic bowling set*
- red spray paint
- pattern pieces
- felt sheets (red, tan, and white)
- loose batting or cotton balls
- black permanent marker
- gold permanent marker
- scissors
- needle and thread
- hot glue gun
* I found my kids bowling set at the craft store in the seasonal section, but I’ve also seen them in the toy section at big box stores, and on Amazon. If you aren’t able to find a small bowling set, you could also use empty plastic water bottles, though you may need to scale the size of the gnome’s hat to fit.
Step by Step Directions –
Spray paint the bowling pins and allow them to dry completely. Cut the pattern pieces out of the felt, and gather the rest of your supplies.
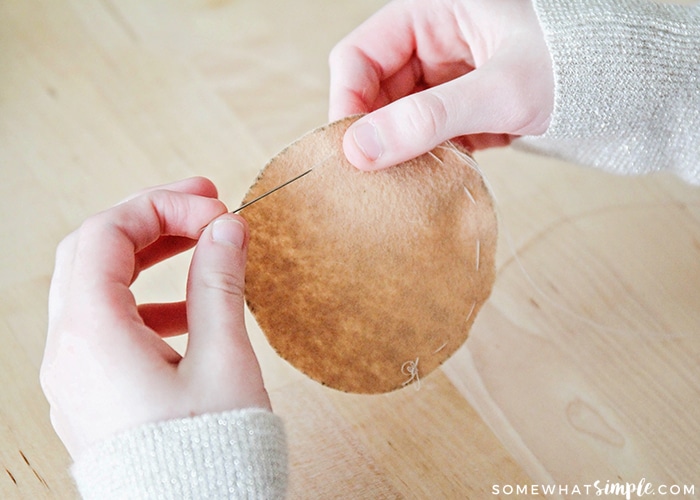
To make the nose, stitch around the perimeter of the nose piece with large stitches.
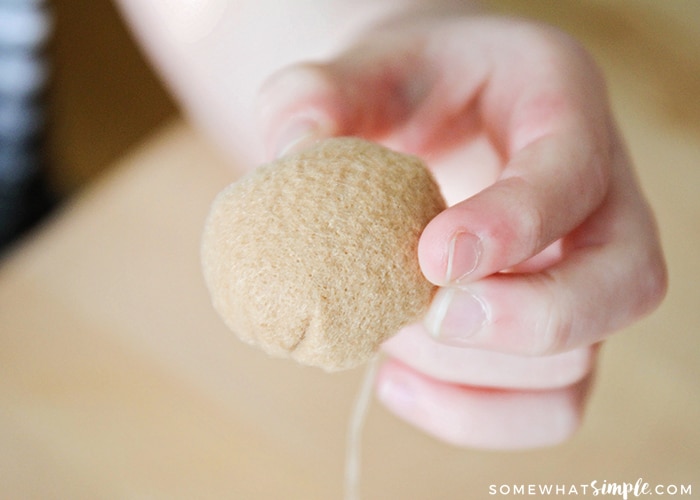
Pull the thread tight to gather the nose into a pouch shape. Stuff with batting or cotton balls.
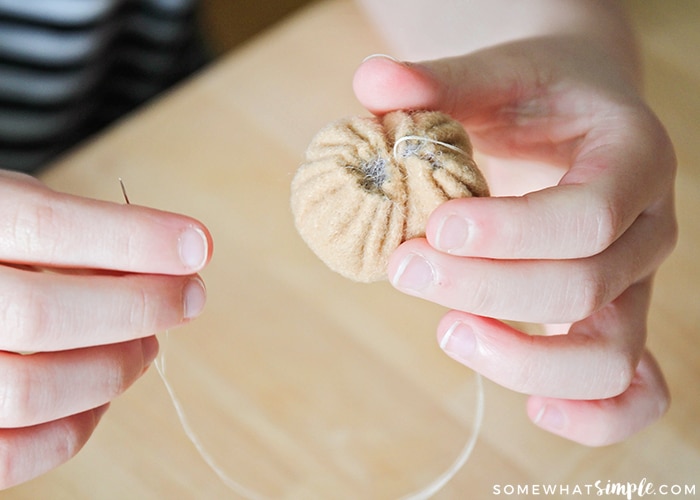
Pull tight again and knot to close.
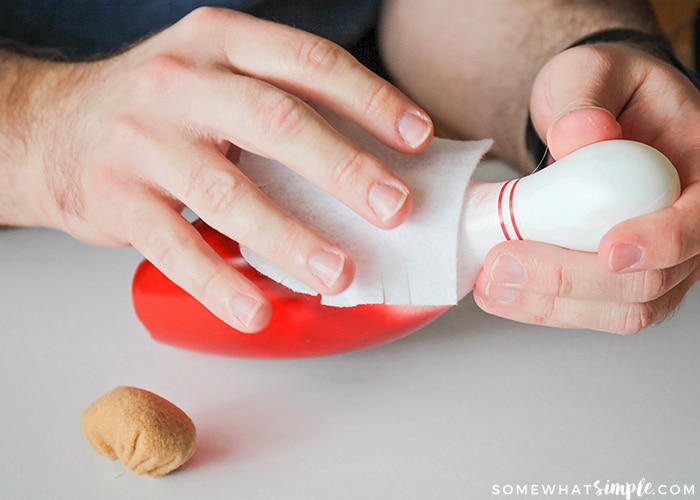
Using a glue gun, glue the beard piece to the bowling pin, about one inch below the narrowest part of the neck.
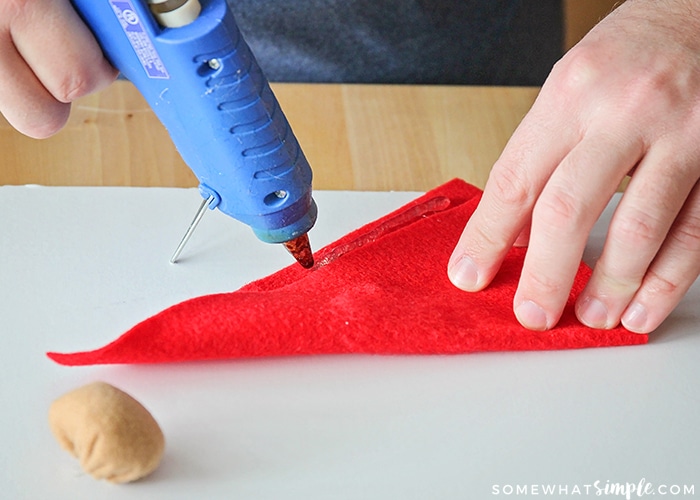
Make the hat by glueing the pattern piece into a cone shape.
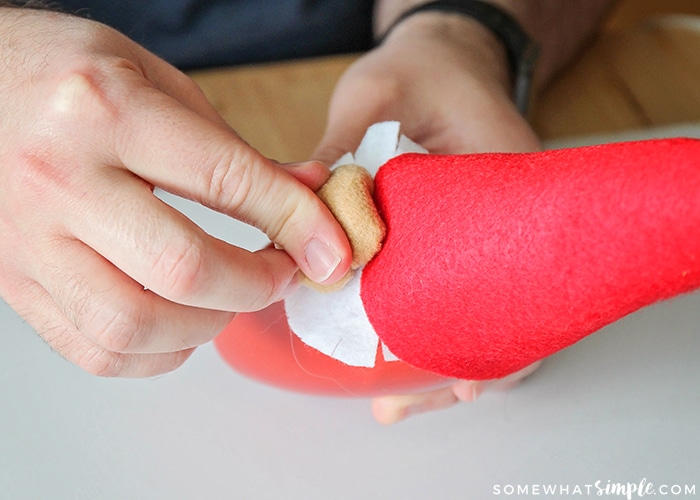
Add a dot of glue on either side of the bowling pin, near the top of the beard piece.
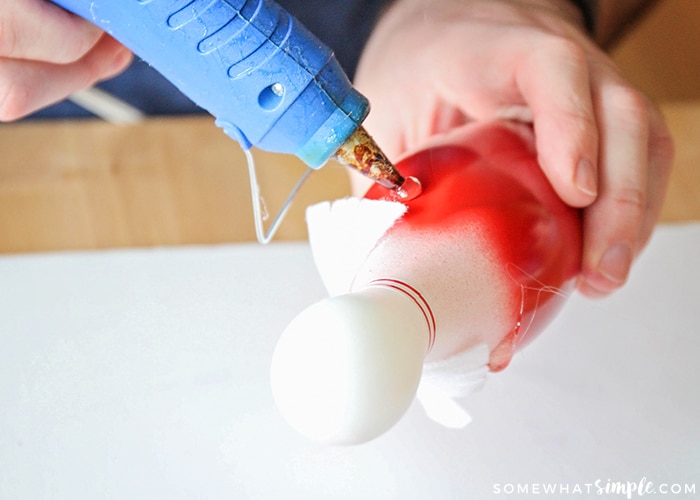
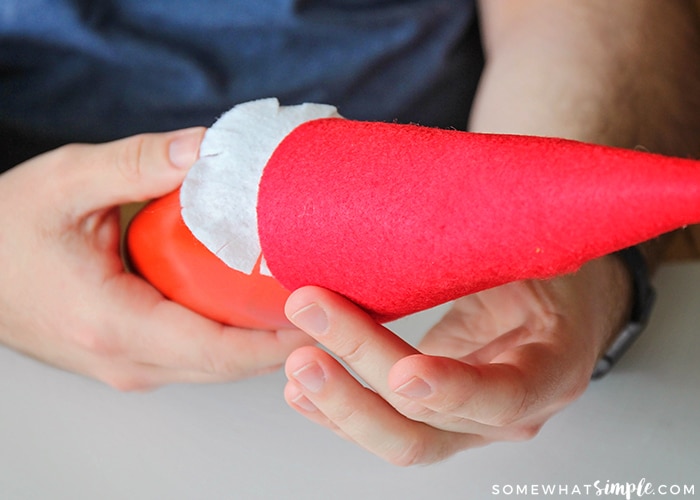
Slide the hat into place and press gently to affix.
Glue the nose onto the front of the beard piece, below the hat.
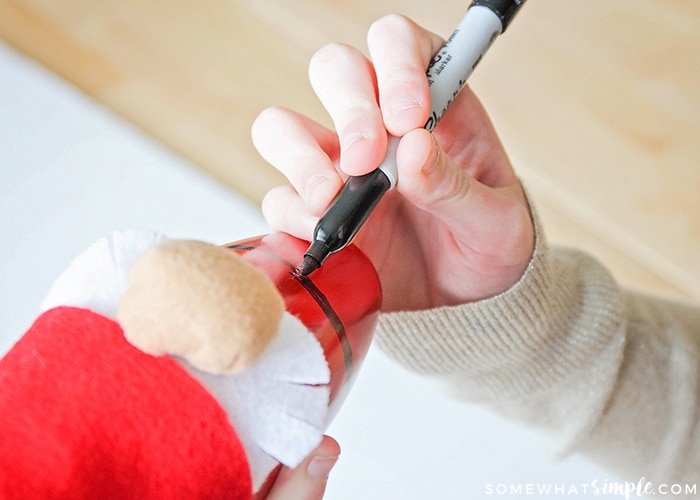
Using a black permanent marker, draw a belt on the bottom of the bowling pin, about 1.5 inches from the bottom. Draw a black square for a belt buckle. Using a gold permanent marker, draw a belt buckle in the center.
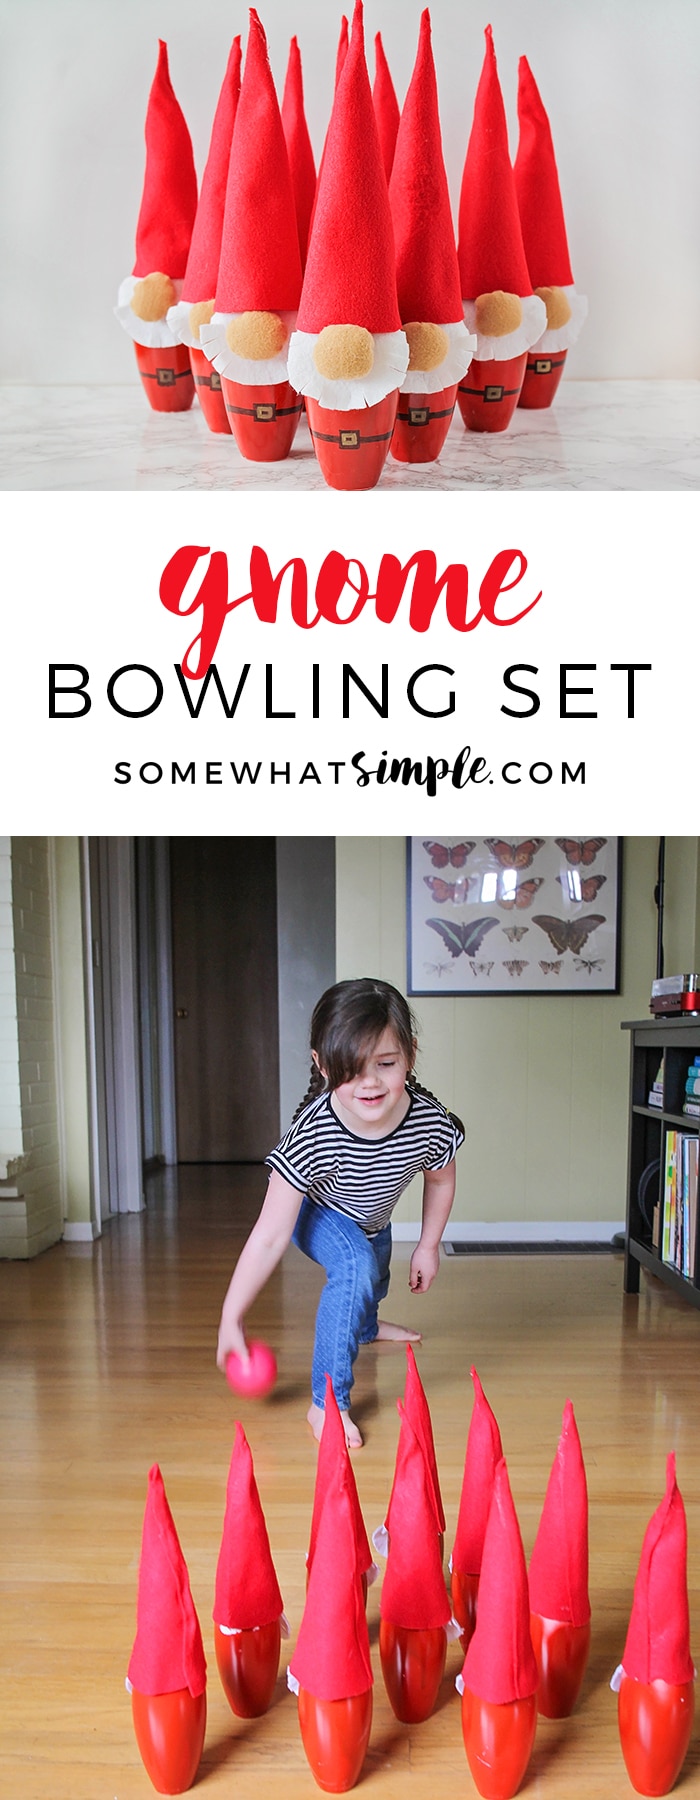
Set up the pins and start bowling!
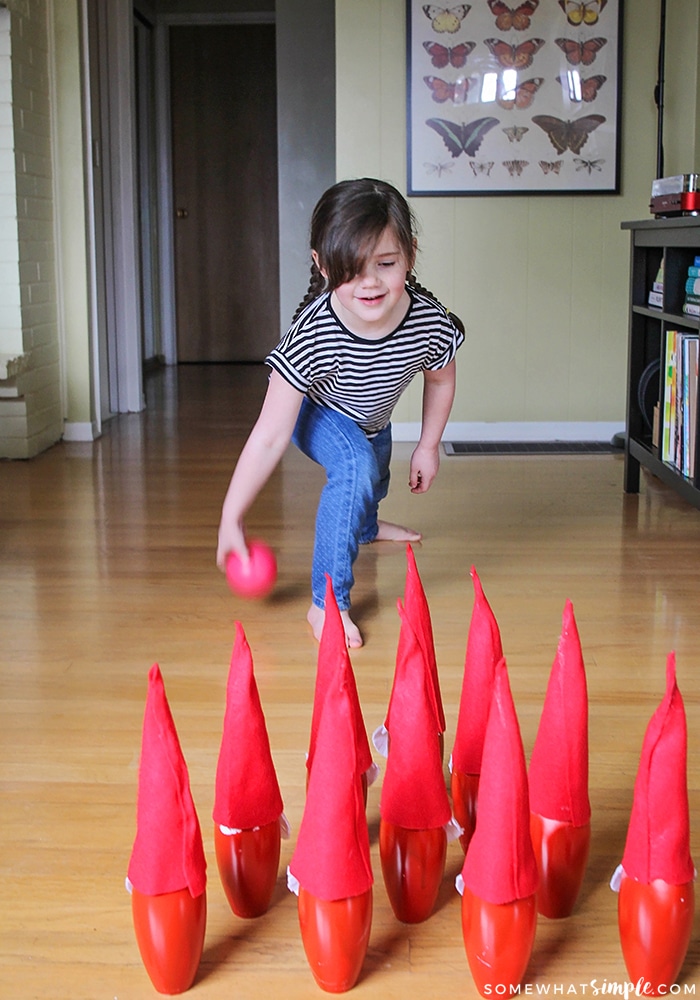
We had such a great time making and playing with our gnome bowling set, and we can’t wait to go see our favorite gnomes in the theater on March 23!