Wax Paper Stencil
Making a Wax Paper Stencil is a simple method that will change the way you add fonts and images to your crafts and decor!
Ingredients
- wax paper
- scissors
- tape
- permanent marker - your choice of colors
- spoon
- blow dryer
- printed words or graphics
Instructions
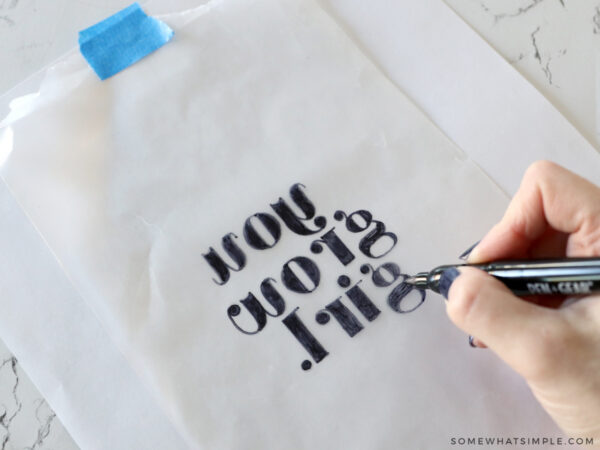
- Print a mirror image of your words or graphic to fit your project. Cut a piece of wax paper to fit over the design. Place the wax paper (shiny side up) over the design and put a small piece of tape over the top and bottom edges to secure it. Trace your words/image by drawing on the wax paper with your permanent marker.
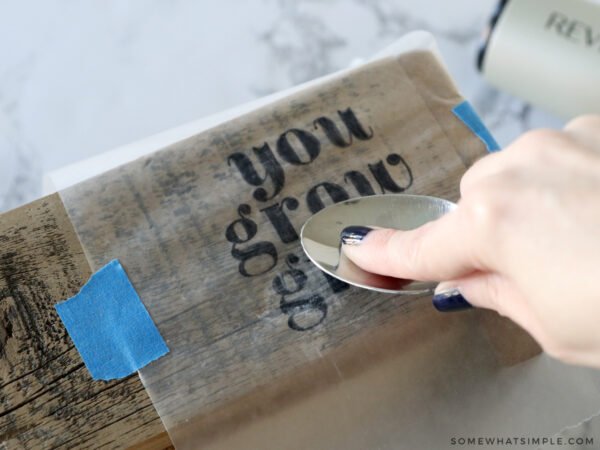
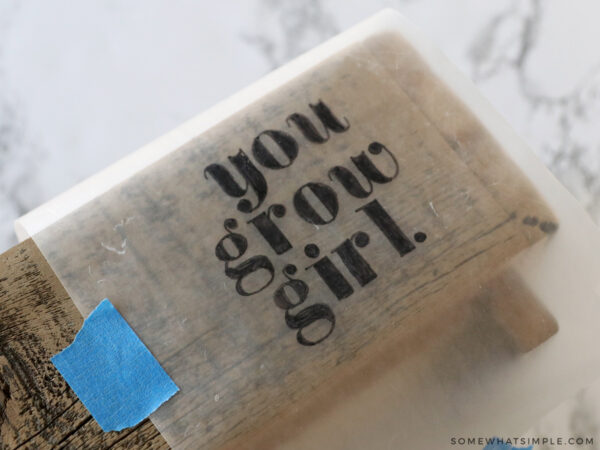
- Carefully remove the wax paper from the page, and move the pieces of tape to the opposite side of the wax paper. Place the wax paper over your project, shiny/marker side down, and press the tape down to hold it in place.
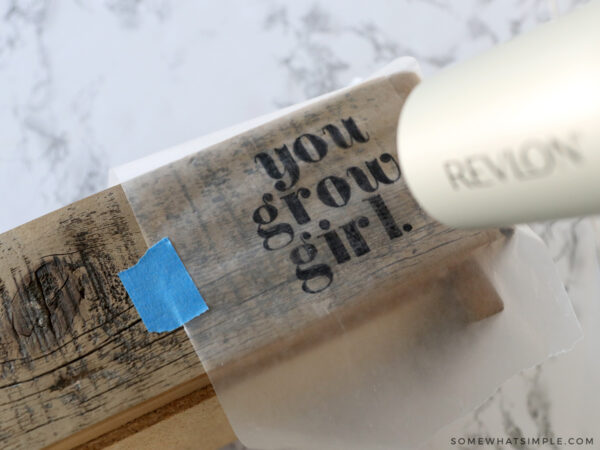
- Use the hairdryer to help reactivate the marker, then rub the wax paper over the design with a spoon or your finger, to transfer the marker to the wood.
- Remove the wax paper. Trace over the design on the wood with your permanent marker to fill it in as much as you’d like.