This is a sponsored conversation written by me on behalf of Cricut. The opinions and text are all mine.
Add some sophistication to your holiday decor with a simple Christmas Tree Luminary. These classy candles can be made in 5 minutes or less and only cost $1 each!
Looking for a few more ways to use your Cricut machine? Here are a few projects from our friends – Zipper Pouch, In Case of Emergency Box, and Elf Cookie Shop.

I am not typically one to jump into all-things-Christmas before Thanksgiving is done, but for some reason this year I’ve been more anxious than ever to deck the halls! These Christmas Tree Luminaries are the first project I’ve created for the season, and I absolutely LOVE how they turned out! Not only are they versatile little candles that can be used literally ANYWHERE in your home, they are also SO easy to make!
How to Make a Christmas Tree Luminary
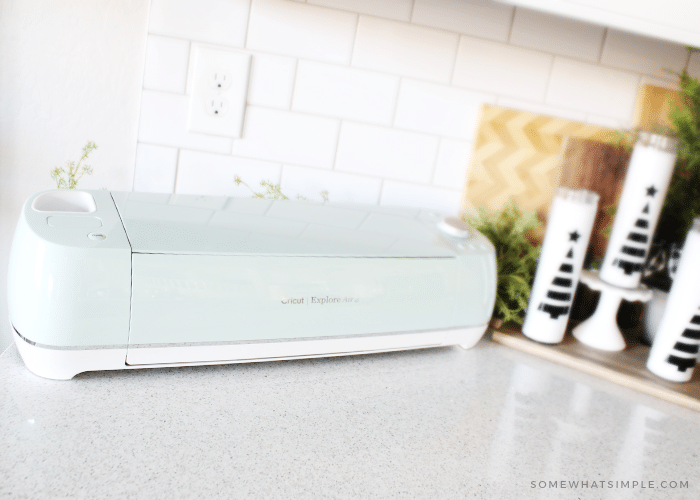
For this simple project, I used my new Cricut Explore Air 2 for the very first time! This lovely machine sure makes creating FUN and EASY! If you’re new to using a Cricut Machine like I am, these Christmas Tree Luminaries are the perfect beginner project. Here is how to make them –
SUPPLIES –
- computer
- Cricut machine (I used my Explore Air 2)
- Cricut mat
- vinyl
- transfer tape
- tall cylinder candles (I got mine from the dollar store)
- Christmas Tree print (Download our SVG below, or make your own!)
DIRECTIONS –
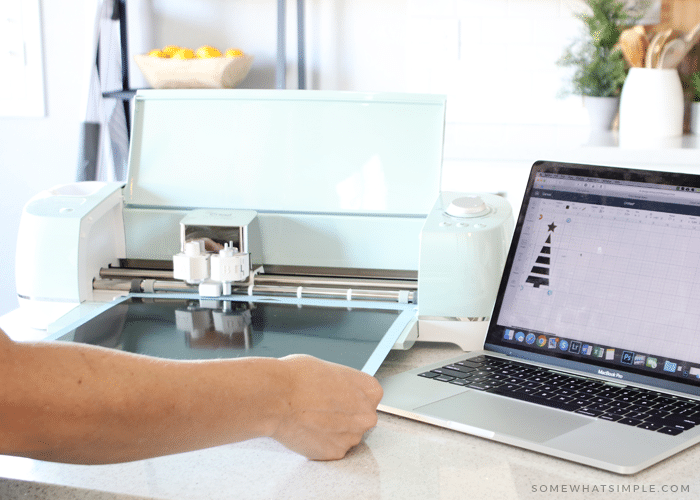
- Open the Cricut Design Space on your computer and upload the Christmas Tree design onto your workspace. If you want to make your own design, you can also use Adobe Illustrator or Photoshop, save your design as an SVG or PNG and then upload it to Design Space.
- Resize the Christmas Tree so it fits on your candle jar. (Ours is 2 inches wide and 6 inches tall.)
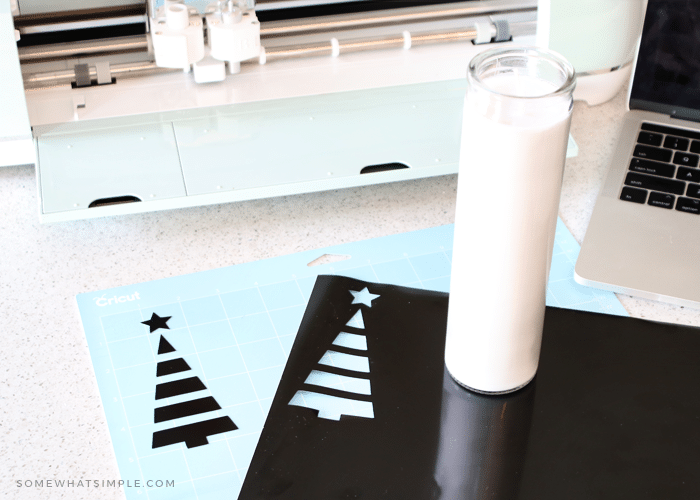
- Load your vinyl onto your mat and feed it into your machine.
- Click “Make It” on Design Space and then follow the prompts.
- Once the Cricut cuts the design, remove the vinyl sheet from the mat. If your vinyl is like mine, the Christmas tree will stick to your mat. Put a piece of transfer tape to the top of the design, then slowly peel it off.
- Place the transfer tape + Christmas tree onto your candle, pressing the design against the glass so it adheres well. Slowly remove transfer tape… and you’re done!
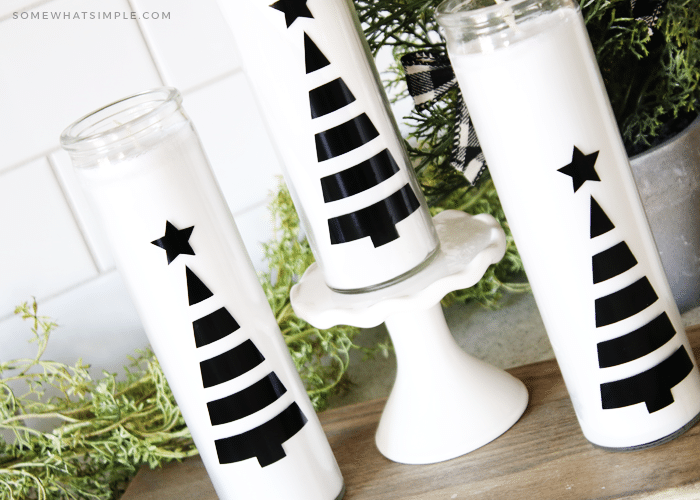
Aren’t they pretty?! Now that I know how easy it is to create with a Cricut Explore Air 2, I might whip some up in gold for our mantle!
If you want to use our Christmas Tree Design, enter your email address below and we’ll send you the image. You’ll just need to upload the image into Cricut Design Space and follow the prompts to turn it into an SVG file (it takes about 15 seconds!) –
Enjoy!


I’ve tried uploading this file to my Cricut mulitple times and each time it says unsupported file type. What am I doing wrong? Any chance you would be willing to send me the png or svg file?
That’s weird. I just tried it again and it worked for me using the .png file that pops up when you enter your name and email address in the form. I went into design space and started a new project with this file – maybe it will work if I share the project link? https://design.cricut.com/landing/project-detail/61a8ff7a1a796f70f34936d4 You can email me and I can try to send you the png in an email – maybe that will work? So weird! We definitely have a love/hate relationship with technology around here!