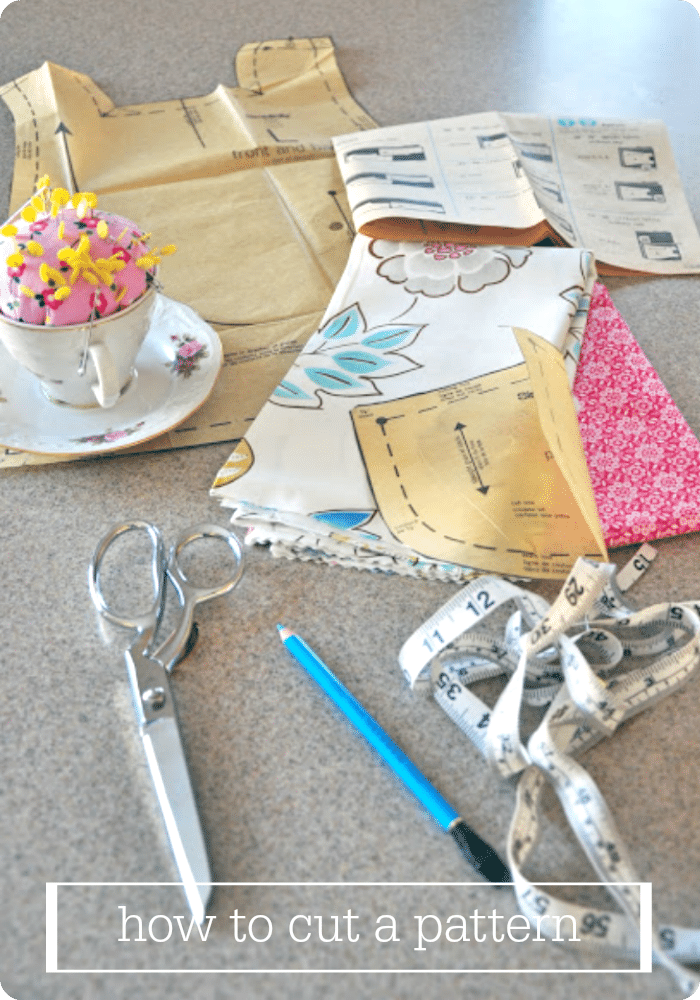
Today we are sharing a technique that is essential to sewing–How to Cut a Pattern. After today you’ll have the confidence you need to pull out any pattern {vintage or not} and be able to cut out the pieces! Please don’t be intimidated by patterns….they are meant to be your friends.
Let me give you a disclaimer….I am not an expert. Most of what I have learned is from Home Ec. and from a good mom. With that said, I try to do things simply and correctly but I occasionally cut corners…which I will tell you about in this post.
I chose a 70’s apron top pattern to use today. It is simple and only has two parts so it won’t be super complicated.
Let’s get started…
Here’s what you will need:
- Your pattern pieces
- Your fabric
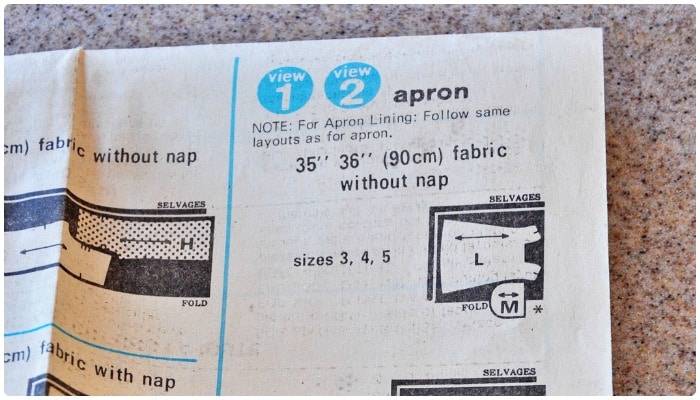
- The layout sheet on your instruction paper
- Fabric Scissors
- A marking pencil (any sewing supply store will have one….they are cheap)
- A tape measure
- Pins
Directions:
Step 1. Looking at the layout sheet on your pattern instructions, follow what it says on how to lay out the pattern pieces. I don’t always do this, but I should because you won’t waste fabric like I am prone to do. But as long as they all fit you can wing it.
Again, I am dealing with a really easy pattern…so my front and back is the same piece. You will normally have a front that is usually placed on a fold and a back that you will need to cut in 2 pieces. Just follow what the pattern pieces say–it will tell you exactly what to do.
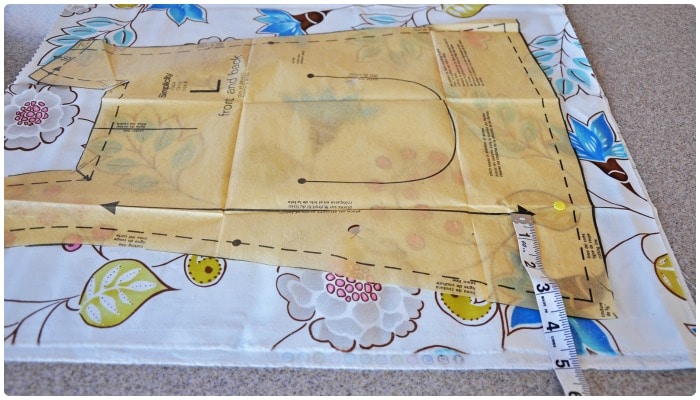
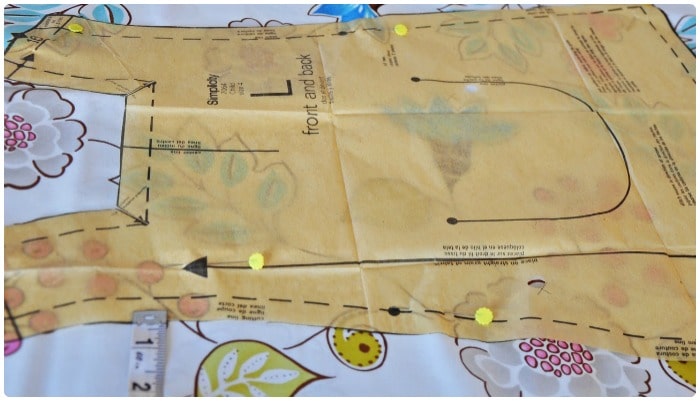
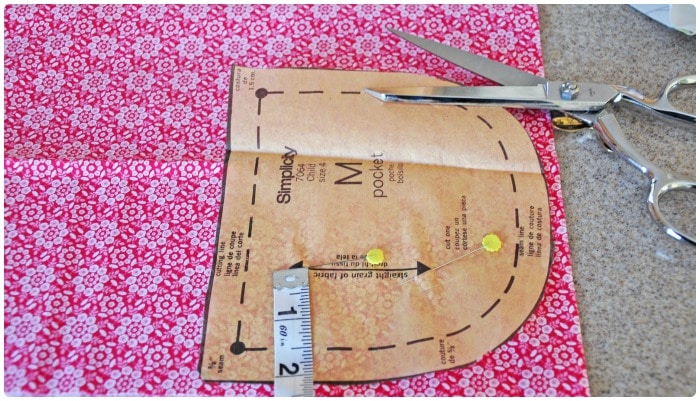
Step 2. Find the long grain line on the pattern piece–a long arrow and make sure that this is straight and on the grain of the fabric.
You are technically supposed to iron your pattern pieces, but I don’t. I usually just smooth out the pattern piece with my hands and then go ahead. But my sewing teacher might give me the stink eye. (She will also say to iron your pattern pieces on low heat, no steam.)
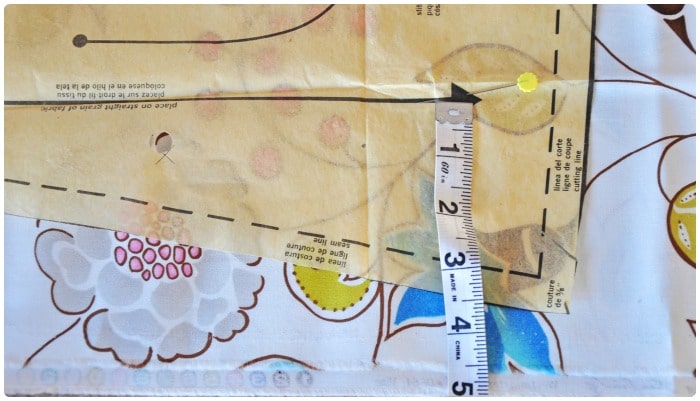
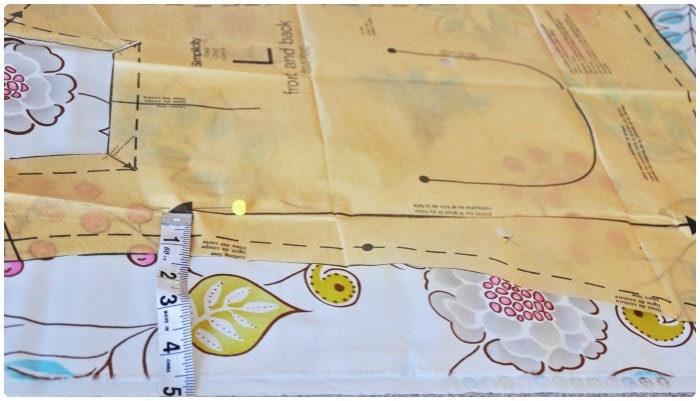
Step 3. Using a tape measure, measure from the end of the arrow to the selvedge (the raw edge). Put a pin in this end. Here it’s 5 inches.
Let’s pretend my selvedges are together ’cause they should be! Some people even pin them together, but I’m lazy
Step 4. Repeat for the other end, making sure you have the same number and put a pin in this side. (Again 5 inches.)
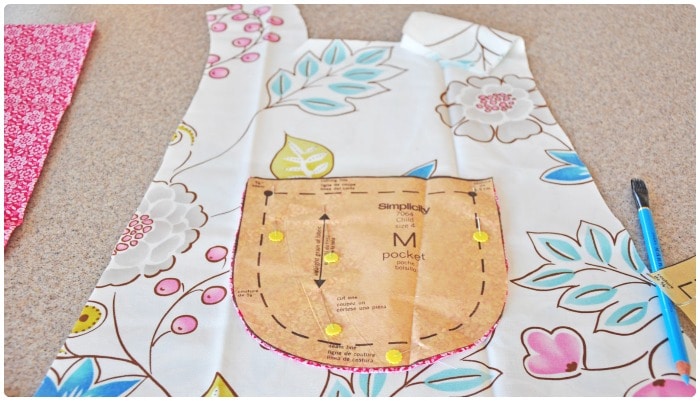
Step 5. Now you can pin the rest of the pattern onto your fabric–it is straight. Just stick in as many pins as you need to keep it flat and you can cut it.
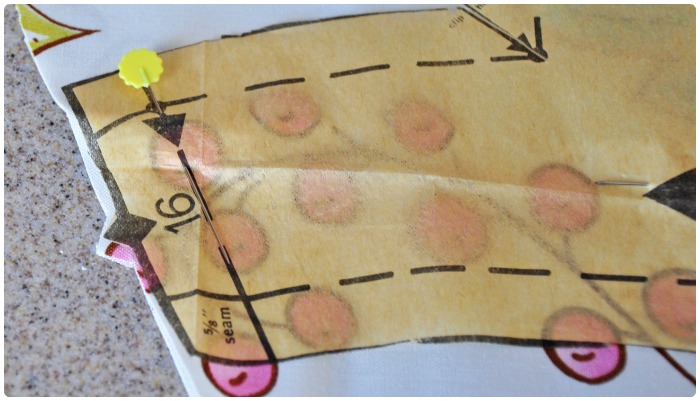
Step 6. Now, you are ready to cut, but first, find all the notches (diamonds or triangles) on the pattern. You will need these as markers while you are sewing. Here is one here on the shoulder seam. Mark the notches. (The image above shows how I do it.) Some people cut in, others just make a slit. You can decide.
Now finish cutting out your pattern piece.
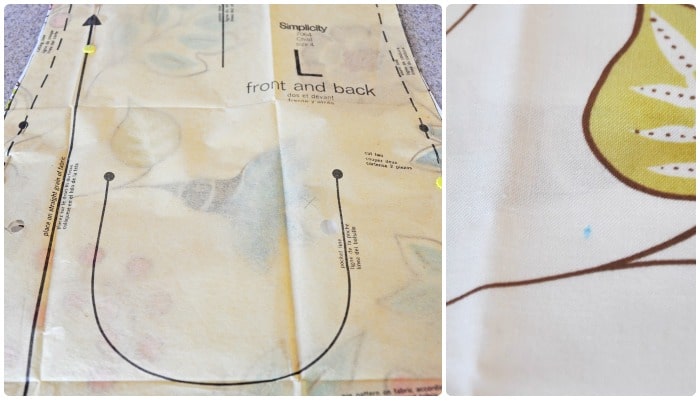
Step 7. See those big dots? (There are two on the pockets and two at the sides pf the pattern where the ribbon ties will go.) You will need these on your fabric, so we need to mark them. Using your marking pencil, mark those onto the fabric.
You can kind of see a small blue dot (under the green leaf) where the pocket goes. I just sneak my pencil under the paper pattern, find the spot and make a dot. Some people use tracing paper and a tracing wheel–which is how I was originally taught. Just decide what way is the easiest for you.
Step 8. Repeat for all pattern pieces.
Step 9. Now you’re ready to follow the instruction paper and START TO SEW! Wahoo! (And eat a piece of chocolate….you totally deserve it.)
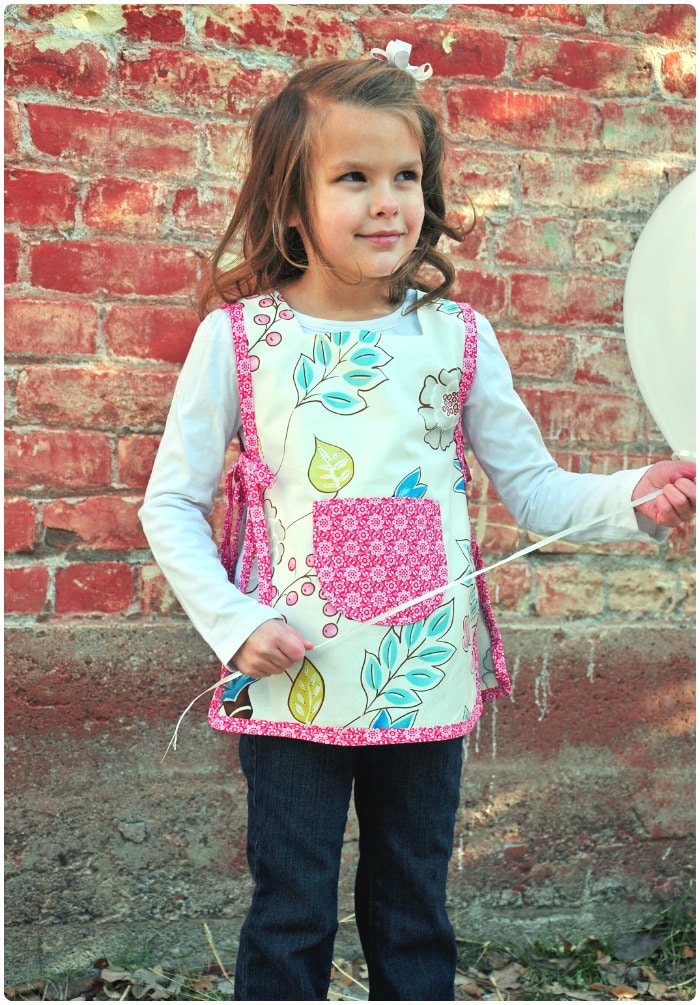
Want to see the apron top? Here it is all done:
I am loving the apron top, I think it turned out very cute. Especially because it really was a “nap time” project. Now, go and get yourself a pattern (vintage if you were me…) and try to get something cut out today! You will be so proud of yourself…just getting something cut out is a big start to sewing.
. . . . .
ABOUT THE AUTHOR: Elizabeth is one of the sewing superstars from Simple Simon and Company. Elizabeth and her partner-in-crime, Liz, were contributors on Somewhat Simple in 2011.
This post originally published on Somewhat Simple in October 2011


Hi! Very good and easy-to-follow tutorial, thank you. I just wanted to add one thing. For some fabrics, like the all-over print you chose (very cute, btw), it may not matter if you line up the selvedges. But for many fabrics, not doing this can be a project-killer. If the fabric has any kind of regular texture or symmetrical print, not aligning the fabric grains on both sides can make your opposing-side pieces look ‘off’. Now, I have once or twice gotten fabric that had selvedges that were wrong and off-grain, and I’ve had to just eyeball it the best I could. But generally it is a very good idea to take the time to do that.
By chance is that pattern Simplicity 7592? If it is I had NO IDEA that would turn out so cute! Great job.
Thanks I never knew to use your tape measure to make sure you were straight I have always just eyeballed it and have had some mistakes with that before … so Thanks again I love simple simon and company!
Holly,
Thanks for adding that info (I should have put that in the tutorial!) ….I do too on multi-sized patterns. But I am usually working with vintage patterns that are one size.
And Cammie, it is a vintage pattern, Simplicity 7064 and is one of my favorite patterns. The dress on it is a great fit and I sew it A LOT!
Thanks for the tips, glad I’m not the only one that skips ironing my patterns too! 🙂 One question, LOVE the pattern itself, what pattern is it?? 🙂
I always *trace* my pattern pieces onto wax paper first, then cut them out. That way the brownish paper one stays intact in the envelope. I puzzled for days and days over this when I first began sewing – I had two girls at the time, and I knew I’d be using the same pattern in different sizes. Now I have four(!) girls, and I’m glad to have those same patterns not-cut-up.
Thanks for this. I have been dabbling with sewing and feel (possibly) ready for attempting a pattern. This will come in soooo handy. Thanks.
Thank you! I’m terrified of patterns….it happened in 7th grade when I accidentally cut on the fold. I still have nightmares of Ms. Marchant! 🙂 I need to get brave & try again!!
This is fantastic! Thank you Stephanie! I am just discovering sewing and I looooove it! Great tutorial – thank you!
Hugs,
Michaela
those girls are always teaching us something crafty:)
Thanks for this tutorial. I’m afraid patterns terrify me and I’m going to have to be brave and have a go!