This is a sponsored post written by me on behalf of Cricut. All opinions are 100% mine.
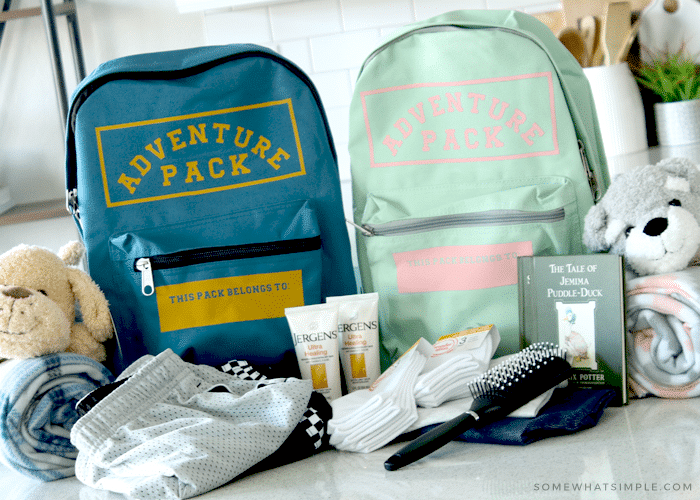
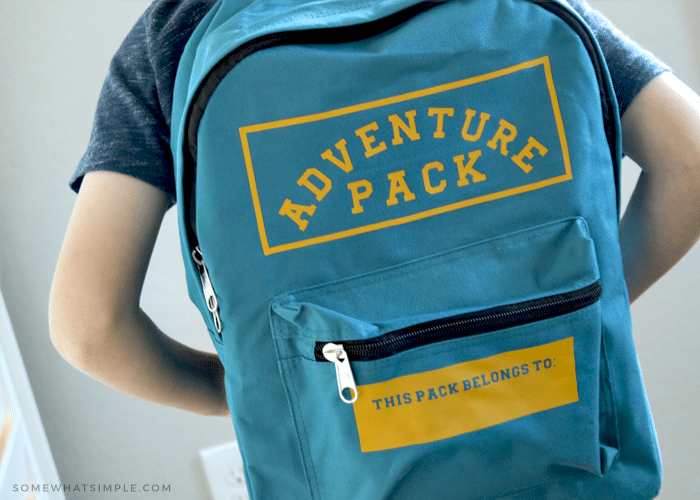
A fun Adventure Pack that provides comfort for foster kids, and a special way to carry their belongings.
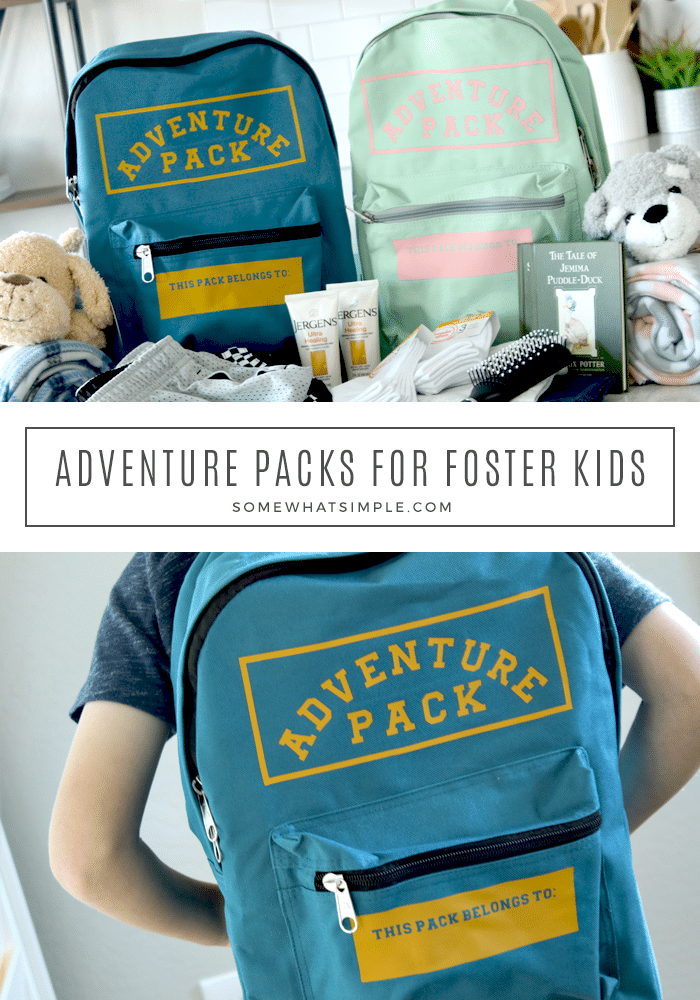
We partnered with Cricut to help provide personalized backpacks for those children entering Foster Care. Take a look at our Birthday Cards for Foster Kids’ idea for more ideas on how to help kids in your community.
DID YOU KNOW…
- There are approximately 440,000 children in Foster Care nationwide.
- Most of the time, when children enter Foster Care, it’s an emergency situation.
- Children can be taken from their homes with as little as the clothes on their backs.
- Often times, children are given trash bags to carry the few belongings that they may have.
…but we are here to HELP!
How to Make an Adventure Pack
Together with our friends at Cricut and The Blue Ribbon Project, we created a special Adventure Pack that will not only provide a way for these children to carry their precious belongings but will hopefully provide comfort during a very difficult transition!
SUPPLIES NEEDED –
- backpack
- embellishments*
- supply list, printed
- 1-2 supplies on the list, or however many items you’re able to donate!
- seam ripper, optional
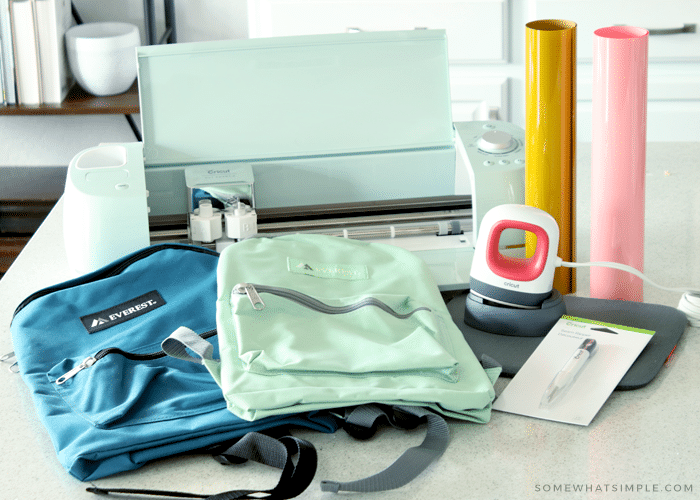
* For my embellishments, I used –
- Cricut Explore Air 2
- EasyPress Mini + Easy Press Mat
- Cricut Design Space
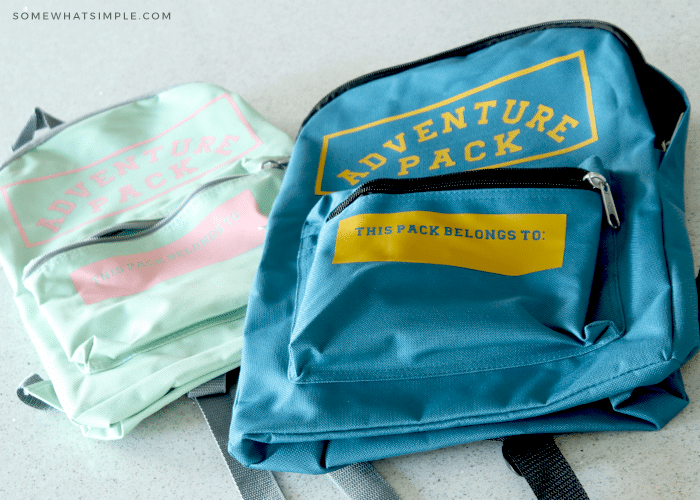
- iron-on vinyl or heat transfer vinyl – I used pink and mustard
- standard cutting mat
- “Little League” font from Extreme Fonts in the Cricut Access Library
HOW TO MAKE YOUR ADVENTURE PACK DESIGN –
- Create your desired design in Design Space. I kept it really simple with the words “Adventure Pack” at the top, and a place for the child to write their name with a Sharpie marker on the bottom.
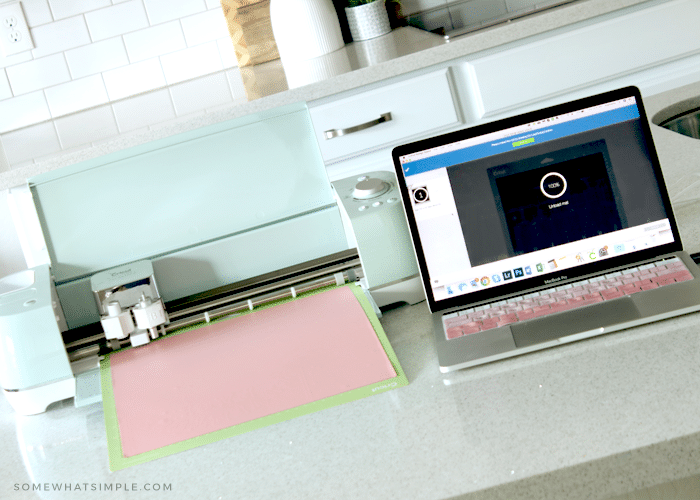
- Once you have your design ready to cut, do the following:
- Click “MAKE IT”
- Make sure that the “mirror” option is selected.
- Follow the prompts –
- place your vinyl on the mat with the shiny side facing down.
- Load your mat into the machine
- Press START to cut it out.
- Weed the vinyl from your mat and set aside
HOW TO IRON YOUR DESIGN ONTO THE BACKPACK –
- Use your seam ripper to take off any backpack tags or patches that will get in the way of your design.
- Place your Easy Press Mat inside the backpack. Most backpacks are made of a material that will melt and stick together. Using the mat on the inside between the front and back of your backpack will ensure this doesn’t happen.
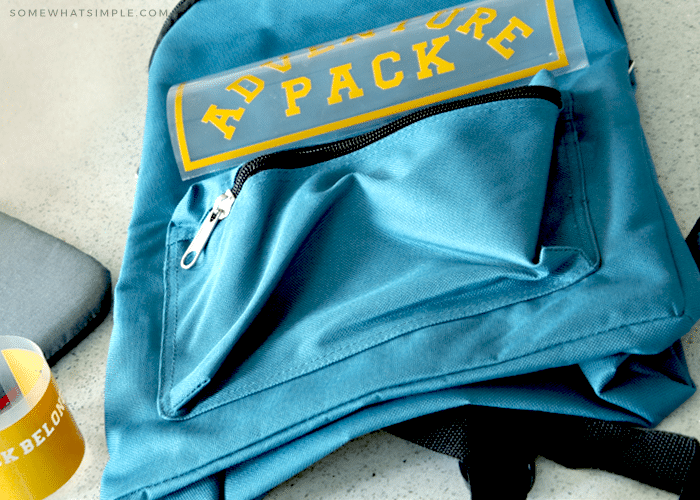
- Position your iron-on design on your backpack, then place the EasyPress Mini on top of the design. Apply gentle pressure to the EasyPress until your design is secured to the backpack.
- Carefully peel off the clear sheet from your backpack. If the liner does not lift off easily, reapply heat for a few more seconds. NOTE: Sometimes it is easier to wait for the design to cool before removing the liner. (Refer to Cricut for information about removing the liner when it’s warm vs. cold.)
- Repeat with all other backpack designs until your Adventure Pack looks AWESOME!
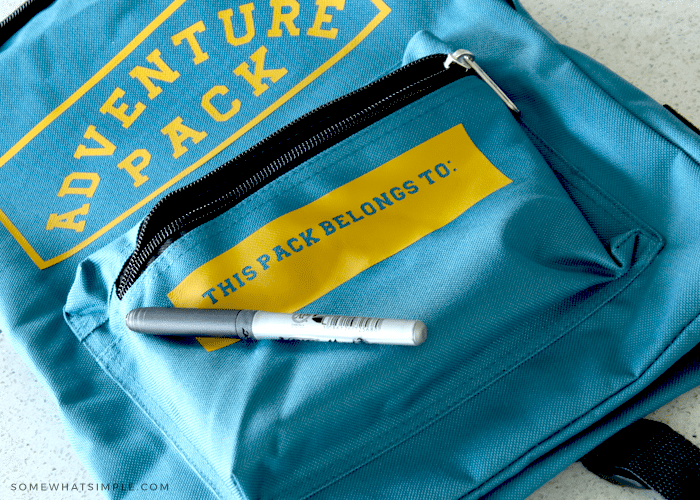
I wanted to make a design that the child can personalize with their name. I think for a child in Foster Care, this would be really special!
The Blue Ribbon Project ‘s Backpacks of Love program provides backpacks that are gender and age-appropriate. I personalized 2 backpacks to donate to The Blue Ribbon Project – one for a 6-7-year-old girl and one for a 5-6-year-old boy. If you plan to donate a backpack, here are a few things to know –
- If you want to fill an entire backpack for an age, that is great. If you just want to donate a tube of toothpaste, that too is wonderful. Do not feel obligated to purchase everything on the list.
- Please print and include the checklist of items for your specific age and gender inside your backpack before donating. This will allow The Blue Ribbon Project staff to know what else needs to be included.
- If you include clothing, try to include something that is stretchy or adjustable.
- These packs are designed for those first 24 to 48 hours. Many travel-sized items will work just fine. Children will obviously use some of these things past that time frame and you can purchase either travel size or full size.
- The Blue Ribbon Project has asked for all donations to be postponed until April 10th due to the organization taking precautions for COVID-19.
I’m excited to ship these packs off to kids in need! Isn’t this such a great cause?!


How cute! Loved this tutorial. Thanks for sharing!
-VP
I remember making these years ago. They weren’t nearly as cute as yours though.
These are so adorable.
Great tutorial. i already have a a backpack I was thinking about embellishing, and this is perfect.
What a fun bag! I will be filing this one away to do for sure!
So so darling.
These are so cute! Thanks for sharing the tutorial with us!
way cute steph!
This is a darling backpack and looks easy enough to make up a few! Thanks so much for the tutorial!
This are fabulous!