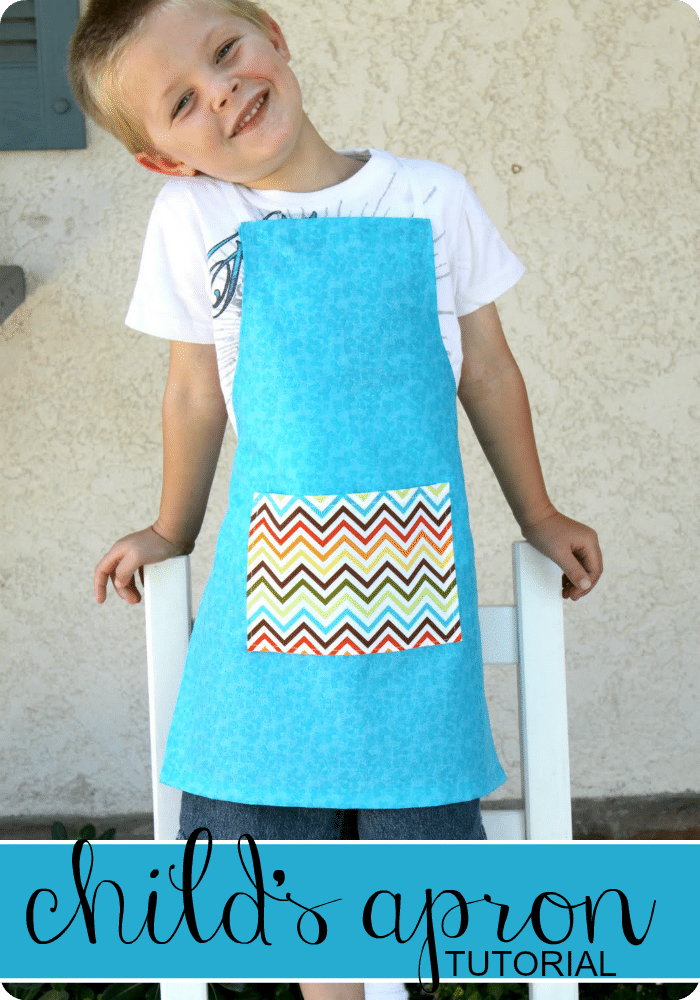
Material’s Needed:
- 1 Fat Quarter
- 1 scrap of fabric 7″ x 10″ (for the pocket)
- Ribbon (3/8 inch to 1 inch wide)
- Matching thread
- Sewing machine & supplies
- Iron and ironing board
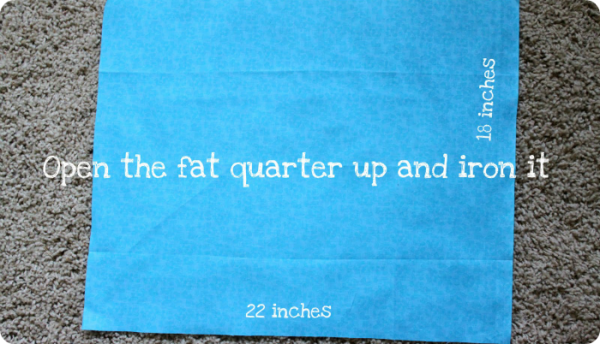
1. Open the fat quarter up and iron it flat. You are going to want to lay it out with the longer (22inch) side on the bottom. The 22 inches will be the length of your child’s apron.
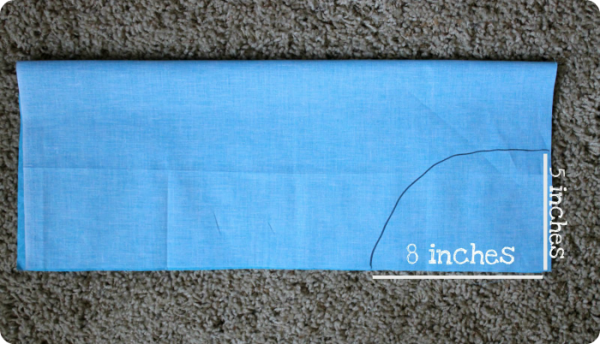
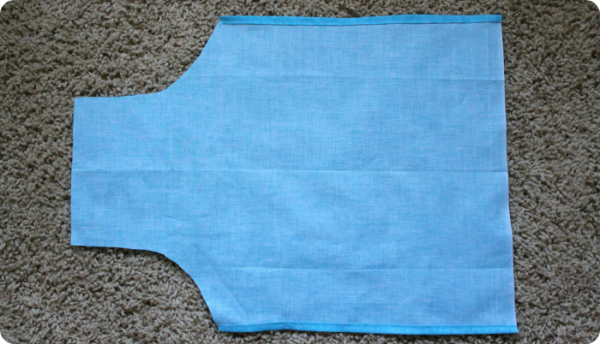
2. Fold the fabric together with right sides facing together. It will now be 22 inches down with 9 inches at the bottom. Draw a line for where the shape of the apron top will be. I went 5 inches in and 8 inches down and then curved it between those two points. Once you have drawn it on you will cut this piece out and open up your fabric. It should now be the shape of your apron.
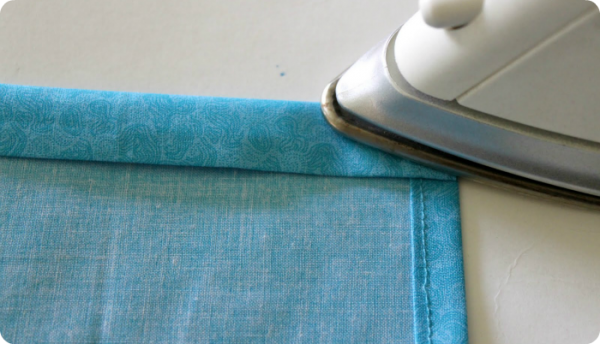
3. Now we will start sewing the sides. You are going to double fold over about a quarter inch. Iron each fold down, pin & sew. Repeat for both sides.
4. Next we’ll do the hem of the apron (or bottom of the apron). You are going to double fold over for this also. (It will make it so you do not have any raw edges. It is better for washing.) Here I do a half inch fold over both times because I like it a little larger on the bottom.
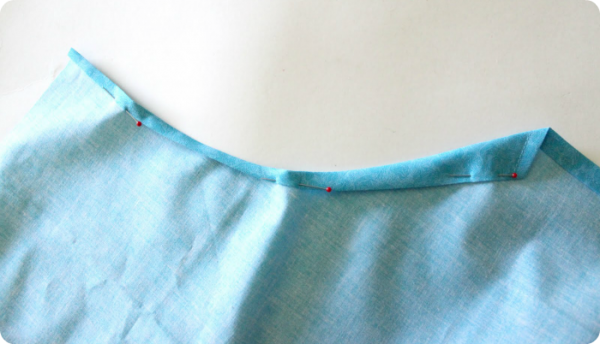
5. Now for the curved sides of the top of the apron. Do a double fold, but the bottom part of it is going to be a little larger then the top, like you see in the picture. Iron it down, pin, then sew. Do this to both sides.
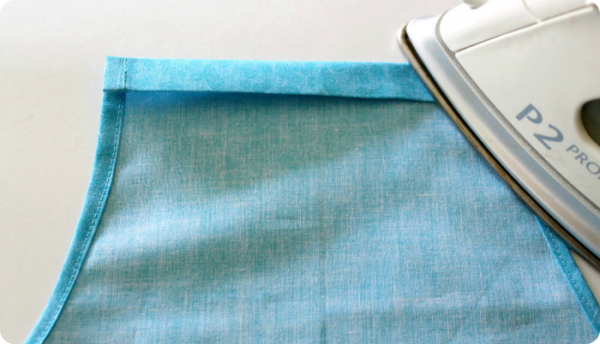
6. Finally do the top. I also do a half inch double turn. Iron it down flat, pin and then sew it down.
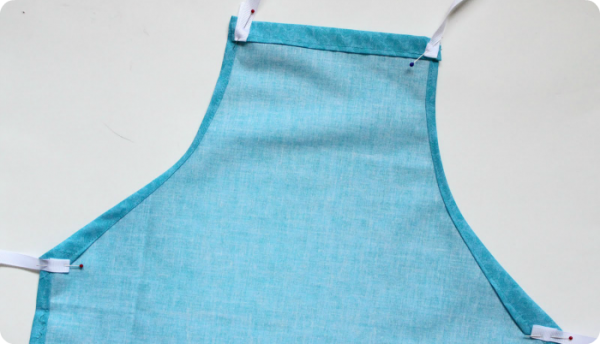
7. Now grab your ribbon. Cut it into three pieces: one for the neck (18 inches long) and two for the straps (22 inches long). Pin down the ribbon and sew them down. I sew it down in a square shape for each strap/neck piece.
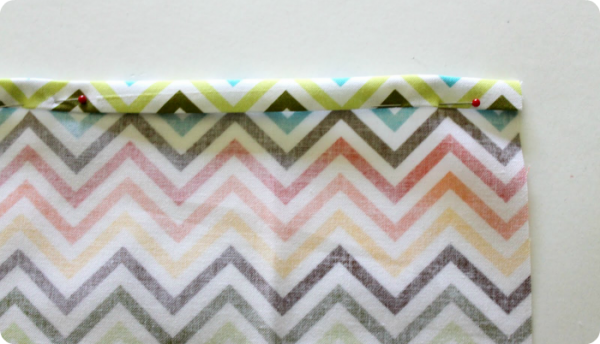
8. Lastly, we are going to sew on a pocket. Grab your scrap piece of fabric and double fold over the top of the pocket. Pin it down and sew across the top. Then double fold over the sides and bottom of the pocket.
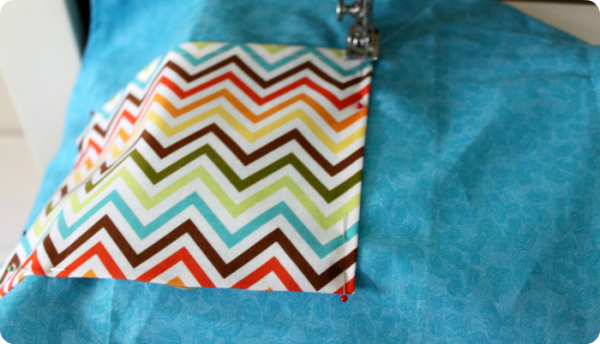
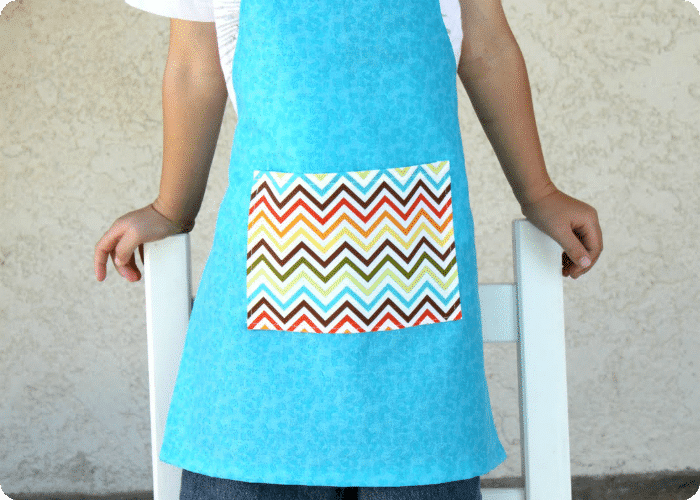
9. Find where you want to place the pocket on the apron and pin it down on both sides and the bottom. (The top is already sewn across.) Sew down the sides and bottom of the pocket right onto the apron.
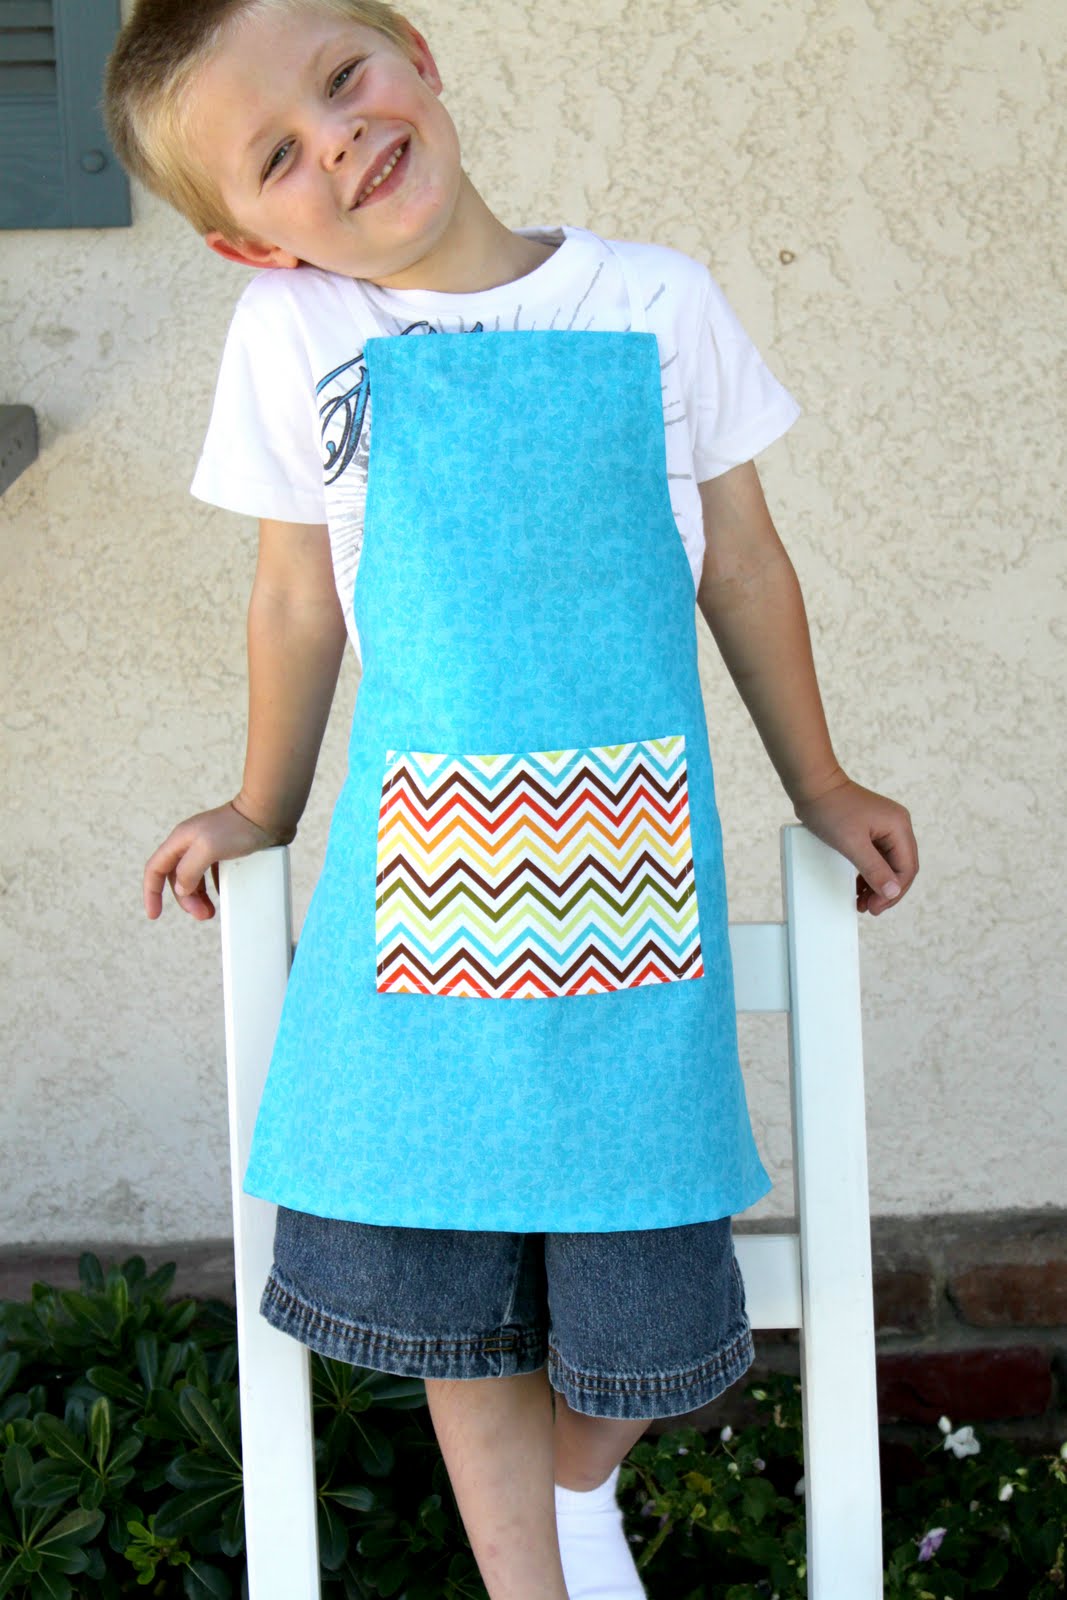
Now, you are done and your child has a cute apron to wear. If you live at our house it will get lots and lots of use out of it! It can also make a great birthday present to any child.
Written by Tasha from Creation Corner, our Kid’s Craft Contributor in 2011-2012
This post originally featured on Somewhat Simple in August 2011.


I just used this pattern tonight and it was so simple! I made a Dora apron that is gonna be an awesome last minute Christmas gift for my niece! Thanks so much for sharing!
I made one today (I’m such a newbie at sewing). I had some fat quarters of Thomas the Train and I made my son one. It turned out so cute despite the fact I can’t sew a very good straight line and didn’t have exactly matching thread. My next one will be much better. I am going to make my nieces and nephews some of these. They are so adorable and not too hard to make, even for a newbie. Thanks for the tut!
Yay!! I love knowing you are learning to sew and used this pattern. Makes me happy! I am sure your son just LOVES it.
Tasha,
I’ve now made 3 of them. I’m totally giving them as gifts, but the more I do them — the easier they are. I did one in about an hour. I think the hardest part is sewing on the ribbon! I got it down to a pattern now. Thanks so much again for sharing this. I didn’t use the fat quarters, but I had some softer material and I cut it the same size as the fat quarters. Do you know if I could do this in a larger size — say for a 9 year old? I’m just wondering how much bigger I would have to make it. Anyway, these are adorable. I’ll have to shoot some pictures and send you a link!
I just made five of these for Christmas!! Two for my little girls, and one each for my BFF’s daughters and son. They were so easy, and so fast to sew up. Thank you so much for posting this.
I just made this for two or the little boys in my life. Thank you for the great tutorial!
Yay! Thank you for sharing that. I am so glad the tutorial was helpful for you
This is a great tutorial, my wife and I just started making a line of aprons and we are thinking of exploring the kids apron niche. Any tips for us?
This is so simple, Tasha. I love it! Great tutorial 🙂
My son loves to be my sous chef – he’s definitely gonna get one of these!
Awesome!
I love this tutorial Tasha!!!
That is so cute! You gave a great tutorial. That’s saying a lot since I don’t sew. I may attempt this if my old sewing machine will speak to me again after our last encounter. LOL!
Cheers!
Rita