
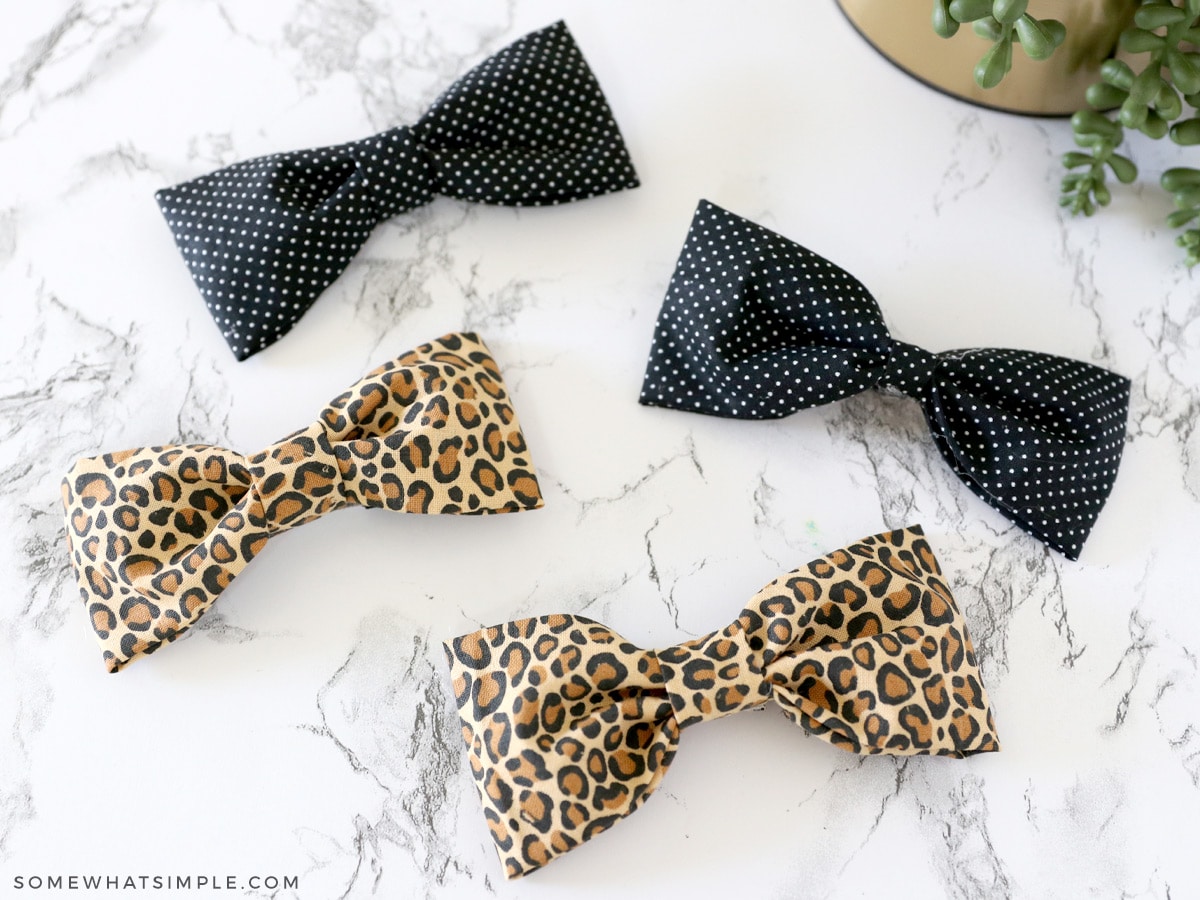
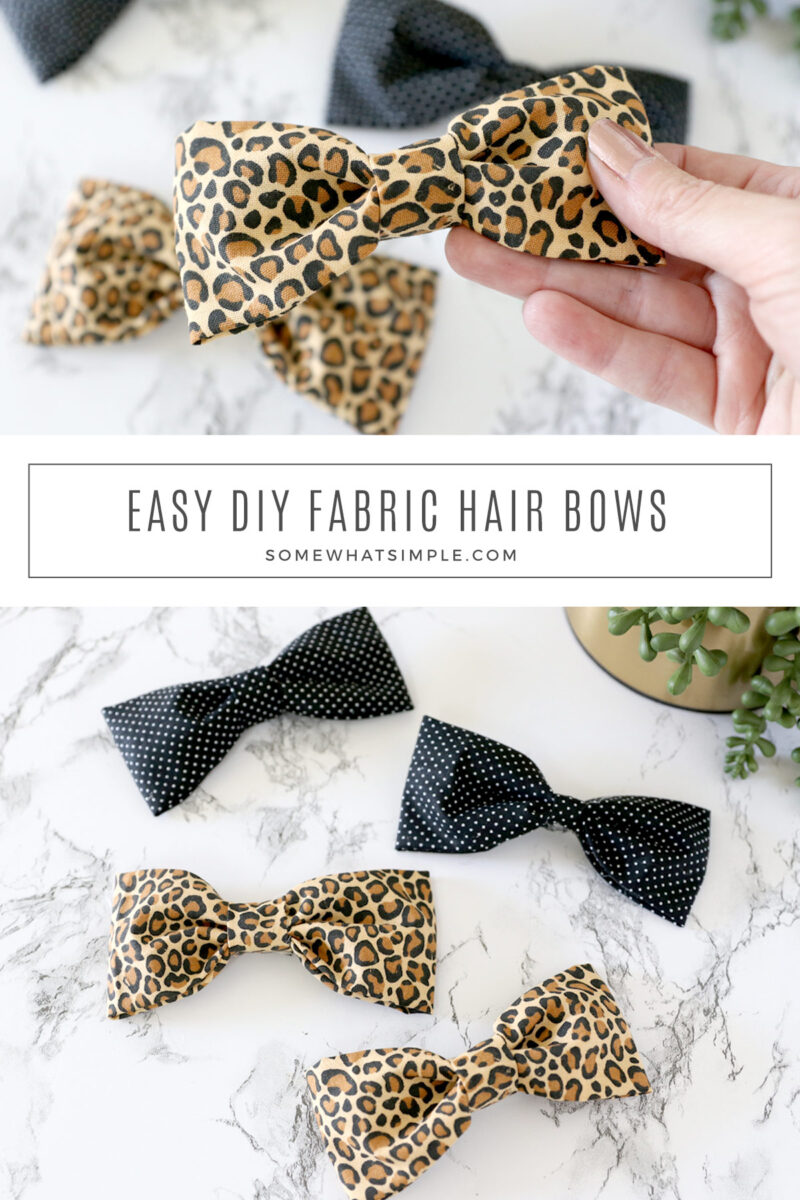
A fabric hair bow is a simple accessory that can be made in under 5 minutes! This no-sew bow is going to look darling in your little girl’s hair!
Here are a few more hair tutorials we think you’ll enjoy – Fabric Flower Headband, How to Make a Basic Bow with Ribbon, and How to Line a Clip with Ribbon.
Easy Homemade Bows
My daughter loves bows in her hair and she has wanted a cheetah-print bow ever since her best friend showed up to school wearing one in her hair over a month ago! Lucky for her (and me!) I found some darling cheetah fabric and I was able to whip up a handful of bows that we are both verrrrry happy about!
Each fabric bow took less than 5 minutes to make and they don’t require any sewing! Plus, you can use the same method with different sized fabric to make your bows bigger or smaller, so these bows are super versatile too! Here’s how to make them –
No-Sew Fabric Hair Bow
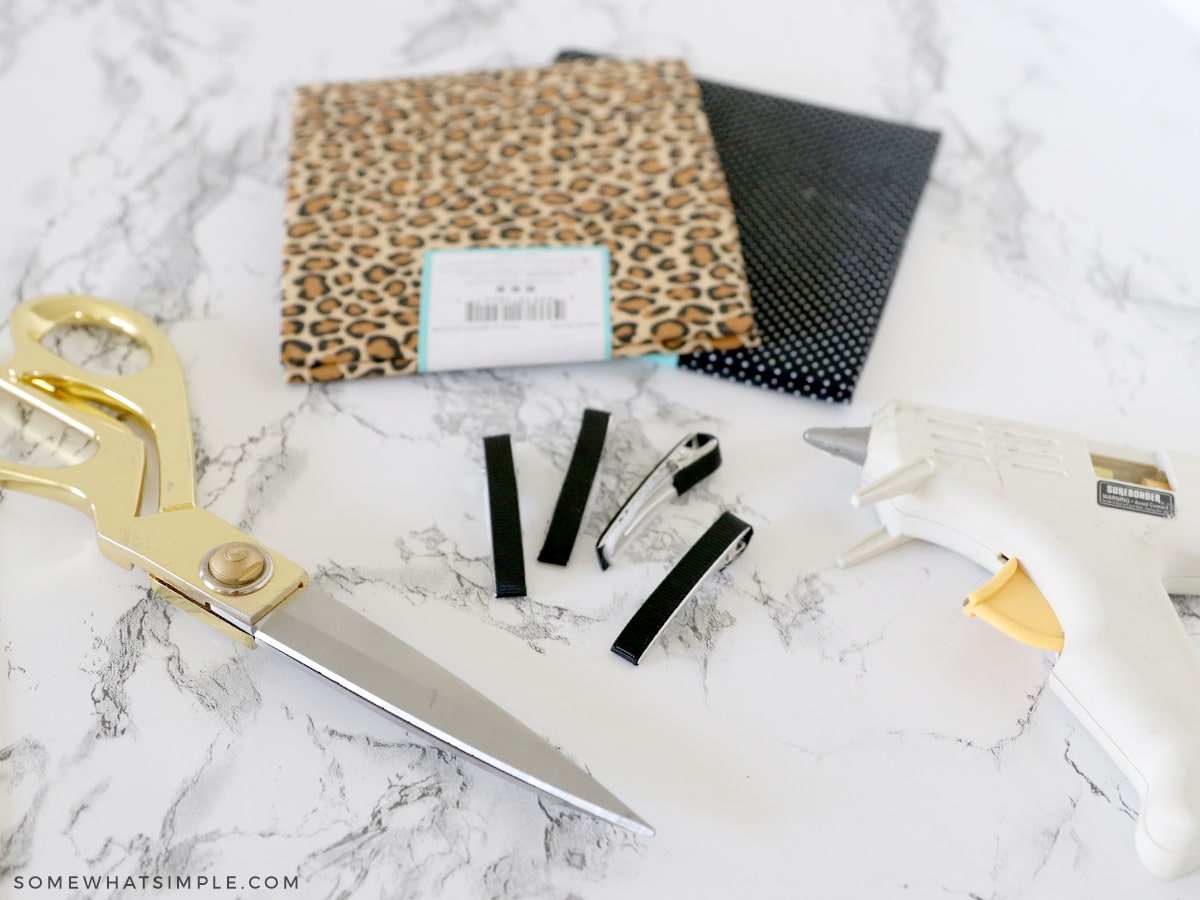
MATERIALS –
- fabric – I used a couple fat quarters, but this project is a great way to use up your fabric scraps!
- scissors
- hot glue gun + glue sticks
- ribbon-lined alligator clips
DIRECTIONS –
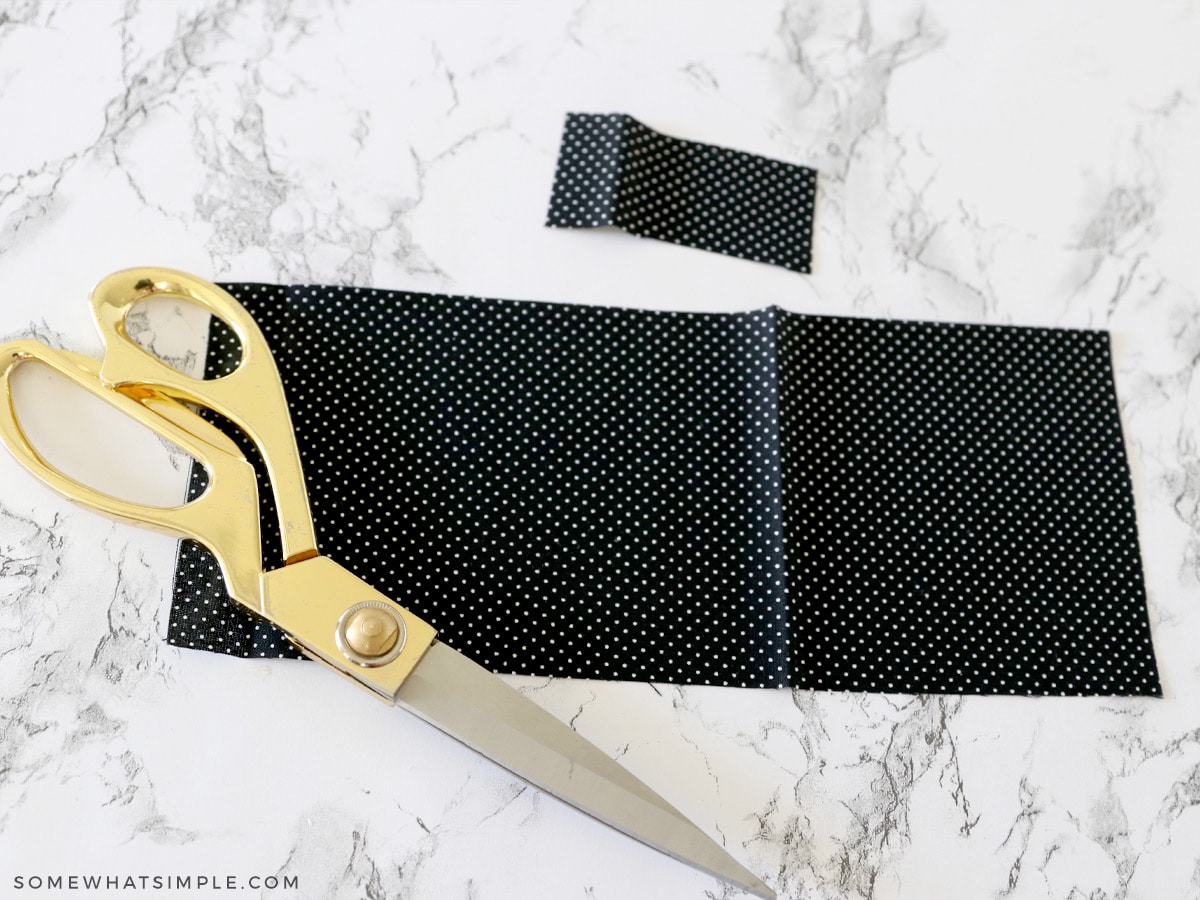
1. For each bow, you will need to cut 2 strips of fabric. My large piece was 10″x4″, and my small piece was 1.5″x3″.
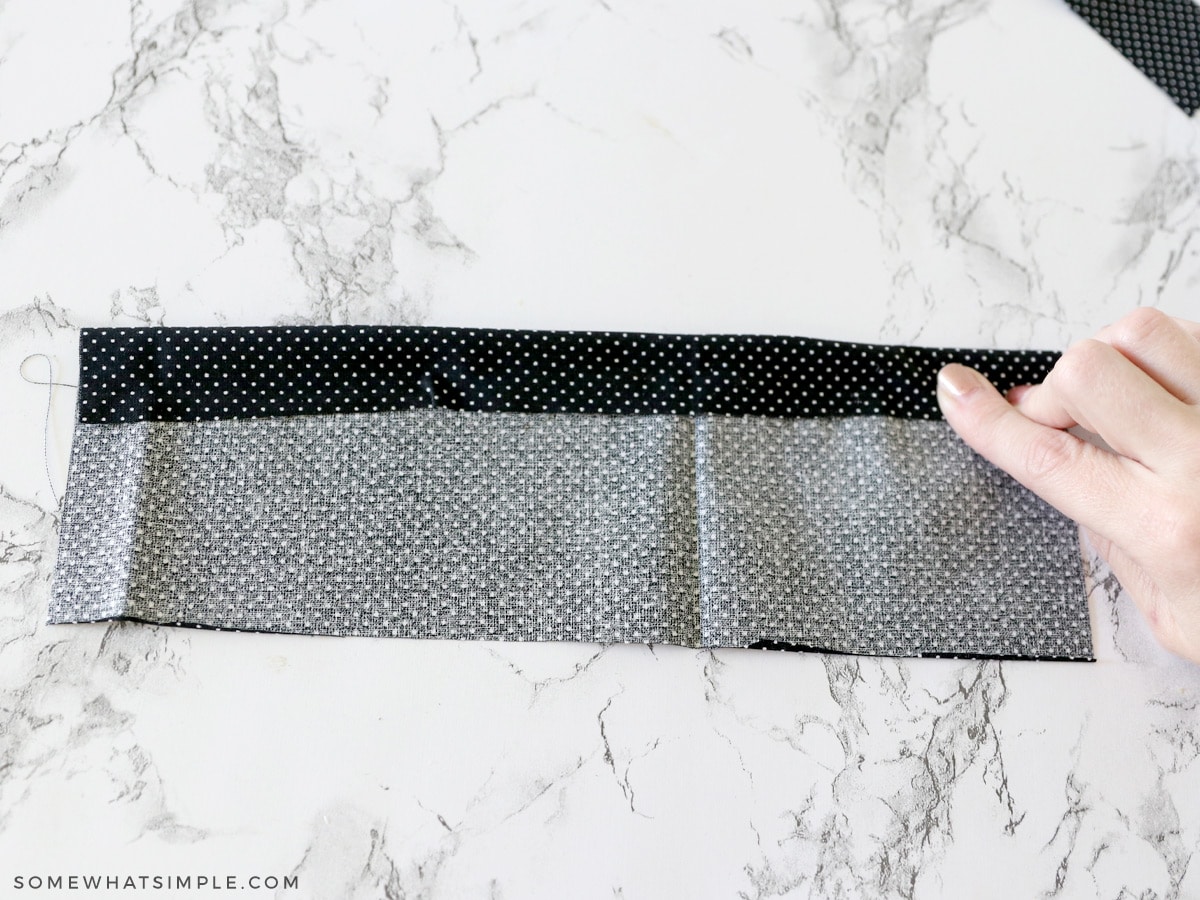
2. Put your big piece of fabric face down on your work surface. Fold the top of your fabric over to the center of your rectangle and secure it with some glue.
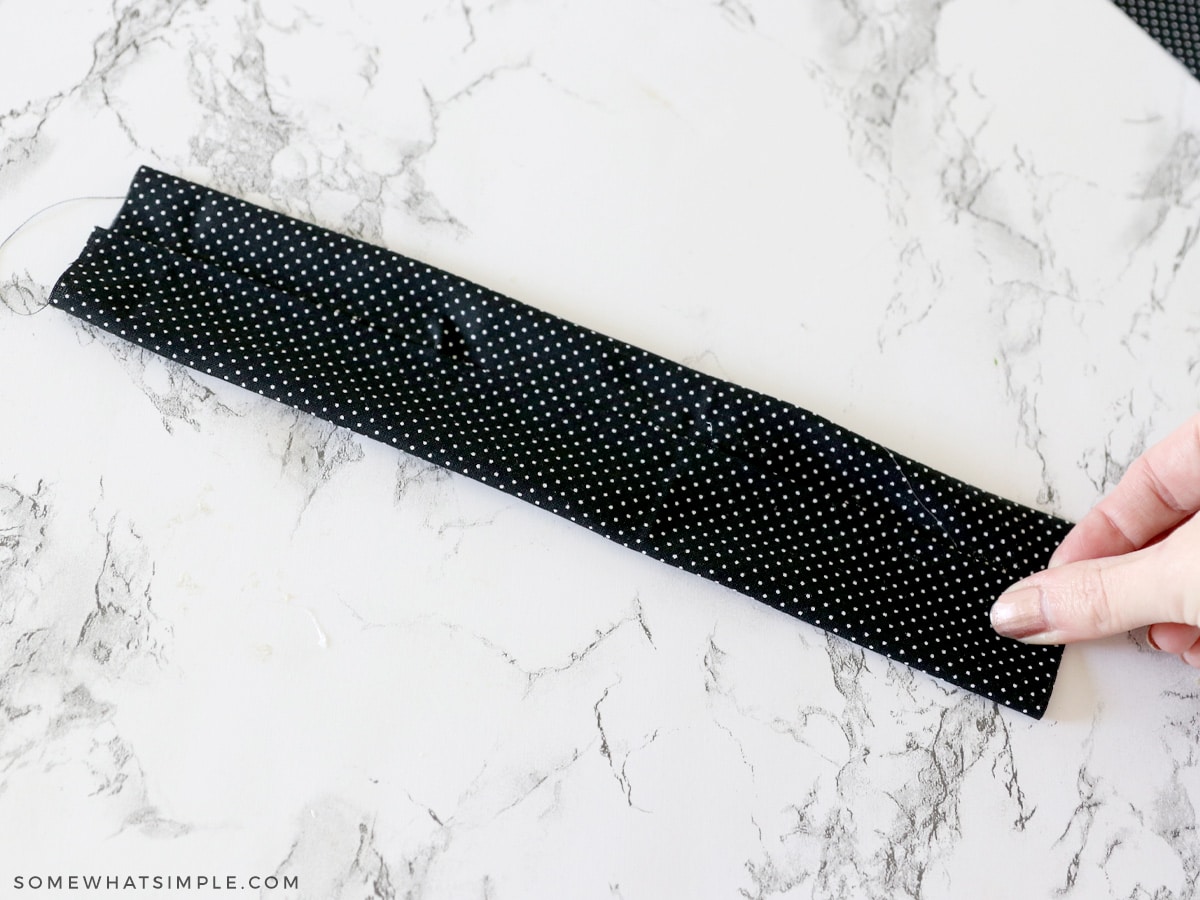
3. Bring the bottom of your fabric up to the middle and secure it with some glue.
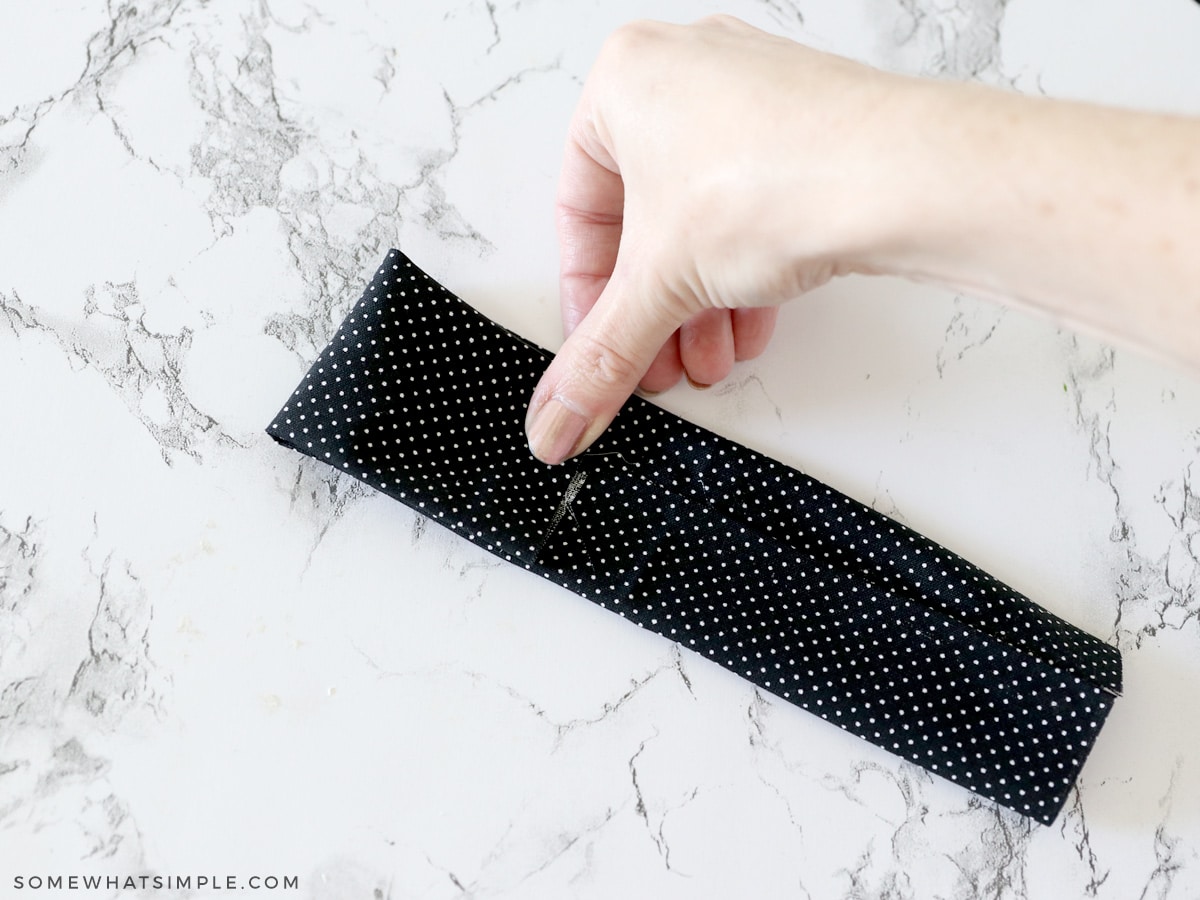
4. Bring in the left side of your fabric towards the back center and secure it with some glue.
5. Repeat on the right side. Now you have a small rectangle piece of fabric covered by the same pattern on all sides.
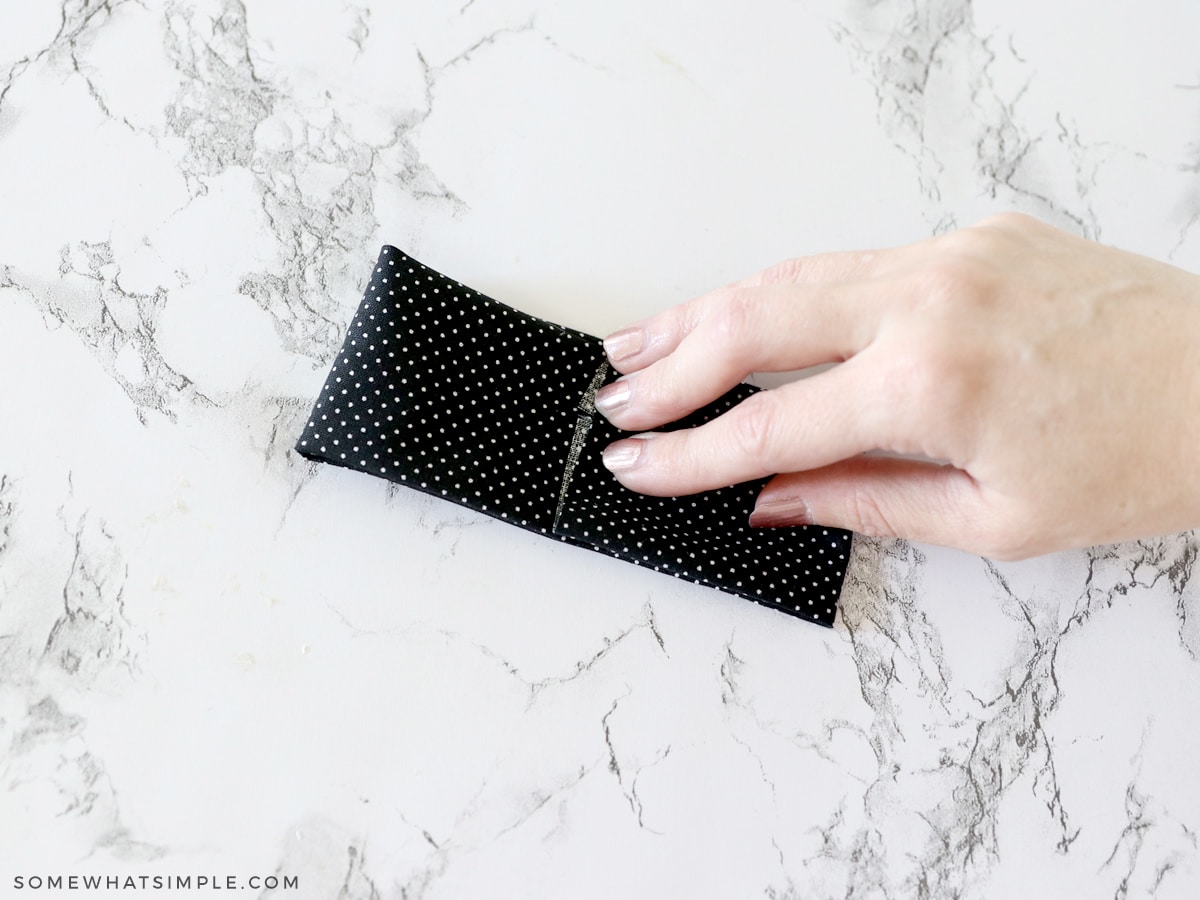
6. Flip your fabric over, the add a dot of glue to the middle.
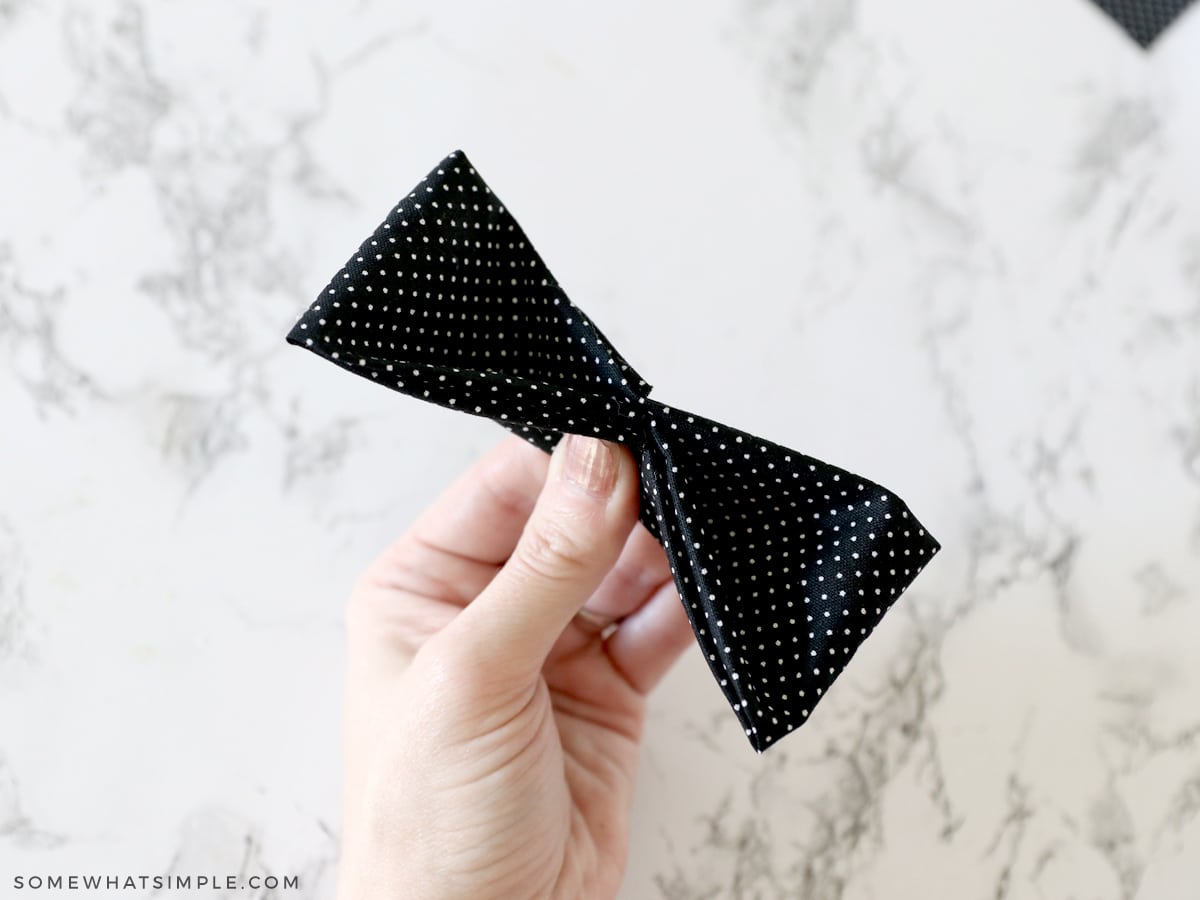
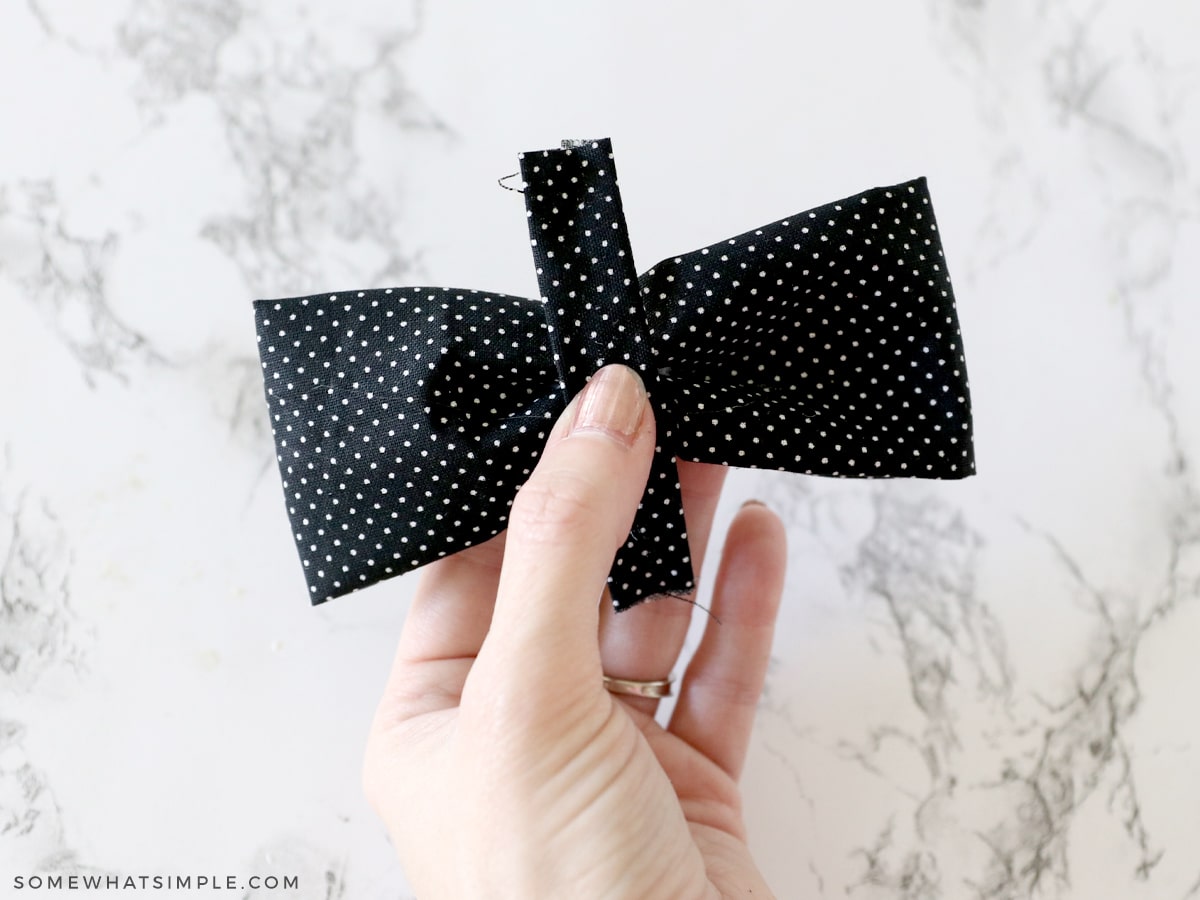
7. Fold the bow in half to create the first fold and pinch it tight.
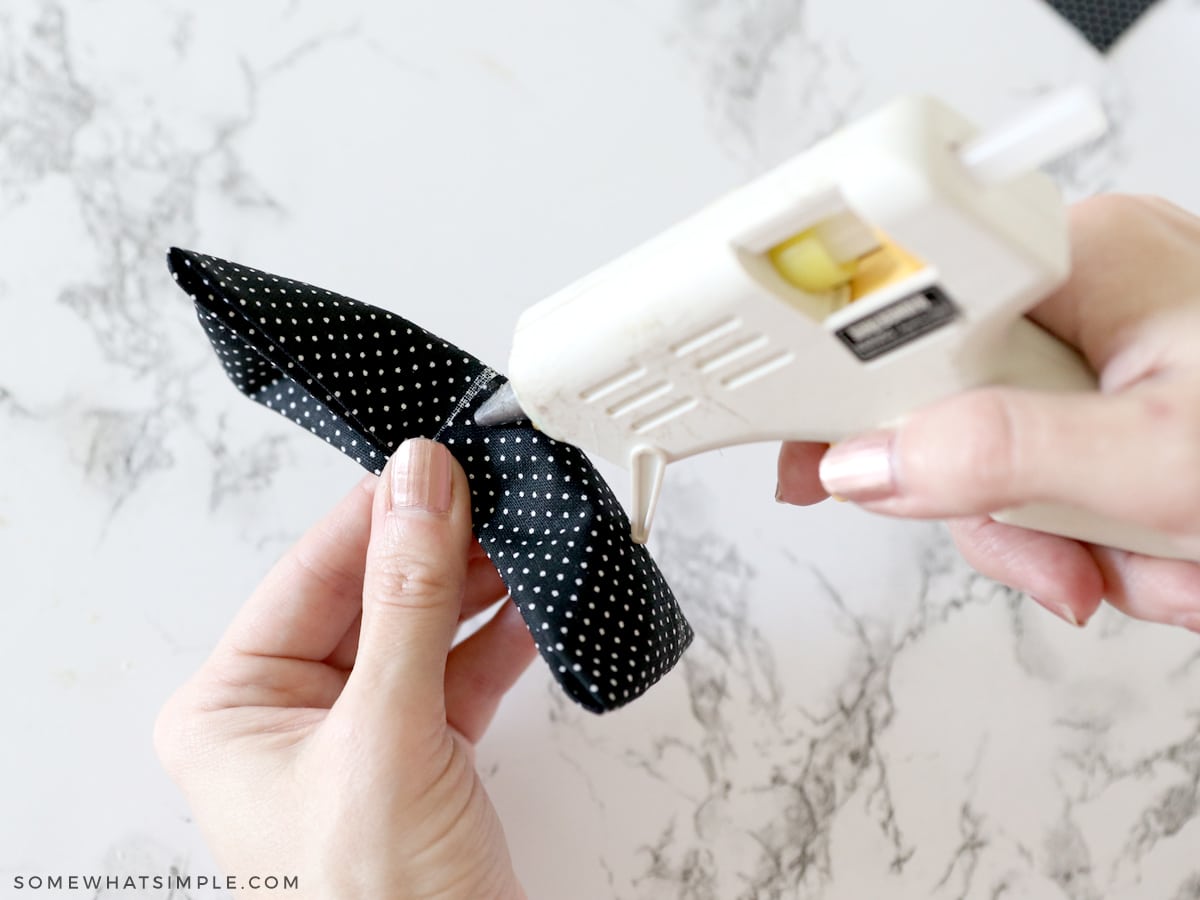
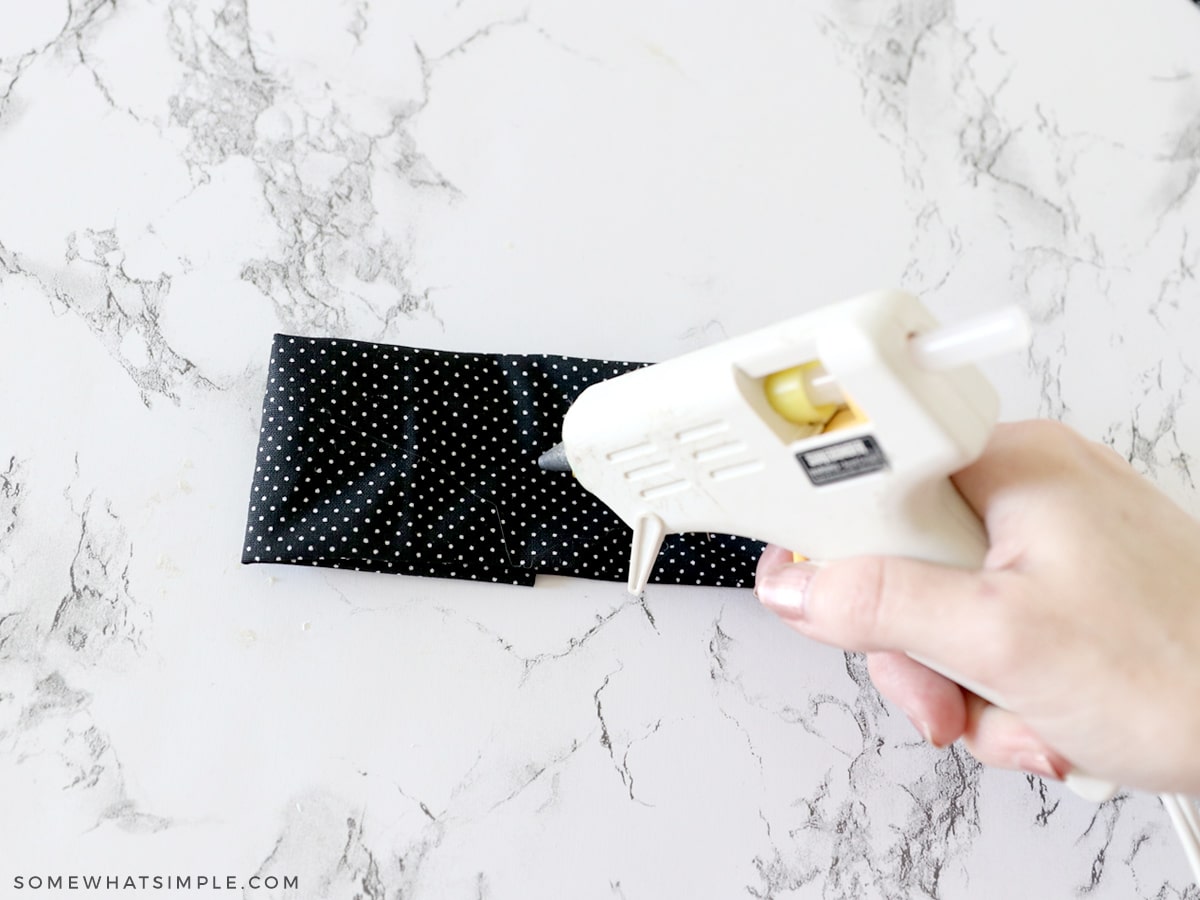
8. Add a dot of glue on the back and then fold the fabric edge back over to the backside to create the final folds in the bow. Repeat with the other edge.
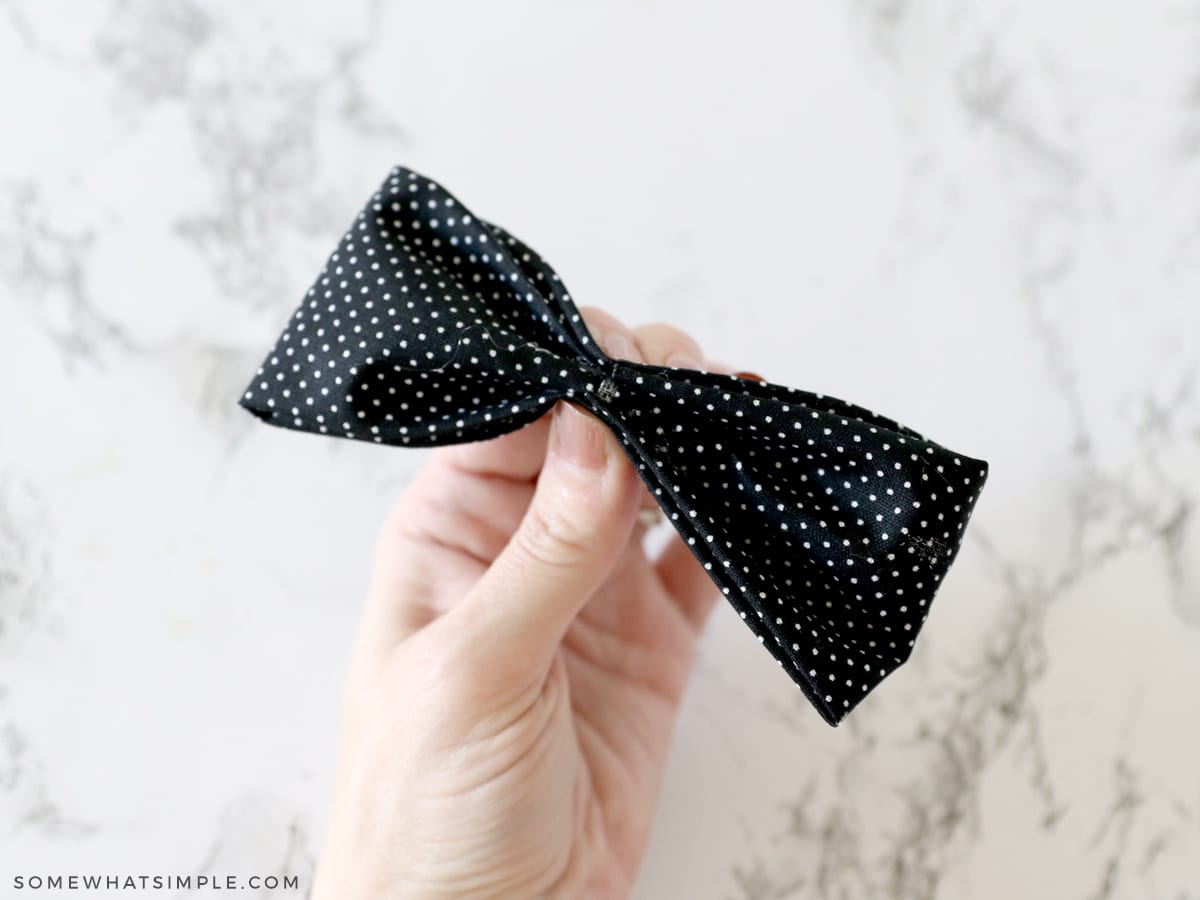
9. Pinch it tight to secure for several seconds, or until the glue hardens.
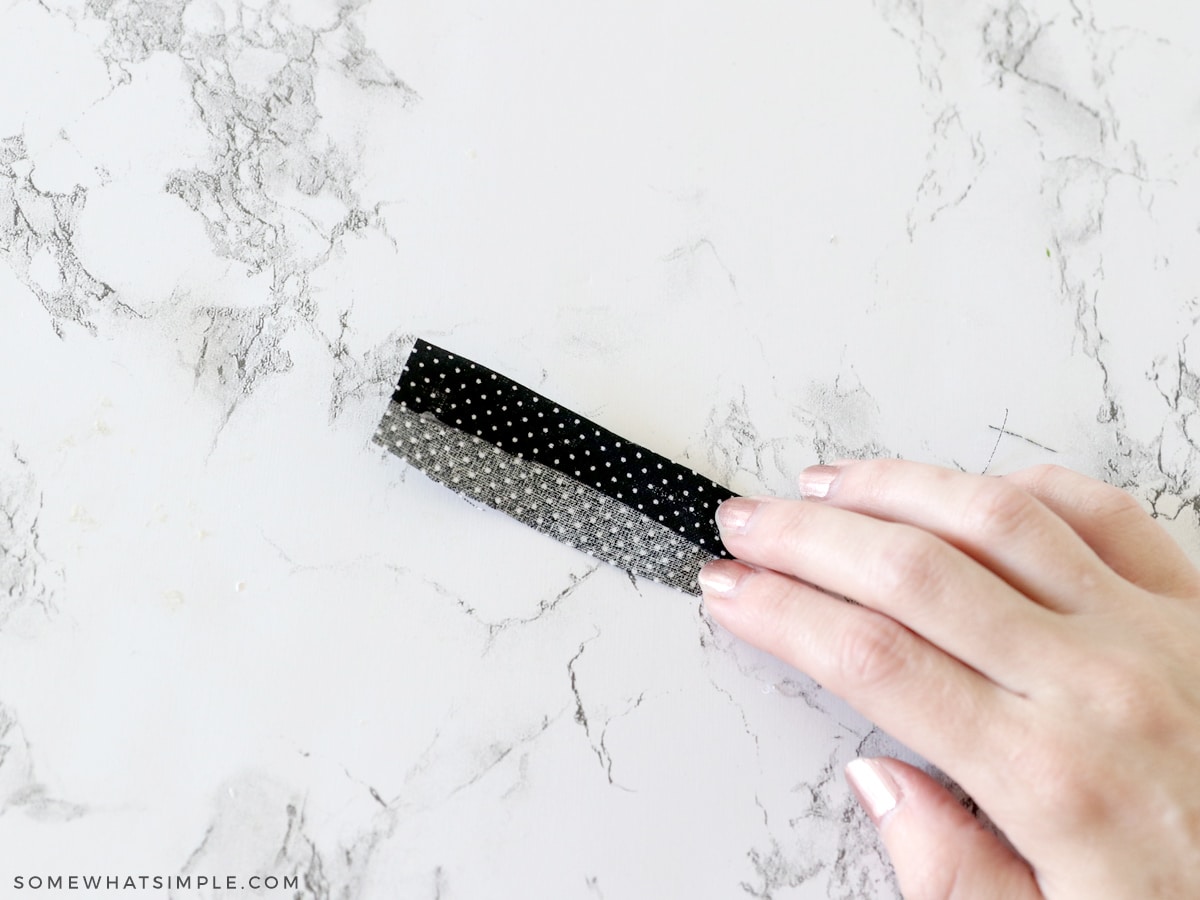
10. Repeat steps 2 + 3 with the smaller piece of fabric.
11. Place the small dab of glue to the center of your pinched bow, then lay the small piece of fabric on top so that both ends overlap the bow.
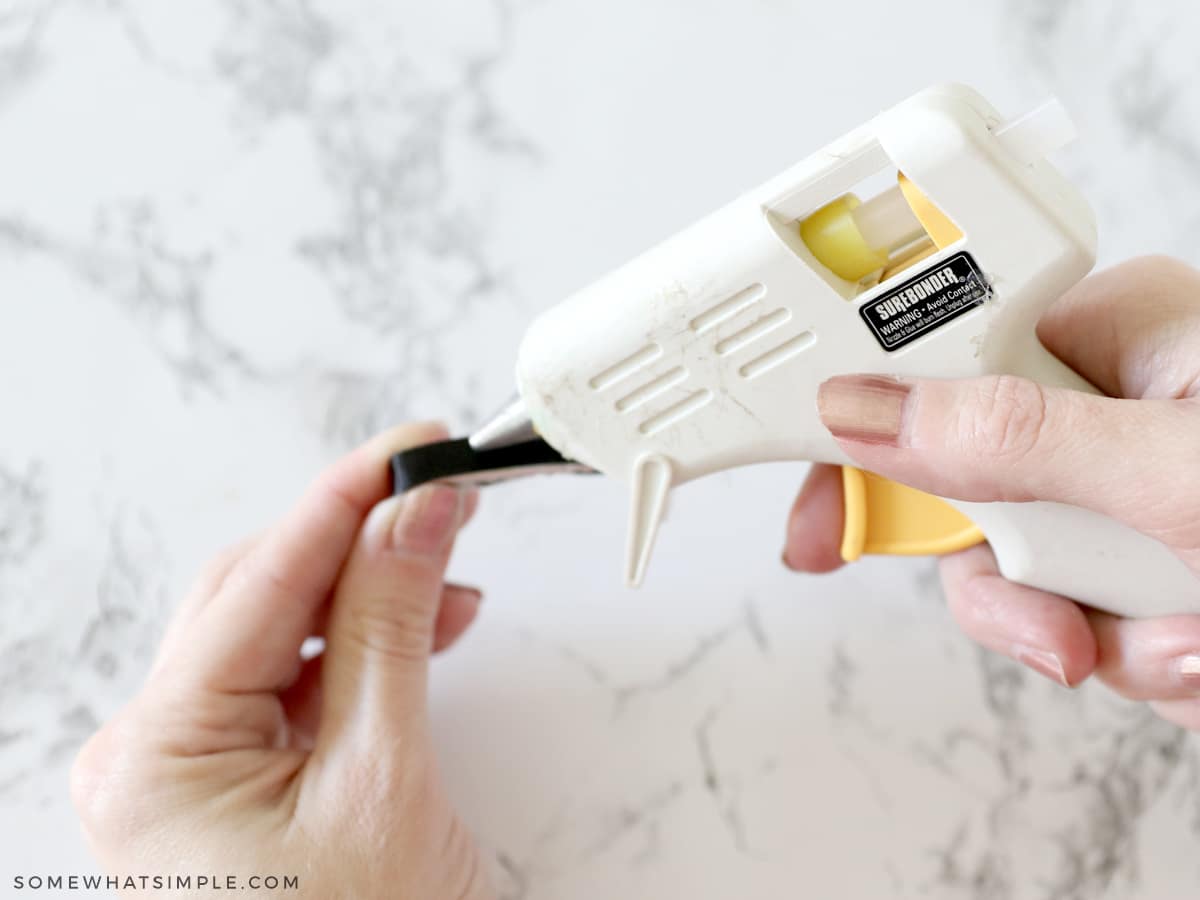
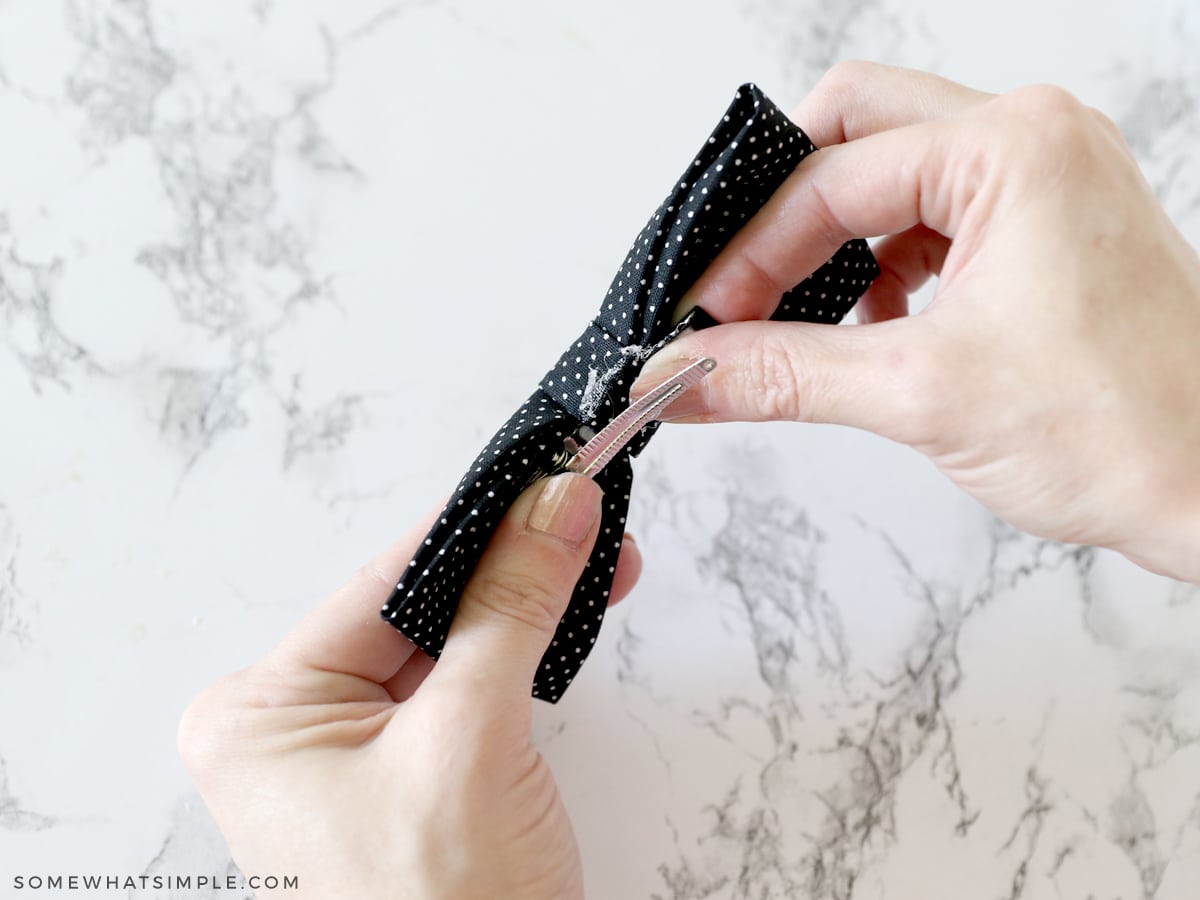
12. Add some glue to the top of your ribbon-lined alligator clip.
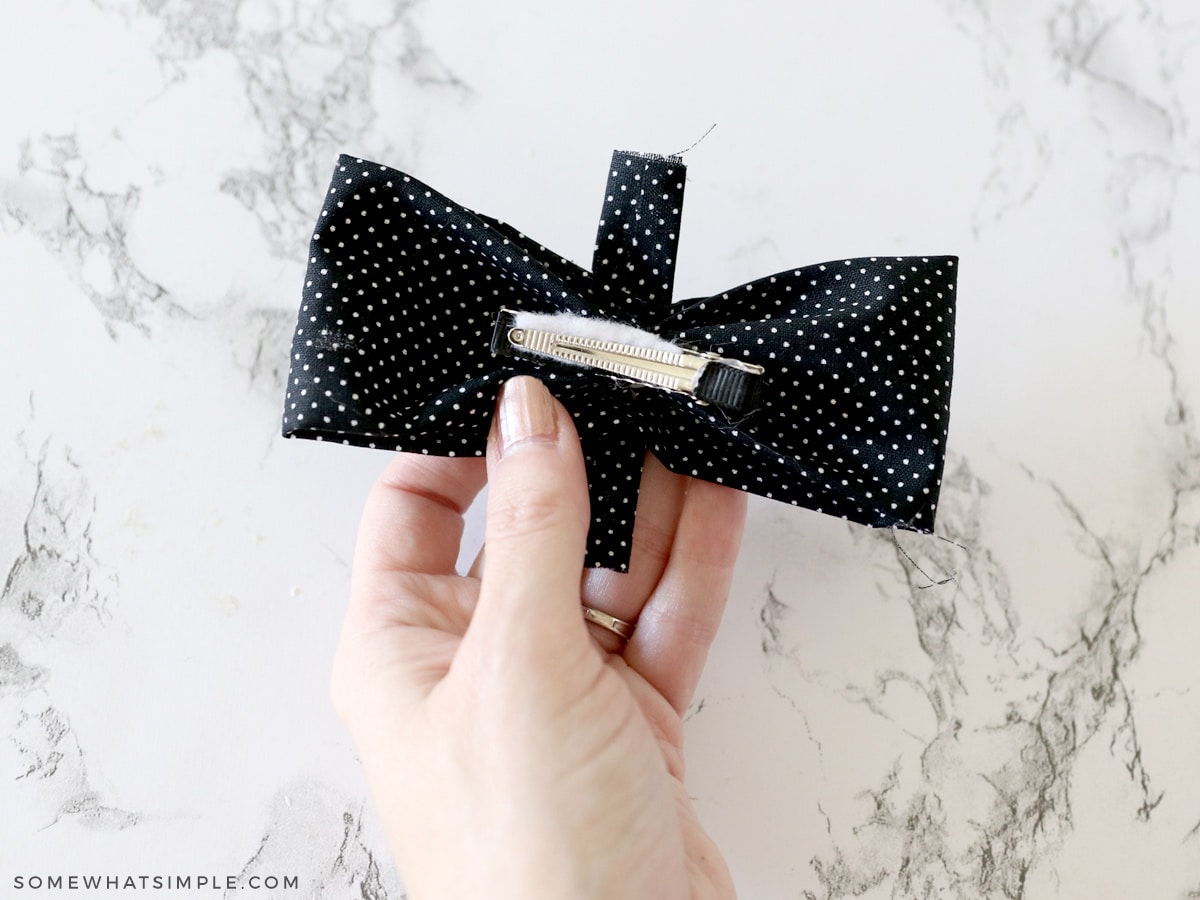
13. Place the glue-lined clip to the back of your fabric bow, and hold for a few seconds until the glue hardens.
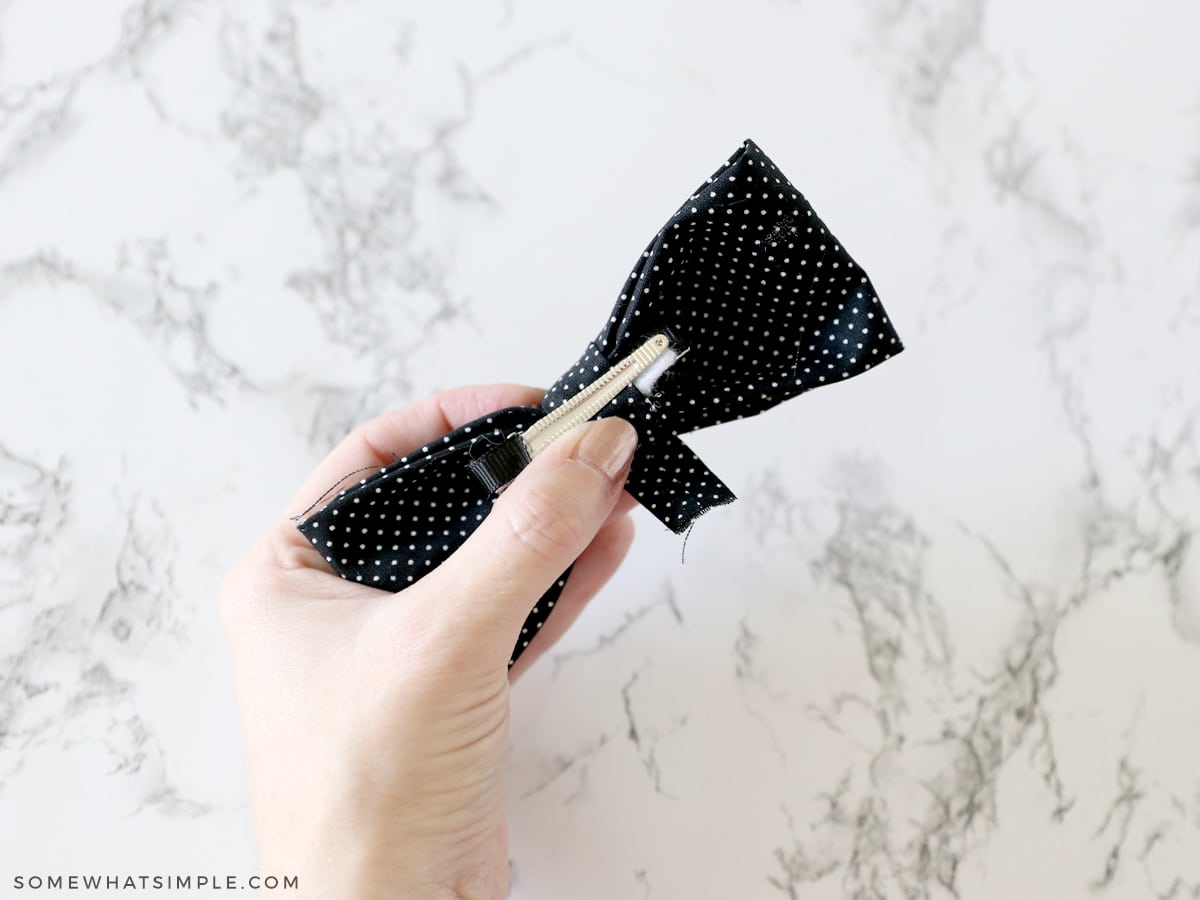
14. Open the clip by pinching the sides together, then slip one of the edges of the small piece of fabric through the clip and secure with some glue. Close the clip, then trim off the excess fabric.
15. Repeat step 14 with the last piece of the small fabric.
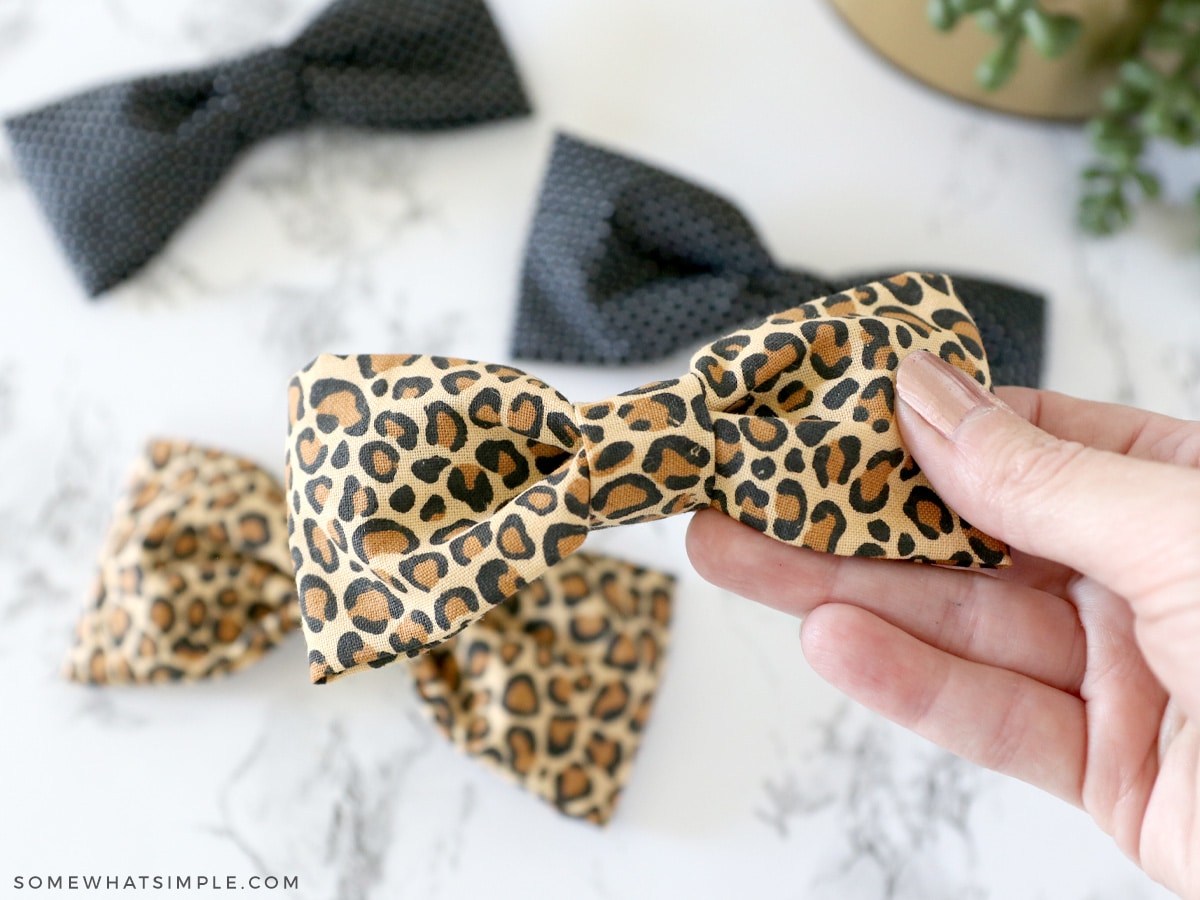
And that’s it!! Now you just have to make one for every outfit!


Too cute! Thanks for teaching me how to do this!
A.DORABLE!
I am so putting this on my to do list!!! I make my daughter's dresses and this would be perfect to top off her dresses!!!! Thanks for sharing!!!
I'm loving your super cute idea. Thanks for sharing!
God's blessings,
Sarah 😀
Such a darling bow!
Cute hair bow and easy to follow tutorial. Thanks!
Adorable! I wish I had a little girl to make it for!!!
Great tutorial!
Sincerely ~ Trish