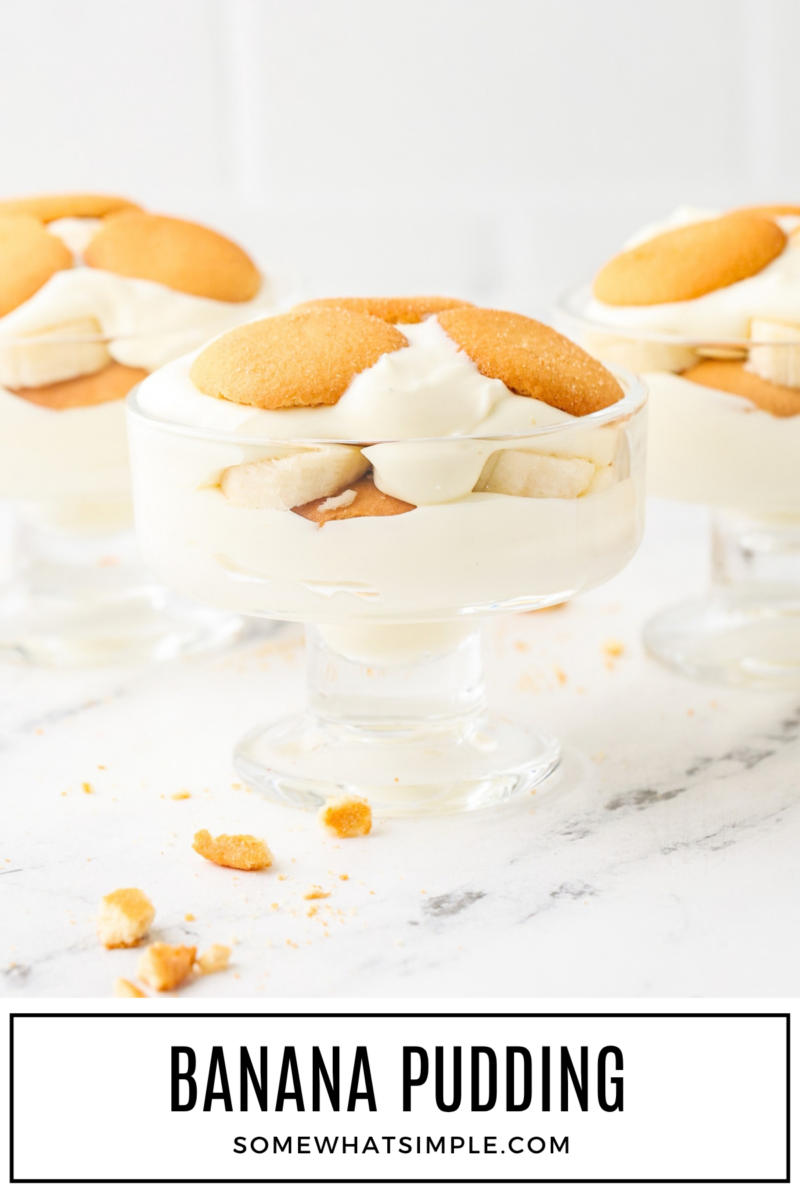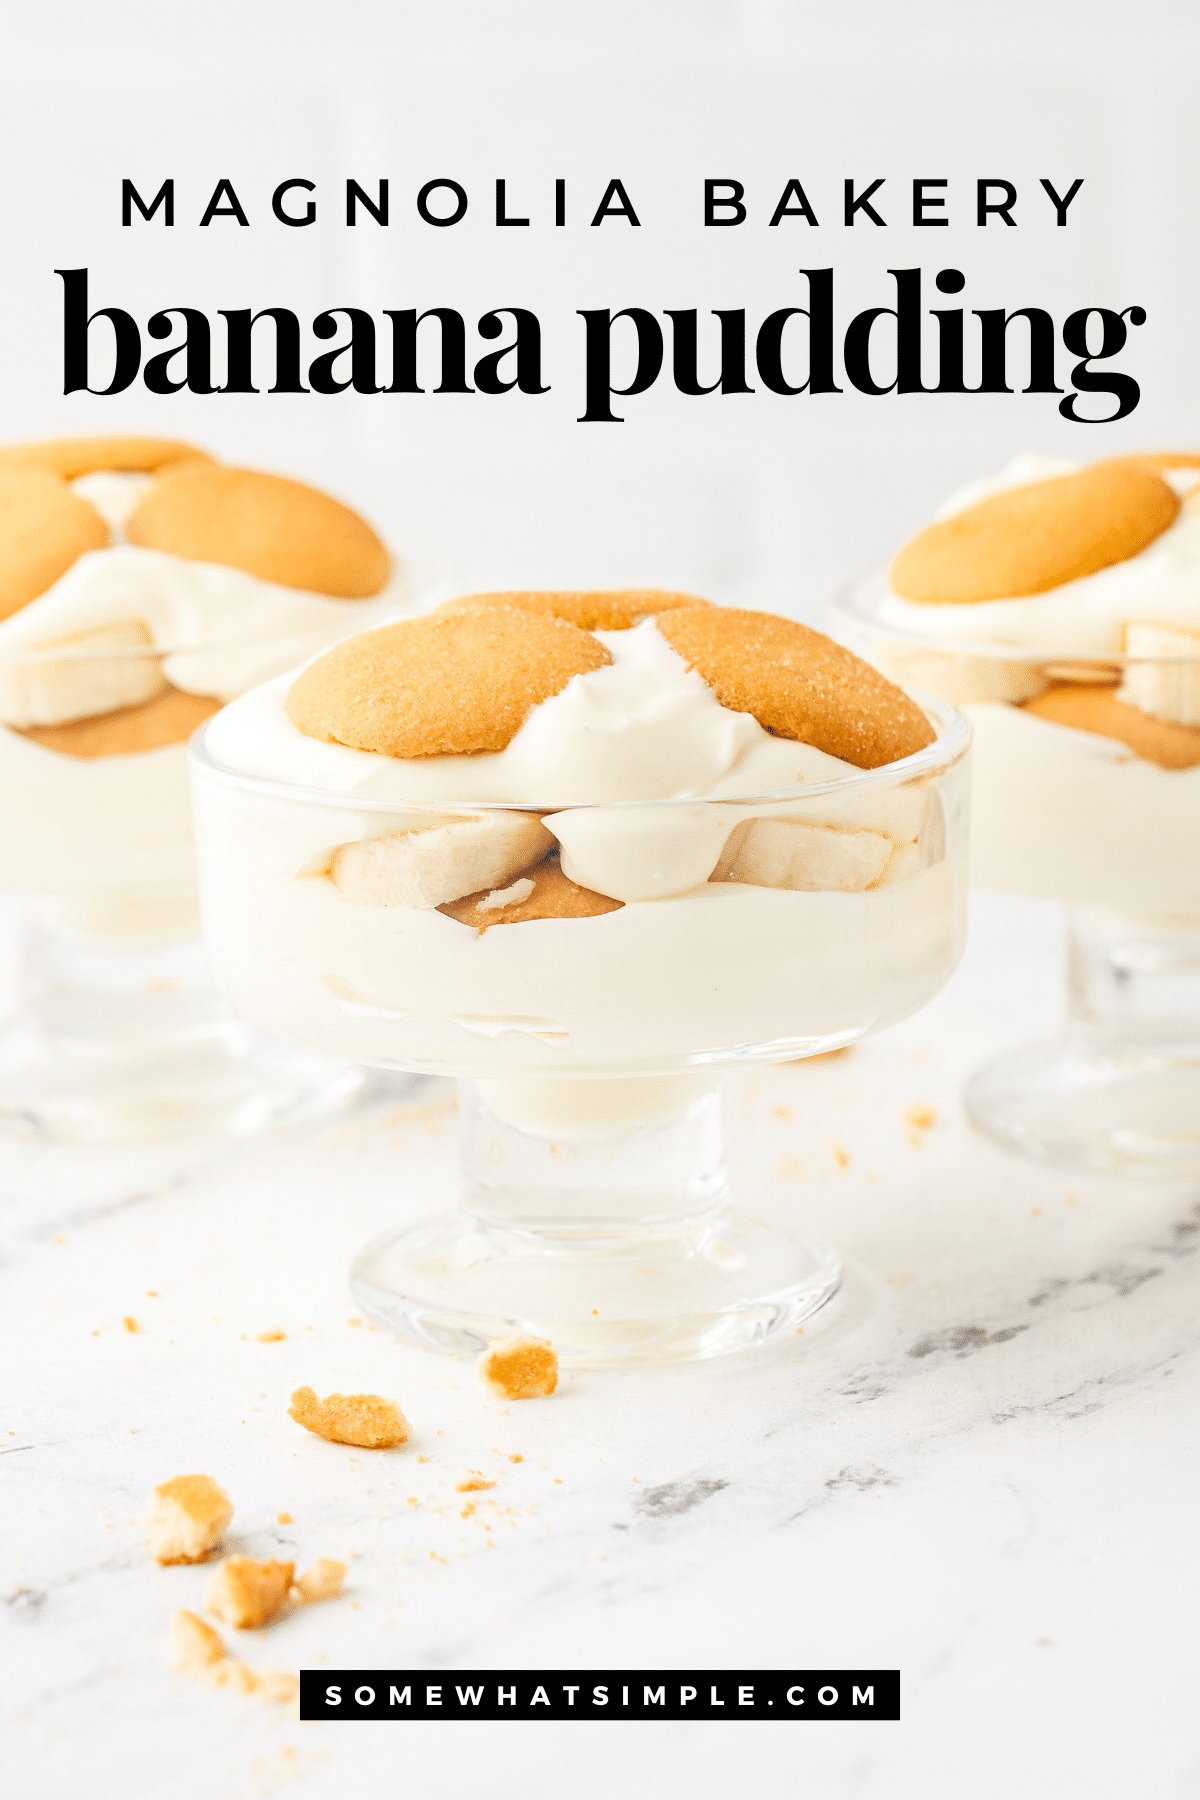
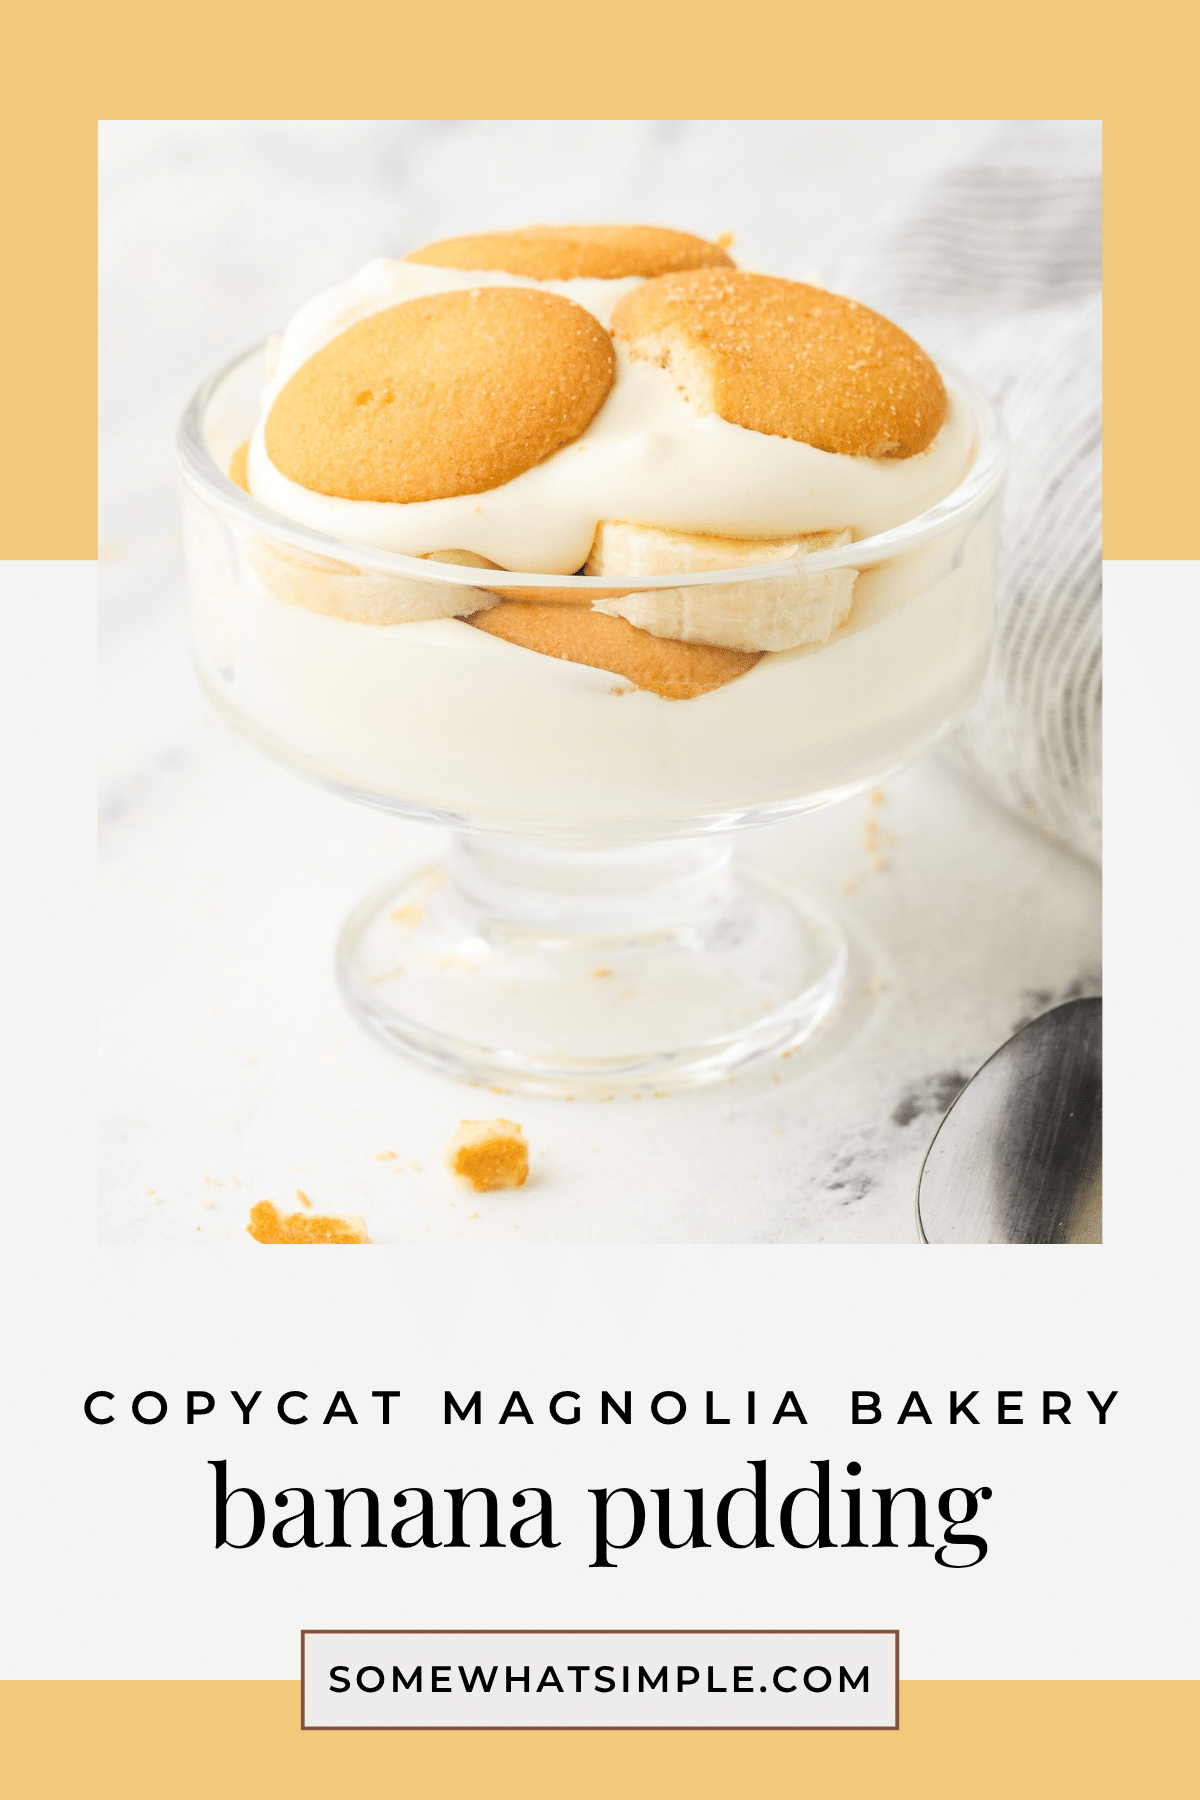

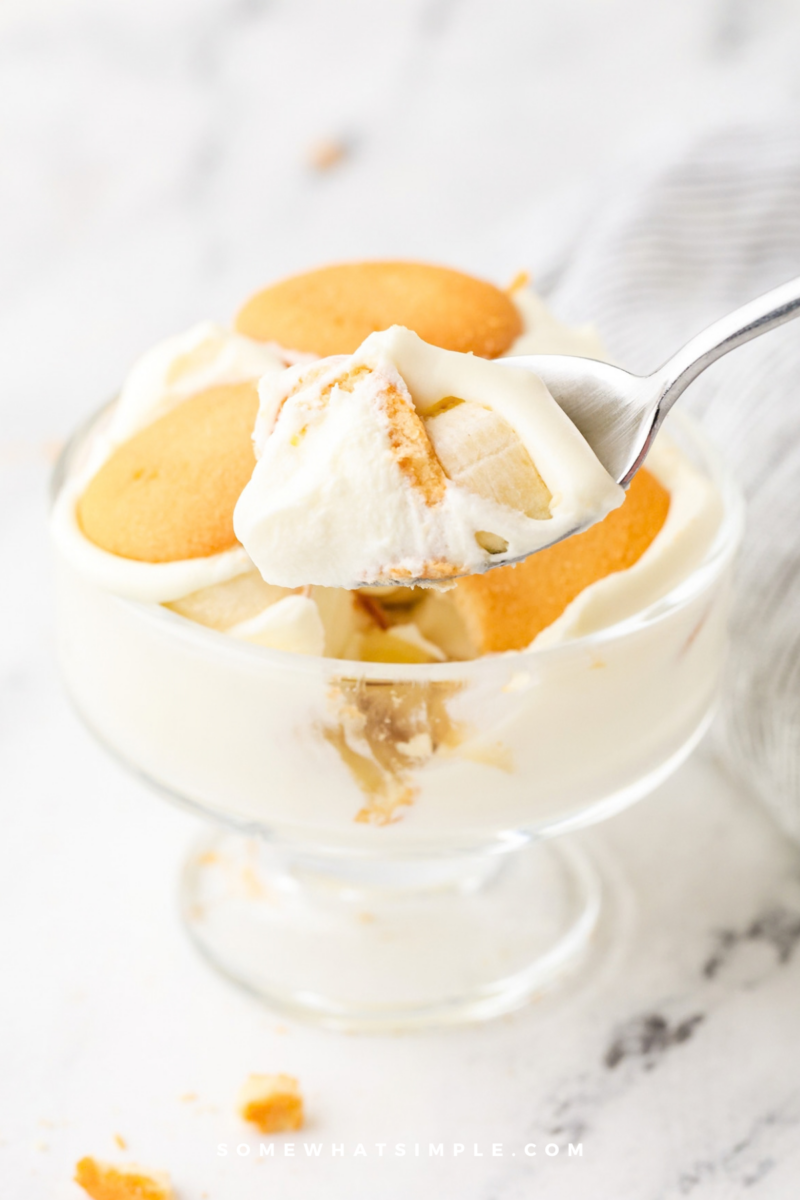
This Magnolia Bakery copycat banana pudding is creamy, dreamy, and loaded with Nilla wafers and bananas. A taste of NYC at home!
I have a confession: I am not a huge banana fan.
Neither is my son, Mason.
So when just the 2 of us were in New York City 3 years ago, I was a little skeptical when so.many.people told us we absolutely had to try the banana pudding at Magnolia Bakery.
Banana pudding? Really?
But we were in NYC, we had been told it was a must-try, and when that many people give you a food recommendation that strongly in New York, you listen.
So we tried it.
And somehow, that banana pudding completely stole our hearts.
It was creamy without being too heavy, the Nilla wafers softened into the most delicious little bites, and the bananas added just enough fresh flavor without making the whole dessert taste like… well, bananas.
Mason and I loved it so much that it immediately became one of those foods we insisted the entire family needed to try the next time we were in New York City.
Naturally, once I became obsessed, I needed to figure out how to make it at home.
And this Magnolia Bakery Copycat Banana Pudding is the answer.
Why You’ll Love This Banana Pudding
There is a reason Magnolia Bakery’s banana pudding has become such a legendary New York City dessert. It isn’t complicated or fancy. In fact, the ingredient list is surprisingly simple.
You get layers of:
- Creamy vanilla pudding
- Fluffy whipped cream
- Sweet, ripe bananas
- Softened Nilla Wafers
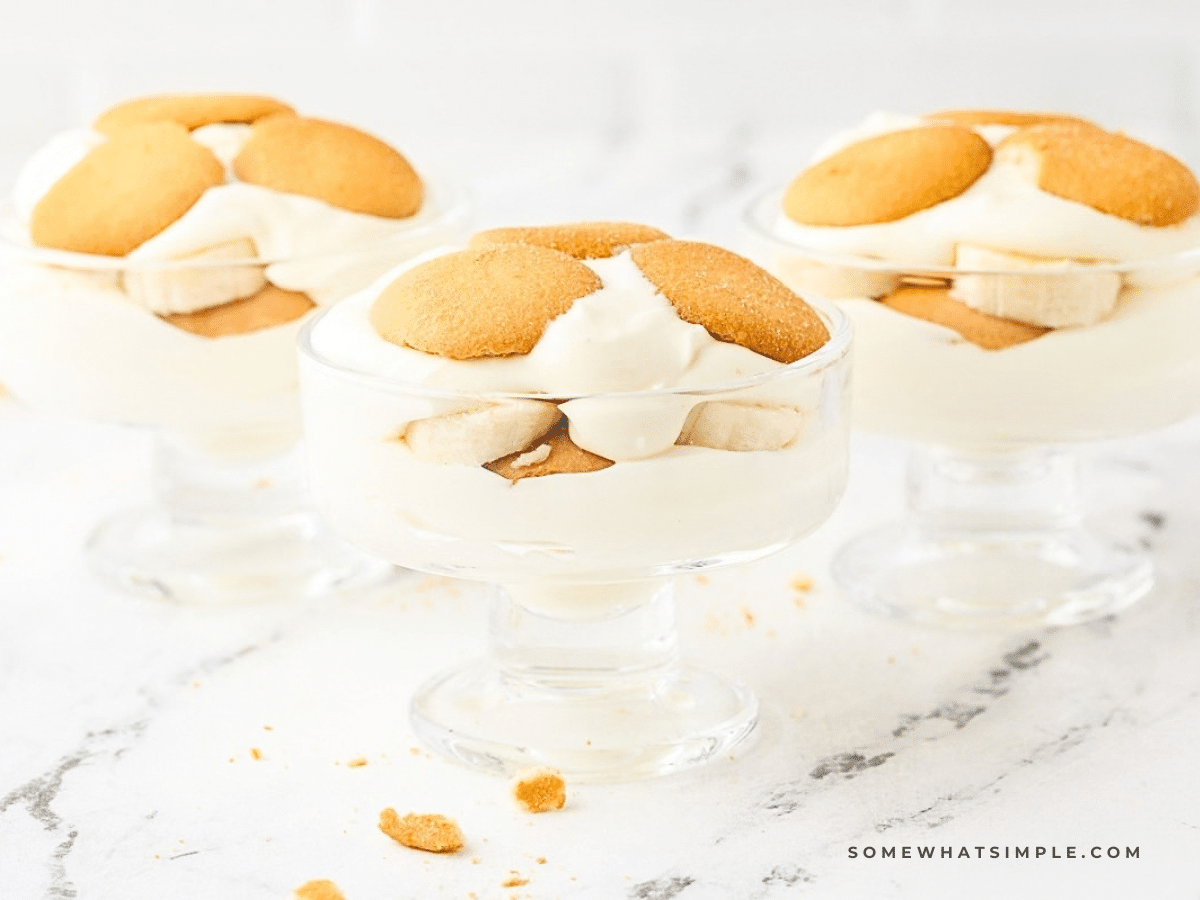
The magic happens while it chills in the refrigerator. The cookies soak up some of that creamy pudding mixture and become soft and cake-like while still holding enough texture to make every bite interesting.
And because this banana pudding is served cold, it’s an especially good dessert for warm-weather gatherings, holidays, family dinners, or anytime you want something you can make ahead.
Plus, you don’t have to wait until your next trip to NYC to get it.
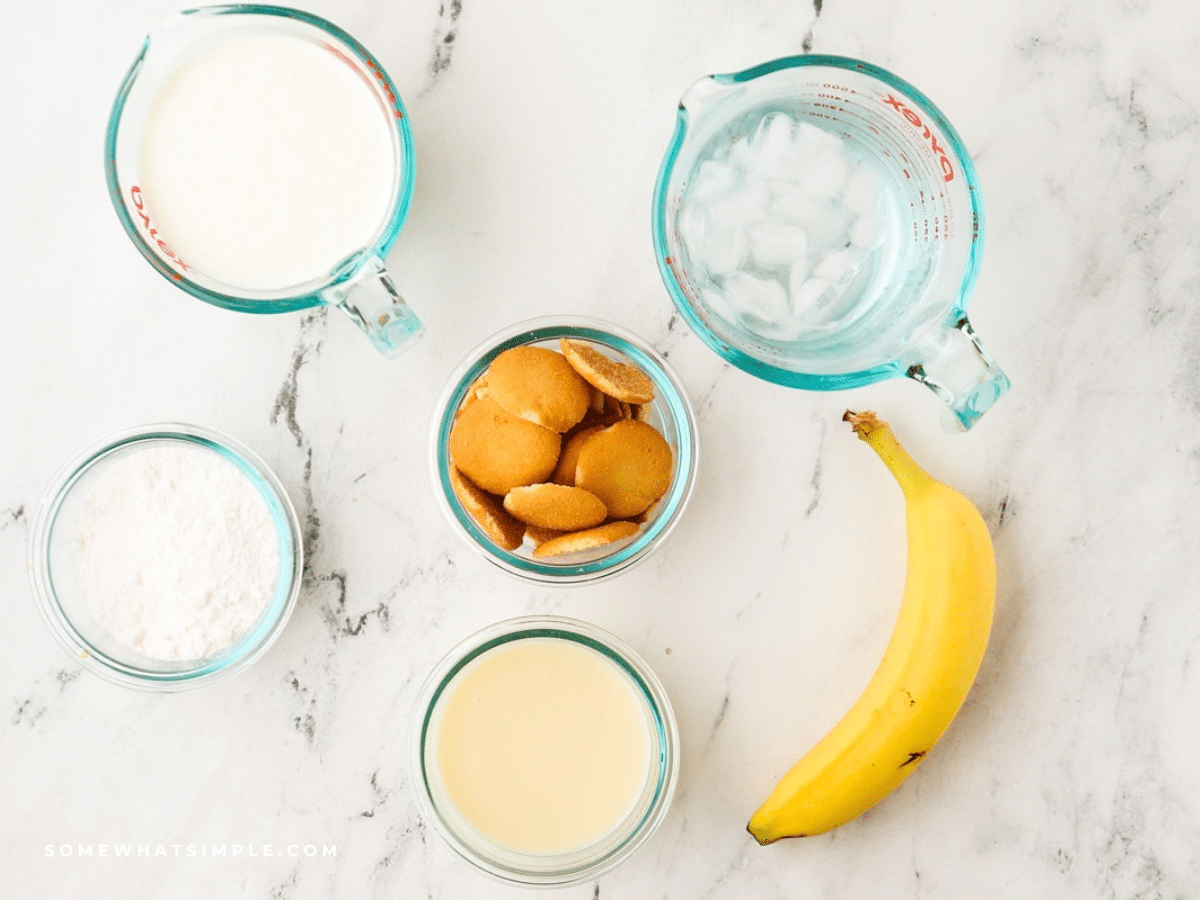
Ingredients
- Sweetened condensed milk: This gives the pudding its rich, creamy texture and plenty of sweetness.
- Ice-cold water: Make sure the water is cold. It helps the pudding mixture come together properly.
- Instant vanilla pudding mix: I recommend using Jell-O instant vanilla pudding mix for the closest flavor and texture to the original.
- Heavy cream: Whipping the cream yourself gives this banana pudding its light, fluffy texture.
- Nilla Wafers: These are a must for that classic banana pudding flavor. As they sit in the pudding, they soften into delicious little bites.
- Ripe bananas: Look for bananas that are ripe and sweet but still firm enough to slice without turning to mush.
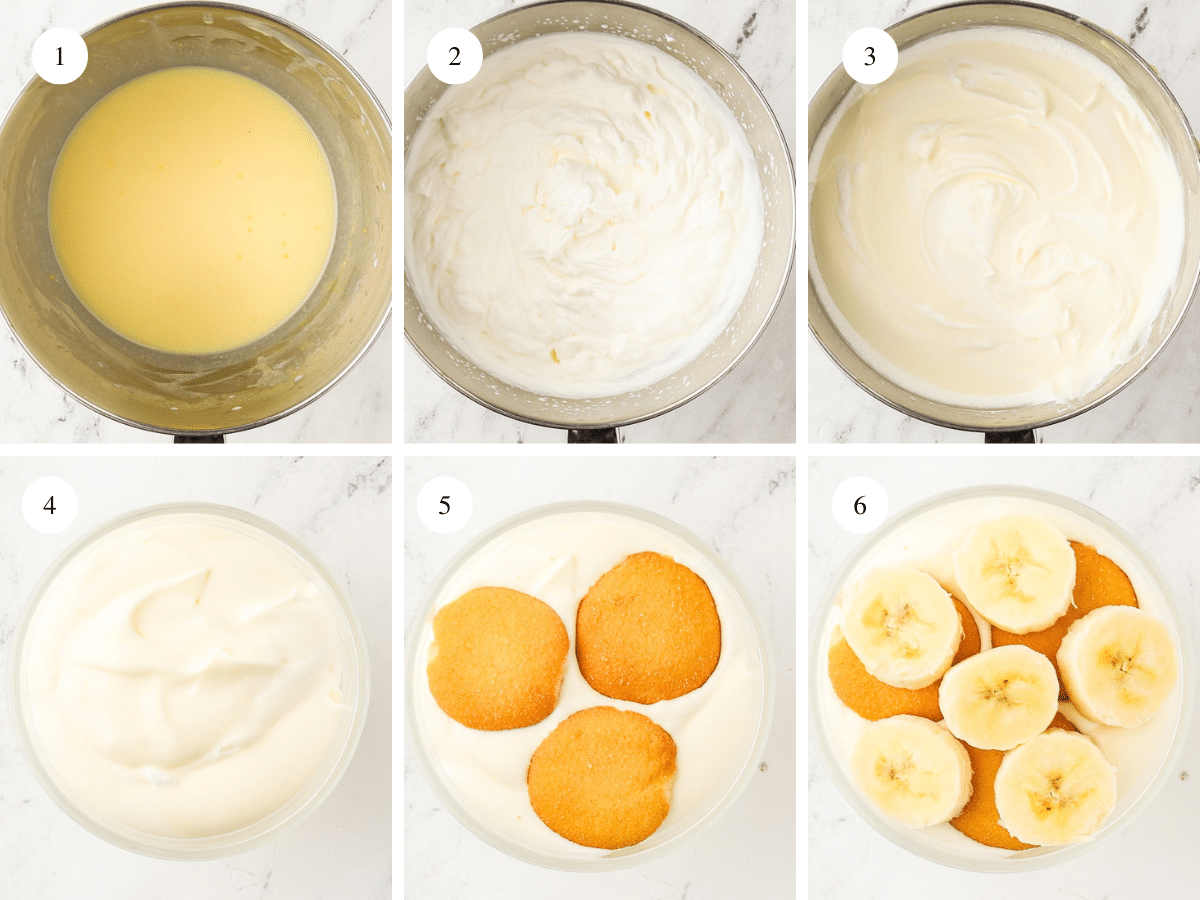
How to Make Magnolia Bakery Banana Pudding
1. Make the pudding mixture
- Add the sweetened condensed milk and ice-cold water to the bowl of a stand mixer fitted with the whisk attachment. Beat on medium speed for about 1 minute, until well combined.
- Add the instant vanilla pudding mix and beat for about 2 minutes, or until the mixture is smooth and completely free of lumps.
- Transfer the mixture to a medium bowl, cover, and refrigerate for at least 1 hour, or overnight.
2. Whip the cream
- Add the heavy cream to your stand mixer and whip on medium speed for about 1 minute, until it starts to thicken.
- Increase the speed to medium-high and continue whipping until stiff peaks form.
3. Combine the pudding and whipped cream
- With the mixer running on low, add the chilled pudding mixture one spoonful at a time.
- Continue mixing until everything is well blended and there are no streaks of pudding remaining.
- At this point, you should have a thick, creamy, fluffy pudding mixture that is very difficult to stop eating straight from the bowl. (Not that I would know.)
4. Layer the banana pudding
- You can assemble this banana pudding in a large glass bowl, individual serving dishes, or pint-sized mason jars.
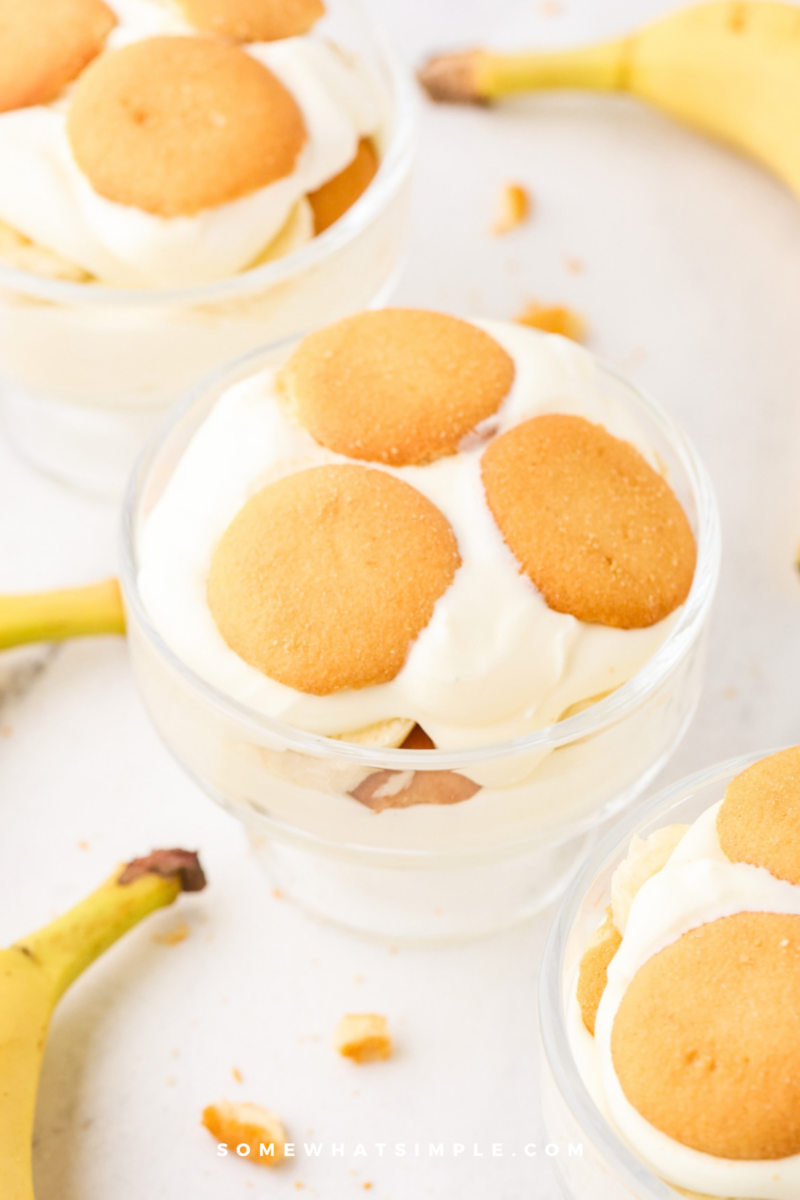
- If you’re serving this at a party or bringing it to a gathering, I love the mason jar option. Everyone gets their own little dessert, and the layers look so pretty through the glass.
- Set aside 4–5 Nilla Wafers for the garnish.
- Start with a layer of pudding on the bottom. Add a layer of Nilla Wafers, followed by sliced bananas. Repeat the layers twice more, finishing with a final layer of pudding.
- Top with the reserved Nilla Wafers or a sprinkle of cookie crumbs.
How Many Mason Jars Does This Recipe Make?
This recipe makes approximately 8–10 pint-sized mason jar servings.
For generous, dessert-sized portions, plan on about 8 pint jars. If you’re serving this as part of a larger meal or party and want slightly smaller portions, you can stretch it to 10 jars.
I recommend filling the jars about three-quarters full rather than packing them all the way to the top. This gives you plenty of room for the layers and a cookie garnish without making a mess when you put the lids on.
Can You Make Banana Pudding Ahead of Time?
Yes, but timing matters.
The pudding mixture can be made up to a day ahead and kept covered in the refrigerator. You can also slice your bananas shortly before assembling the dessert.
Once everything is layered, however, the texture is best within about 12 hours. The longer the pudding sits, the softer the Nilla Wafers and bananas become.
And honestly, that’s part of what makes this dessert so good. You want those cookies to soften, but you don’t want them sitting around for days.
If you’re making it for a party, I’d prepare the pudding mixture the day before, then assemble the dessert several hours before serving.
A Little Taste of New York at Home
There’s something fun about recreating a recipe from a place you’ve visited, especially when the food becomes part of the memory.
Mason and I didn’t expect a dessert we were initially so skeptical about to become one of our favorite things from our New York City trip. But that’s exactly what happened.
Now whenever I make this banana pudding, I think about that trip, wandering around NYC with my son, and the very unexpected dessert recommendation that turned into a family favorite.
And that is exactly why I love food.
Sometimes it’s not just about the recipe. It’s about where you ate it, who you were with, and the memories you make around the table.
If you’ve never tried Magnolia Bakery’s famous banana pudding, put it on your NYC food bucket list.
And if New York isn’t on your calendar anytime soon, make this instead.
Your kitchen will thank you.
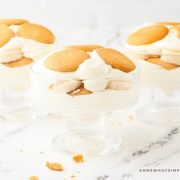
Magnolia Bakery Copy Cat Banana Pudding
Ingredients
- 1 14oz can sweetened condensed milk
- 1½ cups ice-cold water
- 1 3.4 oz box instant vanilla pudding mix
- 3 cups heavy cream
- 1 11ox box Nilla wafers
- 4 to 5 bananas, ripe, sliced
Instructions
- In a stand mixer with the whisk attachment, beat the condensed milk and water on medium speed for about 1 minute, until well combined. Add the pudding mix and beat until the mixture is smooth and there are no lumps, about 2 minutes. Transfer to a medium bowl, cover, and refrigerate until firm, at least 1 hour or overnight.
- In a stand mixer with the whisk, whip the heavy cream on medium speed for about 1 minute, until the cream starts to thicken, then increase the speed to medium-high and whip until stiff peaks form. Be careful not to overwhip.
- With the mixer running on low speed, add the pudding mixture a spoonful at a time. Mix until well blended and no streaks of pudding remain.
- To assemble, select pint-sized mason jars, a wide glass bowl, or individual serving bowls. Saving 4 to 5 cookies for the garnish on top, begin assembly. Spread one-quarter of the pudding over the bottom and layer with one third of the cookies and one-third of the sliced bananas (enough to cover the layer). Repeat the layering twice more. End with a final layer of pudding. Garnish the top with additional cookies or cookie crumbs.
- Cover tightly with plastic wrap and refrigerate for 4 to 6 hours. Cookies should be tender when poked with a knife. This dessert is best served within 12 hours of assembling.
Nutrition
Other Notes