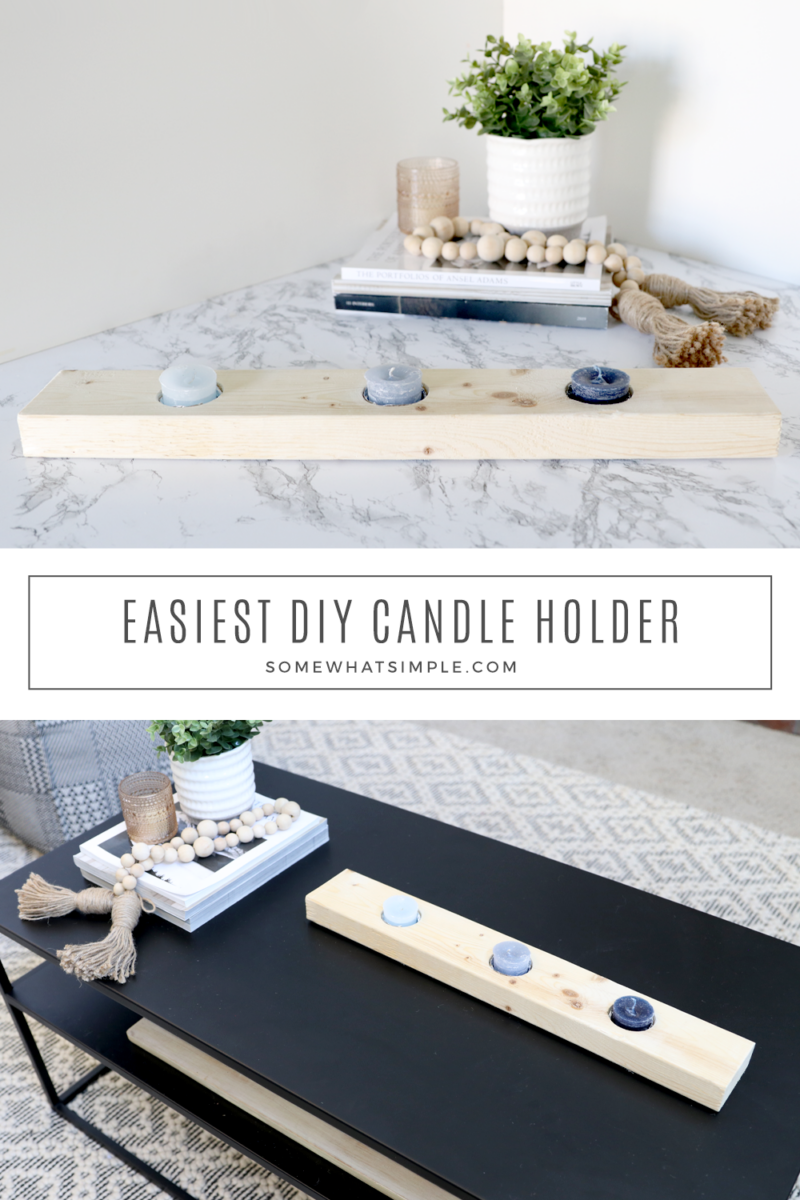
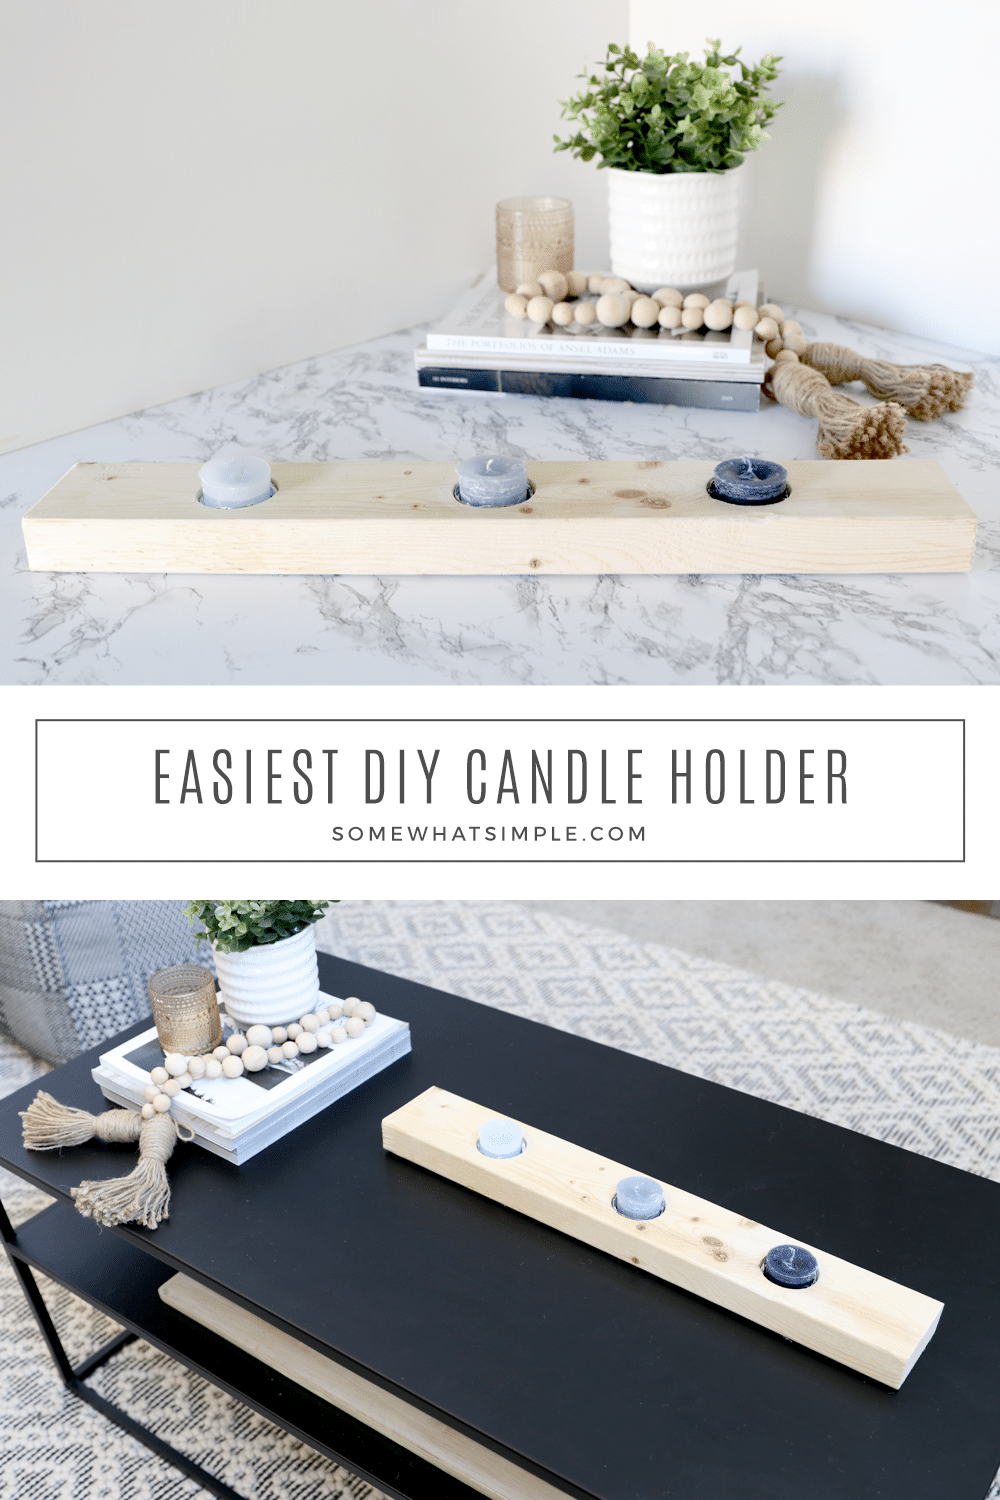
This DIY Candle Holder is a quick little wood project that will help you dress up any table-scape!
Here are a couple more DIY Projects we think you’ll love – Funny Welcome Mat, Wood Photo Blocks, and Cinderblock Bench.
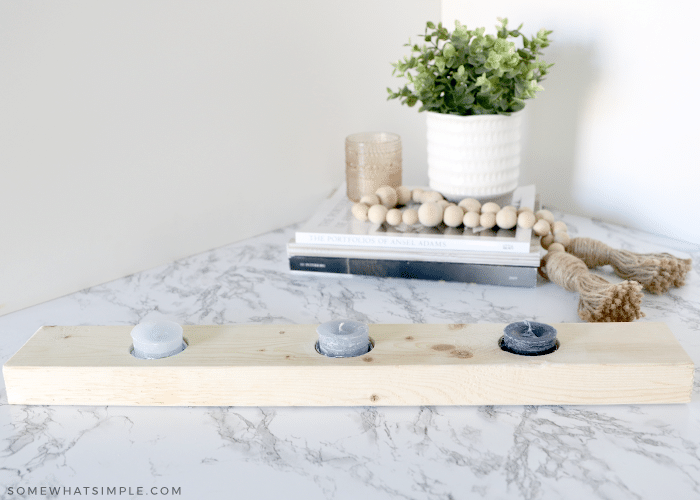
Years ago we shared a fun DIY project that involved drilling some holes into a scrap piece of 2×4 to make a simple votive holder. Just when I thought things couldn’t get any easier, I spotted a very similar idea at Home Depot that came ready to go!
Are you guys familiar with Vented Frieze Boards? They’re typically used to provide ventilation for the attic. Each board has 3 holes covered with wire mesh that allows the transfer of air in the attic to the outside. You can find these boards in the lumber section, and they are roughly $1.50 each – THAT’S IT!!
Today I want to show you how we took a Vented Frieze Board and turned it into a cute and simple candle holder!
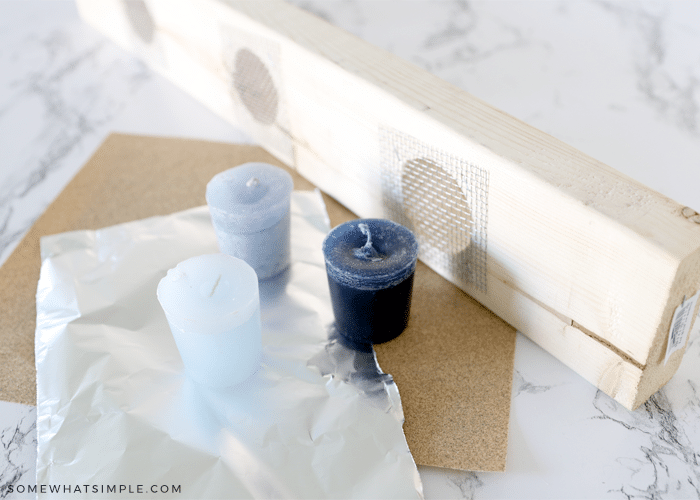
How to DIY a Candle Holder
SUPPLIES –
- 1 Vented Frieze Board
- sandpaper
- foil
- candles
- paint/ stain + paint brush, optional
DIRECTIONS –
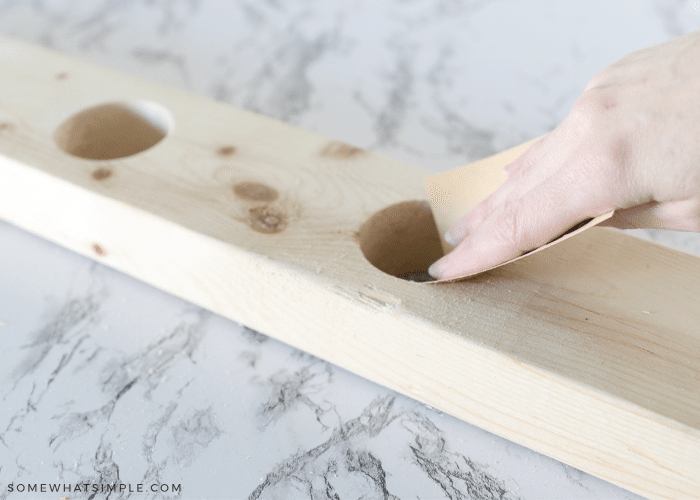
Start by sanding your board so it’s nice and smooth. Vented Frieze Boards come in pretty decent shape, but the raw edges can definitely use a good sanding.
If you want to paint or stain your board, do so now. I actually liked the raw wood look, so I left mine.
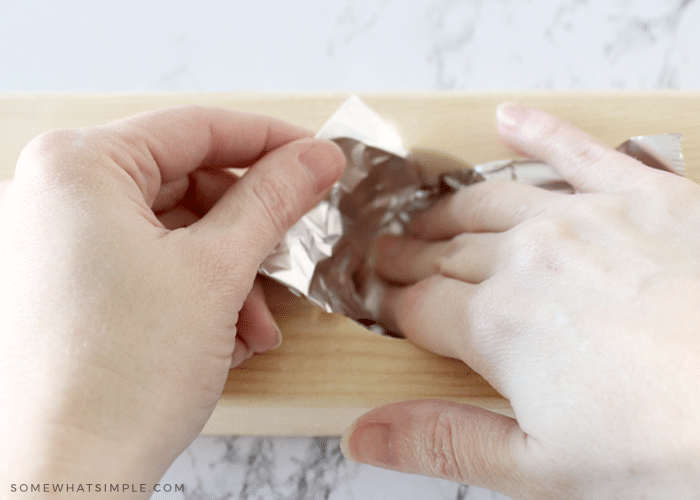
Add a small piece of foil to the bottom of each vented hole. This will help catch melted wax and it will allow your candle to sit as high as you’d like it to once placed in the hole.
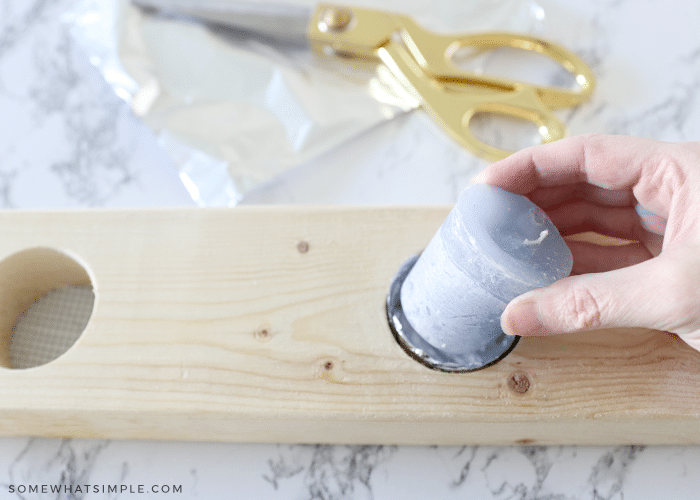
Place a small candle in each hole….
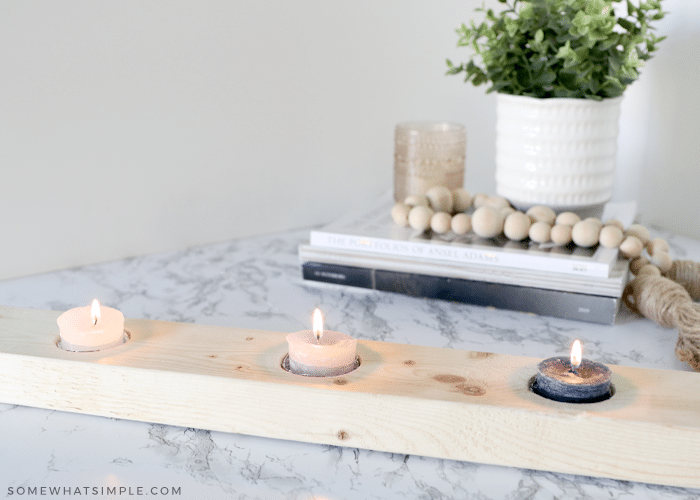
And voila! Gotta love quick and easy (and cheap) project!


I did this with a log. Used a forstner bit. Used a miter saw to level one side.
Used as directed a 1 .5 inch spade bit…..way undersized tea lights won’t fit. Recommend using 1 5/8 inch spade bit. Forster bit would work but the cost isn’t cheap…
Thanks for the tip Dan! 🙂
Better results using forstner bit. Cleaner cut.
^^^How^^^?!?!?! Mine turned out beautifully in a cedar 4X4 but wouldn’t work at all in a pine 2×4 :/ The blade would get jammed up every time I tried. What’s the secret?
Made and turned out great.
Great idea. I did mine pretty much the same except I routed the edges to give a more sloped appearance and went with a slightly lighter oak finish. But the tea lights I used needed a 1-7/8th” spade bit.
I love this! I need to go get that drill bit!