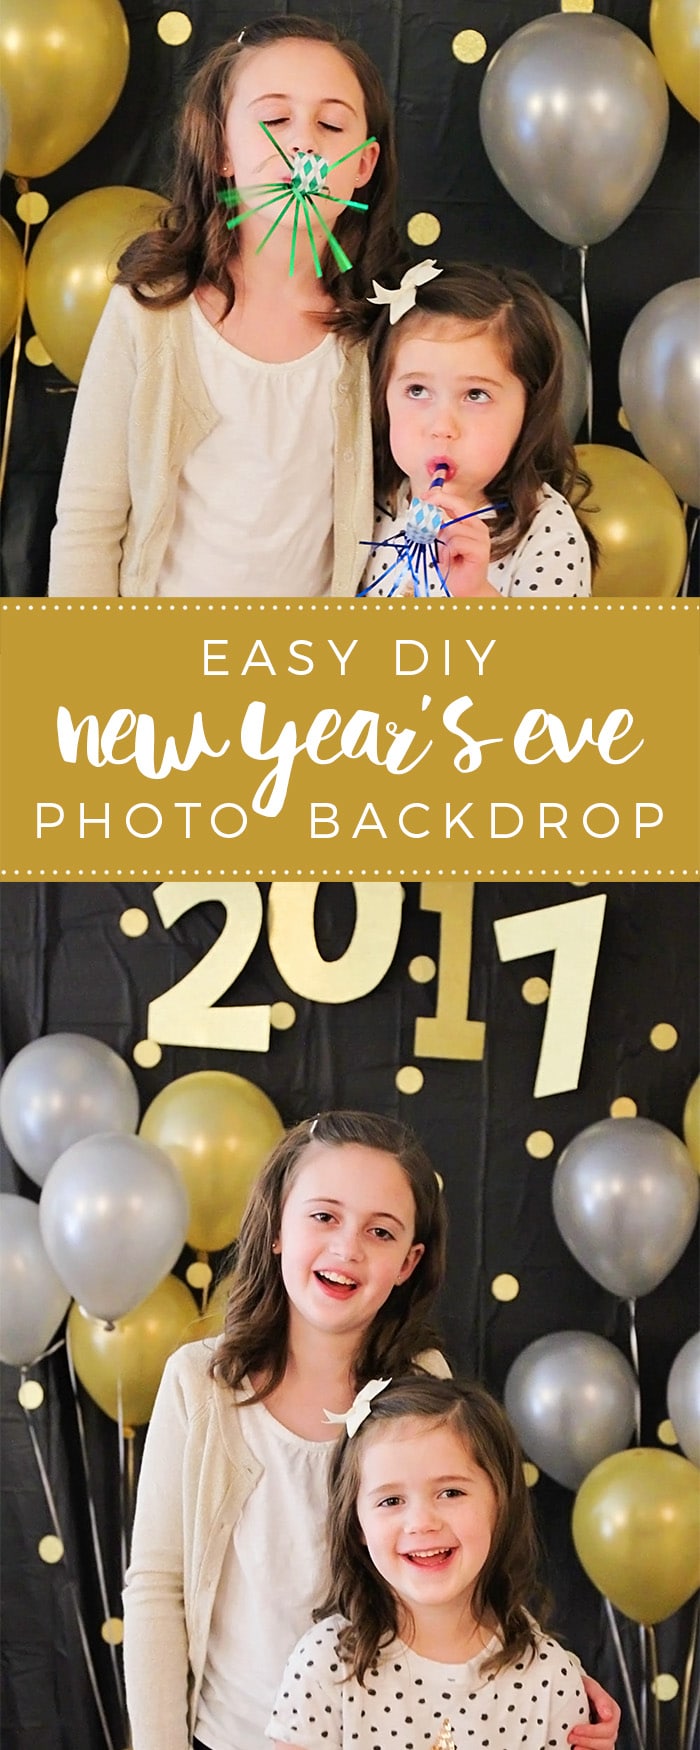
This easy New Year’s Eve photo backdrop is sure to capture all the best memories of your NYE festivities!
Don’t ring in the new year without a few more of our favorite NYE ideas – Countdown Cupcakes, Printable Goal Journal, and NYE Party Printables.
New Year’s Eve is one of my favorite holidays to celebrate! I love getting a fresh new start with a new year and new possibilities. I also like that it’s a much more low key holiday than the ones that precede it. No presents to buy, no stress! Just delicious appetizers, bubbly drinks, and kissing at midnight. I can handle that!
We love to celebrate with a laid-back game night with friends and family. Everyone brings a snack to share, and then we all pop open the sparkling cider at midnight. It’s always really fun and relaxed. To make things a little more festive this year, I made this easy New Year’s Eve photo backdrop. It was super simple and quick to make, and so much fun!
Easy DIY New Year’s Eve Photo Backdrop
SUPPLIES:
- glitter cardstock
- gold and silver balloons
- curling ribbon
- plastic table cover
- Balloon Time helium tank*
DIRECTIONS:
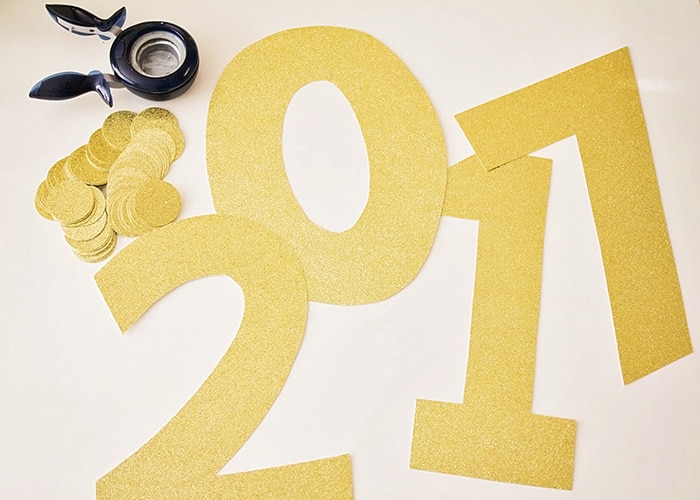
- I started by cutting some numbers and small circles out of my glitter card stock. I freehanded the numbers, but you could easily print out some numbers in a font you like. Size the numbers large enough to fill the page, then trace them onto the card stock.
- After I cut out the numbers, I also used a one-inch circle punch to cut out a bunch of little sparkly circles from the scraps.
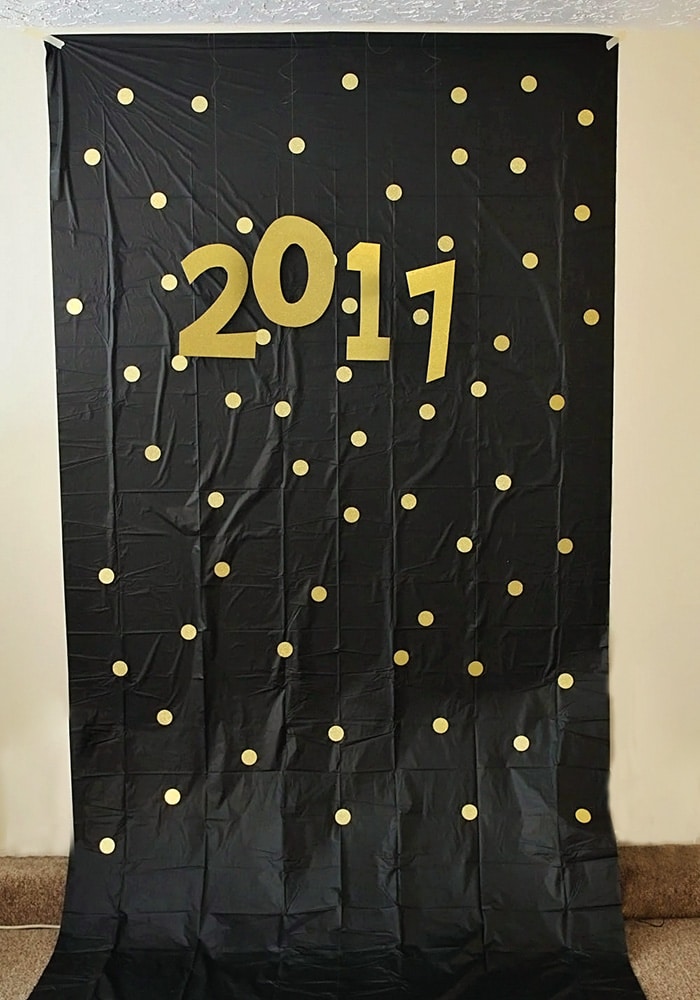
- Next, I taped my tablecloth to the wall, and then added my glittery dots. I used small pieces of masking tape to hold them on, but I’m sure a glue stick would also work. I put them in a fairly random pattern (although I am a little neurotic and like things to be evenly spaced).
- Once I had my dots on, I hung the numbers from the ceiling using fishing twine. You could easily just tape them to the backdrop instead, but I wanted them to stand out from the background just a little bit.
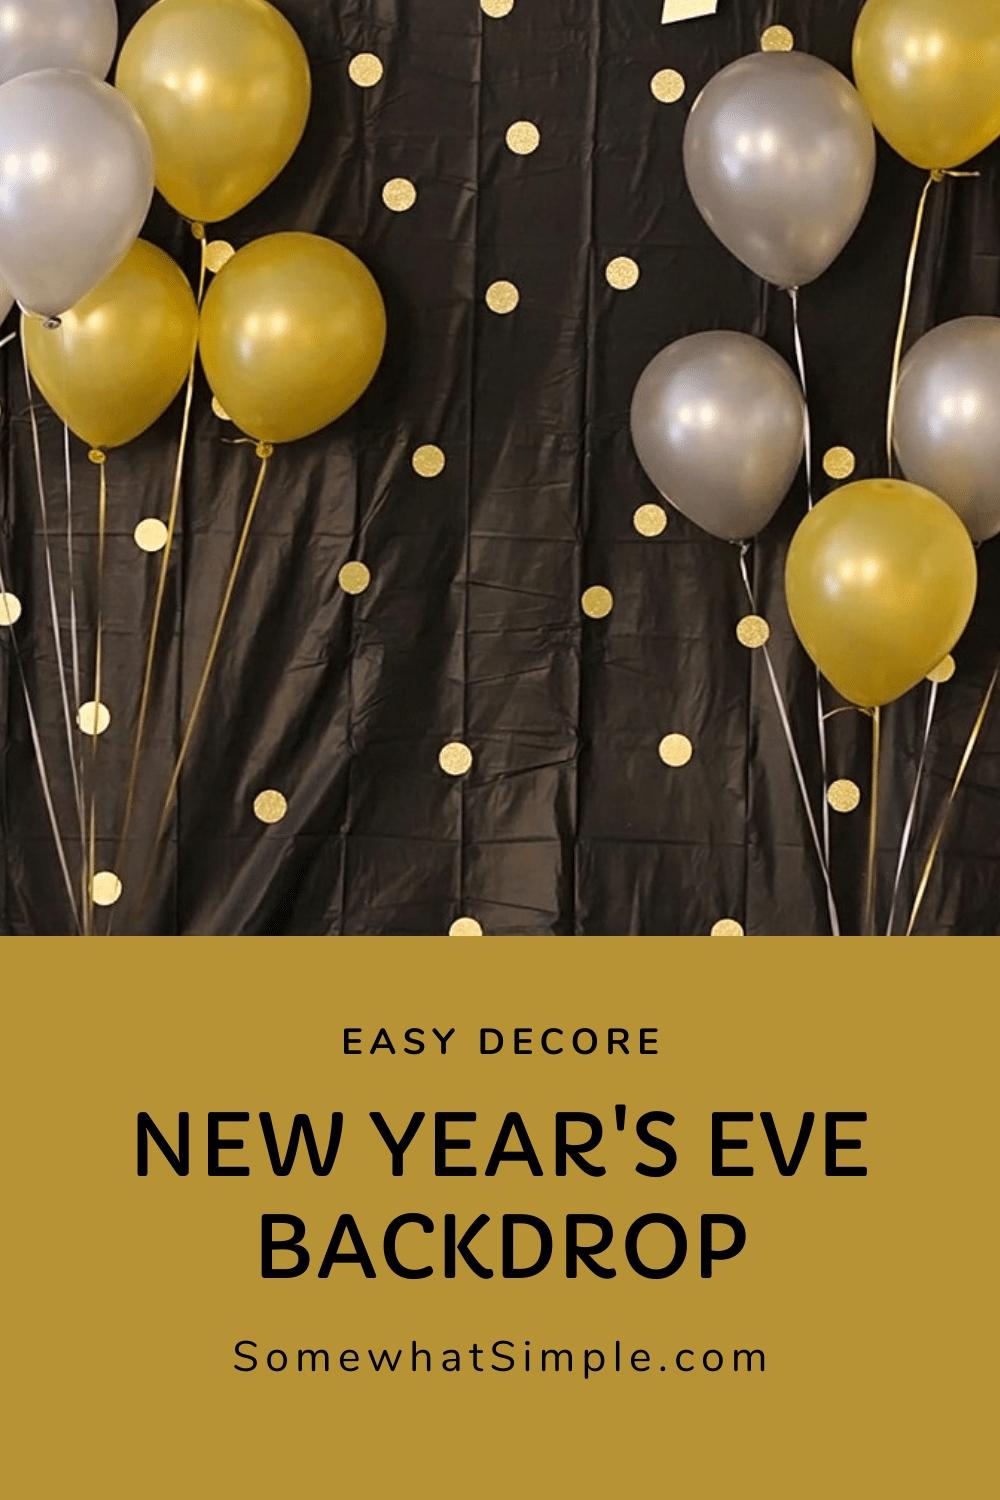
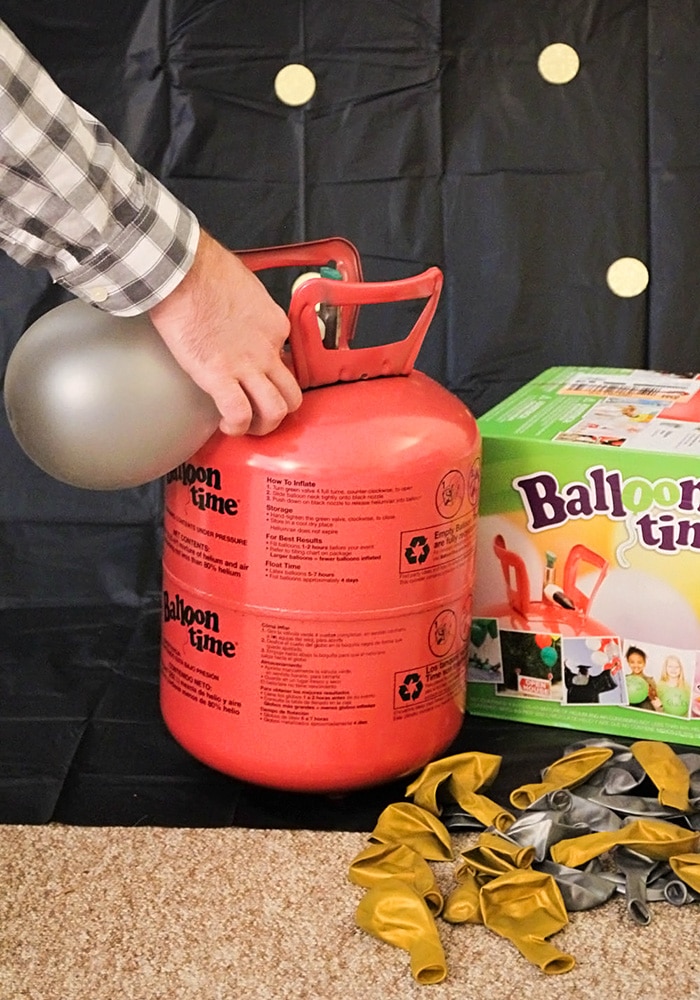
5. The last (and most fun!) step is to add your balloons. I found some bags of silver and gold balloons at my local craft store, and then I put my husband on balloon-filling duty. The Balloon Time helium tank was simple and easy to use, and we had a big bunch in just a few minutes!
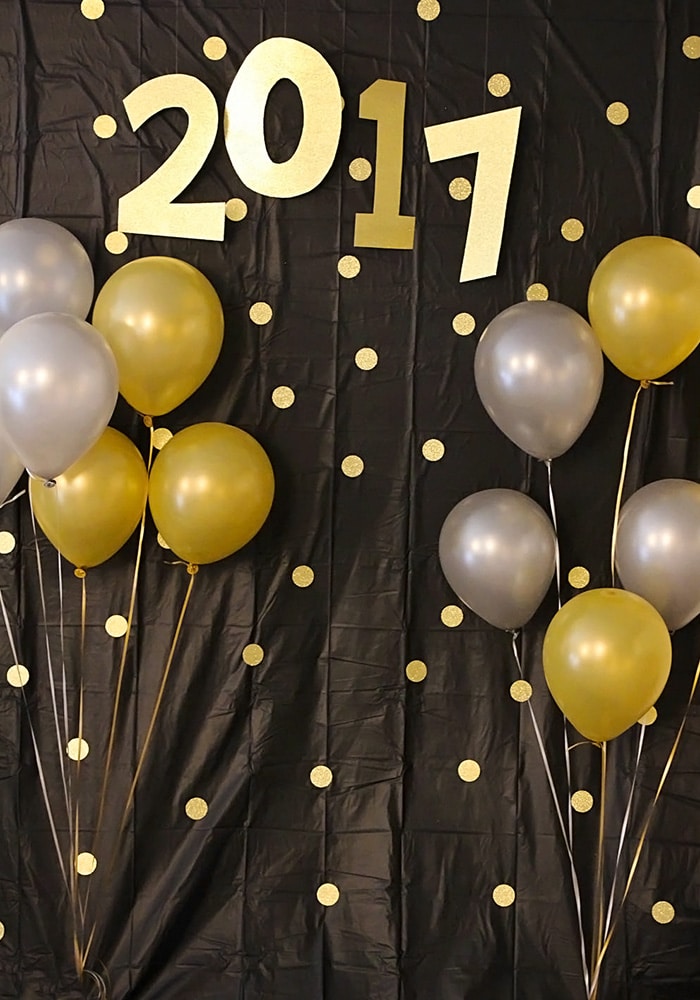
Seriously, so cute! I love that it only took a few minutes to put together, too!
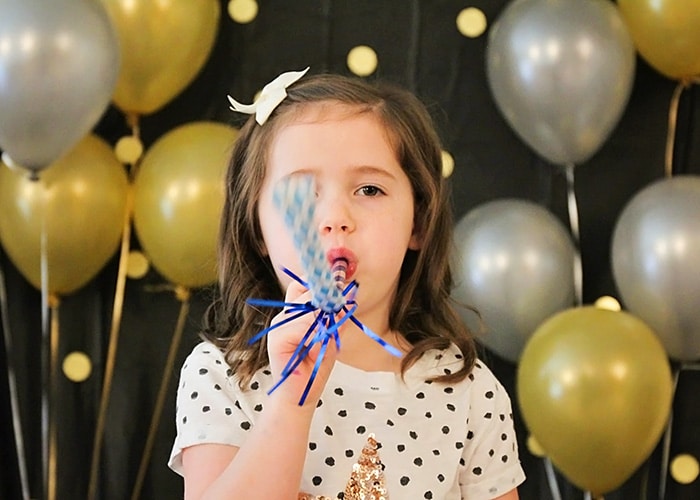
Once we had everything set up, it was time for some cute pictures!
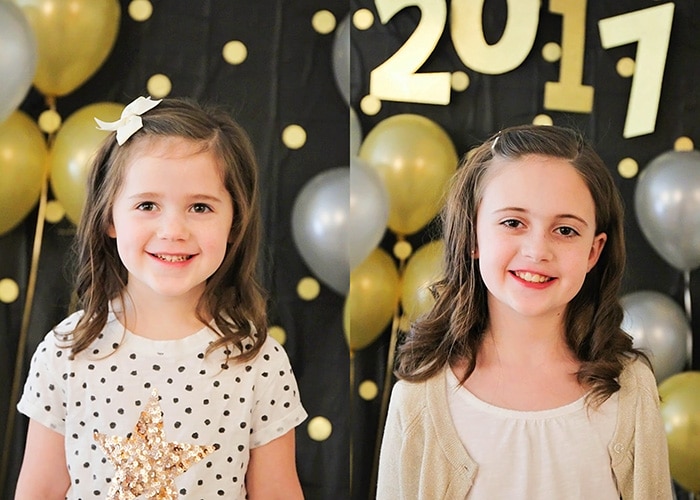
We brought out our noisemakers and had a great time posing for pictures!
This simple and easy New Year’s Eve photo backdrop will be perfect for your New Year’s Eve celebration!