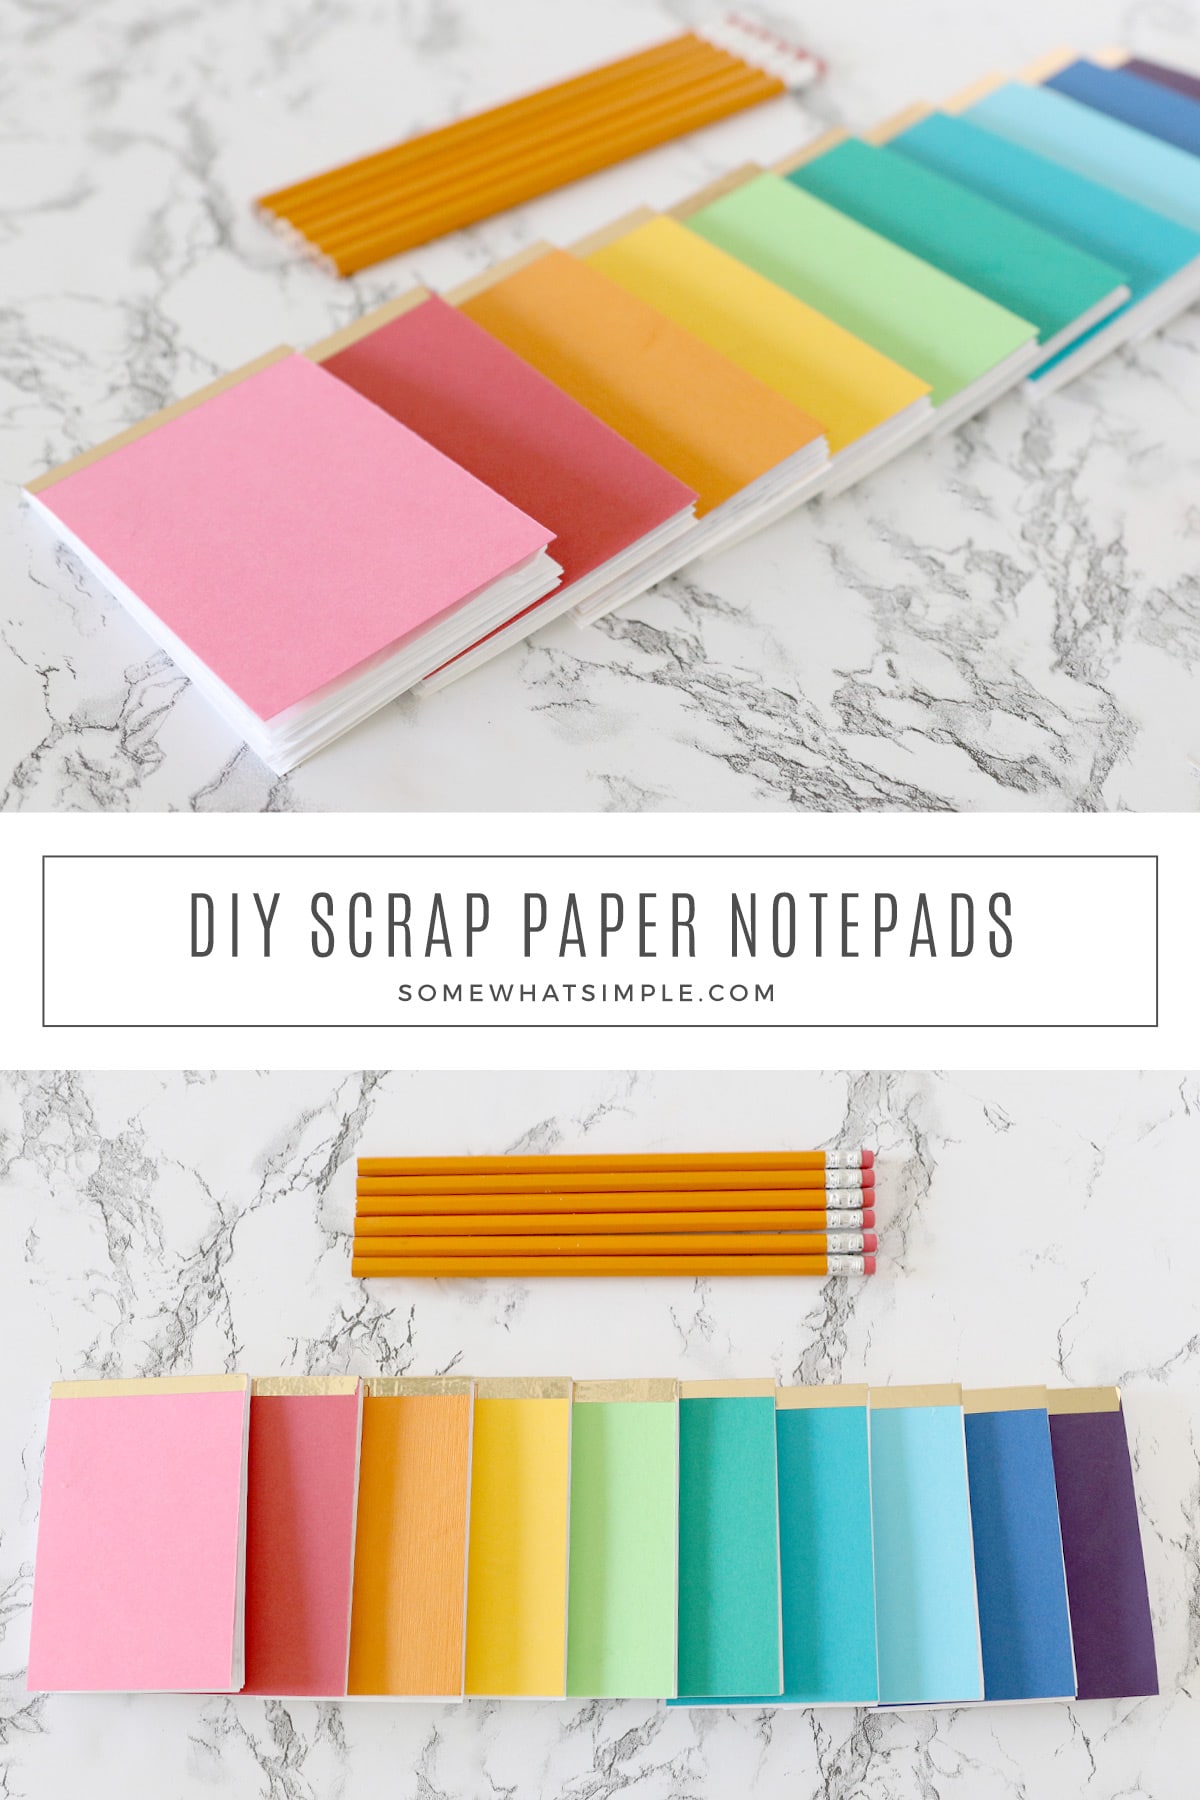
How to make a notepad with fliers and scrap paper in a simple, useful way that looks darling too!
Be sure to check out a few more of our favorite paper projects – Tissue Paper Pom Poms, Paper Bag Kites, and Easy Bookmarks. For even more ideas, we have a whole list of 50 Favorite Paper Crafts!

DIY Notepads
I have a daughter who loves notebooks! (Just like me- I LOVE making lists!!!) She’s 3, but she takes her “work” very seriously, and those scribbled-filled notebooks once purchased from the dollar bins at Target are like her prized possessions! Yesterday she filled up her most recent notebook and I think the world was about to end in her eyes!
Enter Super Mom.
In an effort to be more creative than handing her some sheets of paper with a staple in the corner (a method that has failed in this house before!) I made some colorful notepads that she can tear off and have fun with! Each notebook takes less than 5 minutes to make, and they’re made with a stack of recycled scrap paper her older brother brought home from school.
Here’s how to make them –
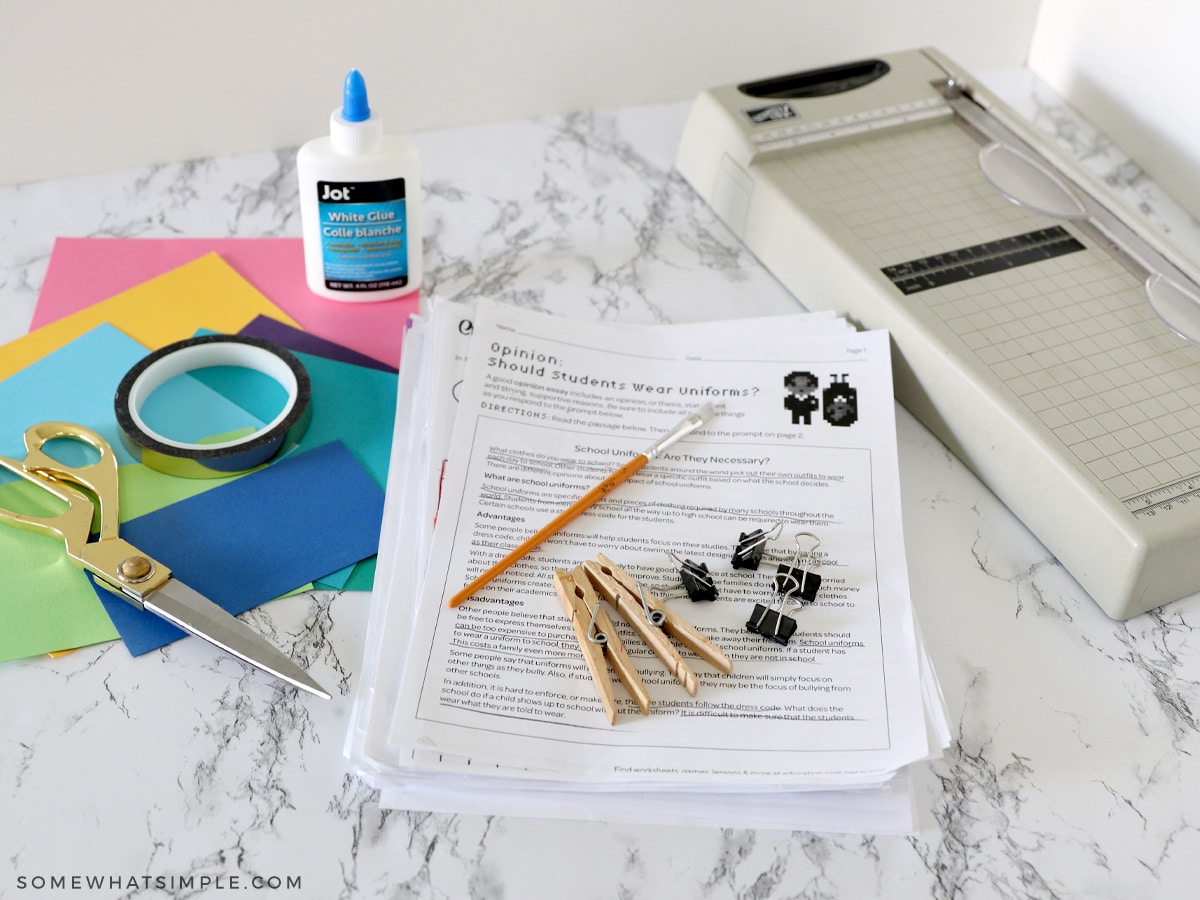
Items You’ll Need
- SCRAP PAPER – Flyers from school, homework, junk mail, etc. Basically anything without print on one side. I used 5 sheets of scrap paper per notebook.
- CARDSTOCK – Colored cardstock or scrapbook paper for the front + back covers
- GLUE – white craft glue (like Elmer’s)
- WASHI TAPE – This is optional, but it does help keep the covers from tearing off accidentally.
- PAPER CUTTER – You can also use scissors if you’re better at cutting a straight line than I am!
- PAINT BRUSH – Not a paint sponge – it must have bristles.
- BINDER CLIPS – Clothespins also work well.
How to Make a Notepad From Scrap Paper
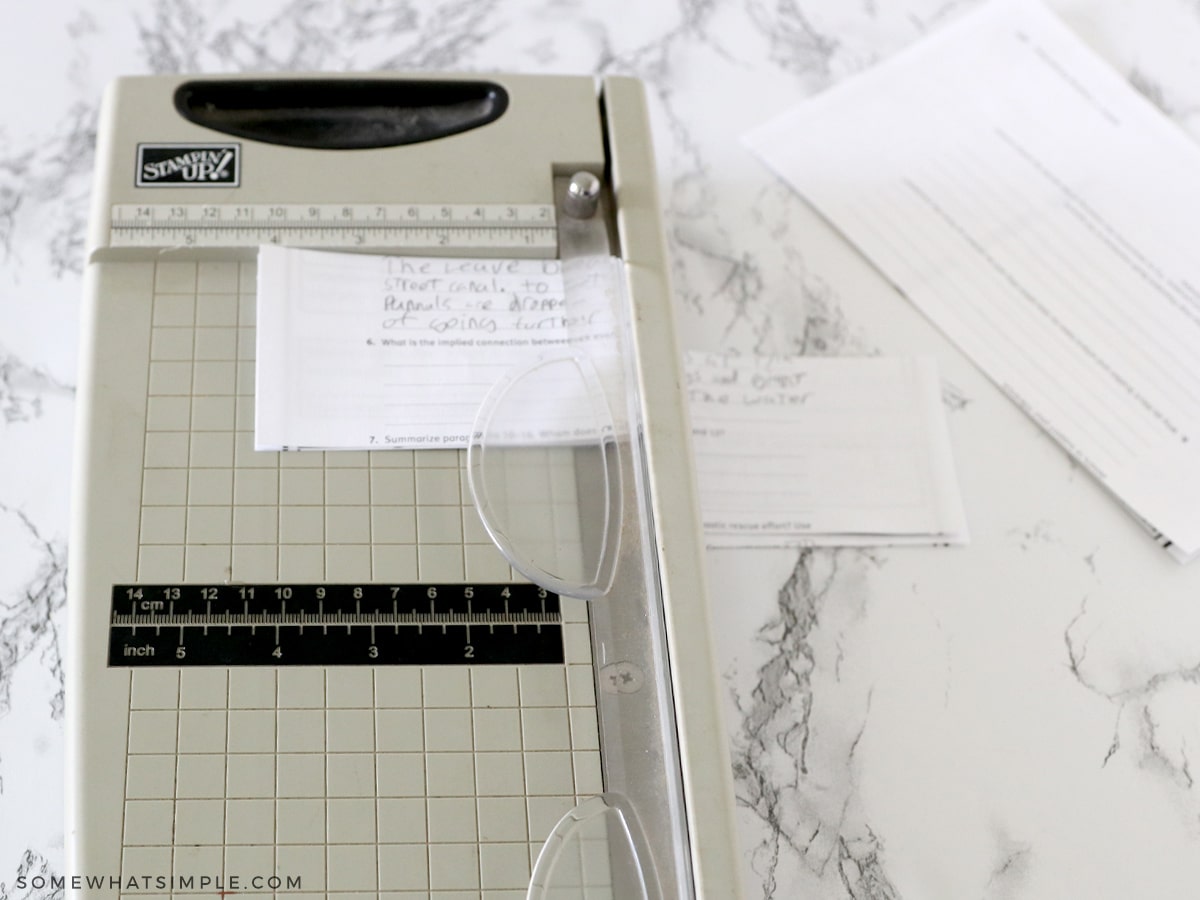
Cut – Grab a few of your scrap papers and using your paper cutter, cut into pieces. I cut mine in fourths lengthwise, and then those fourths in half so the end dimensions where 2 3/4″ x 4 1/4″. I cut my cardstock covers just a hair larger than my scrap paper dimensions.
Line Up – Make sure all your scrap papers are facing the same way. Tap the stack of paper on a hard, flat surface to make sure they’re all straight. It doesn’t matter if the other sides don’t line up – just the top.
Place your cardstock on the front and back (make sure the blank sides are facing the front) and tap again so it’s nice and smooth.
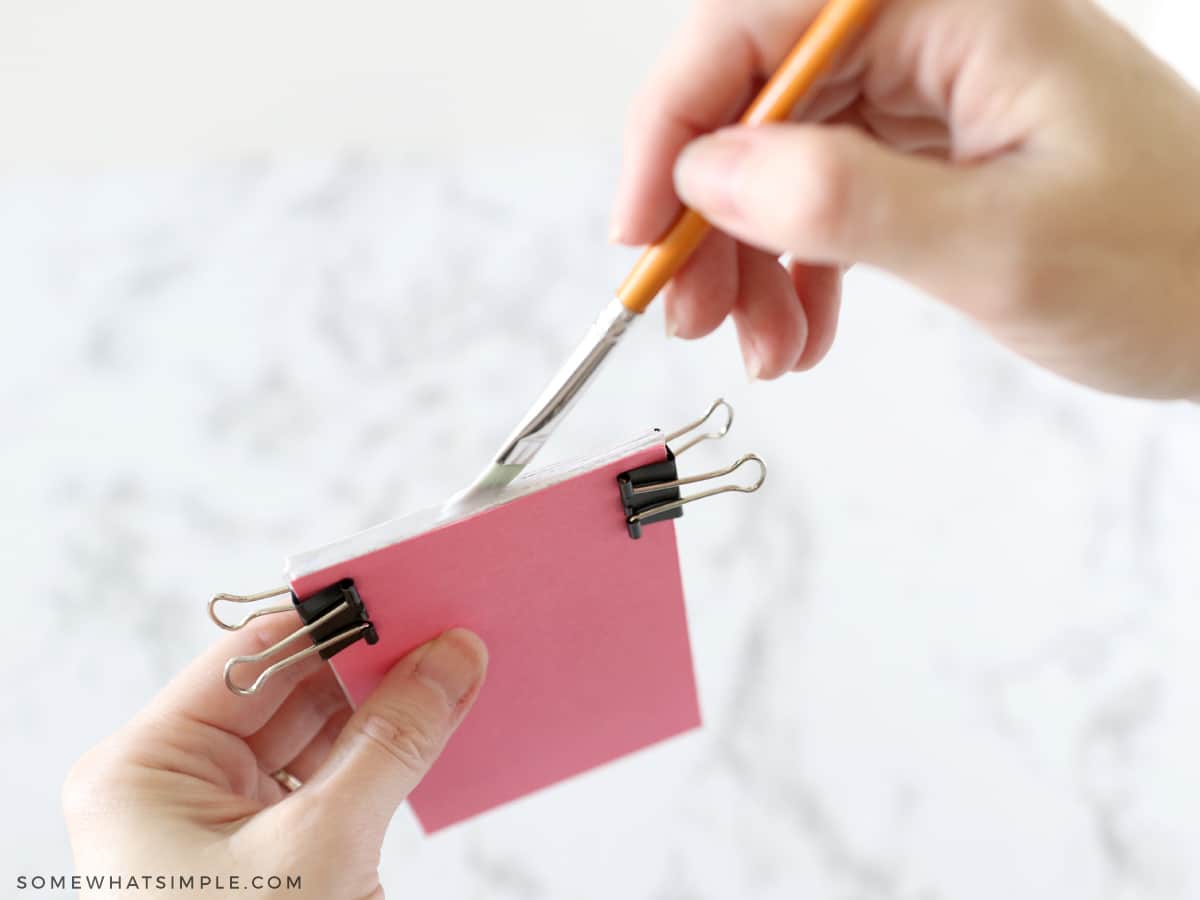
Glue – Using binder clips or clothespins, clip both sides of your stack of paper near the top so that the papers are held together tightly. Using your paintbrush, apply a thick layer of glue along the top. Make sure to use the bristles to push the glue into the papers so each one has glue on it.

Tape – After letting the glue dry completely, use some washi or designer tape to cover the top. This step is optional, but it helps to keep the covers from accidentally tearing or popping off. Bonus, it makes it look that much more cute.
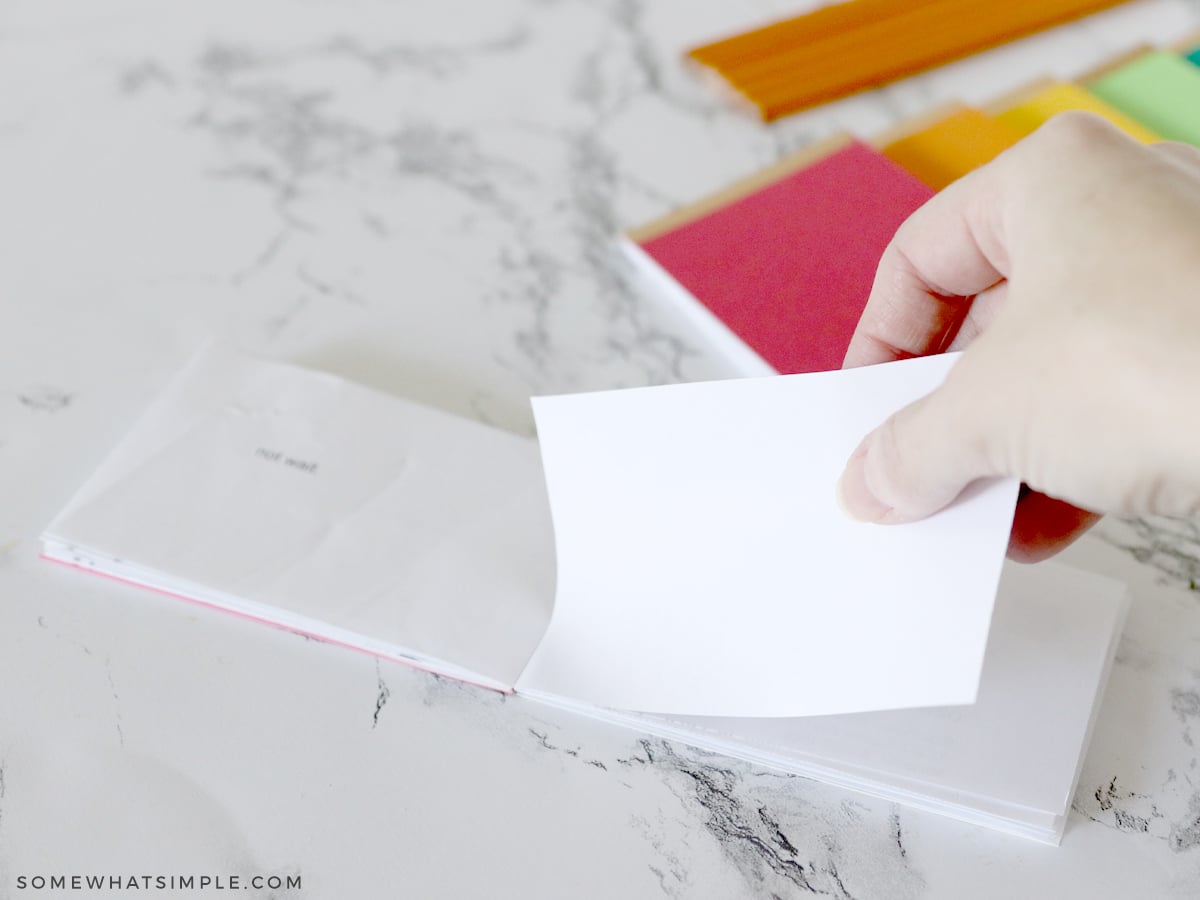
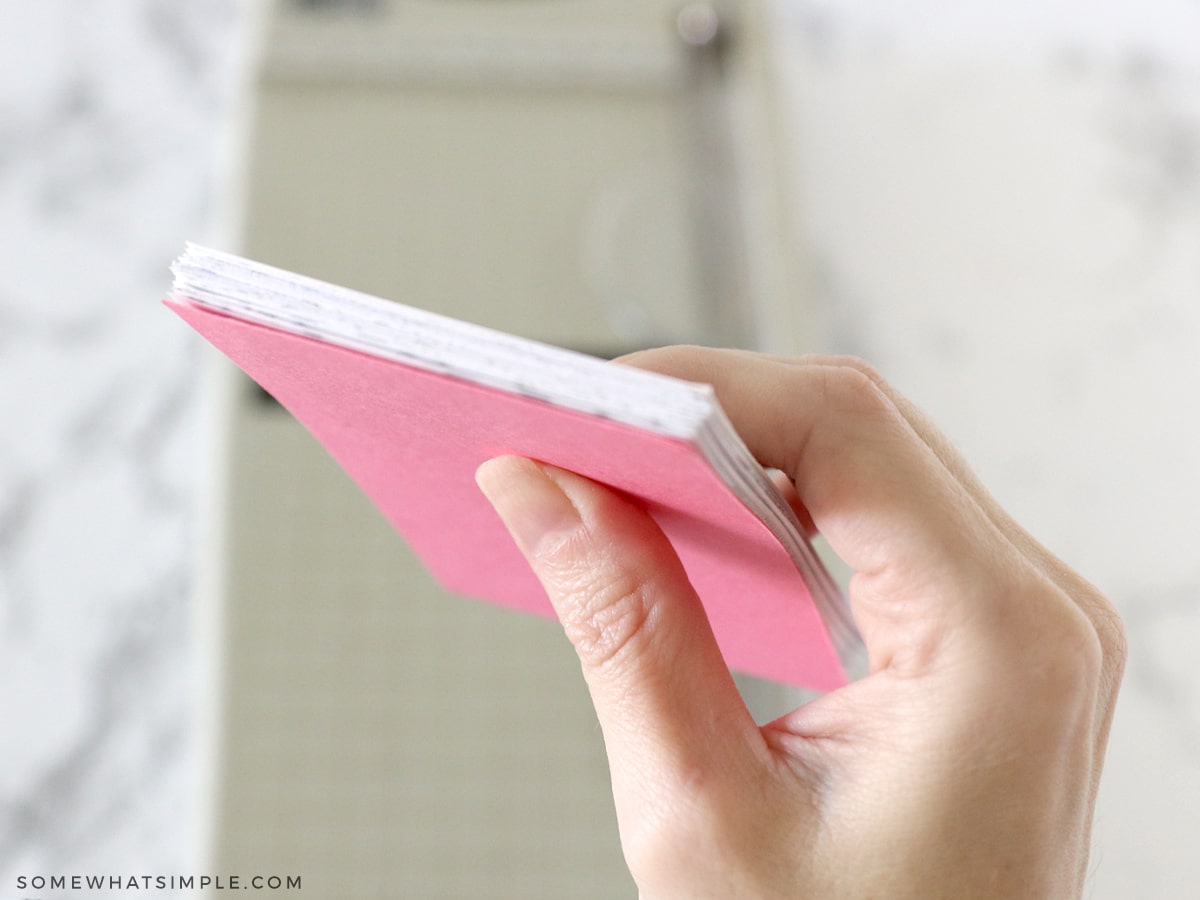
Use – You’re all done! Give one of those pages a test rip!
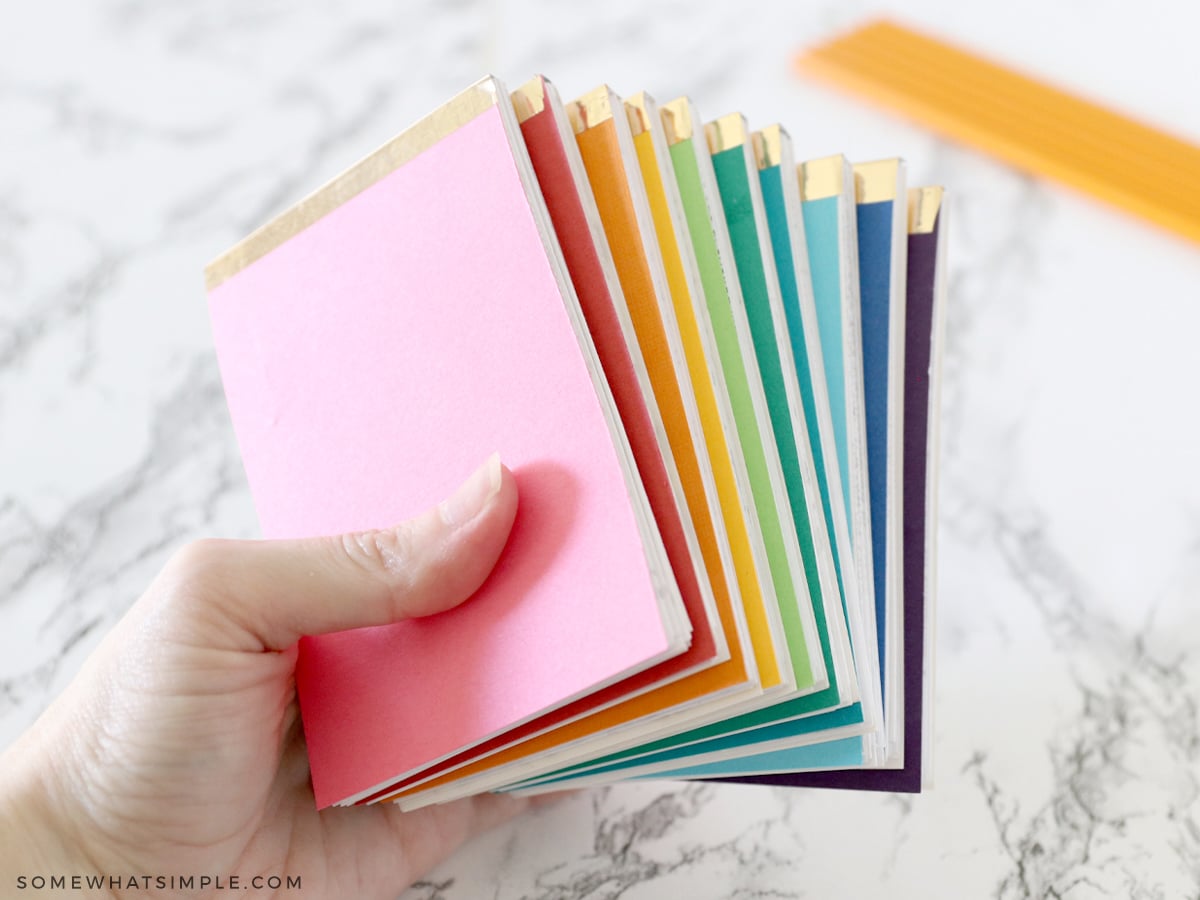
Keep Going – Don’t stop there! Make a few more so you always have a darling pad on hand! May we suggest every color in the rainbow? 😉
Here’s a video I made years ago with some Scrap Paper Notepads made without using glue –
Such an easy (and cute!) project!


thank you for sharing this project.. can’t wait to try it 🙂
Instead of Modge Podge, you can also use plain old white glue. I’ve done this for a long. I make art tablets for my grand daughter. She loves to draw, so I have larger tablets cut in half at an office supply and it gives me twice the paper for the price. Let’s keep crafting.
I wanted to figured out a way to make tear off notepads. Now I don’t have to. Thank you so much for sharing!
Oh, yayyyy! Thanks so much! :)))
Thanks for the printable note pads! Love them! I’m OCD, though, and won’t use the misspelled one! LOL
Well, good thing you won’t have to! Fixed! (Silly Google Drive not syncing the most recent files when I uploaded!)