This no sew banner is a sponsored conversation written by me on behalf of Cricut. The opinions and text are all mine.
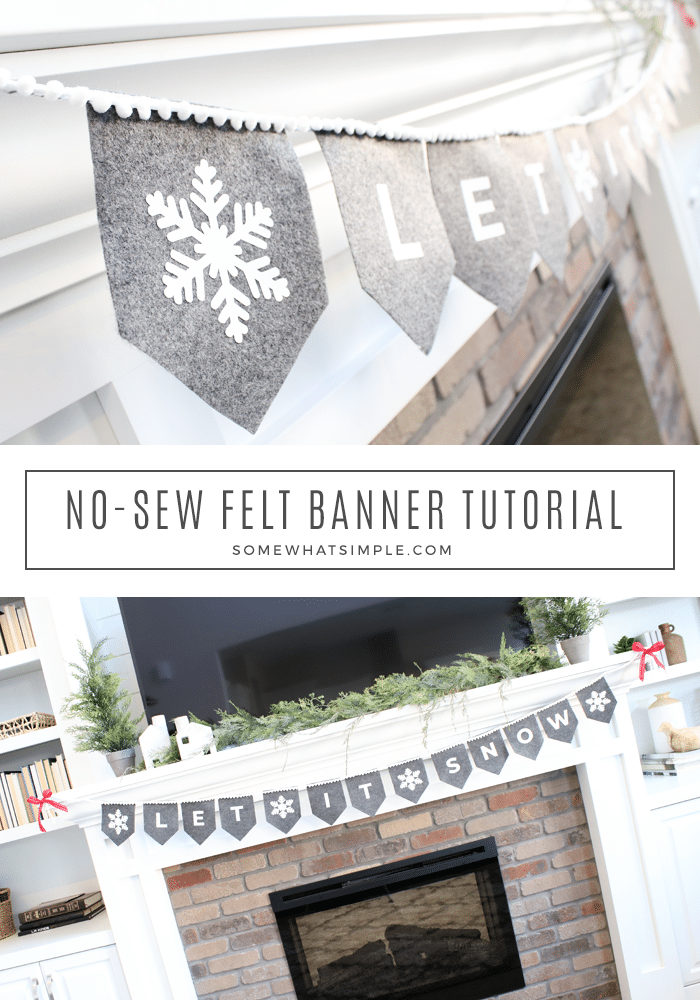
Make a simple felt banner for every holiday and celebration in 30 minutes or less! Our no sew banner tutorial is easy, and the results are darling!
Looking for a few more ways to use your Cricut machine? Here are a few projects we love – Zipper Pouch, In Case of Emergency Box, and $1 Christmas Tree Luminaries.
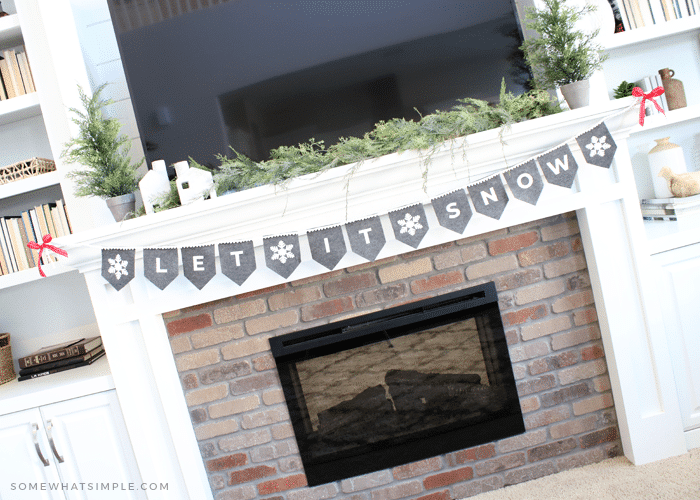
Ever since we had our entertainment center built for our family room, decorating our mantle has been one of my favorite things to do for each holiday! Our Christmas decor this year just might be my very favorite. A few simple pieces of decor, one long garland, and an easy no-sew banner make this entire space absolutely perfect!
What is an Easy Press?
For this simple project, I used my new Cricut Easy Press for the very first time! This machine is seriously SO fun, and it sure makes creating FUN and EASY! The EasyPress is basically the perfect iron that simplifies the process of making t-shirts, totes banners and more! It has an edge-to-edge heat plate that distributes heat up to 400 degrees F.
You can control the temperature and time of the Easy Press with the click of a couple buttons. This allows you to easily adjust your settings when working with different fabrics and materials. Move the temperature up or down, set the timer, then click the “C” button to start. It will beep when it’s done and you’re project is good to go!
How to Make a No Sew Banner
If you’re new to using the Easy Press like I am, this felt banner is the perfect beginner project. It costs a couple dollars to make and can be done in 30 minutes or less! Here is how to make it –
SUPPLIES –
- Cricut Cutting Machine – I used my Explore Air 2
- EasyPress + Easy Press Mat
- Cricut Design Space
- iron on vinyl or heat transfer vinyl – I used white
- standard cutting mat
- Let It Snow cut file (download below)
- grey felt sheets – I made 4 pennants per sheet
- scissors
- hot glue gun
- ribbon – however long you want your banner to be
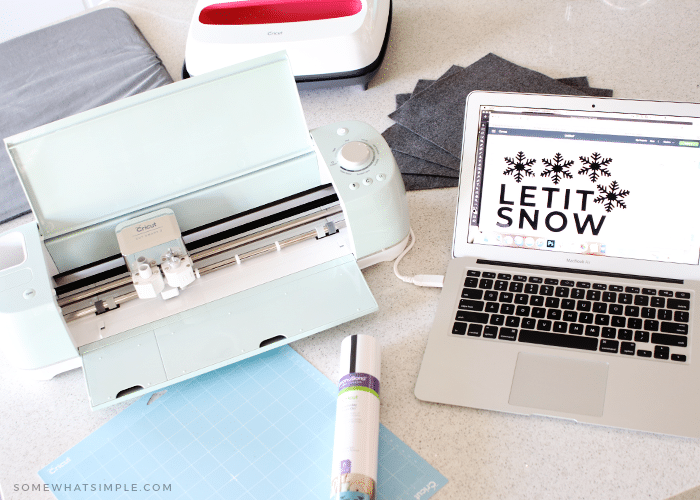
TO MAKE YOUR BANNER DESIGN –
Create or upload you design in Design Space, then do the following:
- Click “Make It”
- Make sure that the “mirror” option is selected (get in the habit of doing this for ALL your iron on projects!)
- Follow the prompts –
- place your vinyl on the mat with the shiny side facing down.
- Load your mat into the machine
- Press start to cut it out.
- Weed the vinyl from your mat and set aside
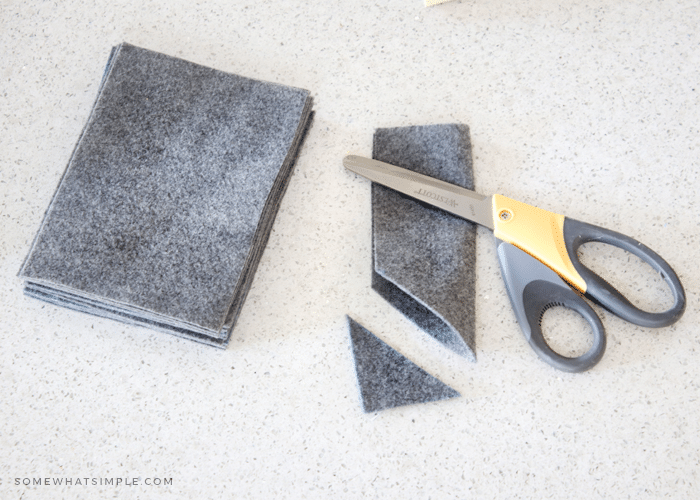
TO MAKE YOUR FELT PENNANTS –
- Fold 1 grey felt sheet into quarters by folding in half, then folding in half again. Cut into 4 separate pieces.
- Fold each pennant in half (long ways) and cut off the corner at a diagonal to create the pennant shape that is equal on both sides. TIP: Use the corner cut off from the first felt sheet as a guide to cut 2 more grey felt sheets so they are the same shape.
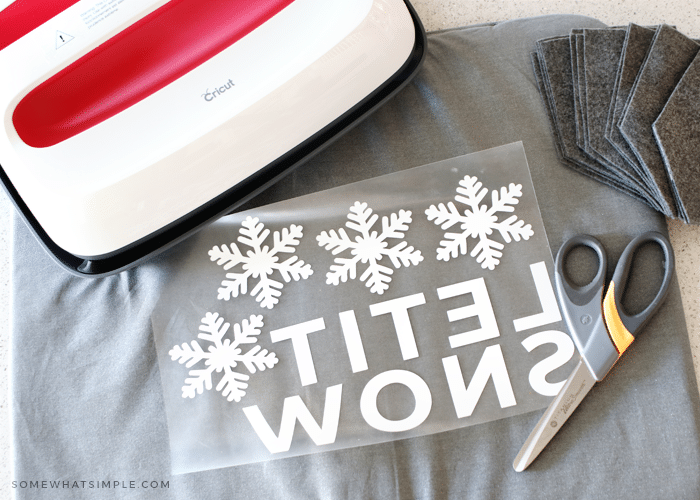
HOW TO IRON YOUR DESIGN ONTO THE FELT –
Once weeding of your vinyl is done, do the following –
- Preheat your base material by pressing the EasyPress onto the felt for 5 seconds to remove wrinkles and moisture.
- Position your vinyl design on your felt with the shiny side (clear liner) facing up. If you are using a small or intricate design, transfer tape will come in handy. My block letters were easy to pick up and place down.
- Place the EasyPress on top of the felt and set the timer. Apply gentle pressure to the EasyPress until it beeps.
- Flip and repeat on the back for an additional 15-20 seconds.
- Carefully peel off the clear sheet from your felt. If the liner does not lift off easily, reapply heat for a few more seconds. NOTE: We found it easiest to wait for the felt to cool before removing the liner. (Refer to Cricut for information about removing the liner when it’s warm vs. cold.)
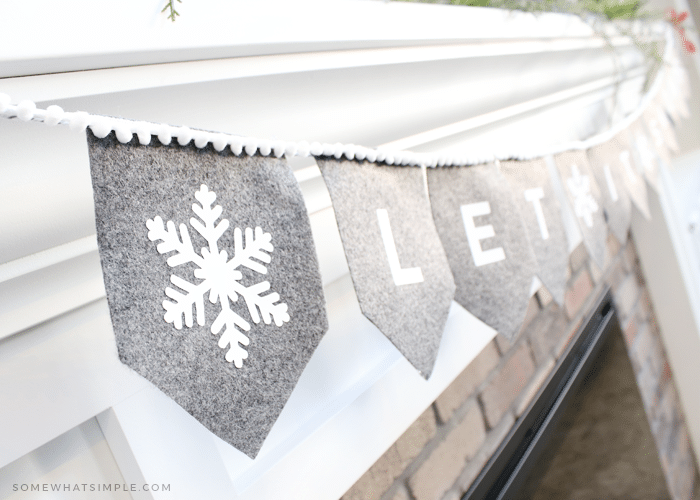
PUTTING IT ALL TOGETHER –
- Arrange your pennants in the order of your choice.
- Glue the ribbon onto the top of your banner using a hot glue gun.
Download or Banner Design
If you want to use our Let it Snow + Snowflake Design enter your email address below and we’ll send you the image. You’ll just need to upload the image into Cricut Design Space and follow the prompts to turn it into an SVG file (it takes about 15 seconds!) –
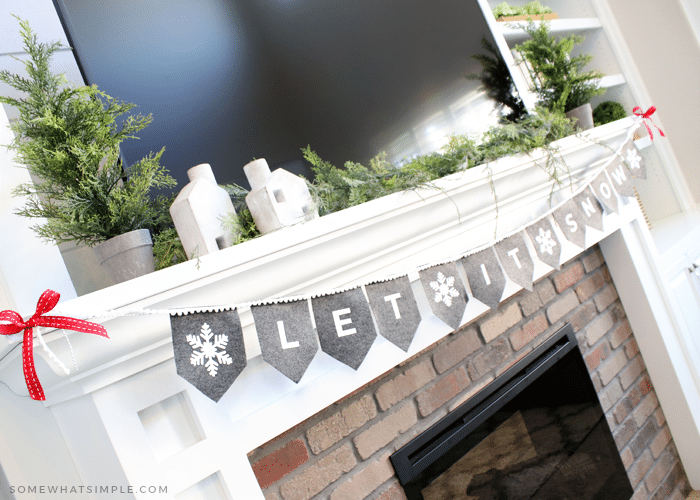
See, quick and easy! The possibilities with this banner are endless! Use different words and colors for all your celebrations! Enjoy!