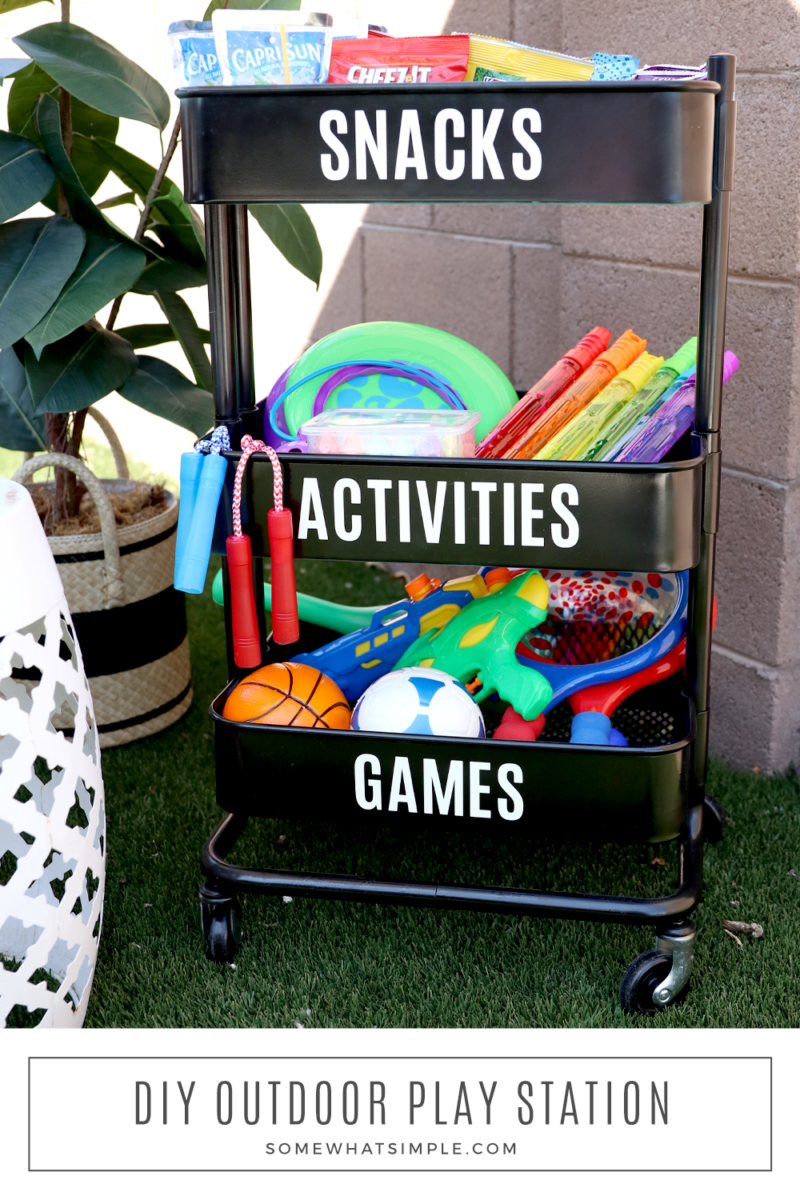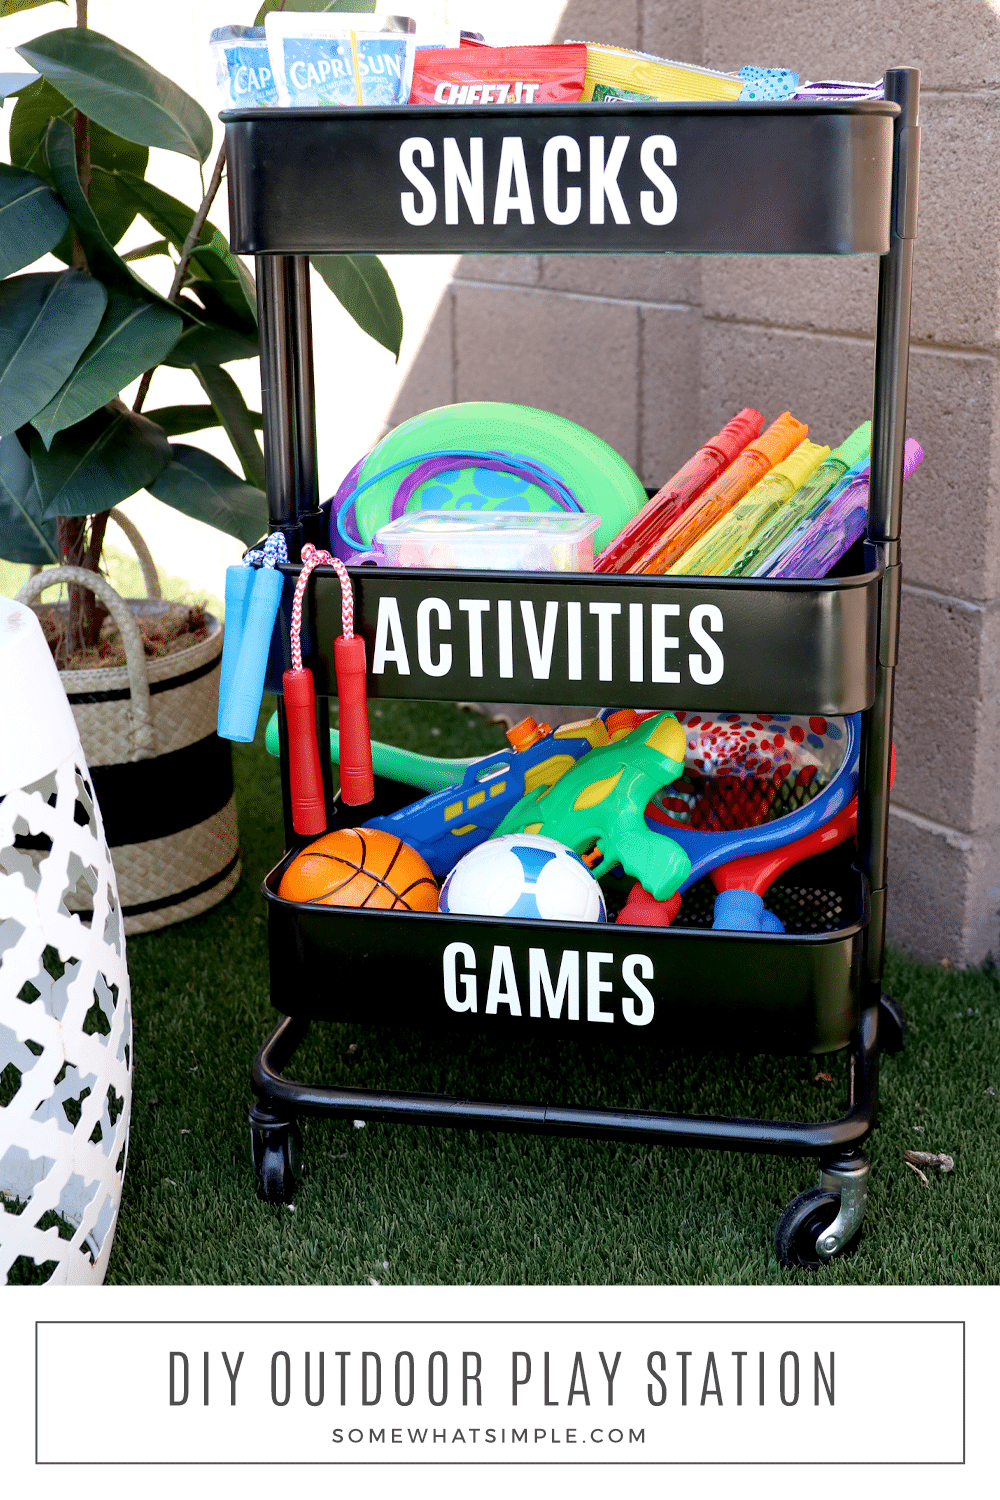
This portable outdoor play station has everything you’ll need to keep the kids entertained all summer long! Fill a caddy with snacks and activities, then label each section with your Cricut Joy to help everything stay organized!
This post is sponsored by Cricut. All opinions are 100% my own.
Last week, we hosted our out-of-state cousins for spring break, and I think the kids spent more time outside than they did in the house! To help keep them entertained, I made this fun outdoor play station filled with activities and snacks to keep them happy and hydrated while enjoying the sunshine!
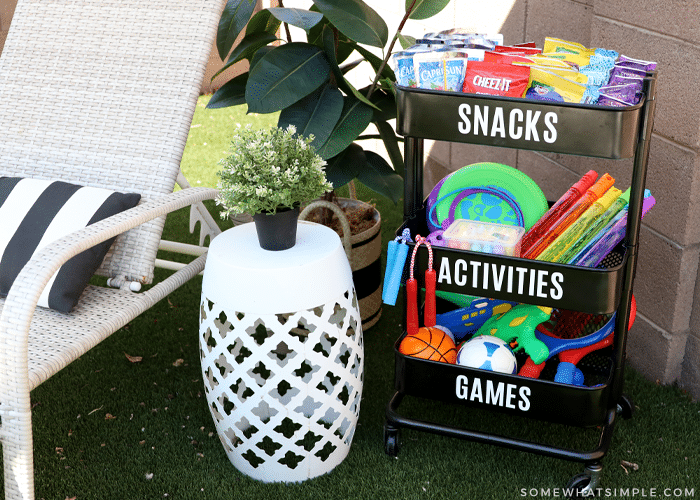
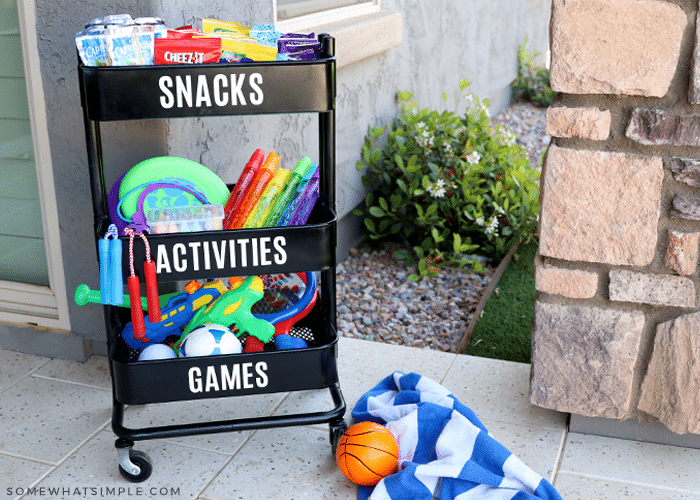
The cart I used was perfect! I like that it has wheels so it was easy to roll outside when they were ready to play. And adding the vinyl labels with my Cricut Joy kept it tidy and organized all week.
Portable Outdoor Play Station
Here’s how to make this simple and fun outdoor play station –
SUPPLIES –
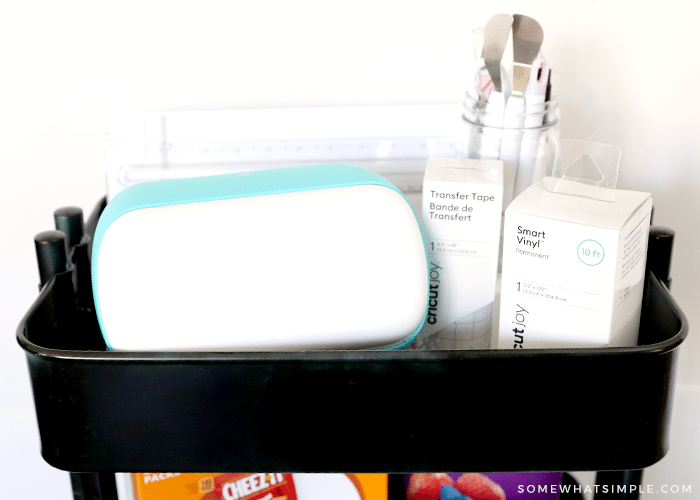
- Cricut Joy – or use your Explore or Maker
- vinyl – I used white
- cutting mat
- tool set – I used the weeding tool and scissors
- transfer tape
- an inexpensive rolling cart – Mine is from IKEA, but Target has them too.
- a variety of fun outdoor toys – Most of mine are from the dollar store.
- snacks + drinks
DIRECTIONS –
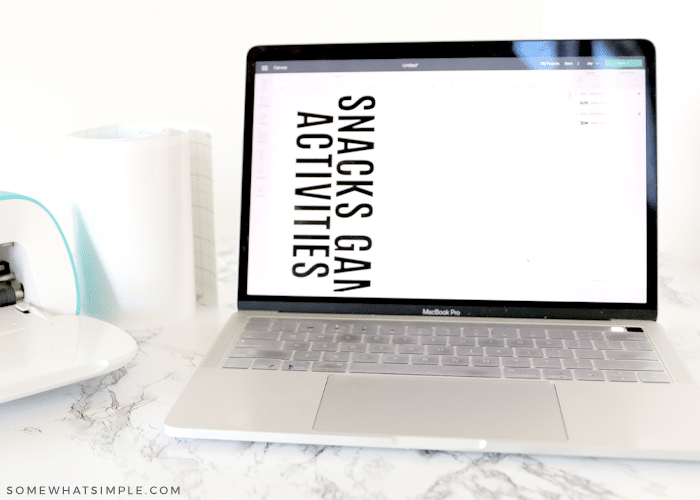
Make the labels for your cart by designing your text in Design Space. I used the font Antonio.
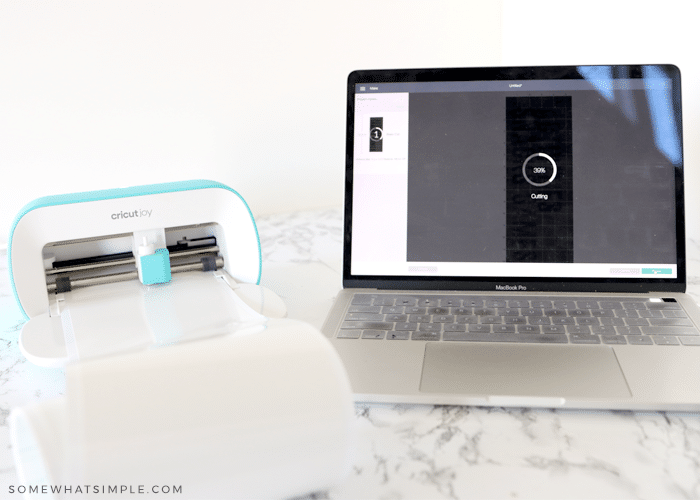
Cut out and weed the labels, attach the transfer tape to each label, and apply the label to your cart.
Fill each space in your cart with fun items for the kiddos to use outside.
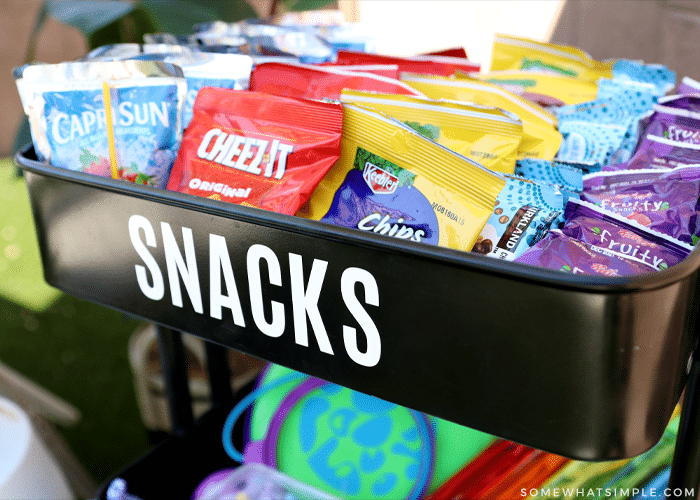
On the first shelf, I put juice and snacks.
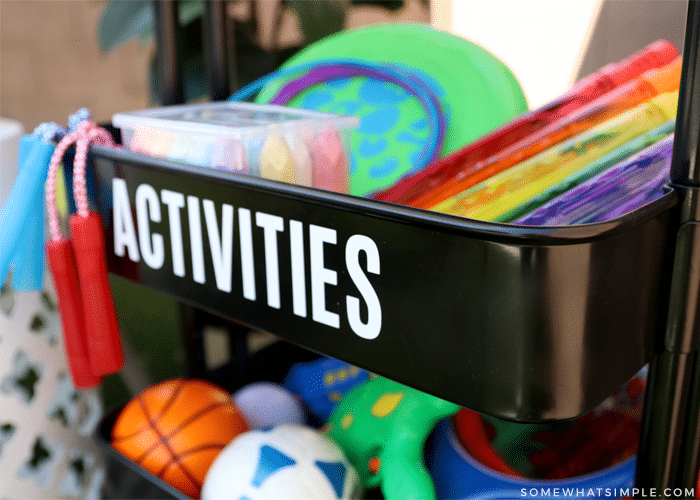
On the next shelf, I put activities – sidewalk chalk, frisbees, bubbles, etc.
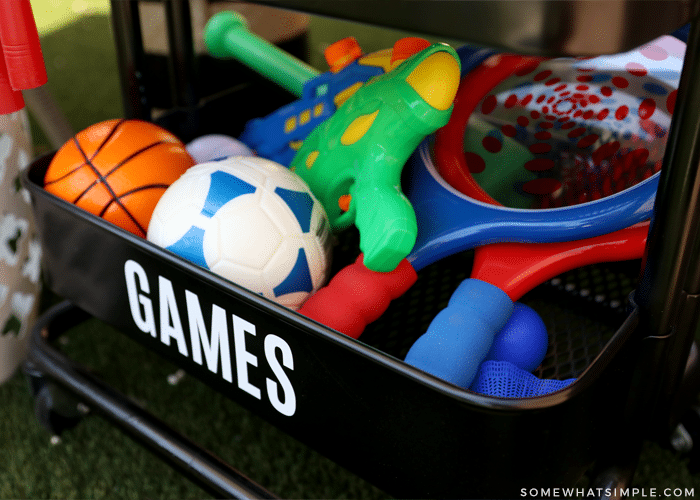
On the bottom shelf, I had items for games – sports balls, badminton racquets, water guns, etc.
Now, when the kids are ready to play outside, it doesn’t take forever to find all the stuff they need! No more scattered jump ropes and bouncy balls, empty bubble wands, and cracked chalk left out on the driveway! Isn’t this such a fun idea?