
Etching glass can be a fun, cheap, and easy craft. We show you how to etch glass in the comfort of your own home with this simple step-by-step tutorial.
Here are a few more crafts we think you’ll enjoy – Bubble Wrap Painting, Family Journal Jar, and Build A Monster Printables.
If you’ve never tried glass etching, you are in for a treat! I was first introduced to this idea over 20 years ago at a girl’s night out. My friend told all of us to bring a glass casserole dish to her home for a fun craft night. I wasn’t sure what to expect, but when she showed us how to put our last names on the bottom of the pan, I was sold!
Even after all these years, I still have and LOVE that dish. It’s a great way to ensure it doesn’t get misplaced at a potluck, and it is always returned if borrowed for a meal.
With a little glass etching cream, you can create beautiful designs on clear glass with little fuss! Glass etching works on wine glasses, picture frames, candle holders, mugs, mason jars, vases, ornaments, and pretty much anything else with a smooth glass surface. Etching glass is a fun way to personalize a gift and add some meaning to something that is otherwise quite ordinary.
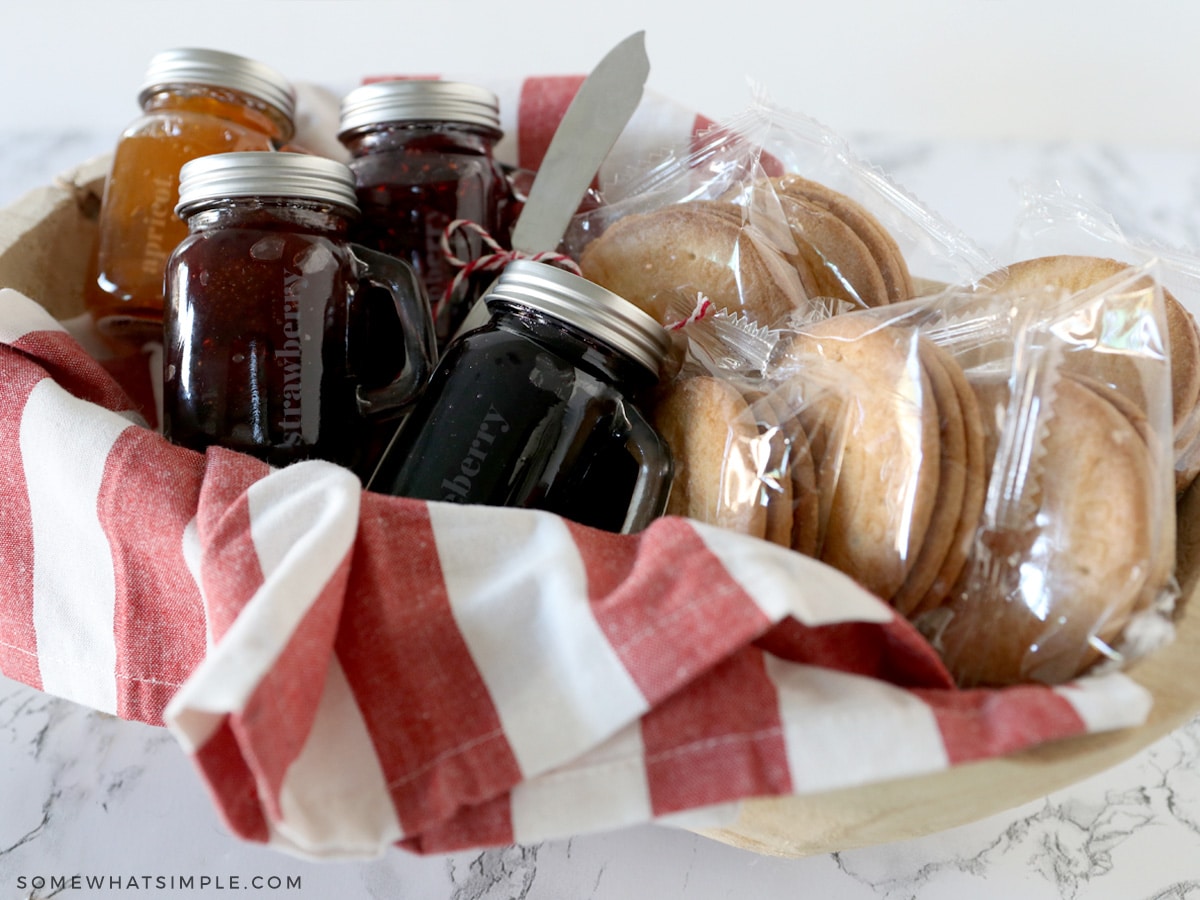
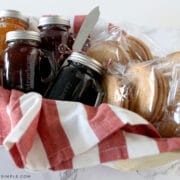
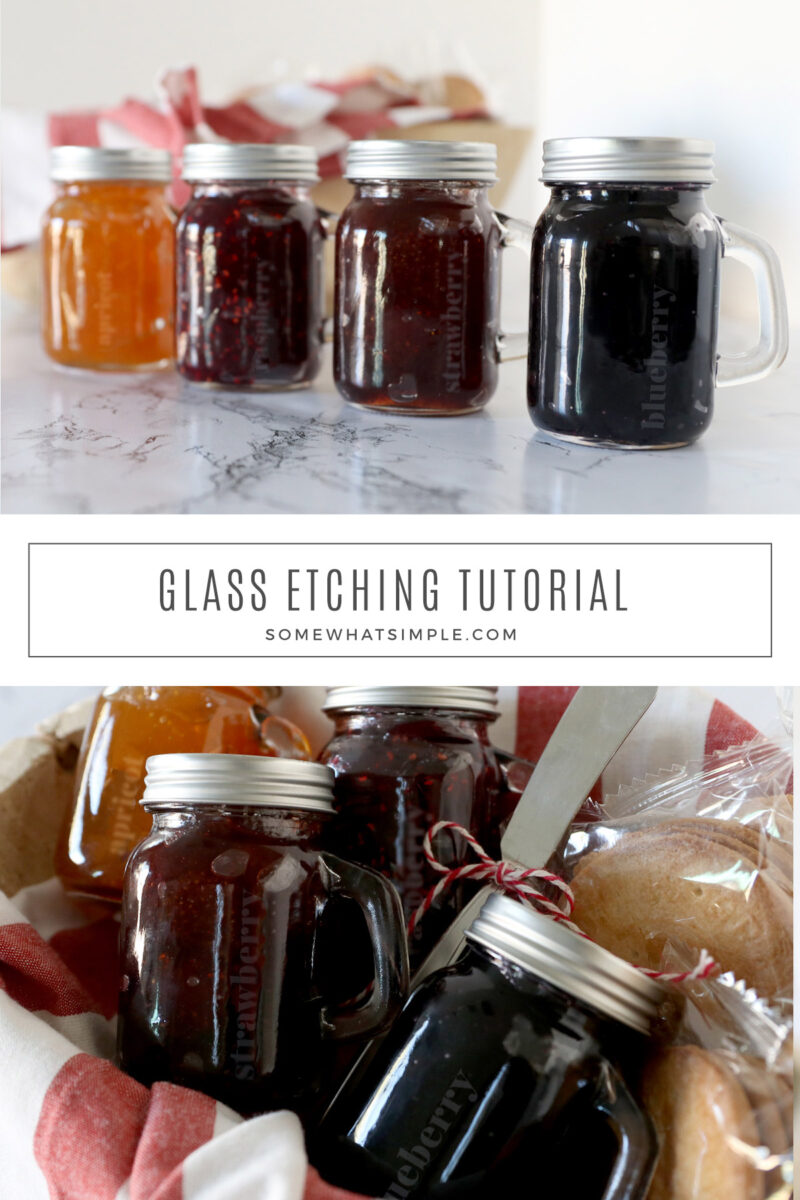
I’ll show you how we created a darling gift basket where we etched glass jelly jars from the dollar tree and filled them with various flavors of homemade jam. It is thoughtful, cute, and so simple to make. Here’s how –
How to Etch Glass
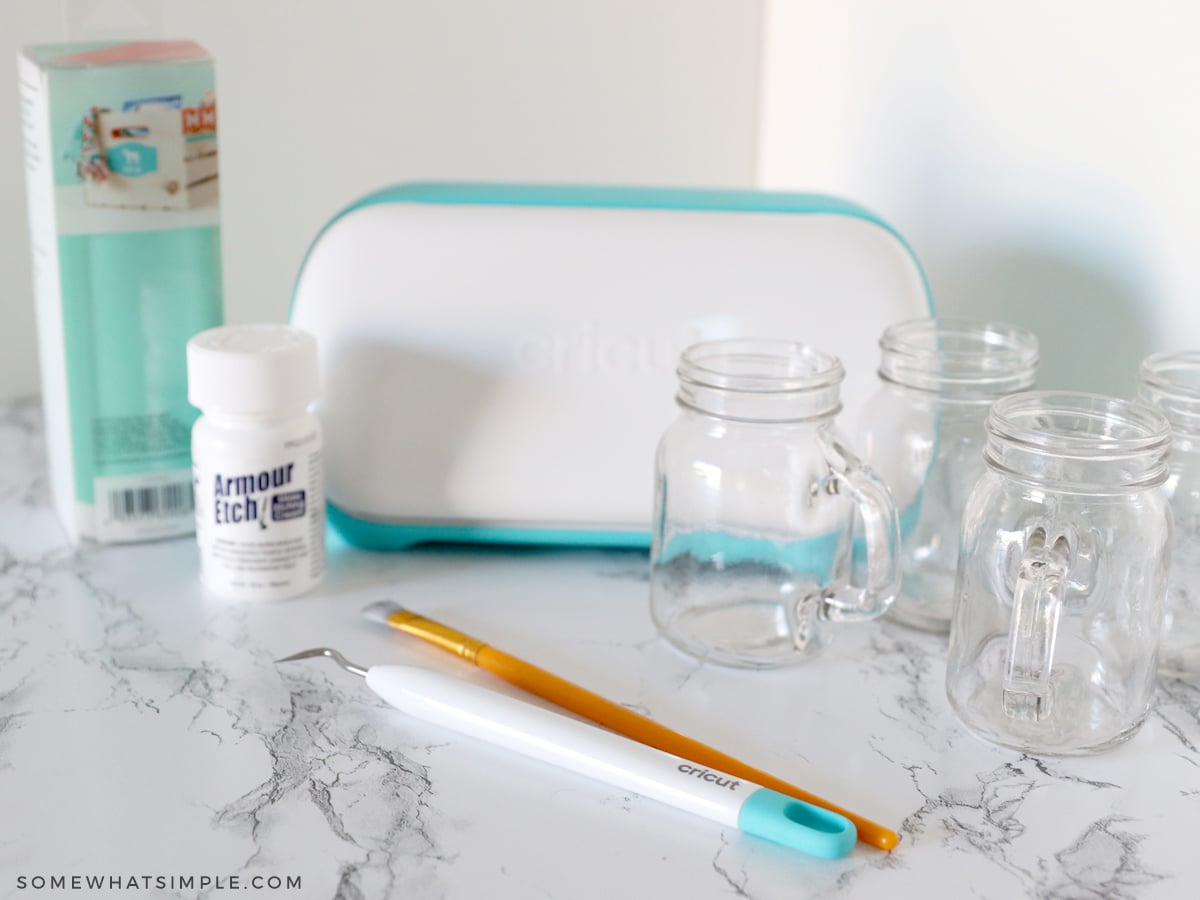
MATERIALS –
- smooth glass jars
- vinyl stickers/ labels – I made an adhesive stencil with my Cricut machine and some pieces of scrap permanent vinyl. I also used transfer tape. If you don’t have a cutting machine, you can use your own stencils, or cut your own design with some masking tape and an X-acto knife.
- Etching Cream – I used Armour Etch Glass Etching Cream from Amazon. Craft Stores sell a variety of brands, but I like this one because it doesn’t seem to produce many air bubbles and the etched surface is always nice and smooth.
- paintbrush
- gloves, optional (recommended for large projects)
- isopropyl alcohol, optional (if your surface needs cleaning)
INSTRUCTIONS –
CLEAN YOUR SURFACE. Use some rubbing alcohol to clean your glass surface, being sure to get off any dirt, dust, grease, and oily fingerprints.
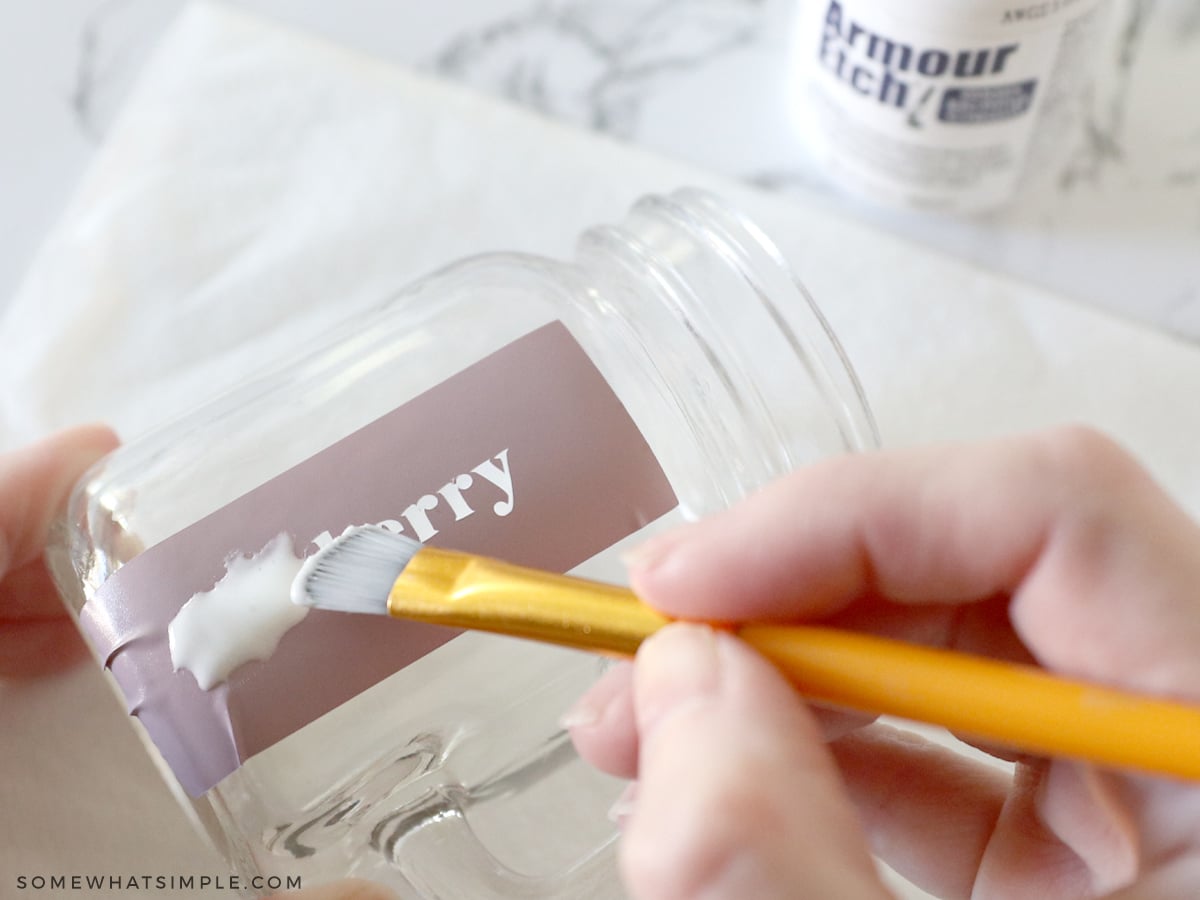
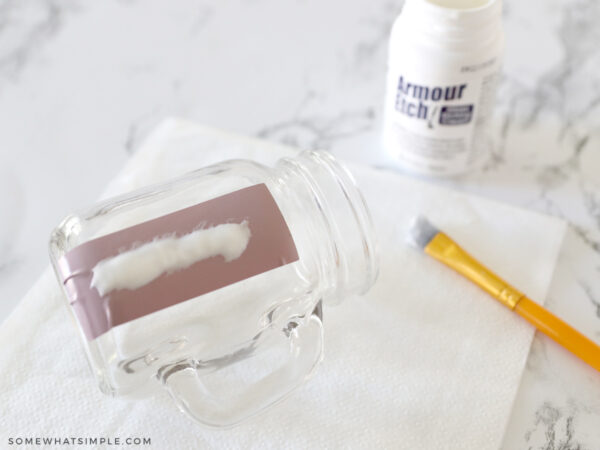
APPLY YOUR STICKER. Stick your label onto your glassware, making sure the vinyl sticks nice and tight. You don’t want the glass etching cream to seep under the letters.
APPLY YOUR ETCHING CREAM. Using your paint brush, spread a thick layer of etching cream on top of your label. You want it nice and thick like you are frosting a cake!!
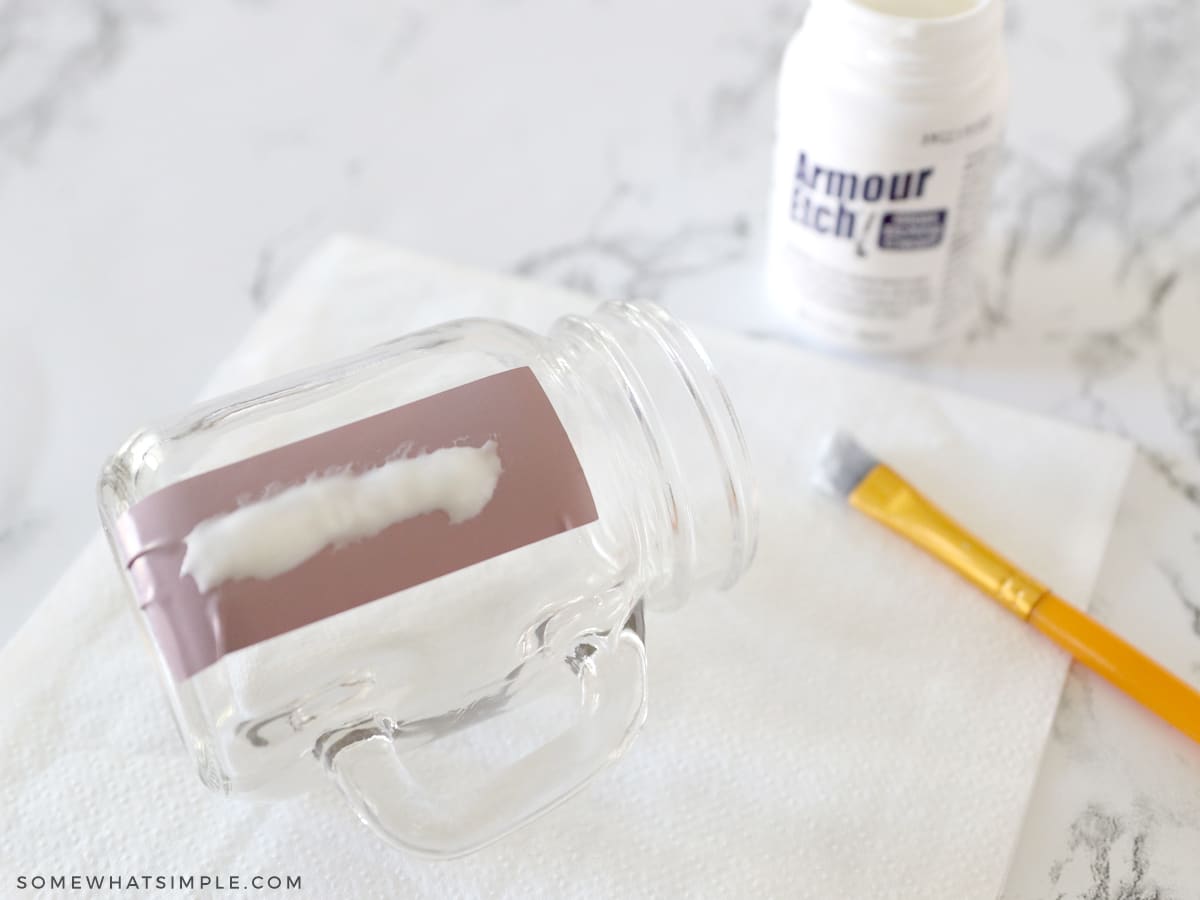
WAIT. I wait 5 minutes, then scoop it off the surface, back into the jar (yes, you can re-use this stuff!).
REAPPLY. Apply a new coat and wait another 5 minutes.

RINSE. After your 10 minutes (total time), scoop it back into the jar to use again and rinse the remainder off in your sink with warm water. Remove the stencil/tape right away to make sure no cream is under the edges. You can use glass cleaner to remove any residue if you need to.
… and you’re done!
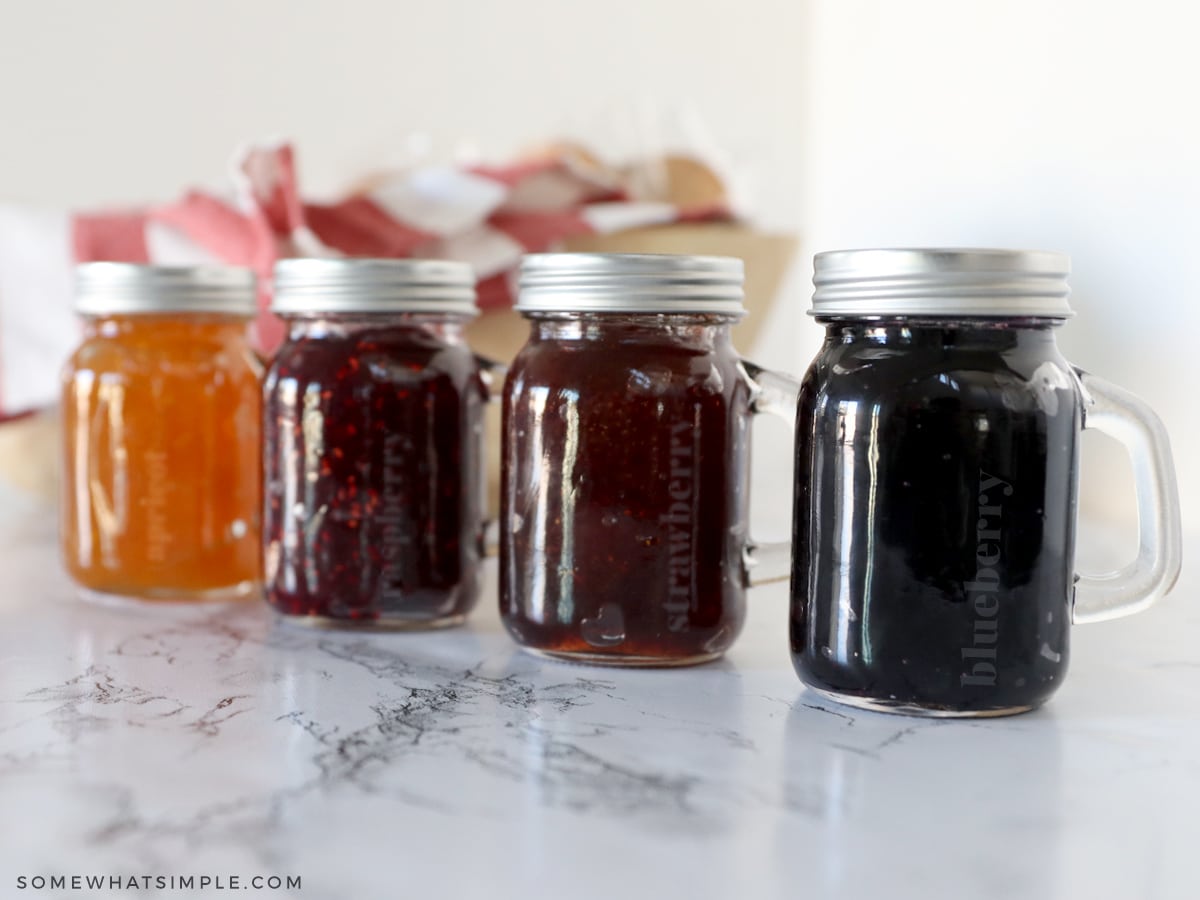
It was hard to get a good picture without the glare on the glass, but the labels are darker in person and they look adorable!

HERE’S A PRINTABLE DIY GLASS ETCHING TUTORIAL CARD FOR YOUR CONVENIENCE –
How to Etch Glass
Ingredients
- smooth glass jars
- vinyl stickers/ labels I made mine with my Cricut Joy and some pieces of scrap vinyl
- Etching Cream
- paint brush
Instructions
- Stick your label onto your jar, making sure the vinyl sticks nice and tight. You don’t want the glass etching cream to seep under the letters.

- Spread the etching cream in a heavy layer on top of your label. You want it nice and thick like you are icing a cake!!
- Wait 5 minutes, then scoop it off the surface, back into the jar.
- Apply a new coat and wait another 5 minutes.
- After your 10 minutes (total time), scoop it off back into the jar to use again and rinse the remainder off in your sink with warm water.
- Remove the stencil/tape right away to make sure no cream is under the edges.
- …and you’re done!


That is brilliant! I didn’t even know there was an “Etching Cream.” It sounds so easy! I can’t wait to do this! Thank you!
These look great! So simple with big impact!
Those are too cute! And I love that you don't need a fancy cutting machine to make them!
This is JUST what I have been looking for! Can't wait to try it. Thanks.
I'm excited to see other uses for etching cream. I've had some for years after doing the bottom of my casserole pans. What a great idea.
What a great idea! I have some etching cream and a whole bunch of mason jars. Woohoo!
Thanks for sharing.
Those turned out super cute.
Great explanation of how to etch and such a great way to recycle those jars!
I LOVE THIS!!!
Oh YAY! I love recycling & glass etching!! I did a vase last year for part of a wedding gift. I blogged about how to etch glass but my pictures aren't as good as this! And I did mine before i got my Silhouette machine so it took longer and I gave up on doing many more lol Thanks for the reminder that I can do this with that machine!! Yay!
I love that! So cute! Thanks for sharing!
These turned out so cute! Thanks for sharing the how-to!
Love this idea. So cute!
This is perfect for some jars i just re-used to put my various sugars in. No idea where i can get my hand on the products you used as i guess they maybe American but will keep my eyes peeled.
What a great idea, I LOVE them. I think I will start collecting jars, thanks for the idea!!