
Plan the best movie night at home with this simple drive-in movie idea that the kids will totally LOVE!
This Drive-In Movie Idea is sponsored by Cricut. I’ll show you how to use the Cricut Joy and my favorite Smart Materials™ to make an at-home movie night that is fun for the whole family!
We’ve definitely done our fair share of family movie nights around here, but our recent drive-in movie night totally took the cake! I’ve never seen the kids get so into an activity, and they actually watched the entire movie without getting bored or falling asleep!
Preparations for our big night began earlier in the afternoon. They decorated their cars with pre-cut vinyl stickers that I made while they were at school. They also made admission tickets and pretend money for our concession stand. The kids looked forward to this activity alllllll day long! After dinner, we set up our theater and concession stand and then FINALLY started the movie. (It felt like the longest wait EVER!)
Want to plan your own movie night? Here’s how –

How To Plan a Drive-In Movie Night at Home
YOU WILL NEED –
- LARGE BOX – one for each kid
- VINYL – for all your car parts
- CRICUT JOY – to cut out each car part
- TRANSFER TAPE
- PAPER PLATES – 4 small plates for the wheels, 1 large plate for the steering wheel, and any additional large plates for decorations.
- TOOLS – scissors, weeding tool, box cutter hot glue gun, packing tape, yard stick
- CUTTING MAT – very helpful if you’re using scrap vinyl for your car parts
- BRAD FASTENER – to attach the steering wheel to the box
- CONCESSIONS – drinks, popcorn and small candies
- PAPER + MARKERS + SCISSORS – Our kids made tickets and fake money by coloring with markers on card stock and cutting them out.
- CONCESSIONS – I bought some drinks, popcorn and small candies and set them out on our coffee table so the kids could “purchase” candy before and during the movie.
DIRECTIONS –
ASSEMBLE THE BOXES – Our boxes had a lot of writing on them, so I started by cutting one of the seams with a box cutter. I reassembled each box to be inside-out so that the outside was solid brown. Then, I hot glued the box on the cut seam to put it back together. (If your boxes don’t have much print, you can definitely skip this step.)
Use clear packing tape to hold the bottom of the box together, and tuck the top flaps inward.
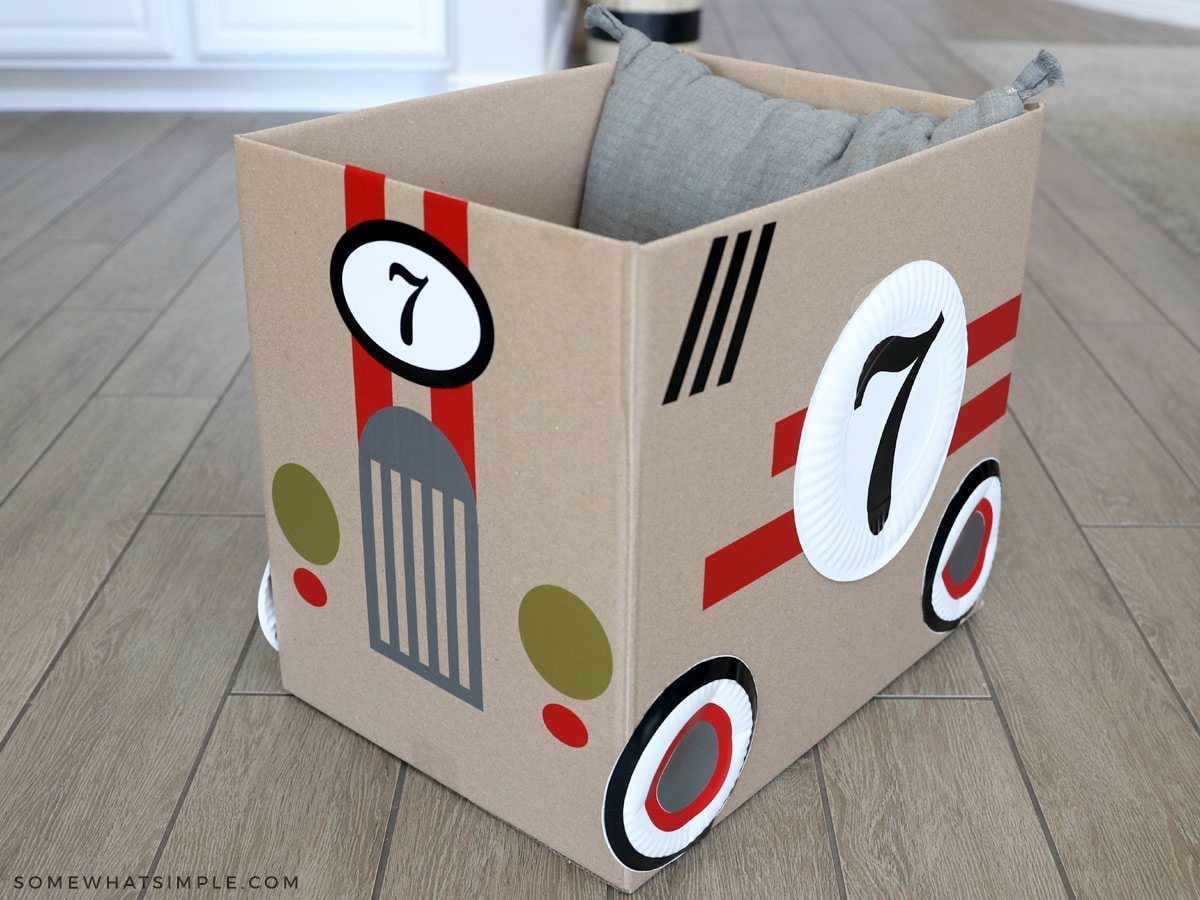
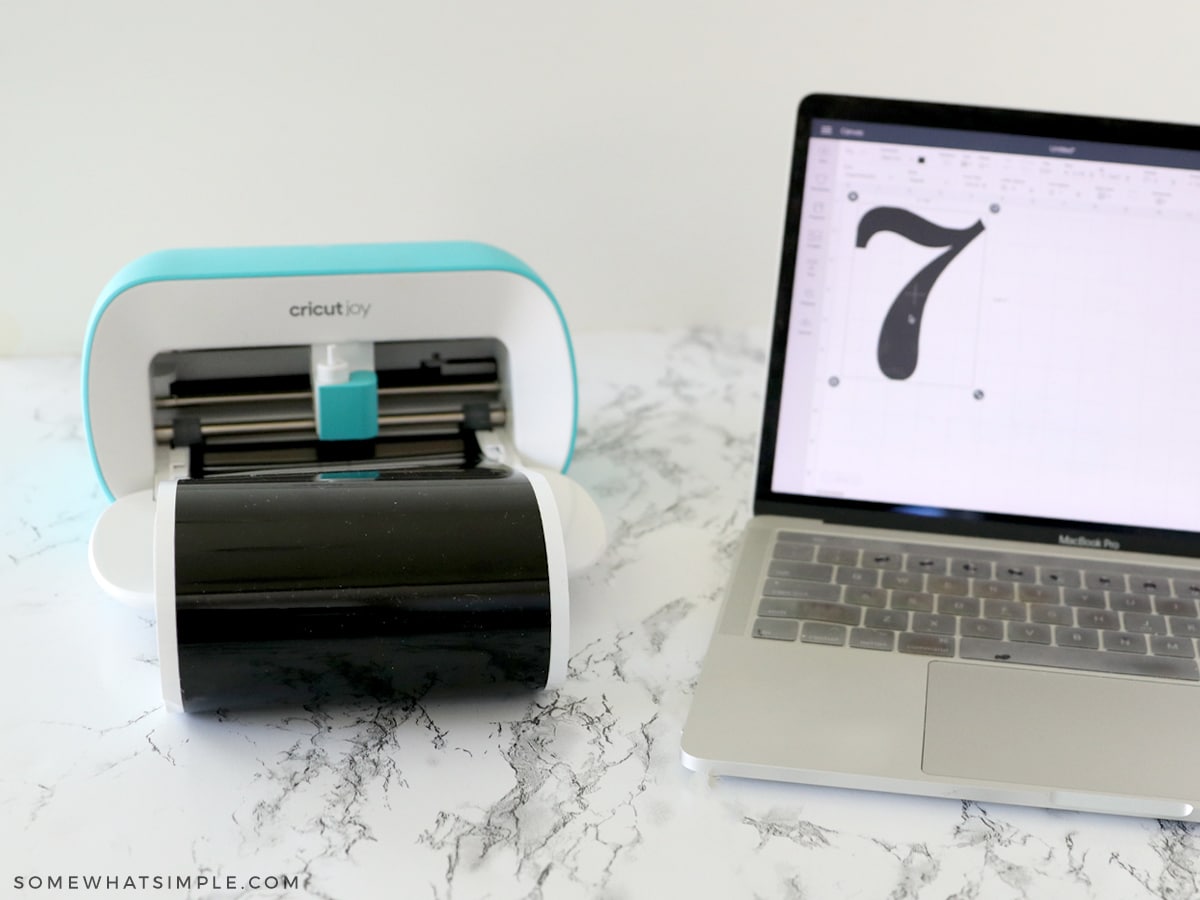
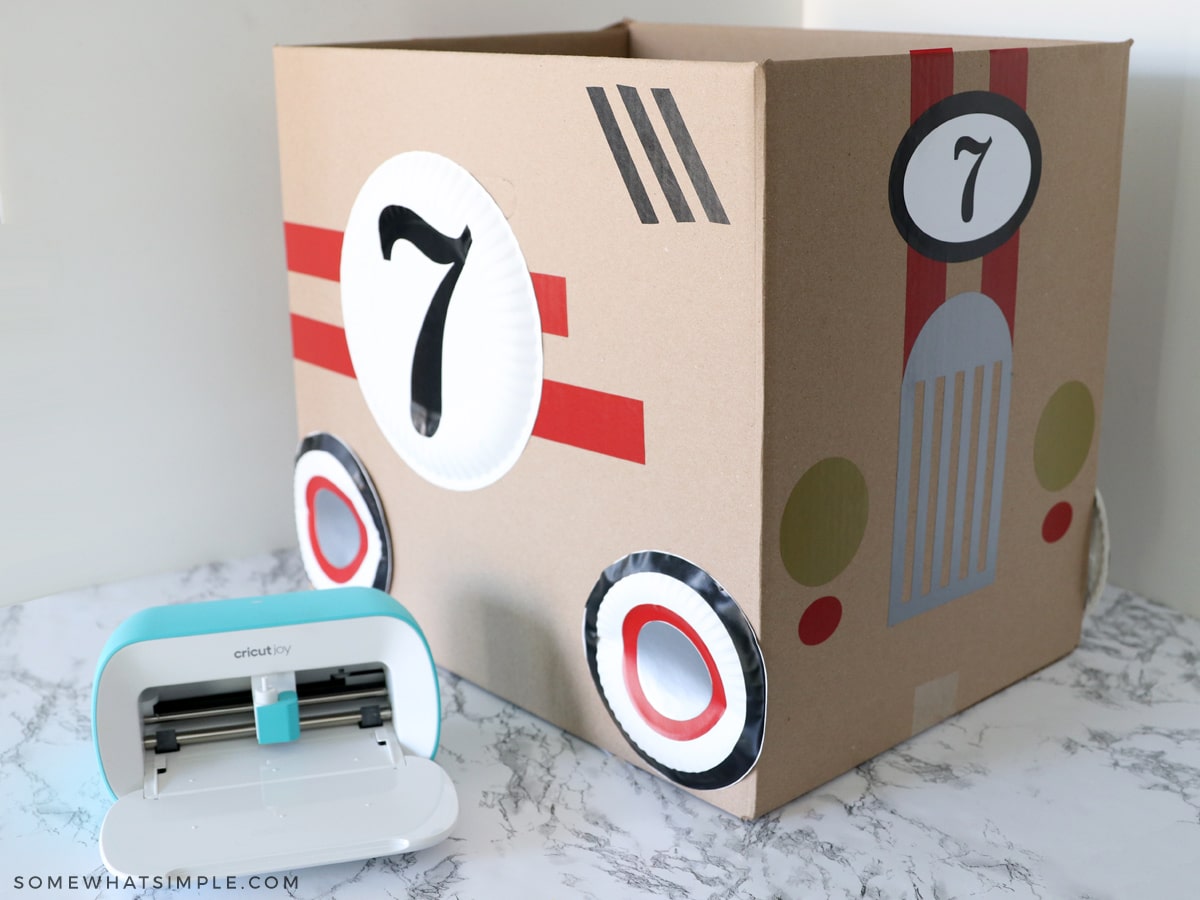
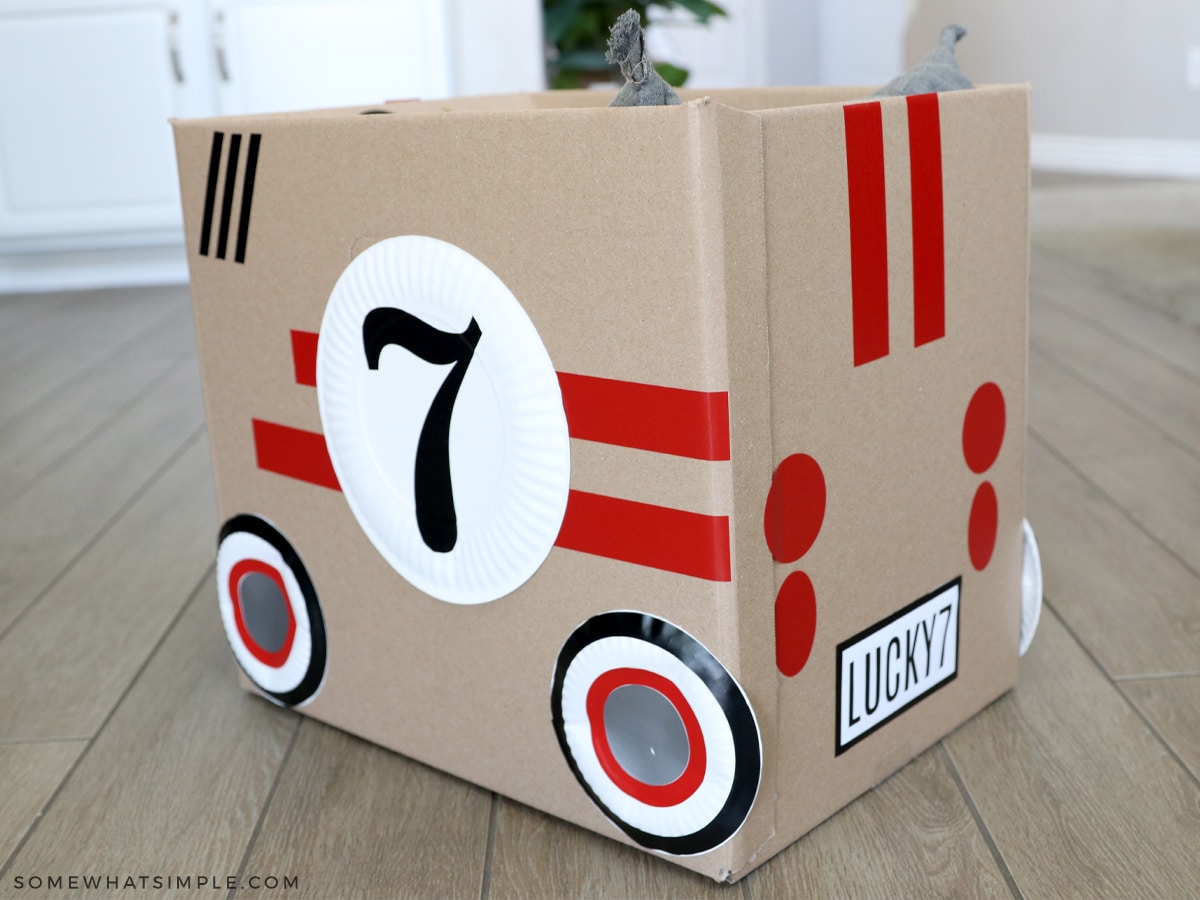
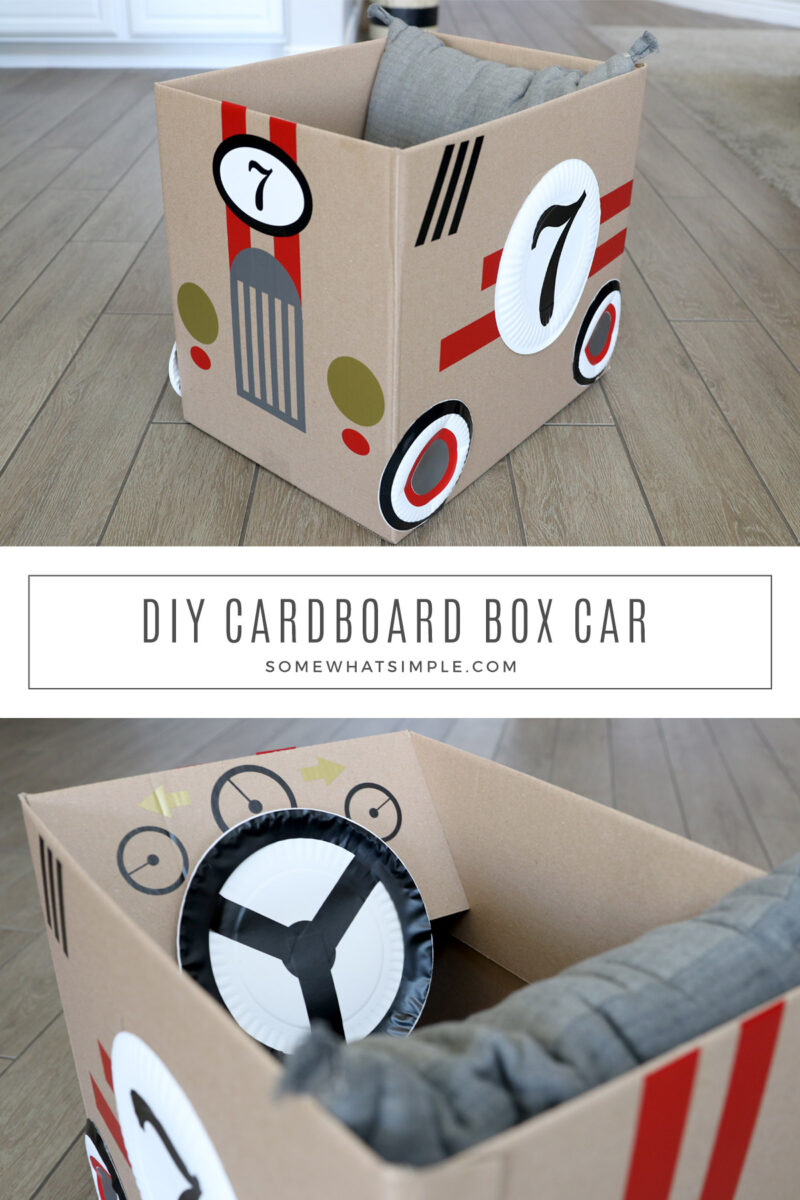
CUT OUT YOUR CAR PARTS – Using my Cricut Joy and various colors of vinyl, I cut out car parts for each car in Design Space. All the cuts are from basic shapes. I only used the circle, square, and triangle, and on some of the parts, I MERGED a couple of shapes together. (Merging the shapes makes it so the Cricut won’t cut lines where you don’t want them.) Here are the parts I cut-
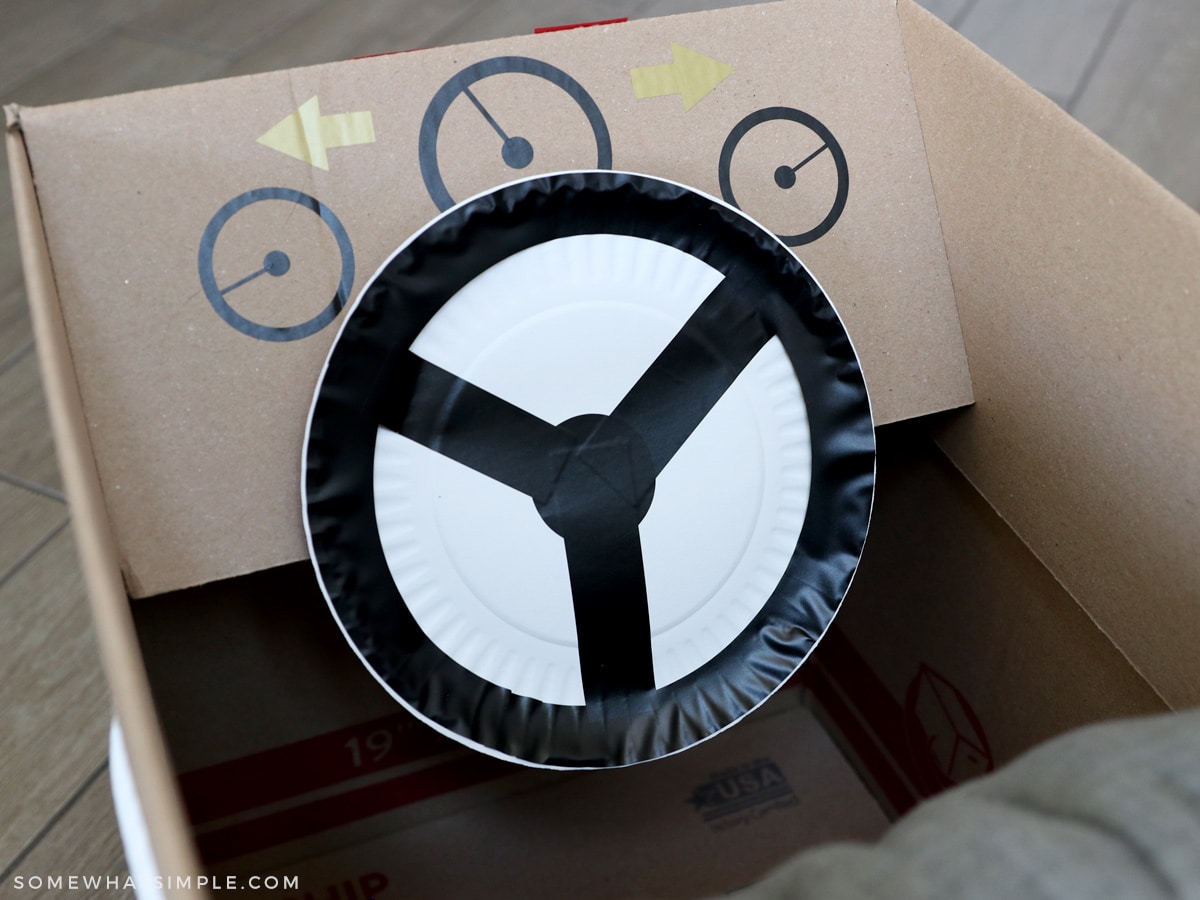
- steering wheel
- dashboard gages
- blinker arrows – triangles and rectangles, merged
- license plate – I used Antonio for font and I let the kids pick what they wanted to say on theirs
- front grill – I merged a rectangle and circle, then added rectangles for the lines
- headlights
- taillights
- wheels
- racing stripes + embellishments – the number 7 is in Superclarendon font
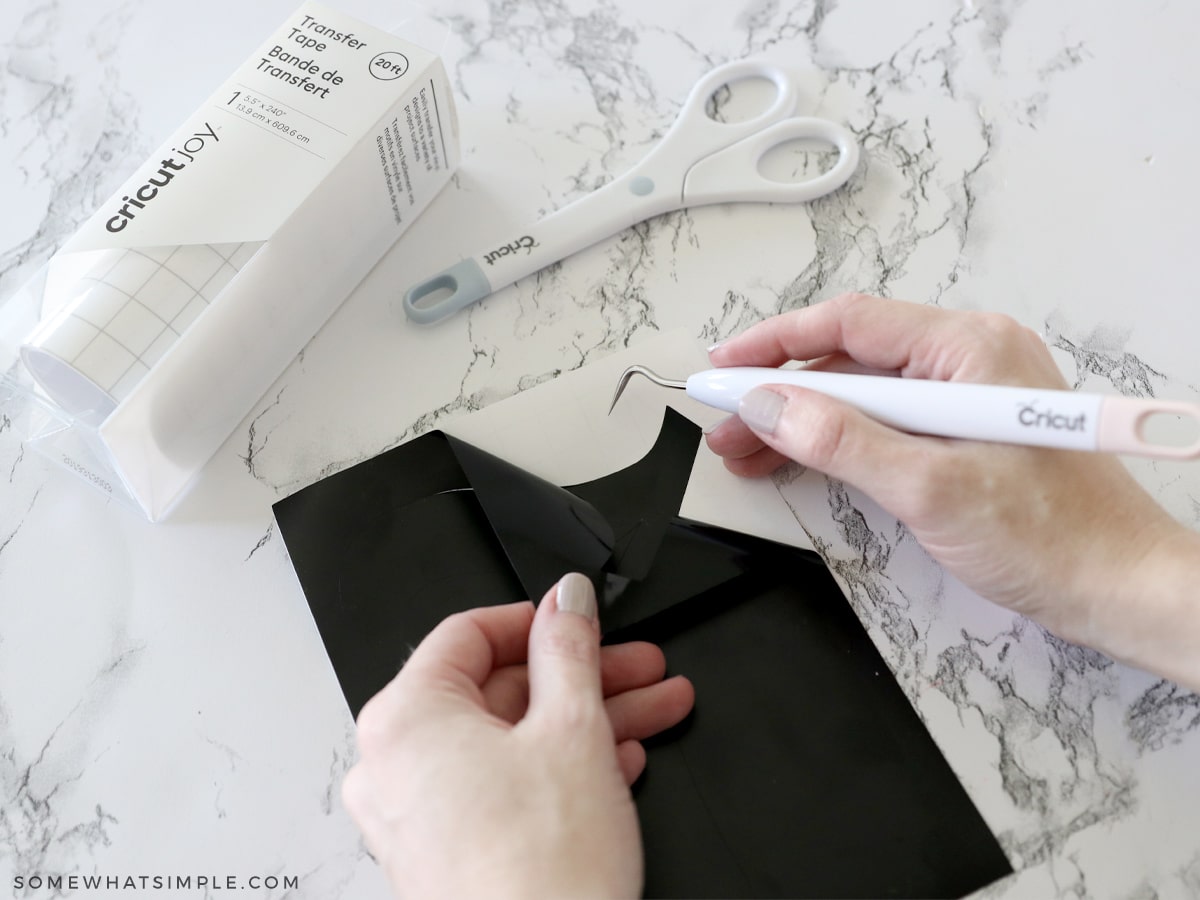
PREPARE – Weed your sticker pieces and have each set ready for the kids to decorate their own “cars”. I put each sticker set in a brown paper bag with their names on it. I did different colors for each of them, too, so each car was a little different.
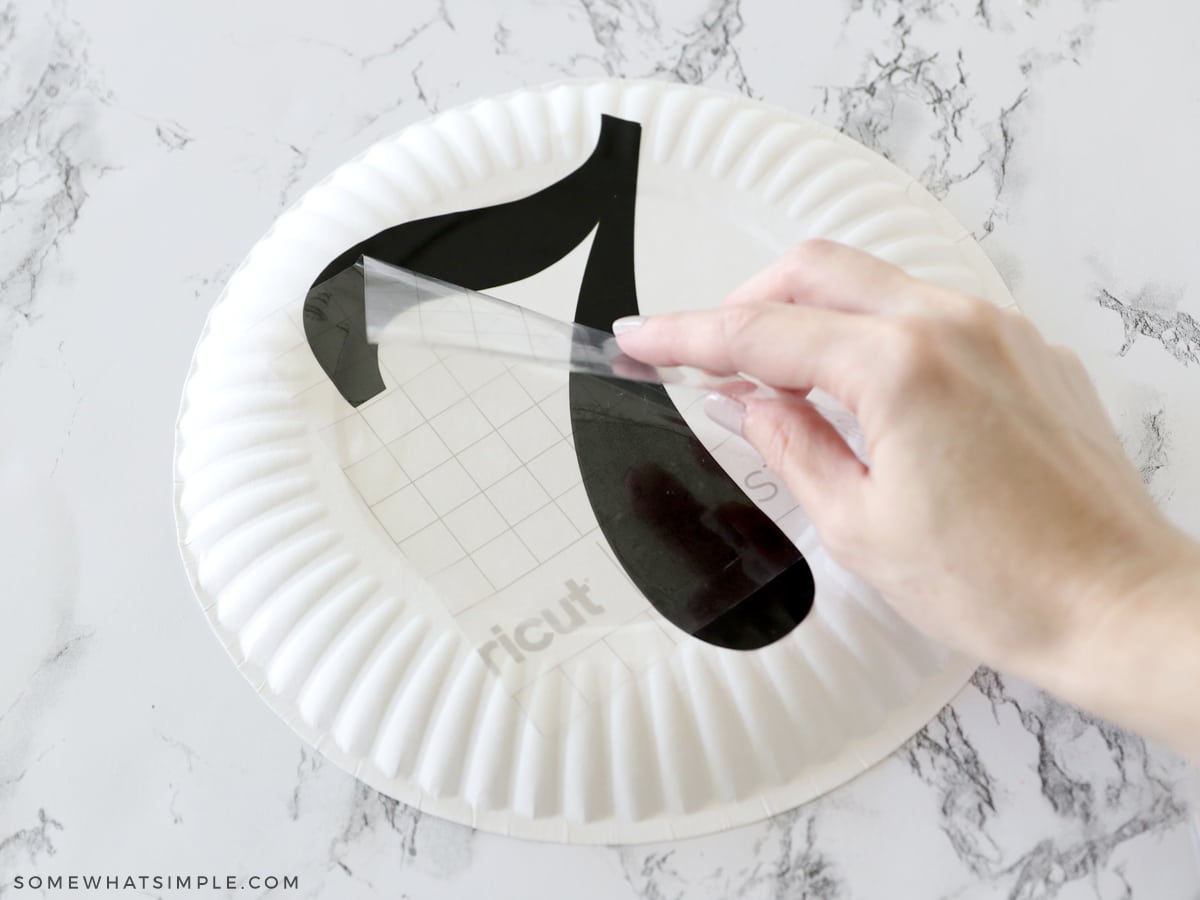
For the most part, you can get away without using transfer tape on the embellishments, but I found it helpful on the pieces that were hard to get straight.
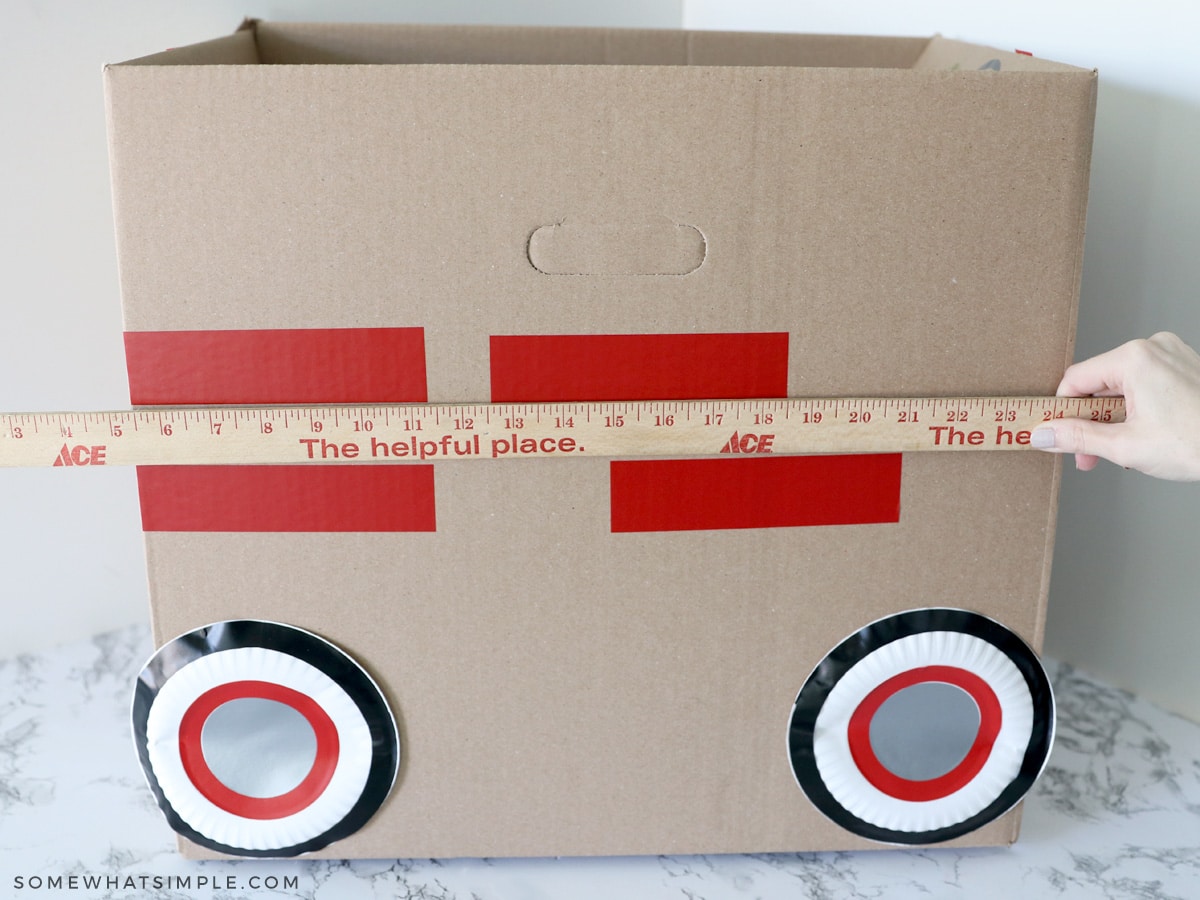
DECORATE – Let the kids add the parts and embellishments to their cars. Using a yardstick will help you keep any racing stripes straight and separated evenly, but most of my kids didn’t care about this!
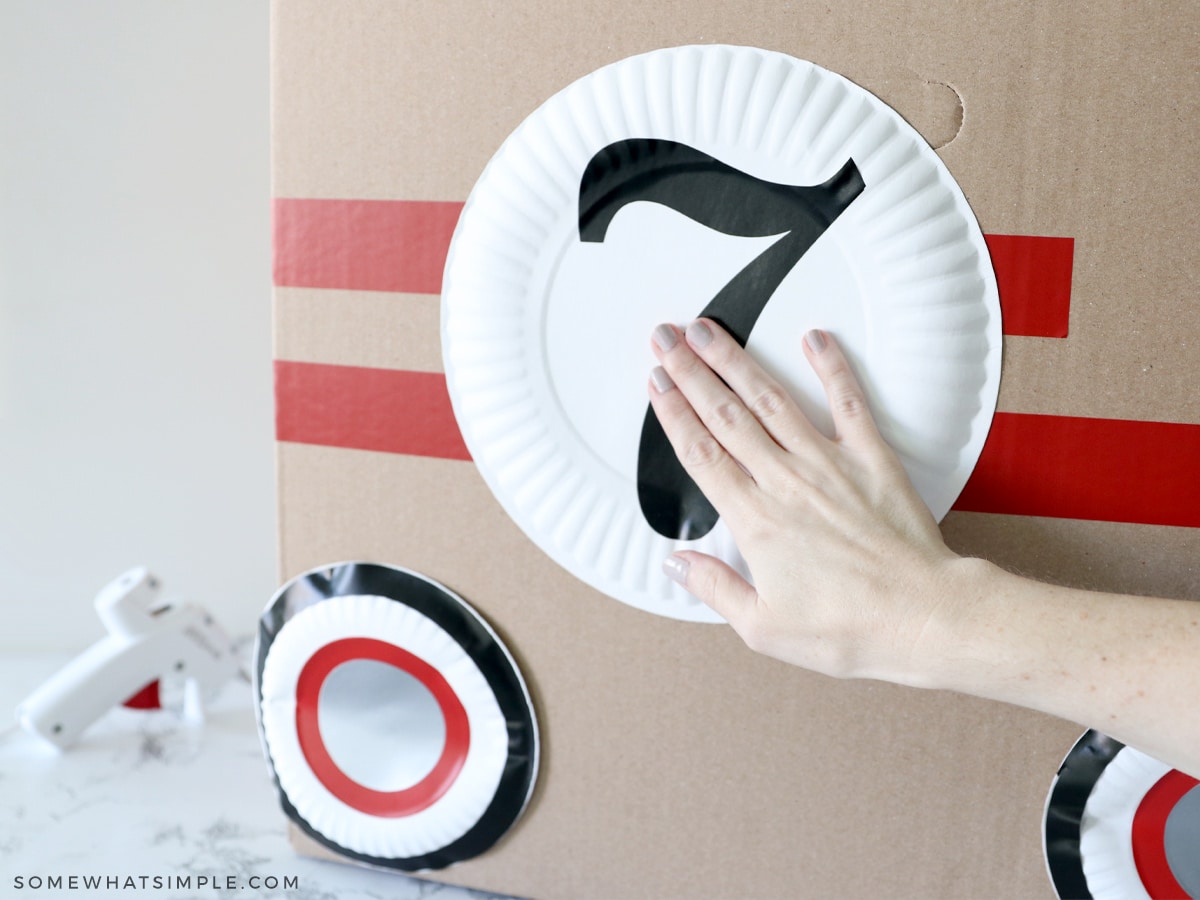
Use packing tape to applying any non-vinyl car parts (ie. the plates for the wheels, etc.)
You can tape your steering wheel to the front flap of the box, or use your scissors to poke a small hole through it and then fasten the wheel with your brad. It’s an extra step, but my kids loved being able to “turn” their wheel.

GET COZY – We also put a throw pillow in each box for some added comfort. 🙂
SHOW TIME – Once your cars are done, set up your “theater”.
- Use painter’s tape to make parking stalls on the floor.
- Set up a snack bar with theater drinks and goodies.
- Cue the movie and have fun!
Such a fun night that the kids absolutely LOVED!


super cute idea! My nieces would LOVE this… and we have a sleepover coming up- I might just have to try this out!
Ah so cute Steph!!! I love this and their personalities-too cute!
You are so cute and creative. So fun!! I am sure your kids loved it.
Super fun idea!!! I love that there was even a snack bar! 🙂