The perfect indoor date idea for the nights when it’s too cold to go out! Get ready to get cozy!
Here are a few more date ideas we think you’ll love – Conversation Starters, Your Choice, My Choice Date, and 12 Daytz of Christmas.
This post is sponsored by Cricut. All opinions are 100% my own.
‘Tis the season for chilly weather! Even here in Arizona, the nights are cold, and sometimes I just don’t want to go out in that. And sometimes, after a full day of being a mom, I just want to get my jammies on, snuggle up with my husband, and watch a good movie with hot cocoa in hand.
And this indoor date idea is perfect for those days.
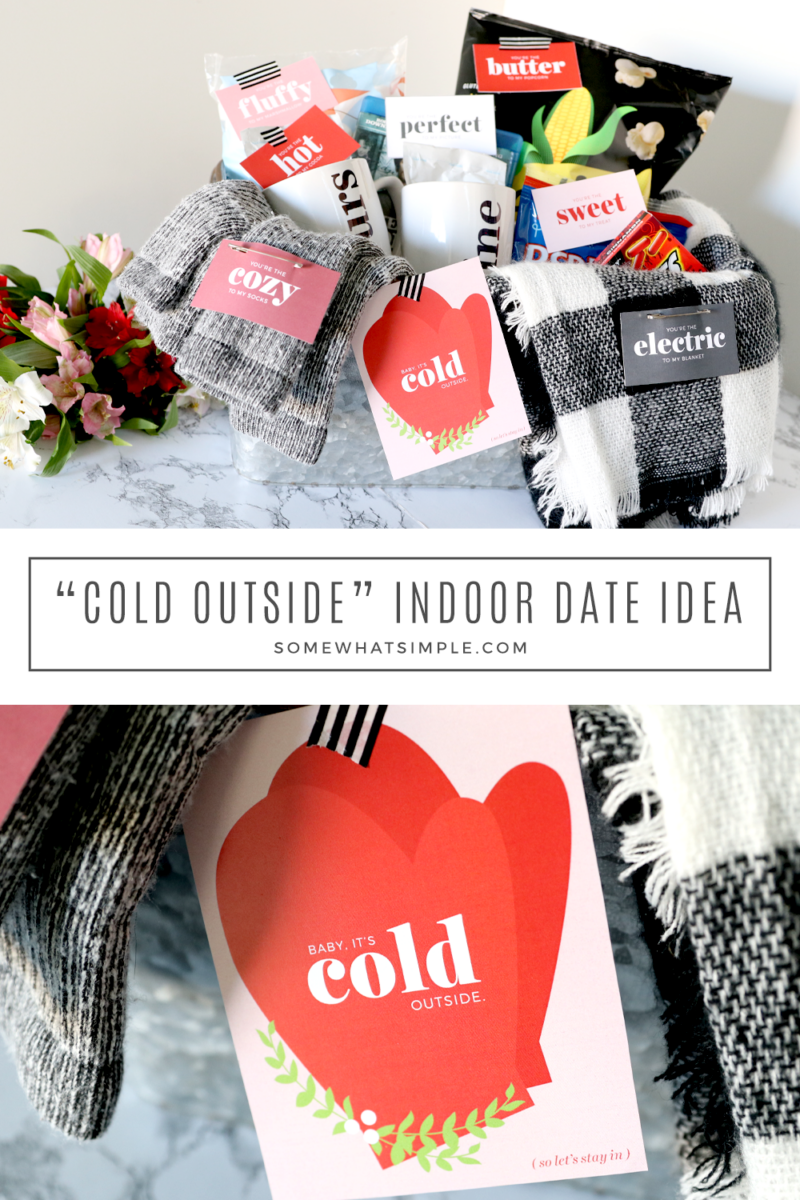
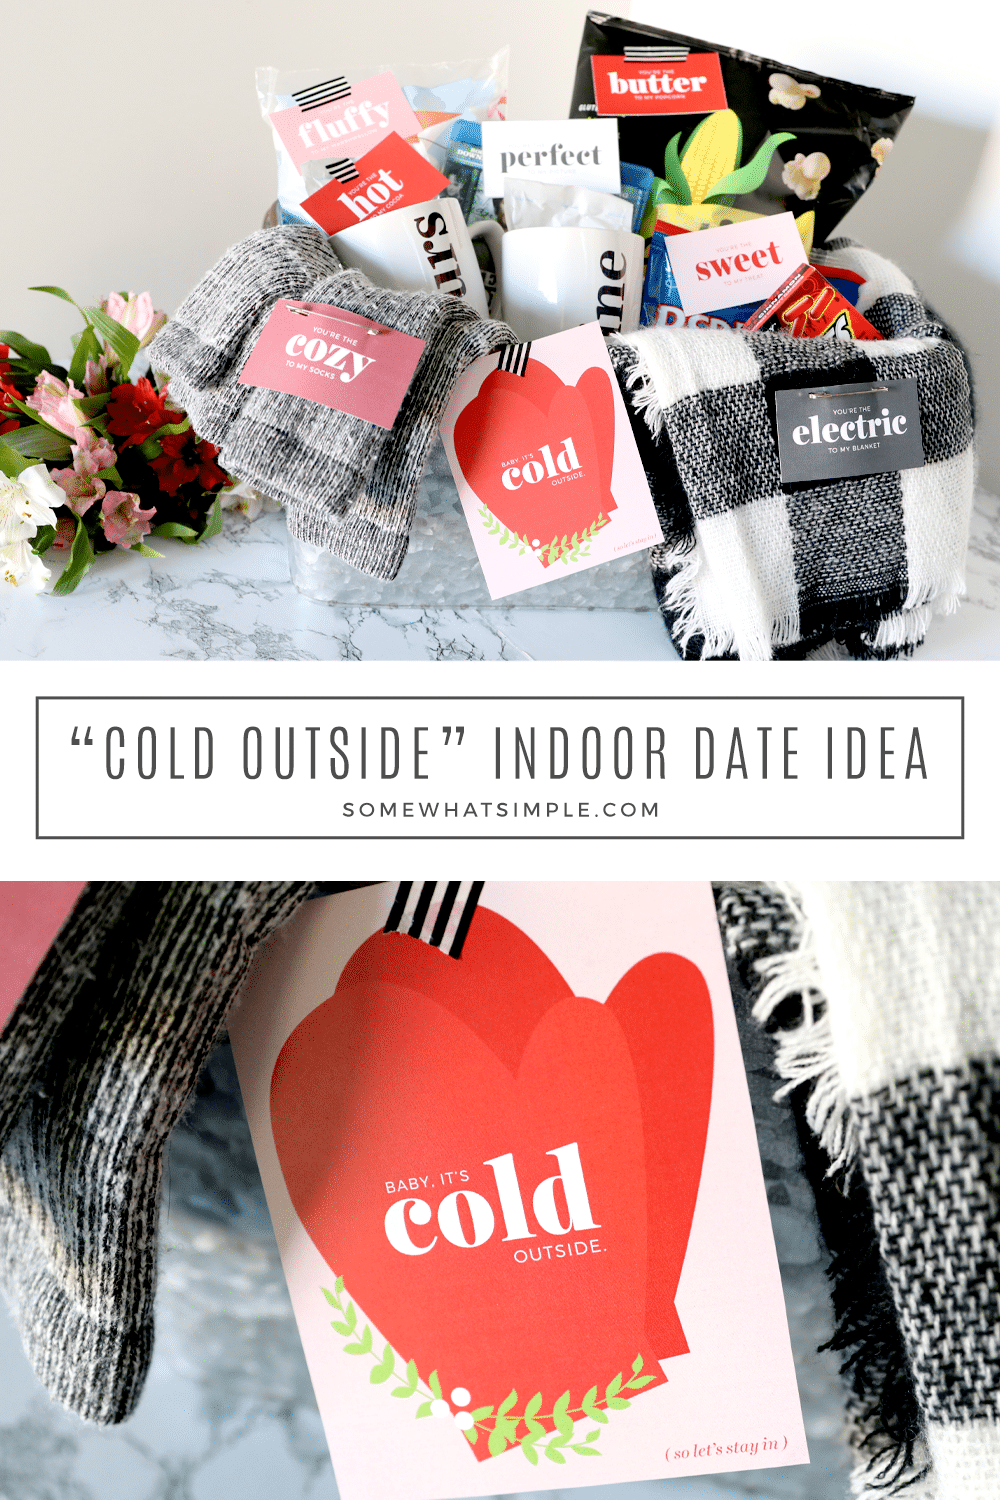
The concept for this date is simple: create a cozy setting for an indoor date with some hot cocoa, a blanket, a movie, and some treats! Here’s how to do it –
Simple Indoor Date Idea
Any and all of the items below are optional! Pick your favorites and go as simple or as elaborate as you’d like. You can buy new items just for this date, or use what you already have in your home.
SUPPLIES –
- large basket
- hot chocolate
- whipped cream
- mugs (see below for a fun way to dress up some plain mugs)
- blanket
- movie
- treats
- printable tags (download below)
- tape, ribbon, safety pins, etc.
DIRECTIONS –
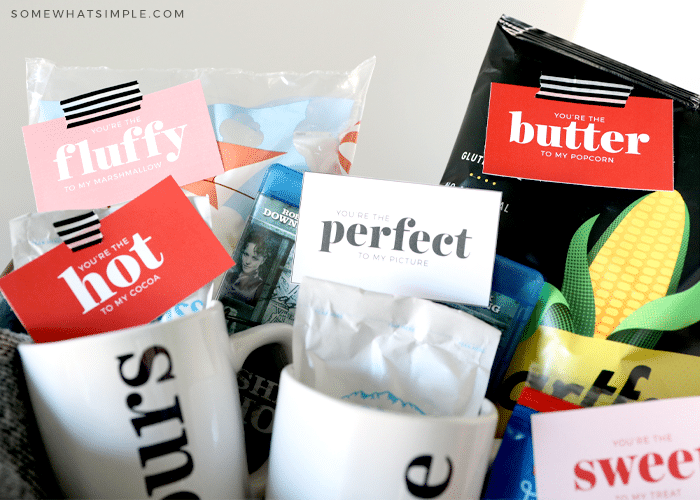
- Download and print the date night tags then cut them out and attach them to each corresponding item with tape, ribbon, or safety pins.
- Place everything in your date night basket.
- Get the kids to bed.
- Enjoy a night in with just the two of you!
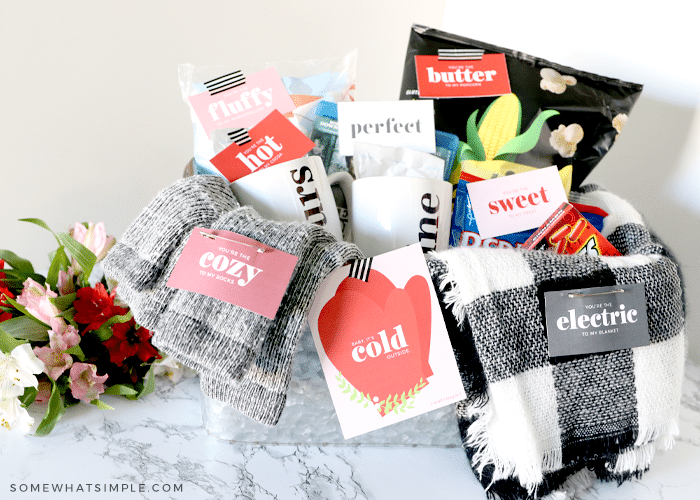
Here’s a closer look at how our basket came together –
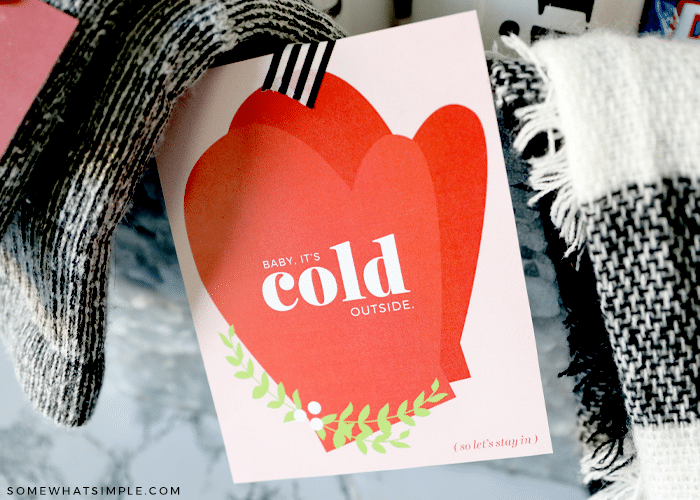
I attached the “Baby It’s Cold Outside” tag to the front of my basket.
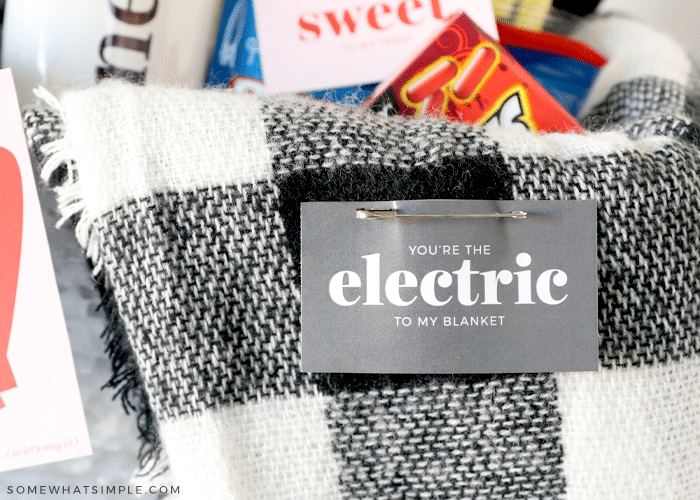
A cozy blanket is a must!
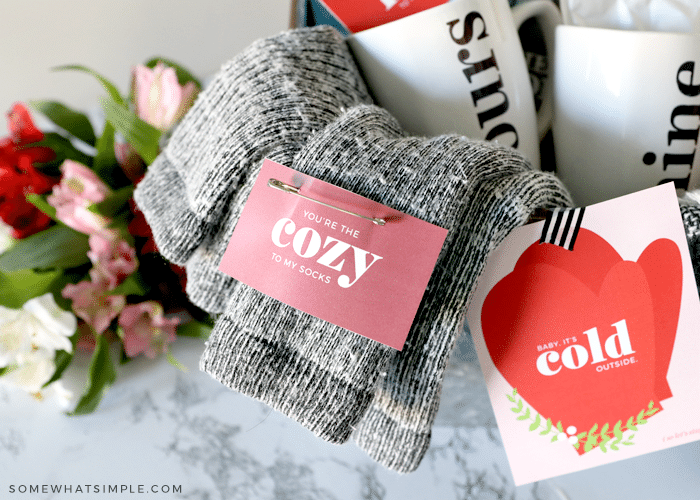
And don’t forget your matching socks!
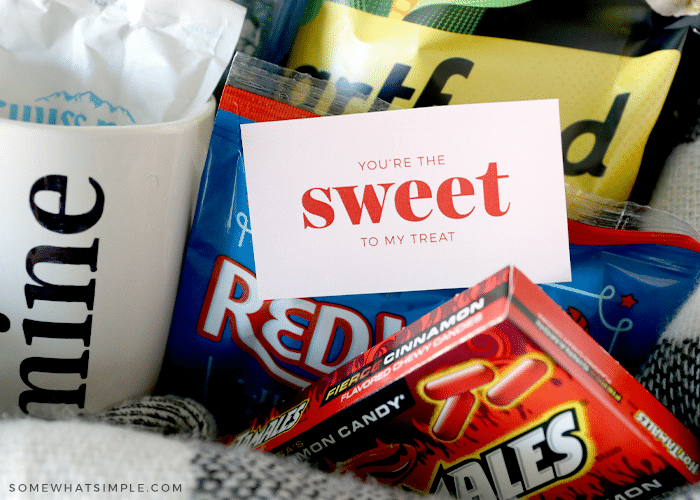
I grabbed our favorite candy, along with a big bag of popcorn.
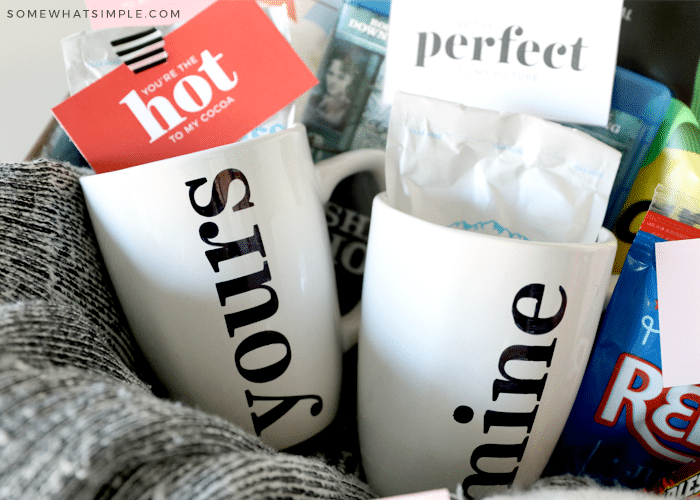
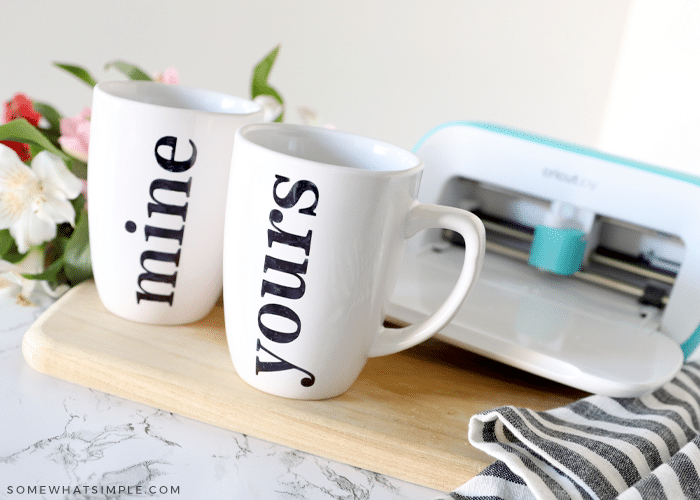
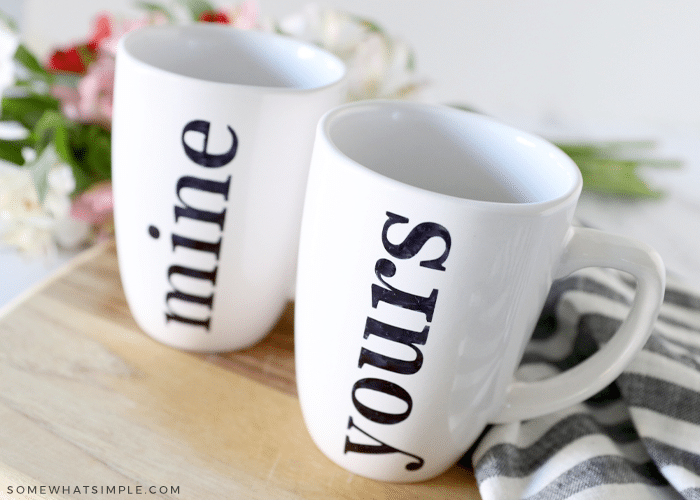
And I made 2 personalized mugs for sippin’ on some hot cocoa.
If you’ve never made Sharpie Mugs before, let me show you how!
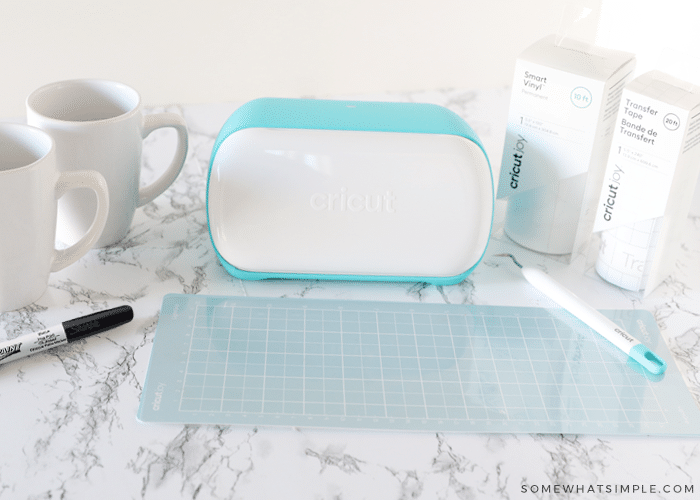
How to Make Sharpie Mugs
MATERIALS –
- ceramic mug – I purchased mine at the dollar store
- cotton balls
- rubbing alcohol
- Oil-based Sharpie pen*
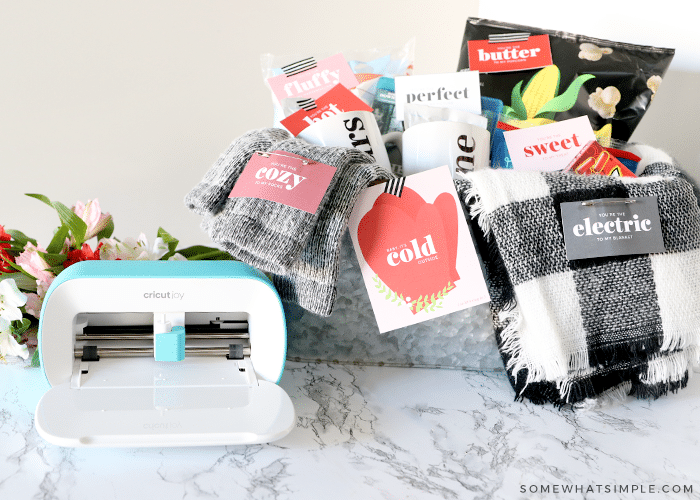
- Cricut Joy (or your favorite Cricut cutting machine)
- Design Space
- vinyl – this is a great project to use any scraps you have laying around!
- standard cutting mat
- weeding tool + scissors
- transfer tape, optional
- q-tip or napkin, optional
- baking sheet
- oven
*Regular Sharpie markers will wash off in the dishwasher, so be sure to use the oil-based versions. And feel free to use any colors you’d like, just keep in mind that once the mugs bake in the oven, their colors change and may not be as pretty or vibrant.
DIRECTIONS –
Get it Clean. Clean your mug with a cotton ball and rubbing alcohol to remove any grease and dirt. (The Sharpie will not adhere as well to a dirty mug.)
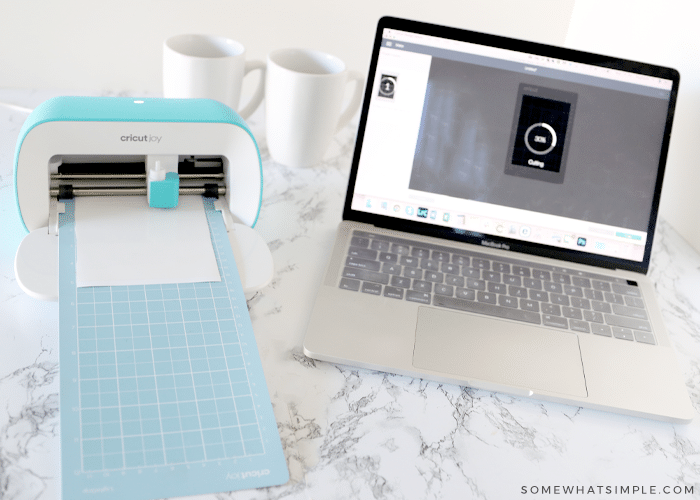
Create your stencil. Open up Cricut Design Space and type out or create a design you love. Cut out your design on some vinyl, then weed the design by pulling out the inside cuts. You’ll want to keep the negative surround to make a stencil. If you have small design elements, use some transfer tape to ensure your stencil stays in one piece.
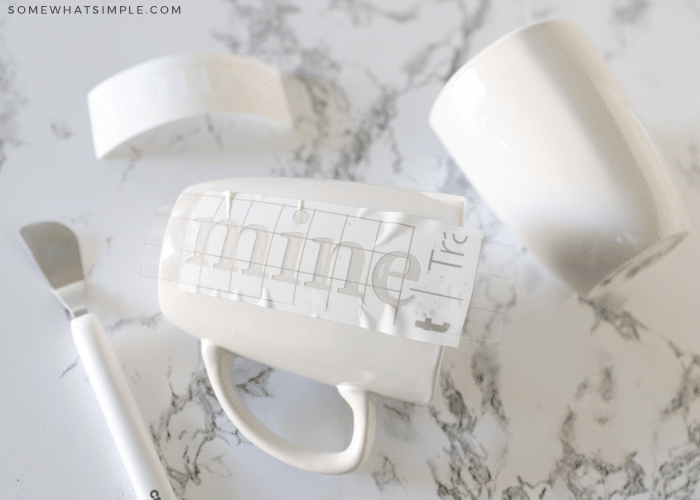
Apply the stencil to the mug. Press firmly around each edge to make sure your Sharpie ink doesn’t bleed under the stencil.
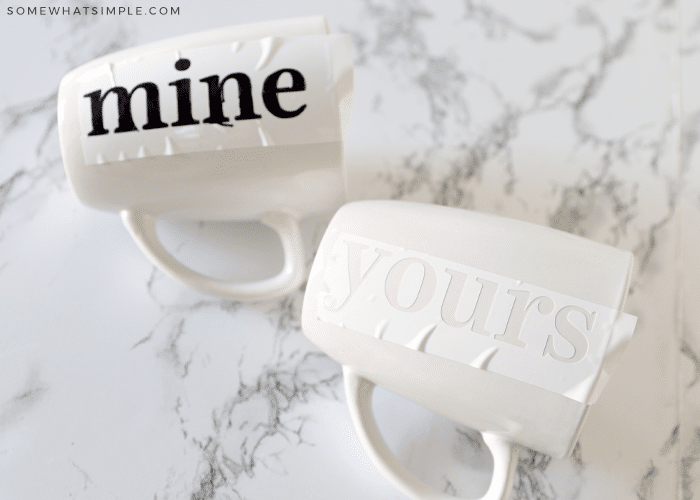
Color in your stencil. Get your Sharpie pen started as the directions read. Once your ink is flowing, trace your stencil and fill in every part of your design. The ink flows very quickly, so be prepared for it to come out fast. It also starts to dry very quickly, so be quick to wipe up and drips or mistakes with a q-tip or napkin.
Peel your stencil off. You will want to peel the vinyl stencil off before the ink sets too long. Waiting too long may cause the stencil to peel some of the ink off with it.
Bake your mug. Place your mug in the center of a baking sheet, then put the baking sheet in the center of a cool oven. You want to heat your mug up with the oven so that it doesn’t crack. Set your oven to 450F. Once at 450F, set the timer for 30 minutes.
Cool down. Turn the oven off after 30 minutes and allow the Sharpie mug to slowly cool in the oven. Do not touch your mug until the oven is completely cooled down.
Let it set. Once your Sharpie mugs have cooled, let them sit on the counter for 24 hours before exposing them to moisture.
I love how this indoor date night came together – such a fun way to keep things simple and sweet, don’t you think so?
Indoor Date Printables
To download our free date night tags, enter your name and email address in the form below.
We hope your next date night is amazing! Cheers!