You won’t believe how easy it is to build your own Lego Tray! No power tools needed!
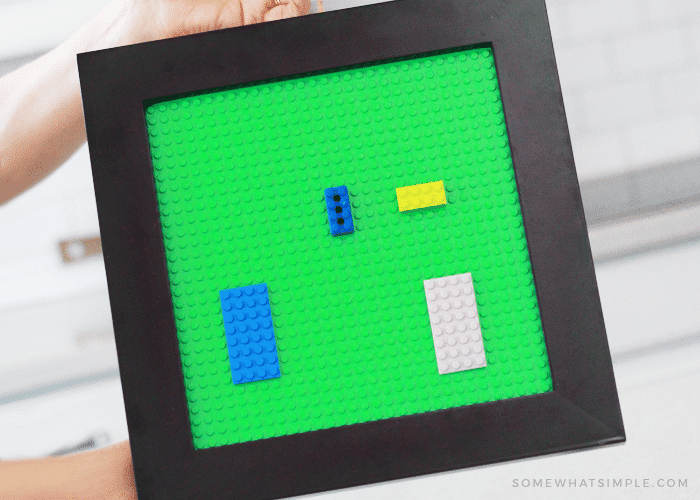
Easy DIY Lego Tray
Years ago, we showed you how to make your own Lego tray by measuring, cutting ad assembling wood to fit a standard Lego baseplate. The post went NUTS on Pinterest and it still ranks as one of our most-viewed projects.
But then we got to thinking –
Since we are all about keeping things SIMPLE around here, the idea of purchasing special tools for a project not only complicated things, but it made the finished product quite expensive!
There had to be a better way.
And you know what, there IS!
Today we are showing you how to make a Lego Tray the easiest way possible, and you can do it for under $20!
How to Make a Lego Tray
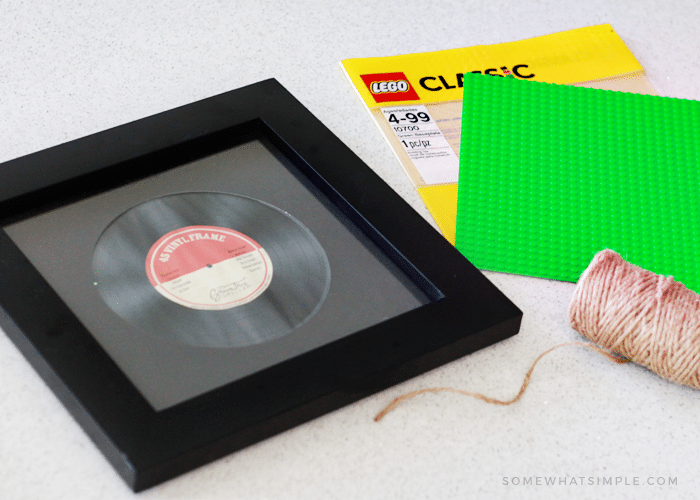
First, find a frame that is exactly 10 x 10.
This is not a super popular size for frames. You’ll see a lot of 8 x 8 and 12 x 12 frames, but the 10 inch ones will take a little more searching. I found the one pictured here at Hobby Lobby. You can also find 10 x 10 frames on Amazon.
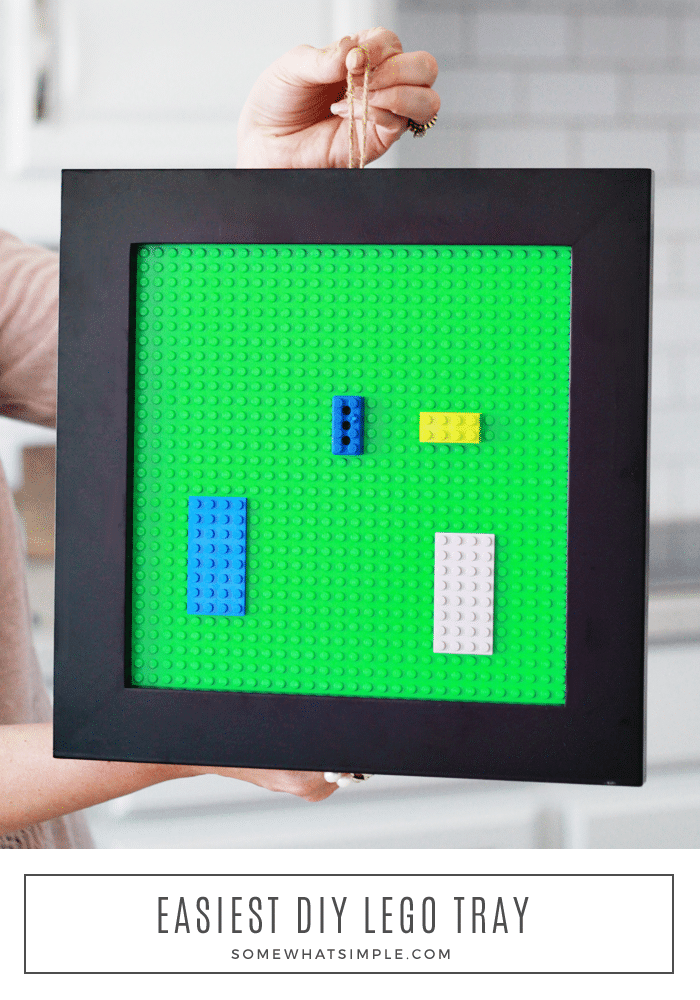
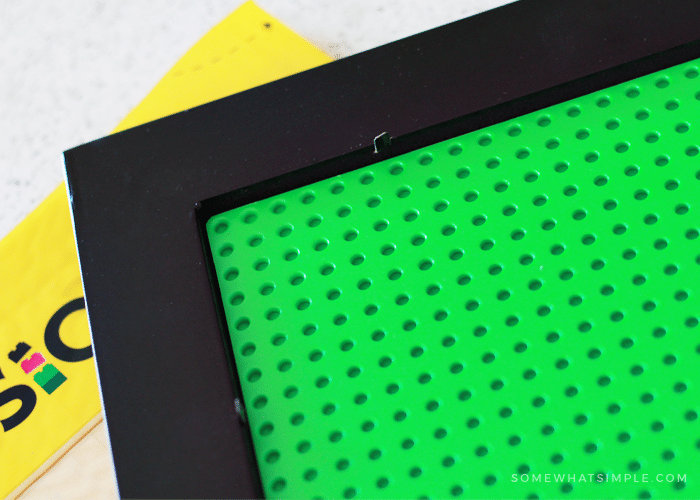
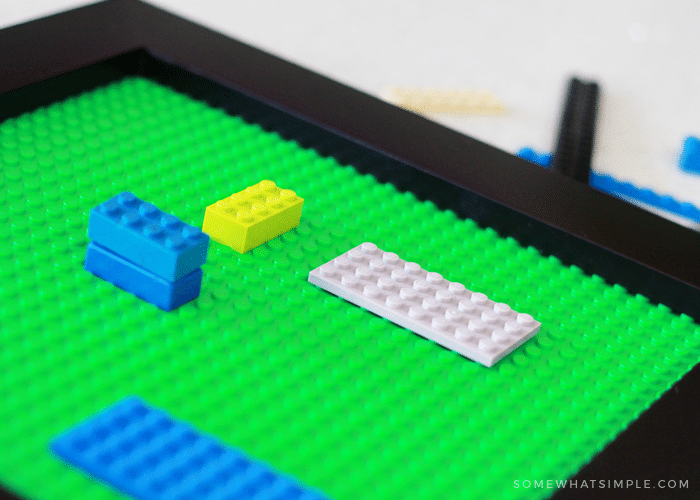
Next, replace the glass of your frame with a standard Lego Baseplate. If you have a Lego Store close by, they sell these for around $5. They are also available in a bunch of colors on Amazon. Just make sure you get the standard 10 x 10 size or building a Lego Tray might make you swear a little if it doesn’t fit. 😉
Replace the frame backing and secure it with those dang metal tabs that kill your fingers.
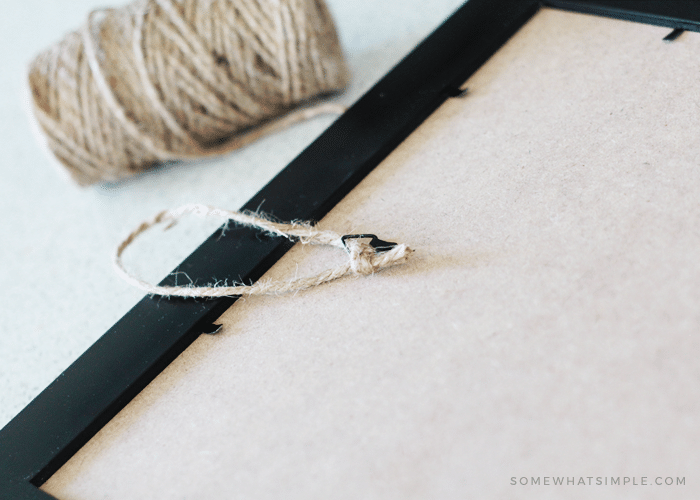
Tie a piece of twine or ribbon onto the back hook, if you plan on hanging it on the wall.
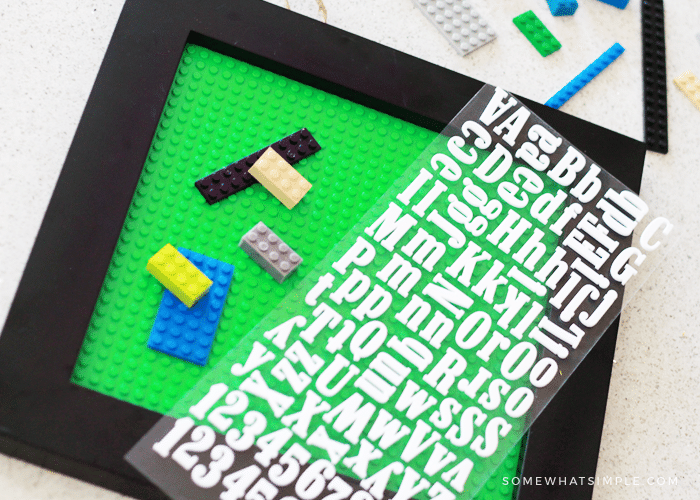
If you want to personalize the Lego Tray, or if you want to make one for each child, use alphabet stickers to spell out their names and stick them onto the frame.
And if you wanted to go REALLY all out, you can spray paint the plate or the whole frame any color you want to match your home decor. Who said toys had to be tacky??
Clever Lego Tray tutorial
supplies:
- 10 x 10″ shadow or record box frame
- Lego building plate
- ribbon or twine, optional
- letter stickers, optional
directions:
- First, disassemble your frame by removing the back and the glass.
- Place the building plate face down into the frame.
- Replace the frame backing.
- Add a piece of twine or ribbon onto the back hook to hang on the wall.
- Personalize the Lego Tray with alphabet stickers, and let the kids go wild with their brand new Lego Trays!
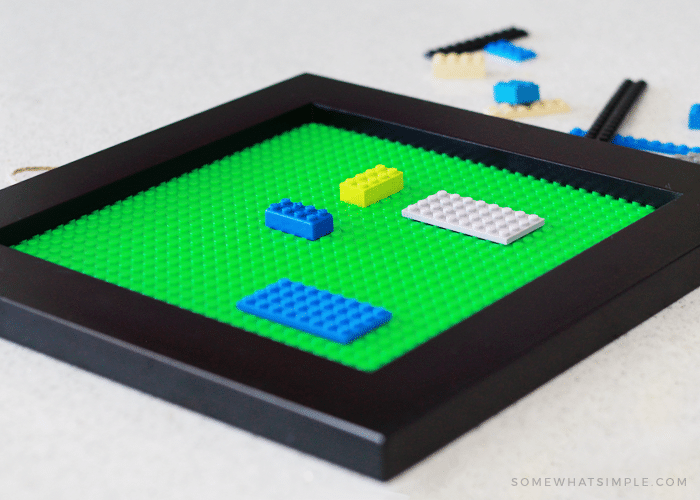
I love that you only really need 2 things to recreate this Lego Tray – a frame and building plate! And since it’s in a frame, it can be hung on the wall, and it looks like it’s supposed to be there! a fun addition to any play or kid’s room!
One of my good friends, just celebrated her son’s 3rd birthday. He’s a big Lego fan, so I thought this cute and clever Lego Tray would be the perfect birthday gift.
More Fun Lego Ideas
Happy Lego Tray building!
ABOUT THE AUTHOR: Jen Woodhouse is an Army wife and homeschooling mother of two. The House of Wood is Jen’s creative outlet for all things DIY and design, a place where she documents her adventures in designing and building furniture and tackling home renovation projects.
This post originally published in 2015, but was updated in 2018 with a new tutorial and images.


If I don’t use a baseplate, and change the frame size to the size of the pix brix kit I just finished, it will probably work to frame it! Thanks! I was wondering how to do it.
I am looking for the original tutorial and can’t find it. Is there any way to have the original tutorial sent to me or link shared?
Hi Natasha,
The original tutorial used quite a few power tools and supplies that were pricey, so we had several requests from our readers to simplify this project. We got rid of the original tutorial – sorry about that!!!
this is hands down the BEST idea!!! Thank you and my feet thank you – I am certain this will keep most of those little devil pieces off the floor – thank you thank you – and this most likely will be my go to gift idea from now on for birthdays.
Hahaha! Your comment made me smile! 🙂 Thanks for stopping by Leah!
My husband made one of these many year ago, but it was large enough to cover our coffee table. Then when the boys had to clean up, we just put it in the toy room. Then, the next time they wanted it, they could pick up where they left off!
What a fabulous idea! I’m going to feature it on Kawartha Lakes Mums new crafty corner.
What a fantastic idea!! I’ll definitely have to give this one a go 🙂
I COULD JUST HUG AND KISS YOU FOR SHARING THIS. ITS TH E NEATEST THING SINCE, WELL, LEGOS! My 2 GRANDSONS` BIRTHDAYS ARE IN JUNE AND AUGUST. I AM SO EXCITED TO MAKE THESE. AGAIN, THANK YOU.
I bought some base plates at yard sales, thrift stores. I save so much on those I can afford to go to the lego store at the mall
We made one for our nephew!
This is a wonderful idea! I’m going to have to steal this from you for my girls’ new playroom! 🙂
This is AMAZING! Just pinned it to my Lego Love Affair board on pinterest! THANK YOU! XO
Thank you so much for this tuturial!! I can’t wait to make some Lego Trays for the lego lovers in my family! I have included this in my weekly roundup of useful sites at http://www.doomestic.com Thanks again!!
I made this for my nephew’s 7th birthday last year and he loves it! It is perfect for clean up time and they can quickly move the toys away from the dogs before they are all eaten!!
My brother-in-law asked if I would make my other nephew (who is turning 2) his own board for the duplo legos. Just got the 15 x 15 duplo board in the mail and can’t wait to make this one too!!
WOW! Love this! My son, Elijah, who we call Lie, peeked over my shoulder and said he wants this bad!!!
LOVE this! Going to make it for my nieces and nephews for Christmas! Thanks!!!
Thank you for the wonderful idea! I know some Legomaniacs!
Was the Lego board that color when you bought it, or did you have to paint the lego plate as well?
Lego baseplates are sold in various colors. I bought the grey 15×15 one from Amazon.
What a clever idea!! Maybe I won’t have legos in my living room anymore huh…. well one can hope right? I’ll be featuring this on tomorrow linky party at Just Simply Christmas, please jump in on the fun and link up your homemade gift ideas for children or any other weeks! We’d love to have you!
http://justsimplychristmas.blogspot.com/
I love this idea!!! All my kids and grandkids love playing with Legos…this is sooooo cool!!! Thank you!!
I love this!!! I am going to try to make one that is about 3 of the baseplates long on plywood to put atop the stomage drawers that currently house my Son’s Lego blocks… Maybe THIS will keep them from under my FEET!!! 😉
Absolutely. My toddler doesn’t play with Legos yet, but I can only imagine how painful they can be underfoot! Good luck!
Where do you get the Lego baseplates?? Love this!
Hi Sarah,
I bought it from Amazon!
Just saw the base plates at Target for $14.99. The green one for Lego Duplo was a little cheaper.
Making this for our 5 yr. old grandson for Christmas. Thanks for the great idea!
So clever. I have a lego crazed boy so I may have to make this.
This is a great idea! Thanks for sharing. Will be making some of these for Christmas presents.
Of course! I’d love to see it when you’re done!
This is THE cutestidea ever! My 6 year old son loves Lego’s and would really love this tray! Can’t wait to make one! Thanks for sharing your creativity!!
This is the Karen that has the Elijah that got the Lego tray and I can tell you that this gift has been used NON-STOP since he got it Saturday. And as an FYI- we have a bunch of Duplos, too, and the Lego mat works for both, so it’s a great cross-over gift for a 3-year-old. Thanks, Jen! I still can’t get over the perfect cleverness of this gift for Eli!
Yay! I’m so glad Eli is loving his Lego tray!
I love this idea. How simple, and practical!
Blessings,
Nici