Bake sugar cookies, share them with friends and family, and decorate like a pro with our 5 easy Sugar Cookie Baking Tips.
Once you’ve mastered baking your cookies, be sure to learn All ABout Royal Icing and how to package them for the cutest Cookie Gifts.
How to Make Sugar Cookies
Making and decorating sugar cookies (while listening to a rockin’ playlist) is one of my favorite things on the planet. It’s definitely a form of creative therapy… although my waistline miiiiight get the brunt of all my therapy sessions! 😉
Today I am going to share 5 tips and tricks that I’ve learned by making way too many cookies over the years.
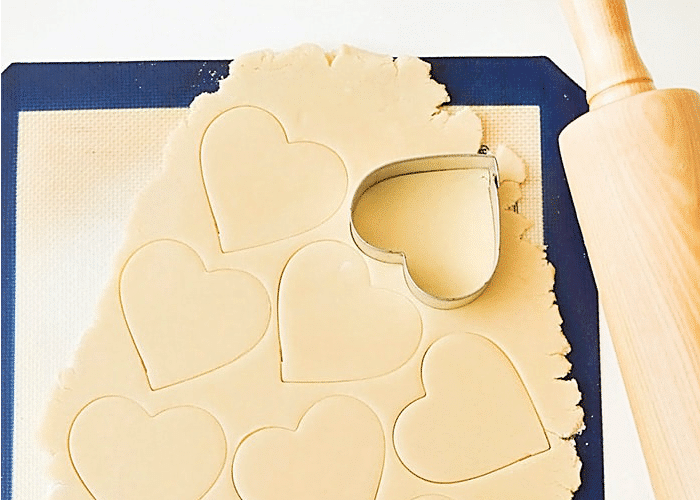
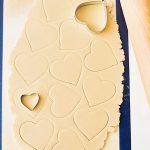
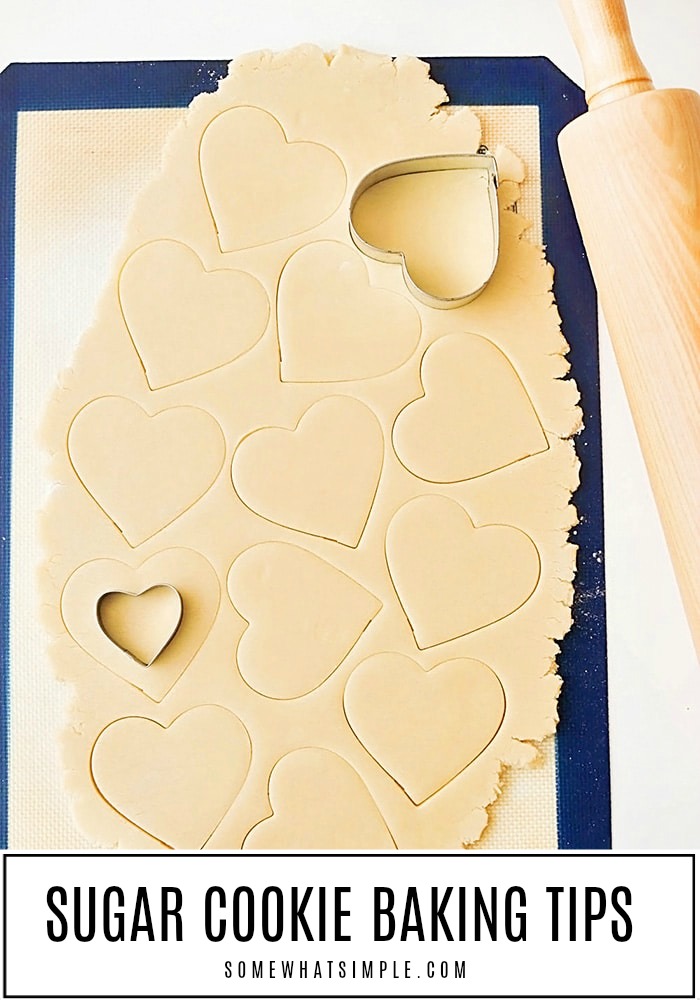
1. Rolling Out Sugar Cookie Dough
QUESTION – Can I use the dough scraps and re-roll out what is left over after I use my cookie cutter?
ANSWER – For sure! Just be aware that each time you roll it out, you are working more flour into the dough from your floured surface. More flour will make the dough stiffer, less tender (less tasty), and a little less smooth.
The first rollout also spreads/puffs a little more, while the last will hold to the exact size that you cut it. Therefore you will notice a considerable size difference between the first and last rollout. Keep this in mind if your goal is for each cookie to be exactly the same size.
When you get a new chunk of dough, consider it roll out number one again. Here is an example of the same cookie cutter, the same thickness of dough, but done in the first, through fifth roll-out:
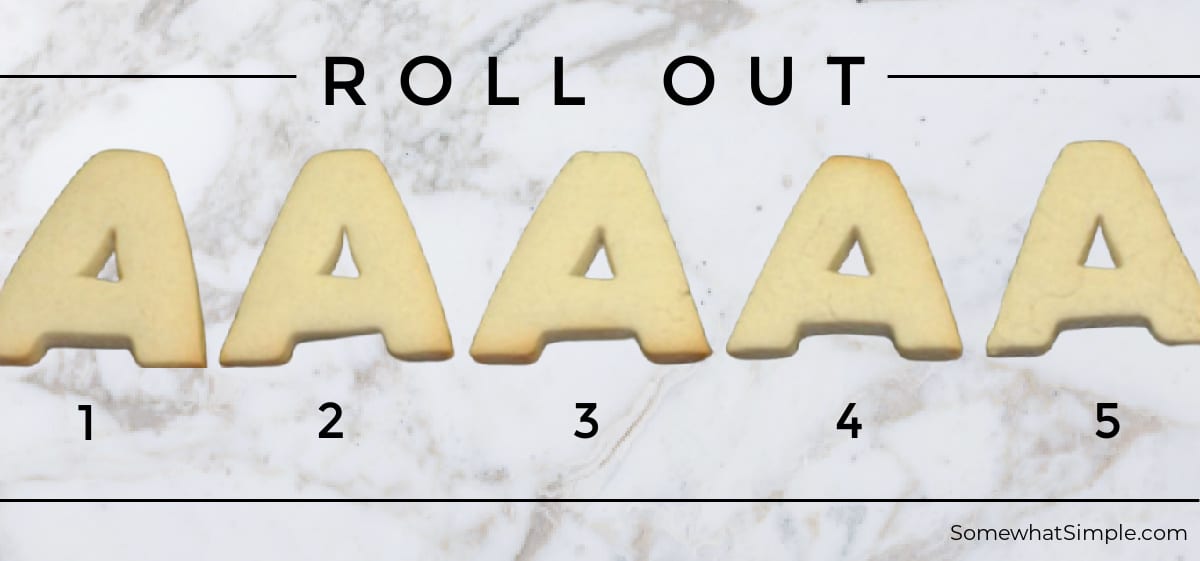
Do you see the difference in how they look? Slight, but noticeable to a cookie nerd, like myself.
I like to use the first and second roll-outs if I’m giving them or selling them. I set the other scraps aside for making the “kids decorate pile.” It’s a little mean, but they’ll get through it. 🙂
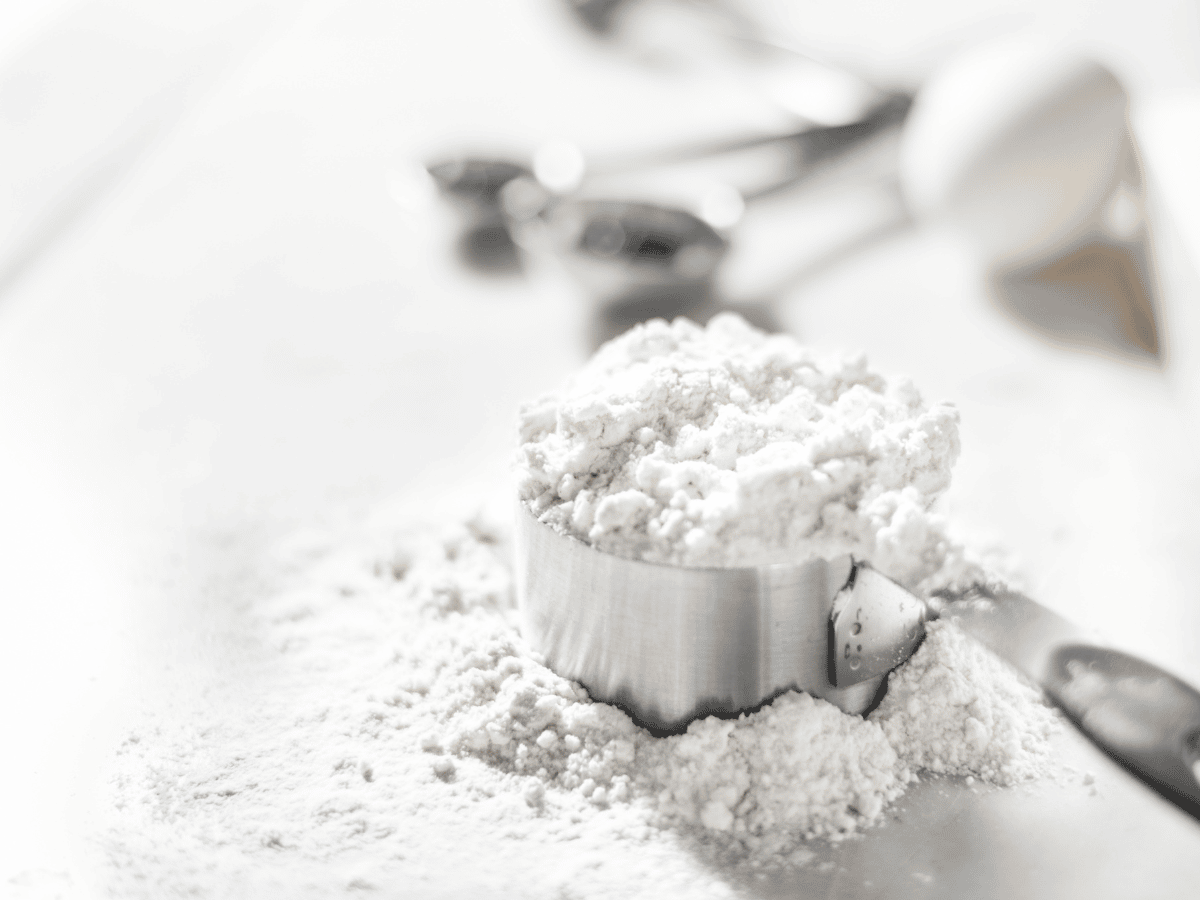
2. The Best Sugar Cookie Baking Tools
QUESTION – What are your favorite cookie baking tools?
ANSWER – Is your birthday coming up? I’m just saying… husbands, get on top of this!
- Straight Rolling Pin: I love this because of how wide an area it covers.
- Rolling Pin Bands: These slide on the straight rolling pin and keep my cookies the same thickness all the way across.
- Non-Stick Silicone Baking Sheets: I’m a firm believer in these! Not only do cookies just slide right off of them, but they also cut down baking time too! (I even use mine to roll out my cinnamon roll dough instead of flour the surface – it works wonderfully!) If you don’t have these mats, (they are worth the investment) you can use parchment paper – that’s my second-favorite option/
- Measuring Cups + Spoons: This set not only comes in a bunch of pretty colors, but it has the 1/8 tsp, which is sometimes hard to find.
- KitchenAid Mixer: I don’t know what anyone did before this was available! Such a lifesaver!
- Ingredient Bucket: Storing your flour and sugar is always better in a big bucket! This is easy to store and easy to pull out of the pantry, and I don’t have to keep refilling it too often.
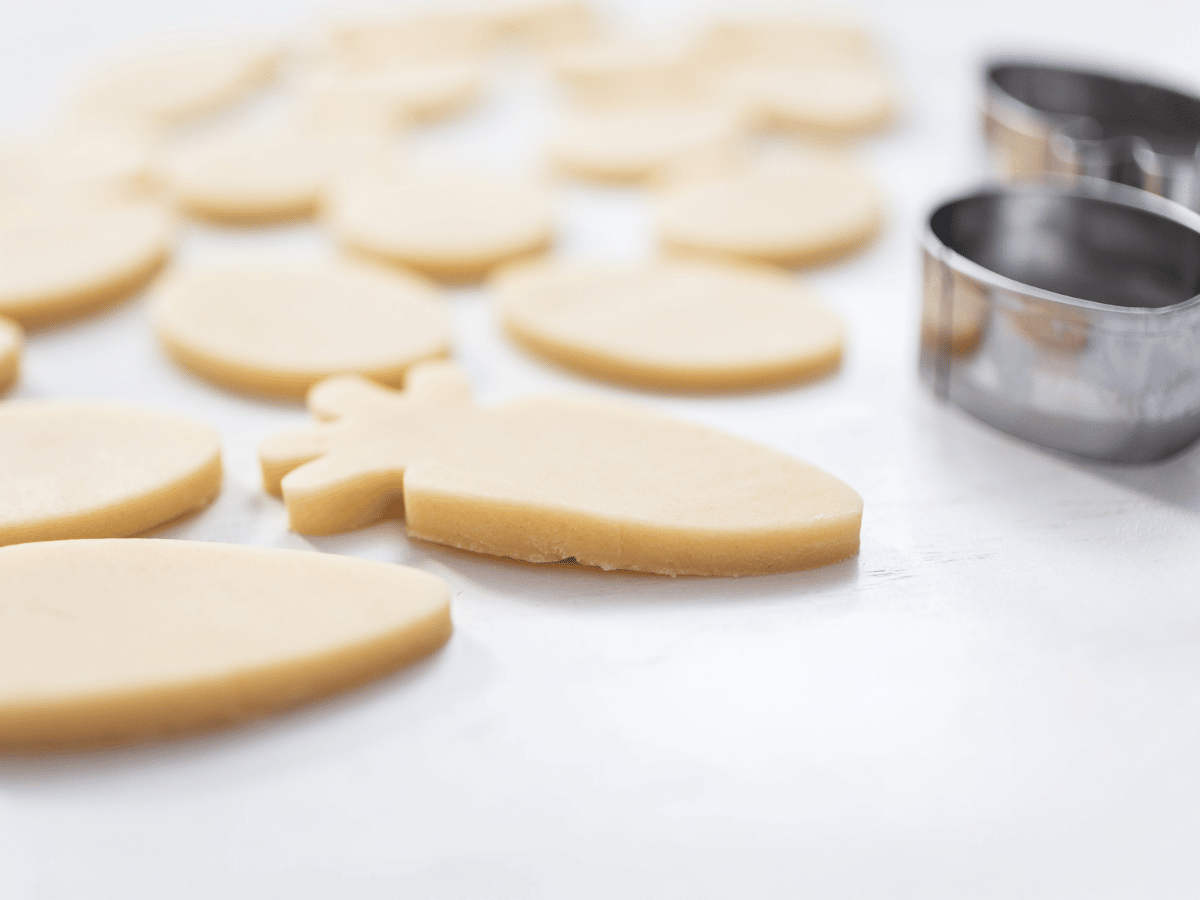
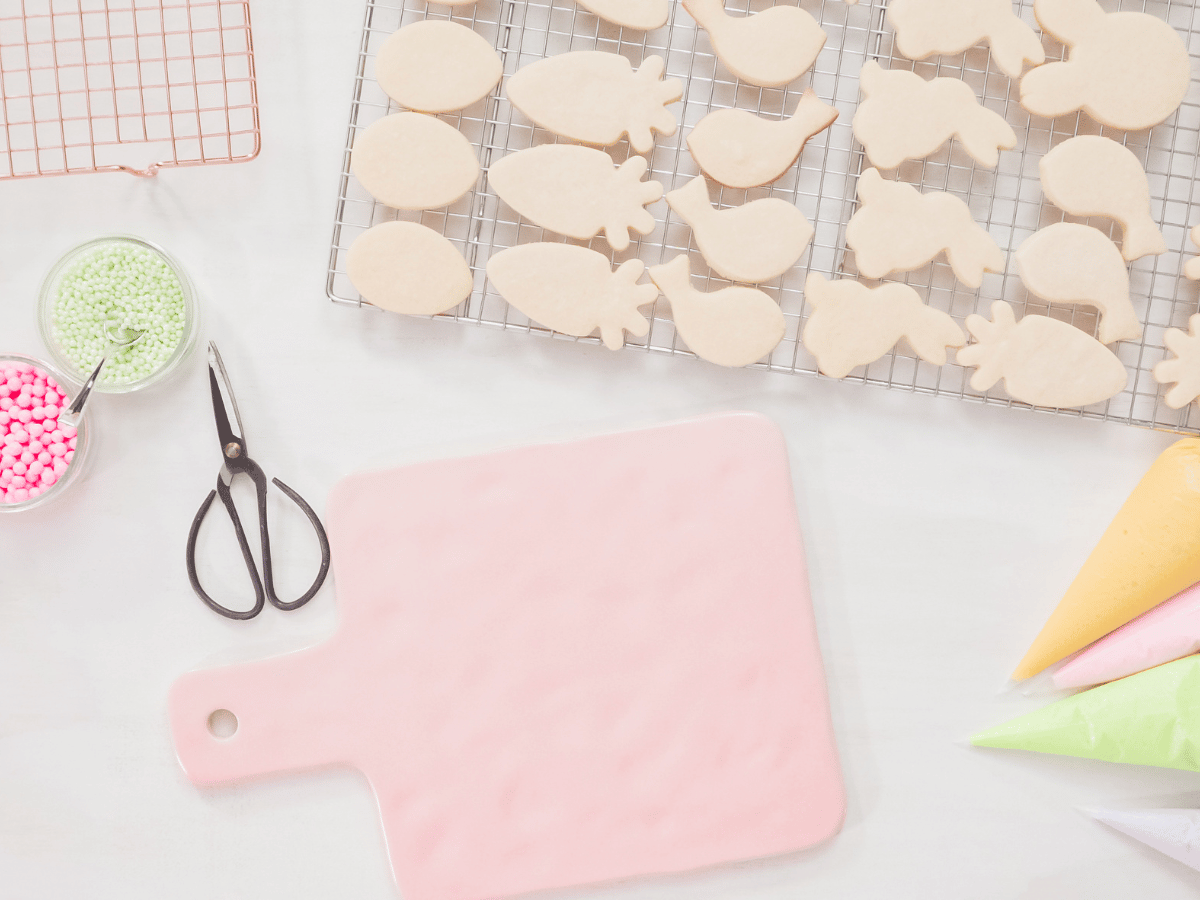
3. Cut Out Sugar Cookies
QUESTION – Can I cut the sugar cookie dough with a knife instead of a cookie cutter?
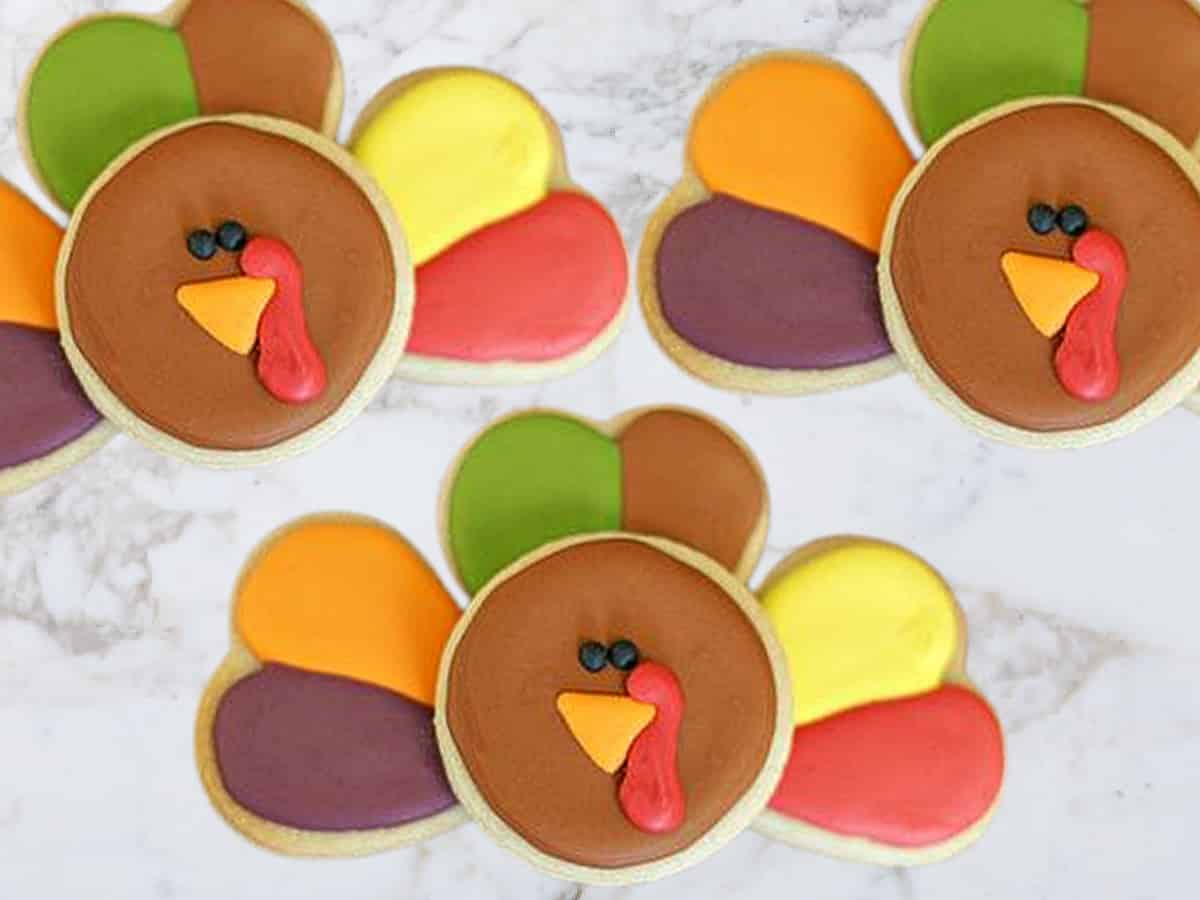
ANSWER – Yes! You don’t necessarily have to have a cookie-cutter shape for everything you want to make. There are a million cookies you can make out of simple shapes. Almost anything can be drawn onto a simple circle or rectangle cookie, and when you don’t have the cookie cutter you need, be inventive! The turkey cookies above are made from a heart and circle cookie cutter.
When all else fails, make your own cookie cutter! Simply make a template out of cardstock, place it on the dough and cut it out with a small paring knife. I traced my kids’ hands and made a template for these turkey handprint cookies.
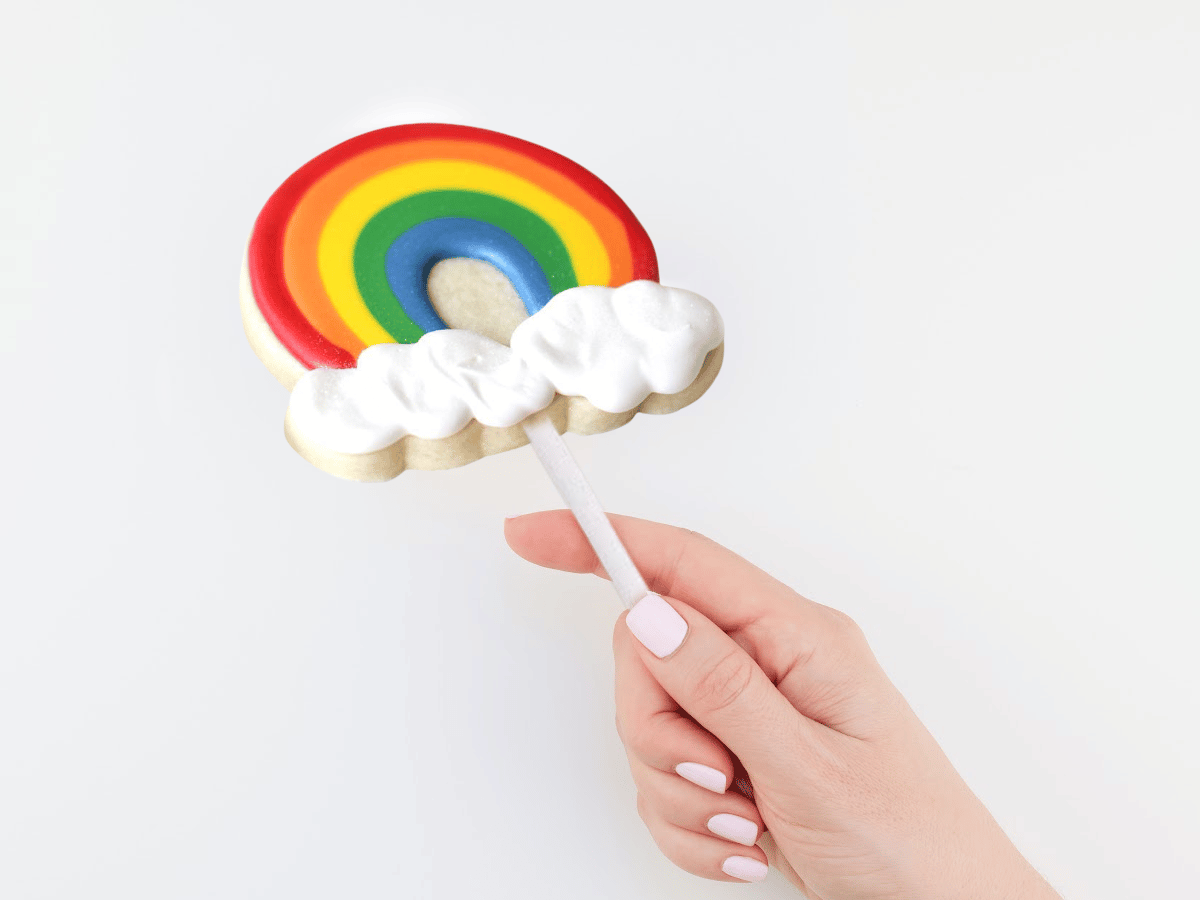
4. Cookies on a Stick “Cookie Pops”
QUESTION – How do I put my sugar cookies on a stick?
ANSWER – If you want to put your cookies on a stick, chilling them will keep them from distorting when you put the stick in. Here’s how –
- Roll the cookie dough out nice and thick.
- Cut the dough out in the desired shape with a cookie cutter or small pairing knife.
- Put the cutout cookies on a cookie sheet, leaving enough room for a stick to be added to each one, then chill them in the refrigerator for 20 minutes.
- Take them out of the fridge, then insert the lollipop stick, making sure it is centered in the thickness of the cookie.
- Bake according to recipe directions, then let them cool for everal minutes on the baking sheet before transferring them to a cooling rack/
- If your stick wiggles loose after baking, take the stick out, dip the tip in some frosting, then reinsert. The stick will hold fast once the frosting has dried.
5. The Best Sugar Cookie Recipe
I’ve tried several sugar cookie recipes, and I always come back to one that a good friend gave me. It makes a nice, soft cookie, which DOES make them a little more fragile, but using royal icing or buttercream frosting will make them sturdier.
Notes:
- Not all oven are created equal, so you might have to adjust the bake time by a minute or so.
- Store any leftover dough in a ball wrapped in plastic wrap.
- I prefer to use salted butter when baking these cookies, but unsalted butter will work fine, too. I’ve never tried this recipe with margarine.
Once you learn the basics of making the dough, go nuts adding food coloring, sprinkles, and whatever else your heart desires! Here’s the recipe –
Sugar Cookie Recipe
Ingredients
- 2 cups of butter, room temperature
- 2 cups sugar
- 3 eggs
- 2 tsp. vanilla
- 1 tsp. almond extract
- 1 tsp. lemon extract
- 6 1/2 cups flour
- 1 tsp. baking soda
- 1/4 tsp. salt
Instructions
Make and chill the dough:
- Cream together the butter and sugar. Add the rest of the wet ingredients.
- Mix the dry ingredients in separate bowl, then add this mixture to the wet ingredients as you mix it to combine.
- Turn the dough onto a long piece of saran wrap and make it into a nice bundle.
- Chill the dough in the fridge for at least 4 hours, overnight is best.
- Once chilled, take it out and set it on the counter for about 5 min before you work with it. (Two steps forward, one step back, I know. But it works).
Roll out the dough:
- Generously flour your surface, then cut off a nice chunk of chilled, yet workable dough.
- Roll out the dough as you please and cut into the shape of your choosing.
Bake the dough:
- Preheat your oven to 375 degrees. Place cookie dough cut outs on a baking sheet.
- Your cook time will vary based on size, thickness and if you use a sil-pat baking mat or not. For most cookies, I set the timer for 6 min, and add more time if needed. Cookies are finished when they have touches of golden on a few corners – do not let them turn brown. Be sure they are cooked all the way through, otherwise, they turn a dough-ey gray-ish color in the middle.
Notes
Nutrition
Other Notes
I sure hope you found these sugar cookie baking tips useful! Leave me a comment below if you have any questions!!
Happy Baking!
ABOUT THE AUTHOR: Ashleigh is a creative mom of three and the blogger from Bee in Our Bonnet. Ashleigh spent a few years blogging on Somewhat Simple as our Baking Contributor.


Thanks so much for the tips and recipe! My only question is how many cookies does a batch make?
You’re very welcome! It really depends on the size of cookies you’re making but you should be able to get at lease a dozen cookies out of this recipe.
I’ve always been afraid of sugar cookies but this looks like I’ll be able to do it. I can’t wait to start.
Why did I look at these on a day I skip breakfast??
So excited for this cookie workshop. I can't wait for your royal icing post!
I've had these amazing cookies from the even more amazing Ashleigh, and let me just say, they are as yummy as they look! Ashleigh is ridiculously talented!!
I love your cookies Ashleigh! I never knew those rolling bands existed. Maybe now my dough will be more even. I'm looking forward to the rest of your tutorials!