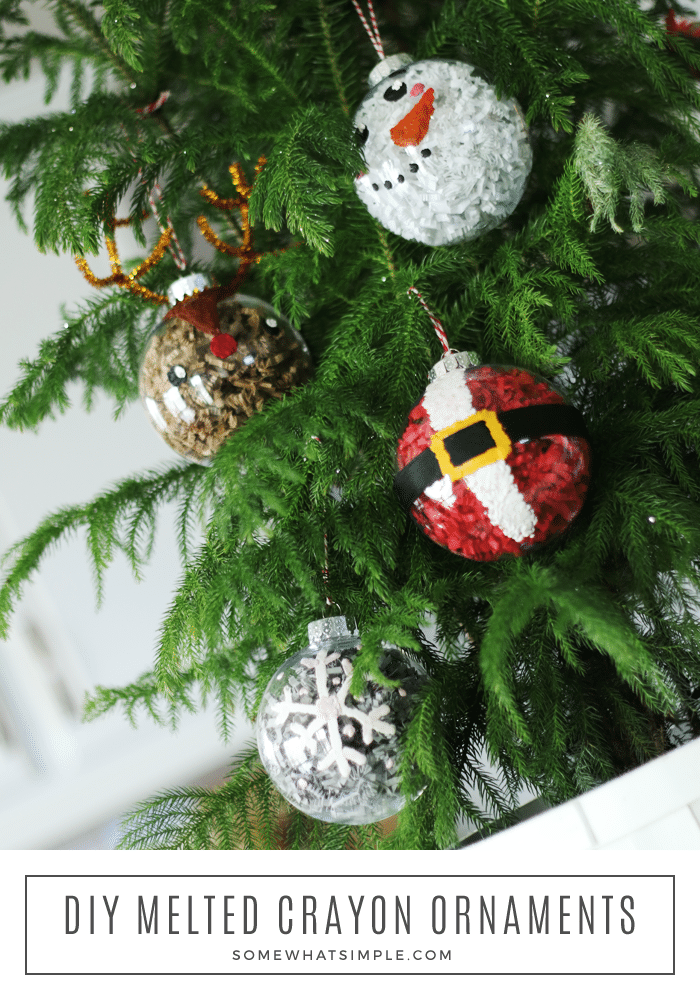
Kids of all ages will have so much fun making these diy melted crayon handmade ornaments! With the Crayola Crayon Melter and our darling practice sheets, you’re on your way to a fun holiday craft that’s unique, easy, and won’t make a huge mess!
This post is in partnership with Crayola. All opinions are 100% our own.
Making ornaments with the kids is a great way to spend the afternoon! We’ve made felt ornaments, thumbprint ornaments, and popsicle stick snowmen ornaments that are all super cute and easy to put together. But these melted crayon ornaments use the new Crayola Crayon Melter, and they just might be my very favorite!
Easy + Simple Melted Crayon Ornaments
Making ornaments is a fun way to celebrate the holiday season, and the kids love seeing their creations hang on the tree all month long! But drawing on inexpensive plastic ornament bulbs can be a pain, until now! The award-winning Crayola Crayon Melter lets you safely melt crayons and create on a variety of surfaces using liquefied wax – including glass, wood, canvas, and you guessed it – plastic ornaments!
Grab the kids and let’s make some fun handmade ornaments! Here is how –
Colorful Melted Crayon Handmade Ornaments In Minutes
Supplies:
- Crayola Crayon Melter
- Crayons (we used white, black, yellow, orange, brown, red, and pink)
- Clear plastic ornaments
- Paper filler (we used the kind you find in the wrapping aisle, but you could use tissue paper, or even shred your own colored paper)
- String or hooks if your ornaments don’t come with any
- Pipe cleaners for the reindeer antlers
- Black ribbon for Santa’s belt (optional- you can use the crayon melter for the belt)
- Ornament practice sheet (download below)
Directions:
- First, plug in your Crayola Crayon Melter and put in the first color you want to start with. We recommend going from lightest to darkest, just to make switching colors easier.
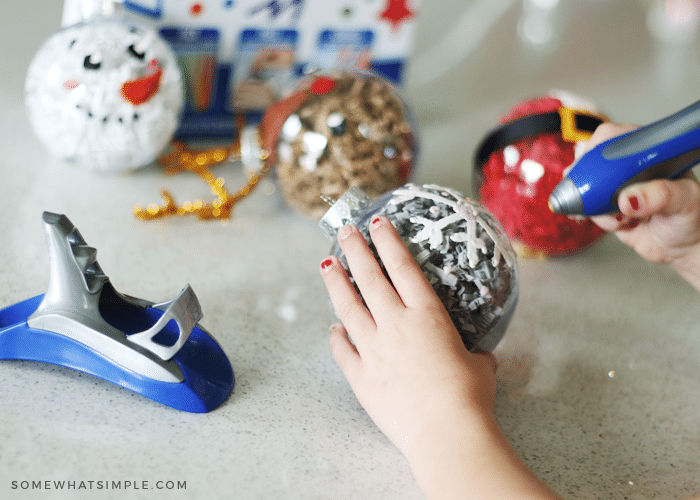
- Fill your ornaments with the paper filler.
- Attach the pipe cleaners for the antlers, and the belt for Santa.
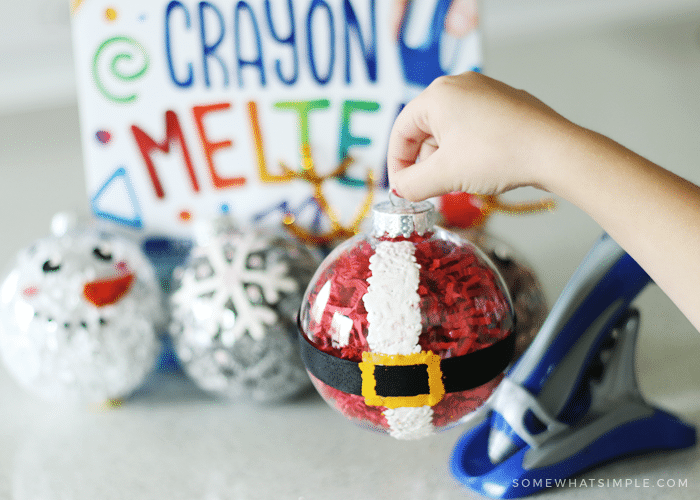
- Once your Crayon Melter light has turned green, you can start coloring! We recommend using our practice sheets to get a feel of how the Crayon Melter works. You’ll use more of a tapping method for the plastic ornaments, so you’ll want to practice that. 😉
- Once you’ve got your method down, it’s time to start on the ornaments! And don’t worry- if you mess up, all you have to do is scrape it off! It’s so simple!
- Let the colors dry, and tie your hangers or string onto the tops.
- Hang your melted crayon ornaments on a tree, garland, or even a door handle! The possibilities are endless! Kids will love seeing their creations every day, and you’ll love that it didn’t take a ton of time, supplies, and clean-up is a breeze. #trifecta
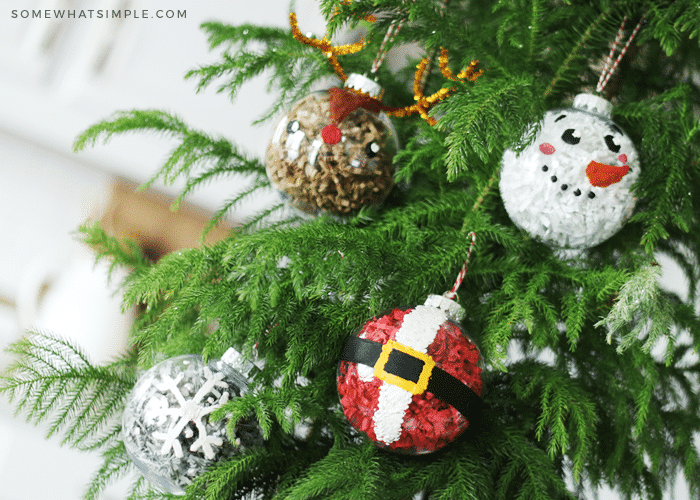
 And how adorable are these designs??
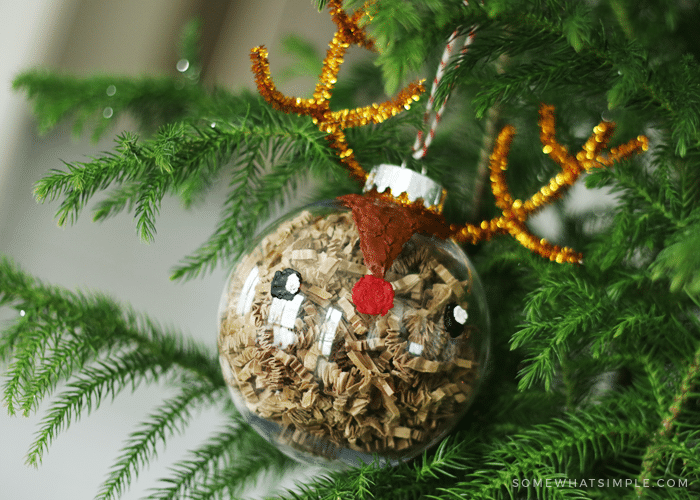
The reindeer looks adorable with the gold pipe cleaner antlers, but you could use any color! We used a total of 2 pipe cleaners. We wrapped one around the top of the ornament and kept its length. We cut the other in half and then half again to make the antler tips, again just wrapping them around to secure.
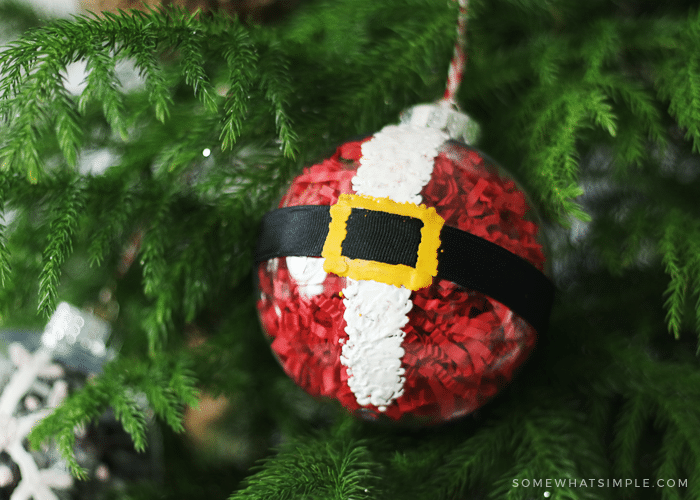
The tapping method with the melted crayon gives Santa’s white trim a fun 3D effect!
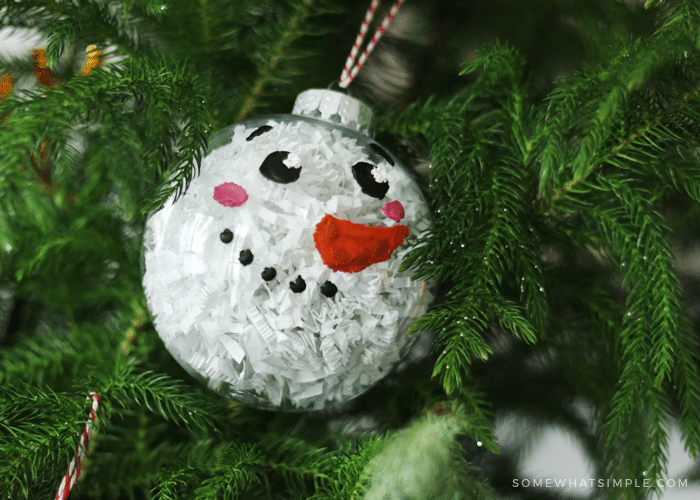
We love how each of these melted crayon ornaments turned out.

And don’t tell anyone, but I seriously had so much fun making these. And I’m an adult. (Most of the time) 😉
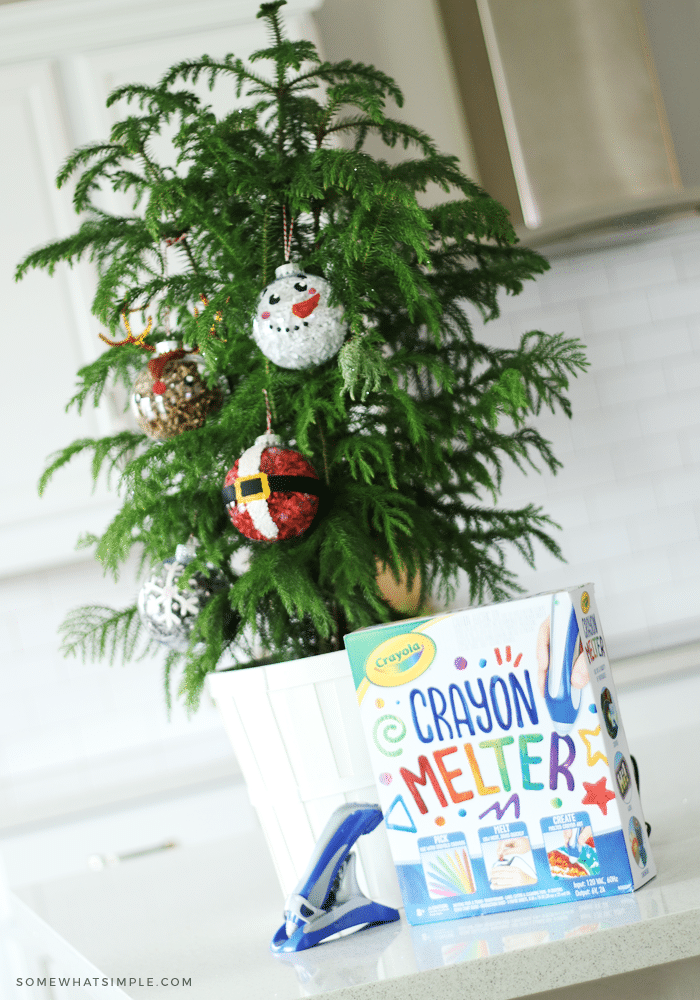
But is it safe?? We’re happy to report that the sleek, compact design of the Crayola Crayon Melter is safe, it’s easy to use, and it has a low-heat tip for worry-free creativity. Perfect for any child who wants to make their own fabulous creation!

Ready to create your own Melted Crayon Ornaments?
The Crayola Crayon Melter is available for $24.99 at Crayola.com and retailers nationwide. Tag all your fabulous creations with #CrayonMelter on social media so we can see all the adorableness! Happy creating everyone!
We partnered with Crayola to bring you this fun activity, but as always, all text and opinions are ours.


