Learn how to make yarn wrapped letters with this easy step-by-step tutorial. These fun letters are a simple and inexpensive way to add color to your room decor.
Here are a few more monogram projects we love – Printable Monogram Notecards, Monogram Birthday Cake, and Framed Fabric Monogram.
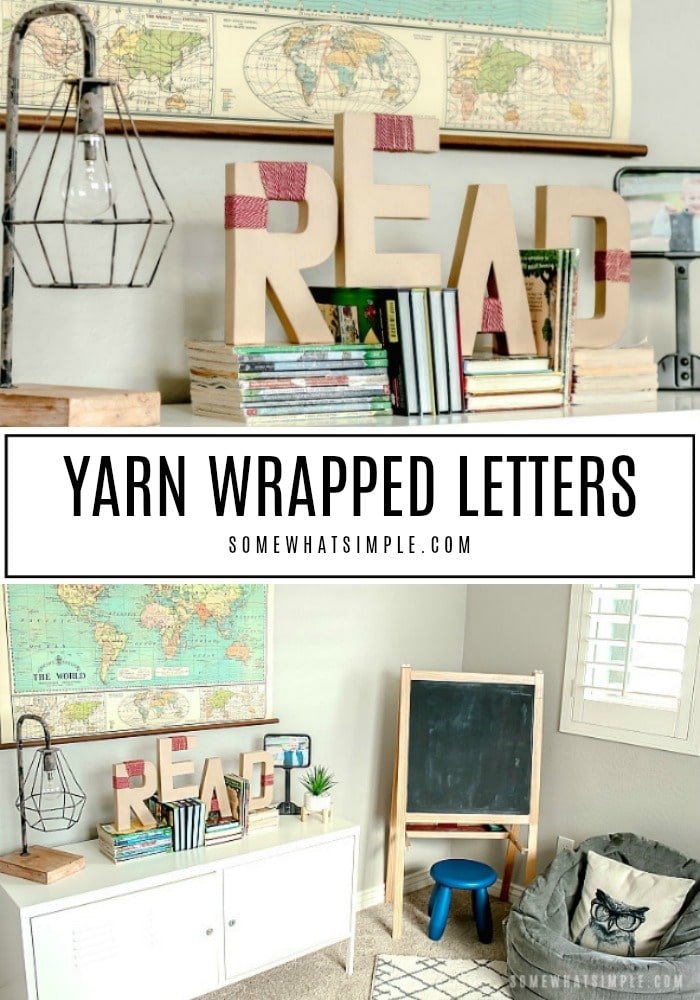
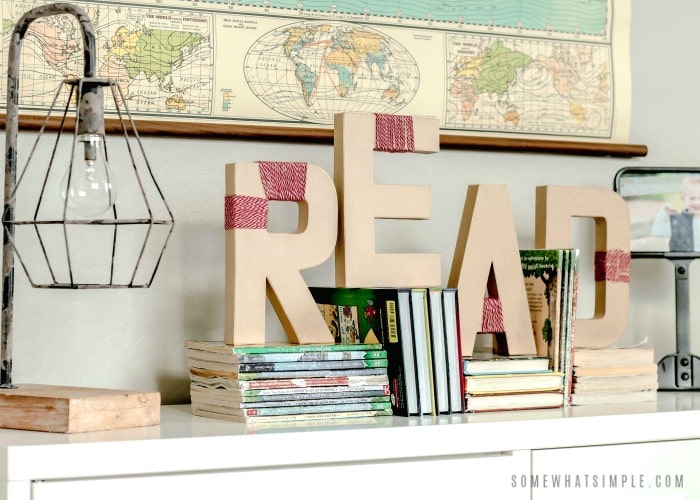
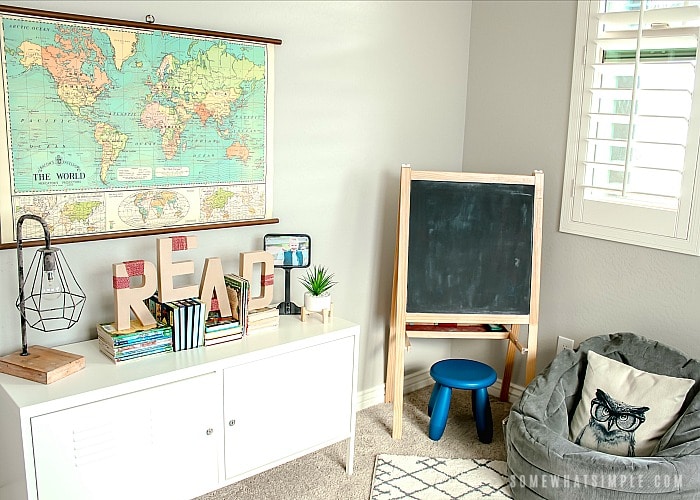
One of the fun projects I finished for Mason’s room were these fun monograms that spell out “READ.” They look absolutely darling in his space, and the whole project cost me less than $15!
Yarn Wrapped Letters will look great in any space of your home or office. They are a great way to add a personalized touch to your decor – use whatever colors you’d like and spell out or the word of your choice. Whether you create one simple monogram or spell out your child’s entire name, these fun yarn-wrapped letters can be done and on display in under 10 minutes!
How to Make Yarn Wrapped letters
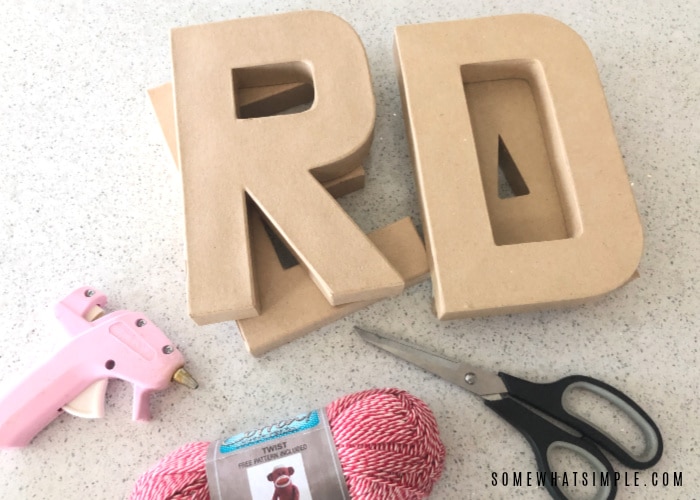
MATERIALS –
- craft letters, wood or chipboard both work great
- yarn / twine in the color(s) of choice
- scissors
- hot glue + glue gun
DIRECTIONS –
- Cut a few yards off a skein of yarn. You want to work with smaller lengths of yarn, so that it is easier to wrap around the letters.
- Place a small dab of hot glue on the backside of your letter where you want to start wrapping your yarn, then carefully push one end of the yarn into the glue, trying not to burn yourself. 😉
- Wrap the yarn around your letter to cover as much space as you’d like. I only did an inch and a half on these letters, but I’ve seen people wrap the whole thing, so have fun with this!
TIP – Don’t wrap the yarn too tight. You want the yarn to be just loose enough that you can slide it back and forth to make sure that all of the wood or cardboard is covered. - Continue wrapping until you reach the end of the yarn. Secure the end to the back with another dab of hot glue. If the end of your yarn ends on the front side, trim it so you can secure it to the back. You don’t want messy glue seen on the front. If you need more yarn, cut another string and start over right where you left off!
- …and that’s it!
Cute, right?
For all the details about Mason’s Vintage School Room, click HERE.
Have fun recreating this fun project in your home!


These look lovely! I’m considering making some of these to display at my winter wedding soon, thanks for sharing the link to the tutorial =)
Nikki Joy x
Love these! So cozy and homey.
These are gorgeous!
So cute! I love it!
Those are so pretty!! Great Job!
cute idea! I may have to copy you!! 🙂 Thanks for sharing!!
Just found your incredible blog through "How Does She?". Wow, you have a lot of really amazing stuff here. I haven't "followed" a blog in a long time, since writing and keeping up with my own takes so much time, but yours is simply to good not to keep up with!
I love the letters! I need to make one!
Very soft and pretty! And I love the colors you chose!
Very soft and pretty! And I love the colors you chose!