This DIY cake stand tutorial is fun + affordable way to display the food at your next party or celebration! (And it could not be any easier to create!)
DIY Cake Stand
I love cake stands. I wish I had 500 in different shapes and sizes… but I don’t. And most of cake stands I own are white because they are easy to find and easy to coordinate with each other. And while white seems to be mostly sufficient for the parties I use them for, every so often I tend to think about how much better things would look on a cake stand made of wood or metals.
And that’s where this DIY cake stand tutorial totally saves the day! When you make your own cake stands, you can make them as matchy and as cost effective as you need them to be! (Seriously, you can buy everything you need at the dollar store for this!)
How to Make Your Own Cake Stands –
What Foods to Serve on a Cake Stand
- Cake Mix Cookies
- Homemade Brownies
- Oreo Cookie Cake
- Rolo Cookie Bars
- Buffalo Chicken Pinwheels
- Favorite Appetizers for the BIG GAME
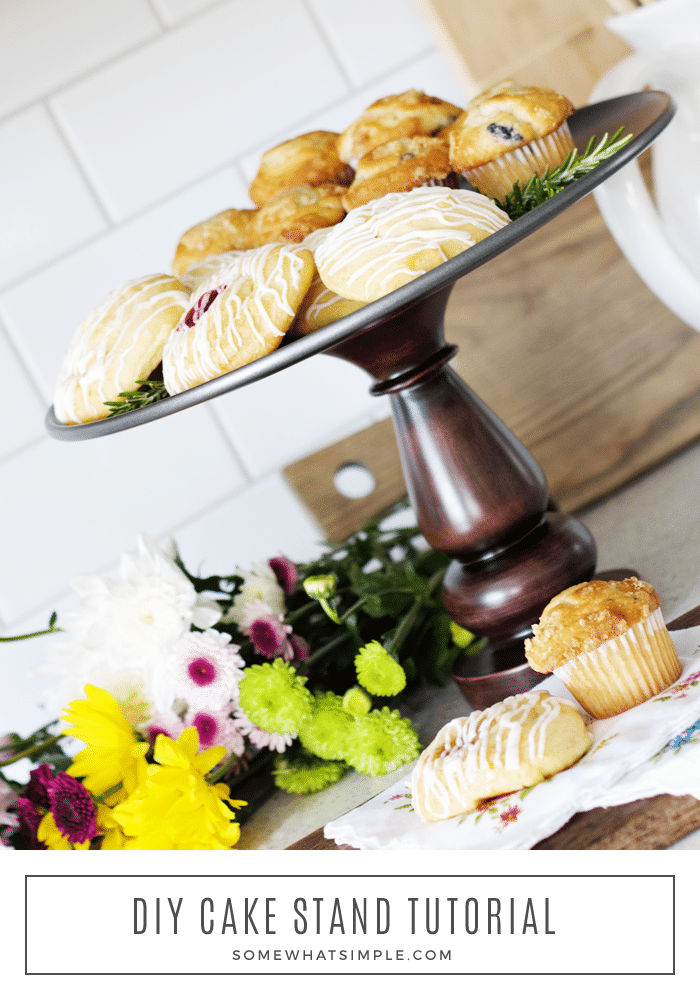
Wood Cake Stand DIY
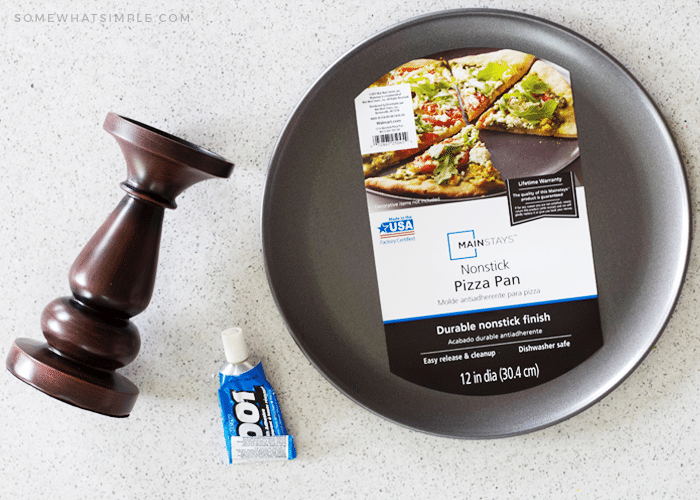
You’ll need 3 materials and just a few minutes of your time! Here is how to make your own cake stands –
Cake Stand Materials –
- candle stick (we found our wood candle stick at Walmart)
- tray – you can use a metal pizza tray, a square baking sheet, even a cutting board will work for this!
- E6000 glue, or other strong-bond adhesive
- ruler + marker, optional
How to Make Your Own Cake Stands –
- Place your tray face-side down on a flat surface.
- Use a ruler to find the center of the tray and mark it with a marker. You can skip this step if you’re ok eyeballing it.
- Add some glue to the top perimeter of your candlestick, then flip it over and press it down onto the center of the tray.
- Let your glue dry completely, which sometimes can take several hours, before flipping right side up and using.
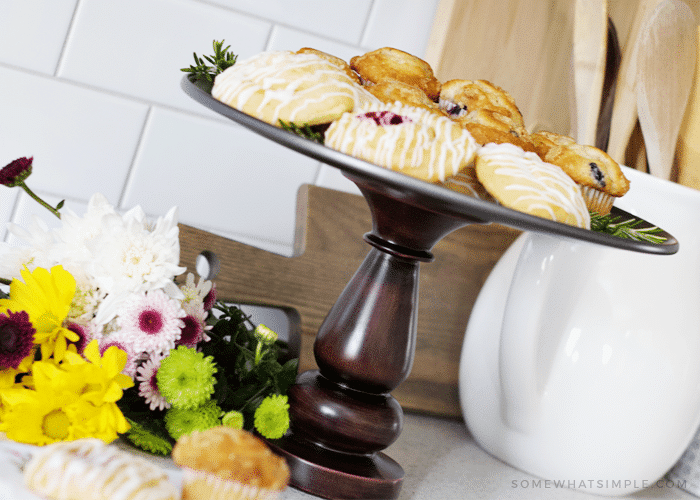
And that is it! Aren’t they so pretty? (I’ve already made a few more!)
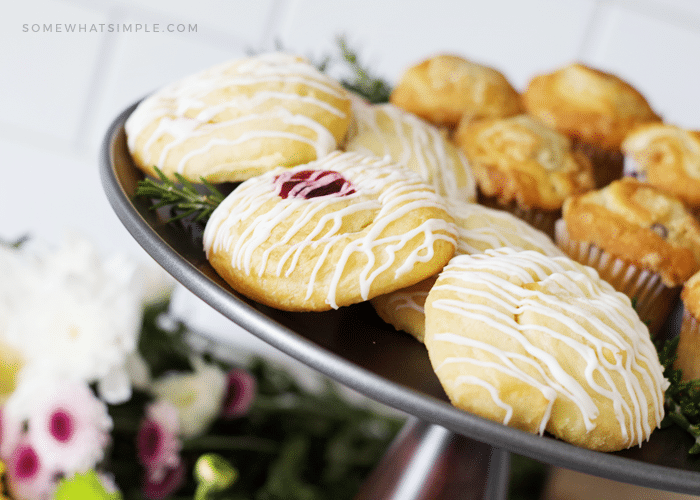
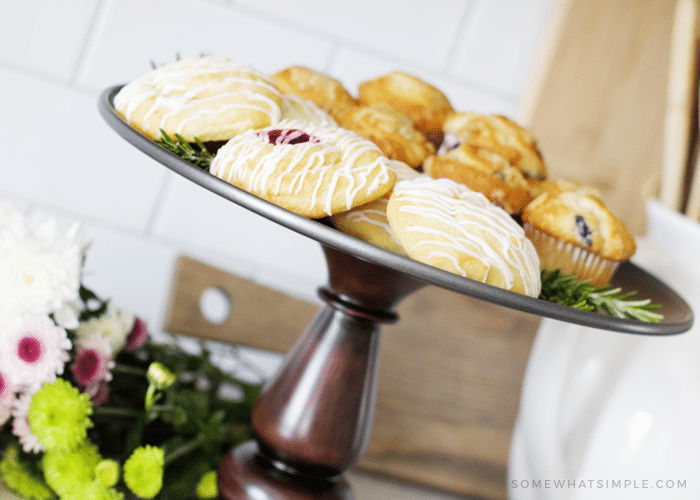
These cake stands are definitely getting some good use around here! We are using them again and again!
This post originally published on Somewhat Simple in December 2010. It was updated and refreshed in 2019.


I absolutely love it! Such a great idea and that color is fabulous!