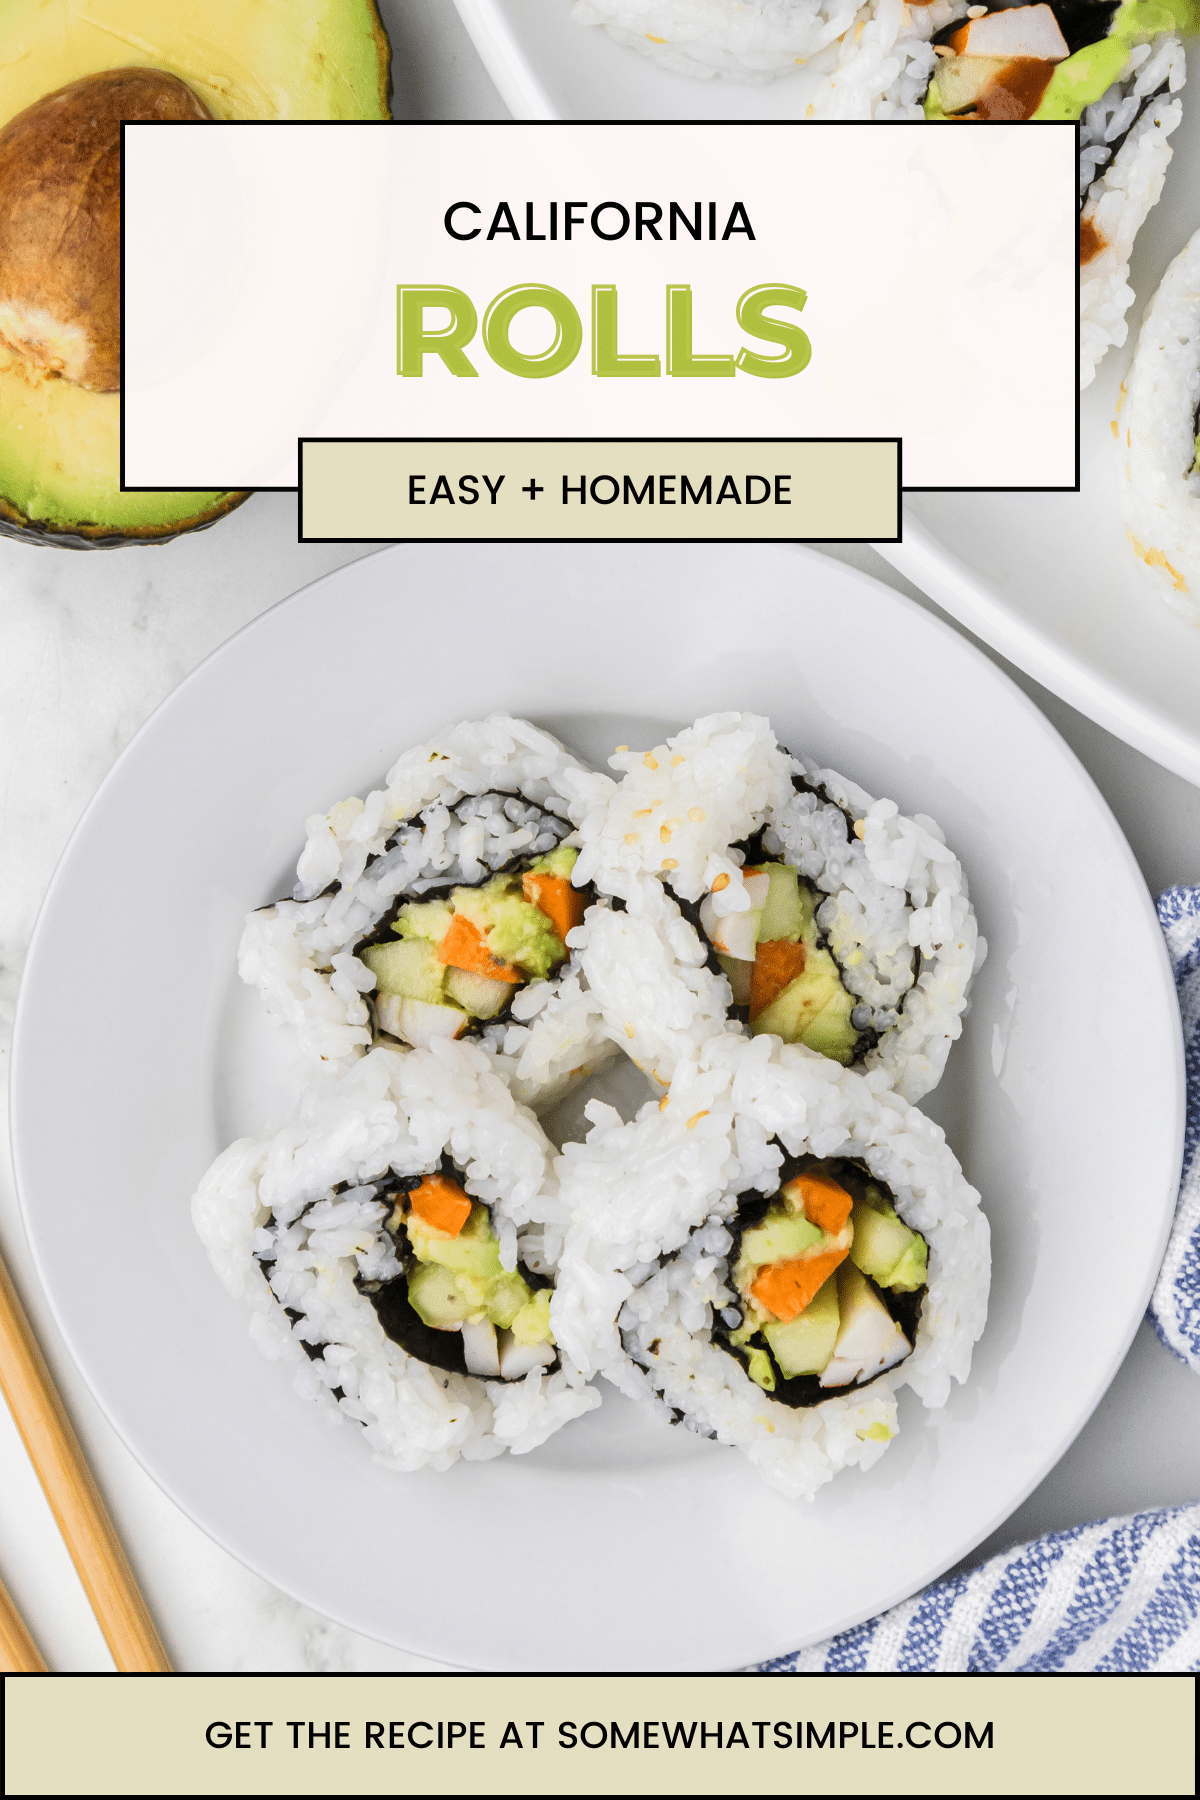
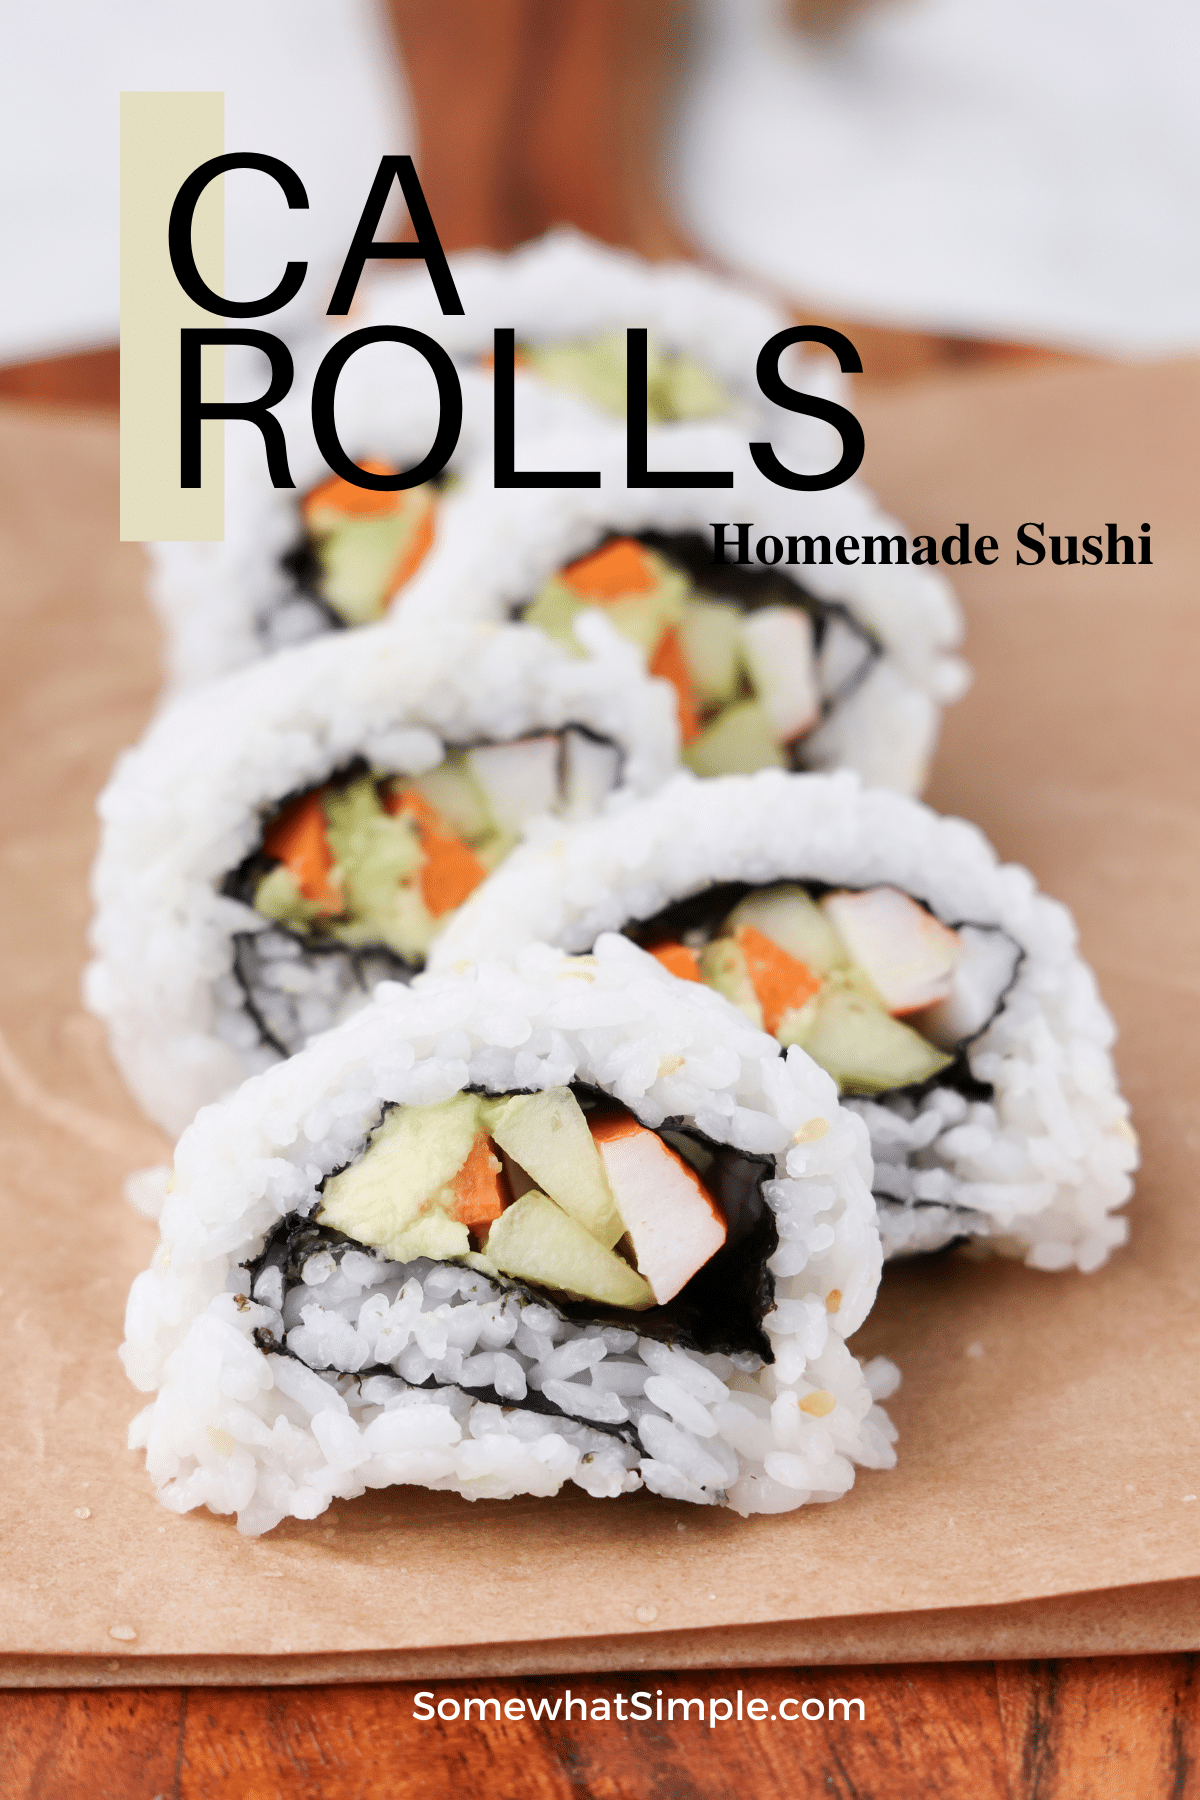
Learning to make homemade sushi is not only delicious, it’s really easy to do! This California Roll Sushi Recipe is made with fresh veggies, creamy avocado, and imitation crab and includes detailed instructions on how to roll it, slice it, and serve it!
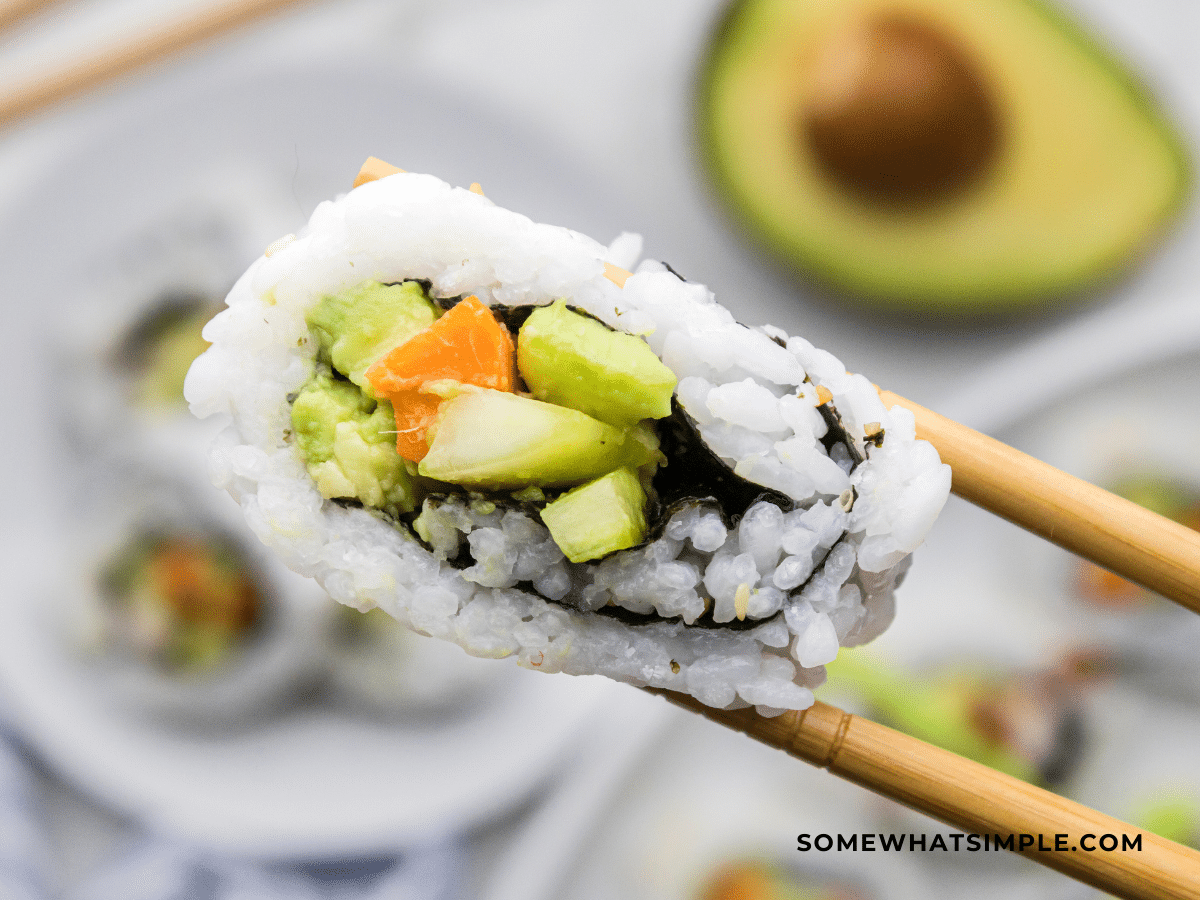
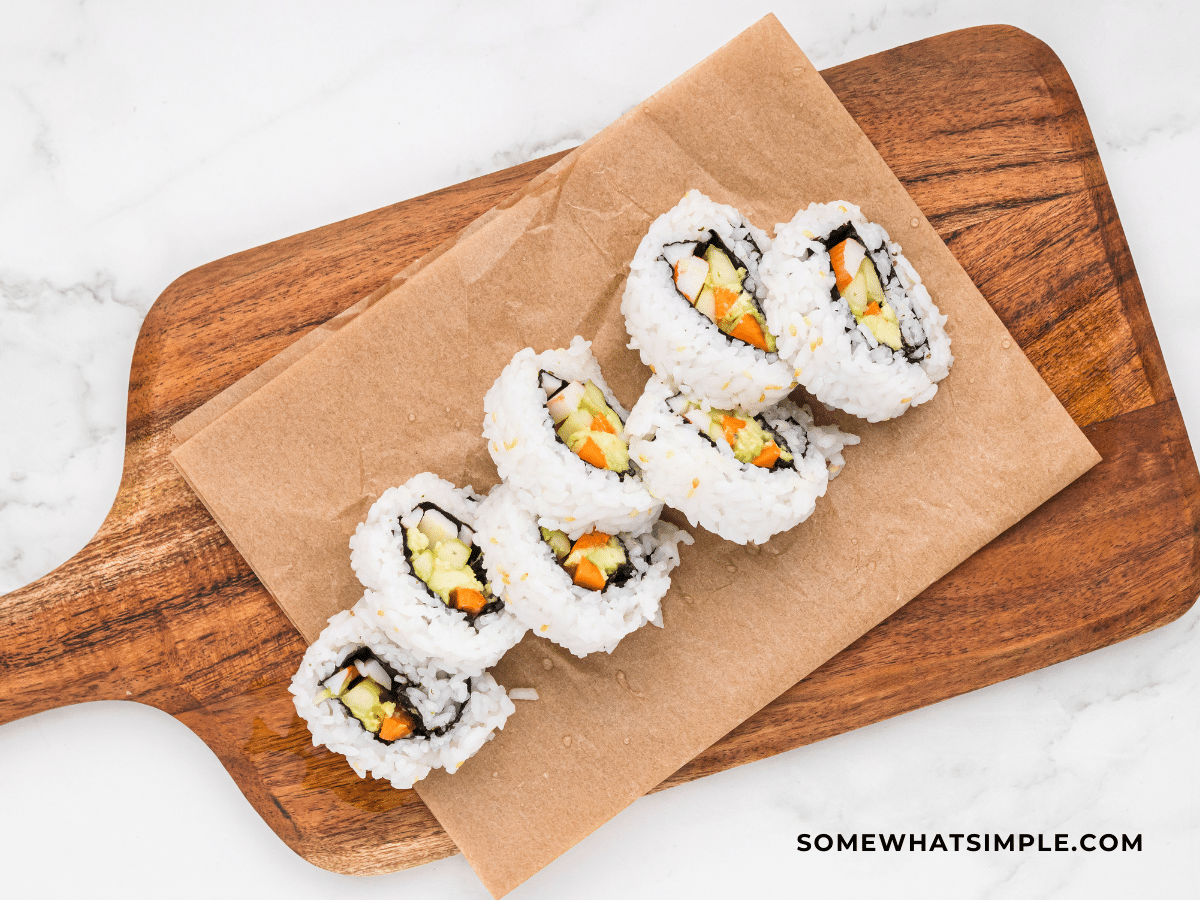
This easy California sushi recipe makes learning to make sushi rolls a breeze! If you’re just starting on your sushi-loving journey you might not be at the raw fish stage yet (and many of us never get there), but there’s so much more to sushi, and these California rolls are just the beginning!
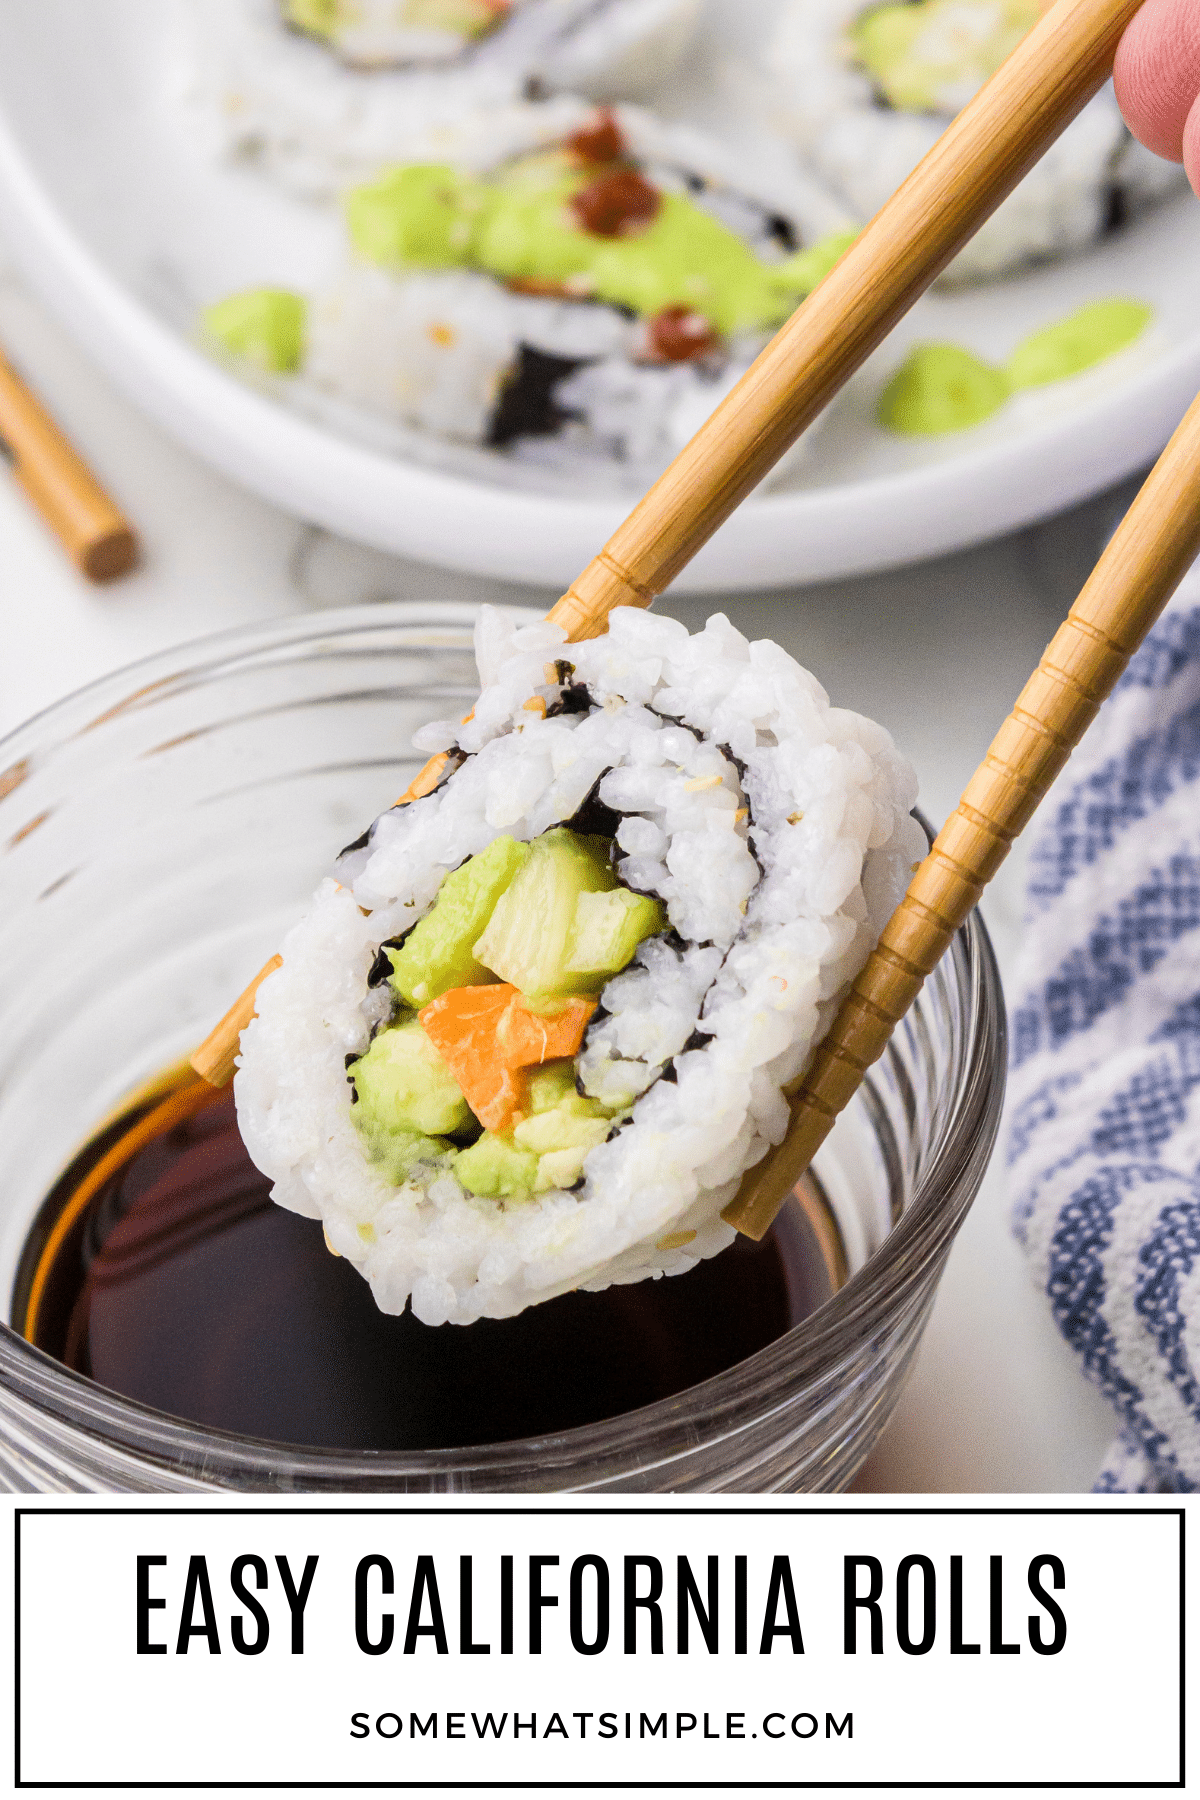
Cut into slices and topped with sriracha sauce, ginger, wasabi, or spicy mayo, these little bites of sushi are fresh, healthy, and super impressive!
No need to meet up for sushi at a restaurant. Invite your friends over and impress them with your new skills in the comfort of your home. Better yet, use this California roll recipe to teach your friends how to make their own rolls for a fun group activity.
Sipping on refreshing drinks or mocktails while you’re at it never hurts either 😉
Why This Recipe Works
- Healthy and flavorful – Fresh veggies, seaweed, and rice contain plenty of vitamins, nutrients, and antioxidants. They’re the perfect addition to bento box ideas for the kids’ lunches.
- Easy and impressive – As much as we’ve seen the intricate work of Japanese chefs with their incredible knife skills, we’re not attempting that. Like, at all! We’re starting with the basic California roll and it couldn’t be easier.
- A stepping stone – Once you make these California rolls, you’ll be able to play around with the ingredients. California rolls aren’t authentic Japanese, but that doesn’t mean you can’t learn that too.
Ingredients Needed
I happen to live in a small town where sushi-grade raw fish is not available. Luckily, the ingredients of a California Roll are very accessible, so anyone should be able to make these.
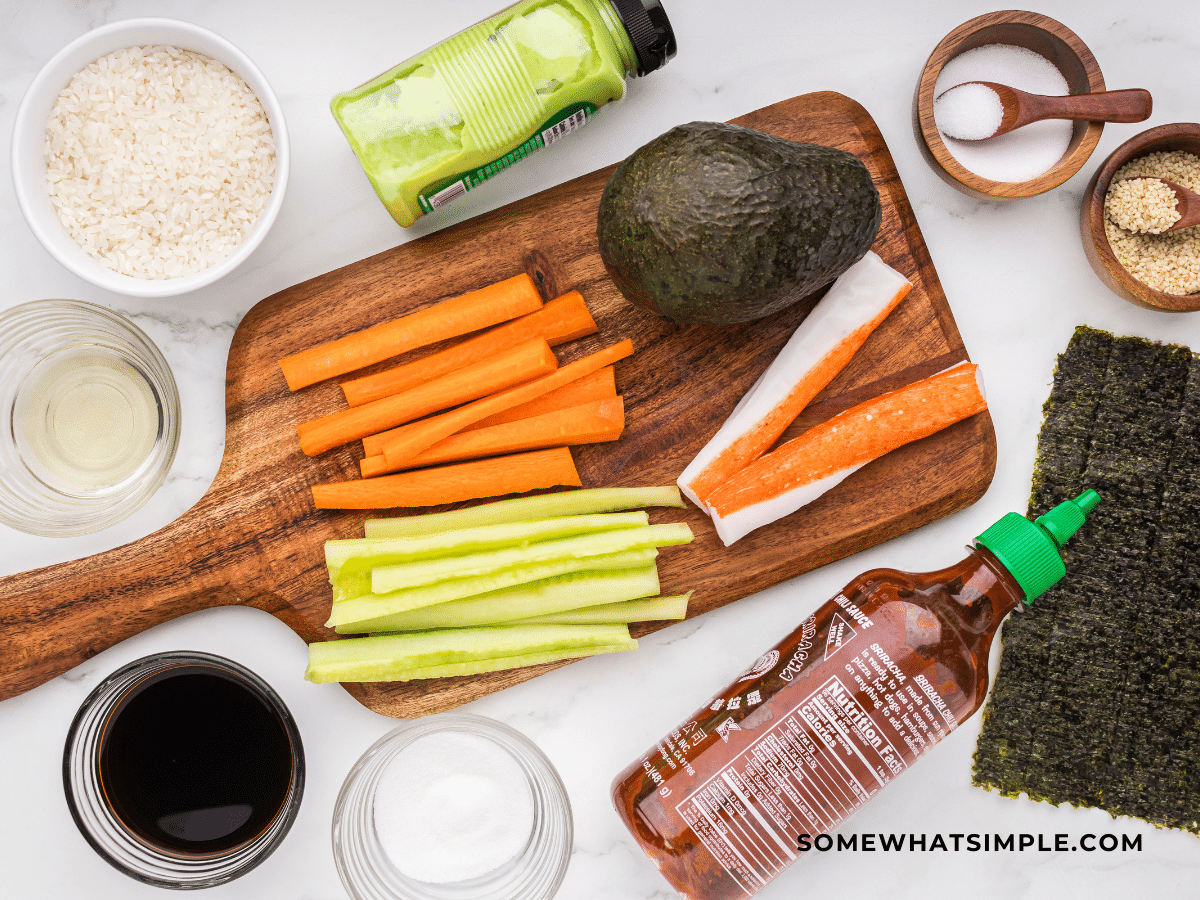
- Sushi rice (short grain) – Rinse and drain it before cooking it. You’ll probably see it labeled sushi rice at the grocery store. It’s Japanese rice that is high in starch which gives it that sticky texture.
- Water – For cooking the rice. See below where I walk you through the process.
- Rice vinegar – This adds a sweet and salty flavor to the rice for added taste.
- Sugar and salt – We do add extra sugar and salt to the rice, along with the rice vinegar. It’s not overpowering at all, it just makes for a much more flavorful bite.
- Nori sheets – Made of dried seaweed, they’re crispy and ultra-thin.
- Toasted sesame seeds – These add a bit of crunch and nuttiness to the rice.
- Veggies for filling – You’ll need matchstick carrots and cucumbers, and thinly sliced avocado. Ripe but not too ripe. Drizzle with lemon juice to prevent browning.
- Imitation crab sticks – Slice these as thin as the veggies.
- Extra flavor – Serve with wasabi, soy sauce, ginger, or sriracha for dipping!
Substitutions and Variations
- Different filling ideas. Now that you’ve mastered homemade sushi rolls, why not experiment with different flavors? Smoked salmon, tuna (hello spicy tuna rolls!), or shrimp are great alternatives to imitation crab.
- Maki rolls. Reverse the roll by adding the filling to the side where the rice is, and have the nori sheet on the outside.
- Real crab. If you have it and want to use it, go for it! As you may know, imitation crab isn’t crab at all, so feel free to use the real deal.
How to Make Easy California Rolls
Scroll down to the recipe card for detailed amounts, and instructions.
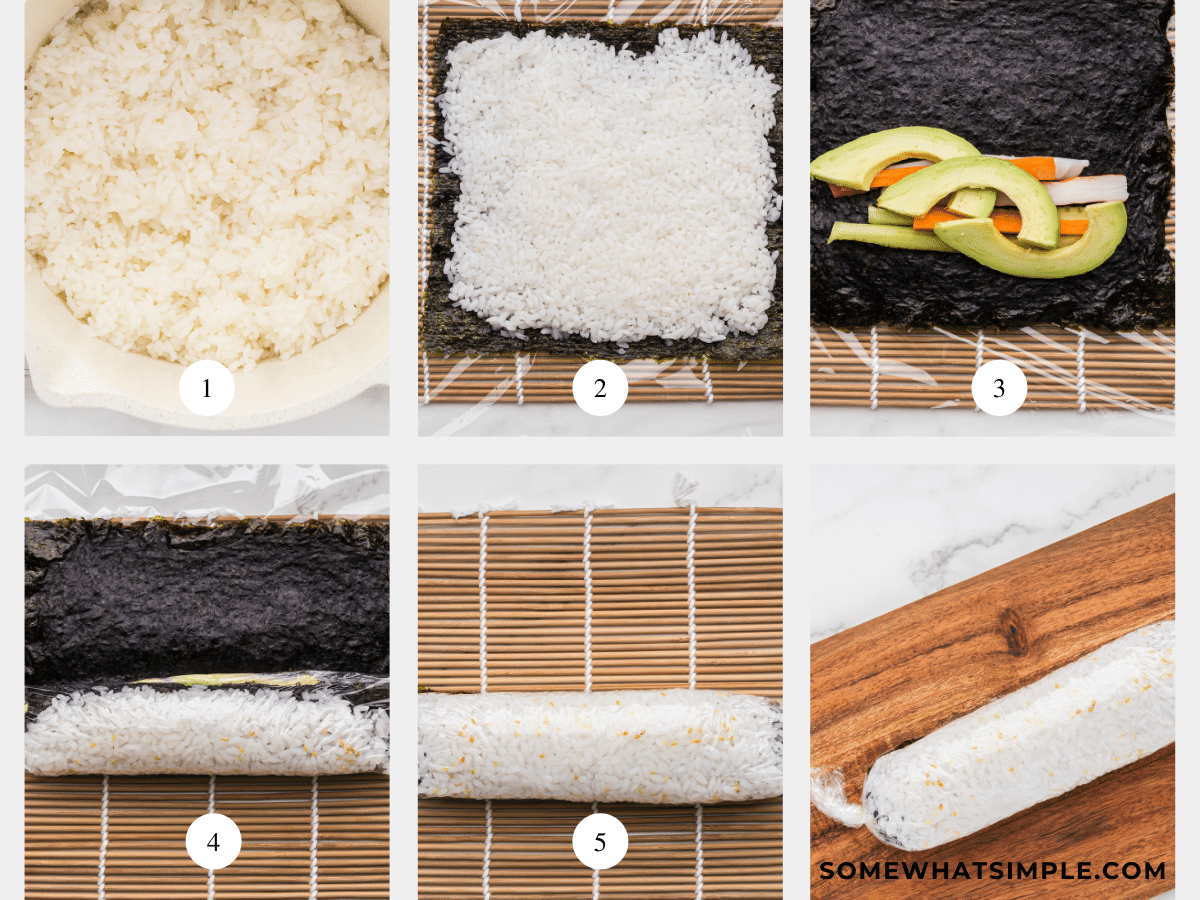
- Cook the rice. Bring rice and water to a boil. Cover with a lid and reduce the heat to low to cook for 15 minutes. Once cooked, turn off the stove and leave the pan covered for 5 minutes off heat. Heat vinegar, sugar, and salt in a microwave for 30-60 minutes until dissolved, and stir in this mixture with the rice until the rice is evenly coated. Set it aside to cool completely.
- Spread rice on a nori sheet. Lay your bamboo mat on your work surface and cover it with a sheet of plastic wrap. Put a nori sheet down on the plastic, shiny side facing down. With wet fingers to prevent sticking, evenly spread the rice across the surface of the nori sheet, almost to the edges, to about 1/4 inch thick. Sprinkle toasted sesame seeds evenly over the rice.
- Add veggies. Carefully flip the nori sheet over so the rice is facing the plastic wrap. This is why it’s important to press firmly onto the rice, making sure it adheres to the sheet. Add a layer of filling about 1/3 of the way down the nori sheet, all the way across.
- Roll it up. Grab the side of the sushi mat that is closest to you and fold it over the nori about 1/2 inch. Unroll the mat and slice the folded nori roll down to the edge of the mat again. Roll the mat a bit more. Unroll and continue doing the same until you’ve rolled over the filling. Roll the mat over the entire roll, pressing firmly to form a tight log.
- Chill then slice. Wrap the roll in plastic wrap and let it chill in the fridge for about 30 minutes. Once it is firmed up, remove it from the fridge, unwrap it, and use a very sharp knife to cut it into slices about 1 inch thick. Cut the ends off first to expose the rice and filling. Use those ends for a little taste testing 🙂
Serve your California rolls with some spicy wasabi, sriracha, or spicy mayonnaise, or with something savory and salty like soy sauce. Enjoy!

Recipe Tips
- The vinegar mixture. It’s important to do this while your rice is still warm. This way it can absorb much more of the flavor. Not too hot though, or a lot of the flavor will disappear with the steam.
- Toasting sesame seeds. If yours don’t already come toasted, toss the raw seeds in a skillet and toast them over medium-low heat, keeping them moving so they don’t burn. Toast until lightly golden and fragrant.
- Messed up the rolls? Don’t even worry about it, it may take a bit of practice. If they’re beyond repair, grab a bowl, fill it with the rice, then use the nori and filling as toppings. Drizzle with some soy sauce and sriracha and you’ve got yourself a delicious California roll bowl!
- Clean slices. To get clean slices and to make it easier to cut, make sure your sushi roll is tightly rolled and firmed up. Then use a very sharp knife, wiping the blade with a damp towel between cuts. You can also use a sharp serrated knife for this.
Recipe FAQs
Yes and no. I wouldn’t make them any more than 8 hours ahead. The rice will start to dry out and the nori sheet will become soggy, and it makes for a less impressive experience. If you’re making them earlier in the day, don’t slice them until just before serving. Wrap them tightly in plastic wrap and take them out of the fridge 30 minutes before slicing and serving.
If you happen to have leftover California rolls, they can be stored in an airtight container in the fridge for up to 2 days. You will notice a change in texture, however, so I say eat ’em up while you can.
You can! Try it with double the plastic wrap, parchment paper, or even a silicon baking mat. You can also try your luck by just rolling the California roll with your hands. It may not be as pretty but it sure will taste as delicious.

More Asian-Inspired Recipes
California Rolls
Ingredients
- 1 cup sushi rice, short grain, rinsed and drained
- 1 cup water
- 1 tbsp. rice vinegar
- 1 tbsp. sugar
- 1 tbsp. salt
- 2-4 sheets nori, seaweed
- 2 tbsp. toasted sesame seeds
- 1 small carrot, peeled and sliced into matchstick sized pieces
- 1 small cucumber, peeled and sliced into matchstick sized pieces
- 1 avocado, peeled, pitted and thinly sliced. *drizzle with lemon juice to avoid browning
- 2 imitation crab sticks, thinly sliced
- wasabi, soy sauce, sriracha, for extra flavor
YOU WILL ALSO NEED –
- bamboo sushi mat
- plastic wrap
- a bowl of water
- chop sticks
Instructions
Make the Sticky Rice-
- Add rice to a sauce pan with 1 cup of water. Bring to a boil. Cover and reduce heat too low, then continue cooking for 15 minutes.
- Turn off stove and leave pan covered for 5 minutes.
- Heat vinegar, sugar and salt in microwave for 30-60 seconds until dissolved. Add mixture to rice, stirring well until rice is evenly coated. Set rice aside to cool completely.
Assembly Instructions –
- Lay out your sushi mat and cover with plastic wrap. Put a nori sheet shiny side down on plastic wrap. Get a bowl of water and have filling ingredients close by.
- Dip your fingers in water and evenly spread sticky rice ¼ inch thick. Spread almost to the edge and press firmly into the nori sheet. Sprinkle about ½ tbsp. toasted sesame seeds evenly over rice.
- Carefully flip nori sheet so the rice side is down. Put a layer of filling about 1/3 way down the nori sheet, going all the way across.
- Pull the nori to the edge of the mat closest to you, and fold the sushi mat over the nori about ½ inch. Unroll and pull the nori to the edge of the mat again.
- Roll the mat over again, unroll, and repeat steps until you have rolled over the filling. Now, roll the mat over the entire roll, pressing firmly and making a tight roll. Wrap the roll in plastic wrap and refrigerate for about 30 minutes.
- Remove from fridge, unwrap, and slice with a very sharp knife. Cut the ends off first and then slice about 1 inch thick.
- Serve your California Rolls with soy sauce and wasabi, and sriracha if you like it spicy.
Nutrition
Other Notes
ENJOY!


What a fun idea for making sushi at home!
My kids loved making these!
We loved making these at home – my daughter was so proud that she could help in her favorite meal!
That’s awesome! I love it when kids can help with making meals!
California rolls are my absolute favorite sushi! And homemade is always the best!
They’re my favorite too!
My kids really loved this! It was a huge hit!
I’m so glad to hear they loved it!
Love getting to make this at home and your instructions make it is doable. Great recipe.
I know! They’re easier than I ever thought they would be.