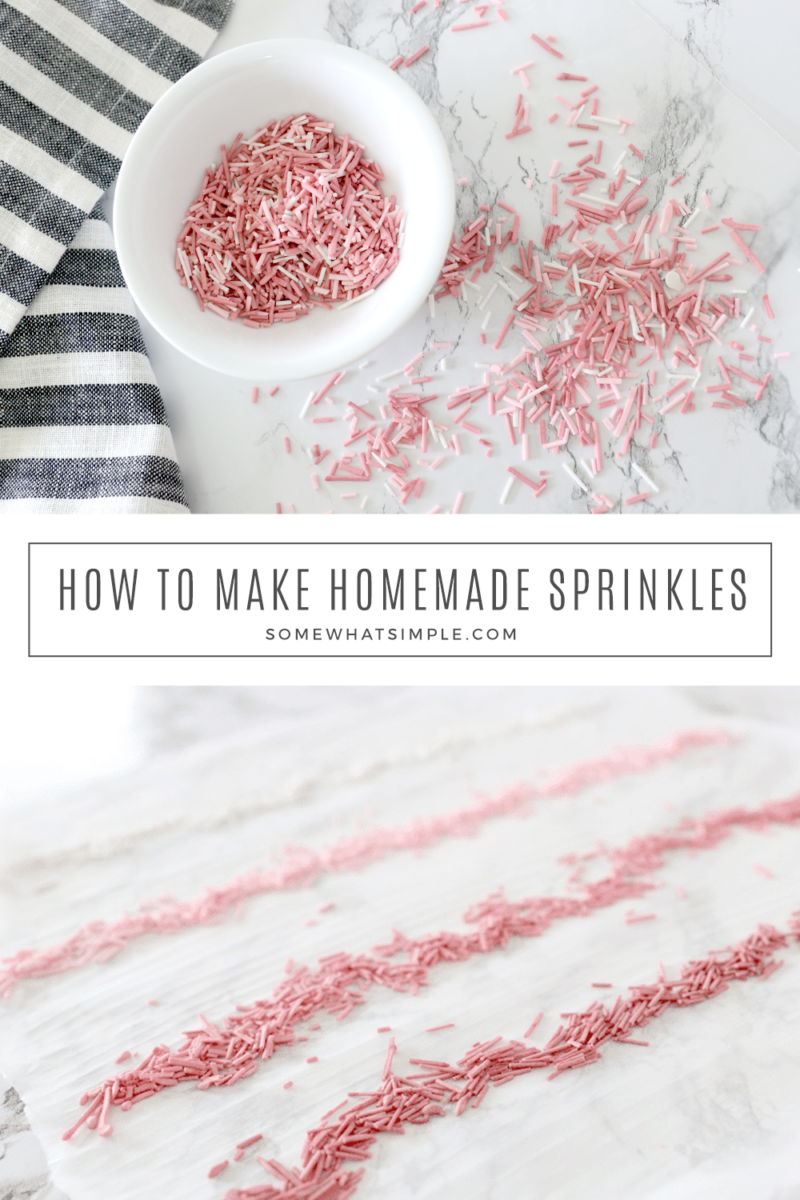
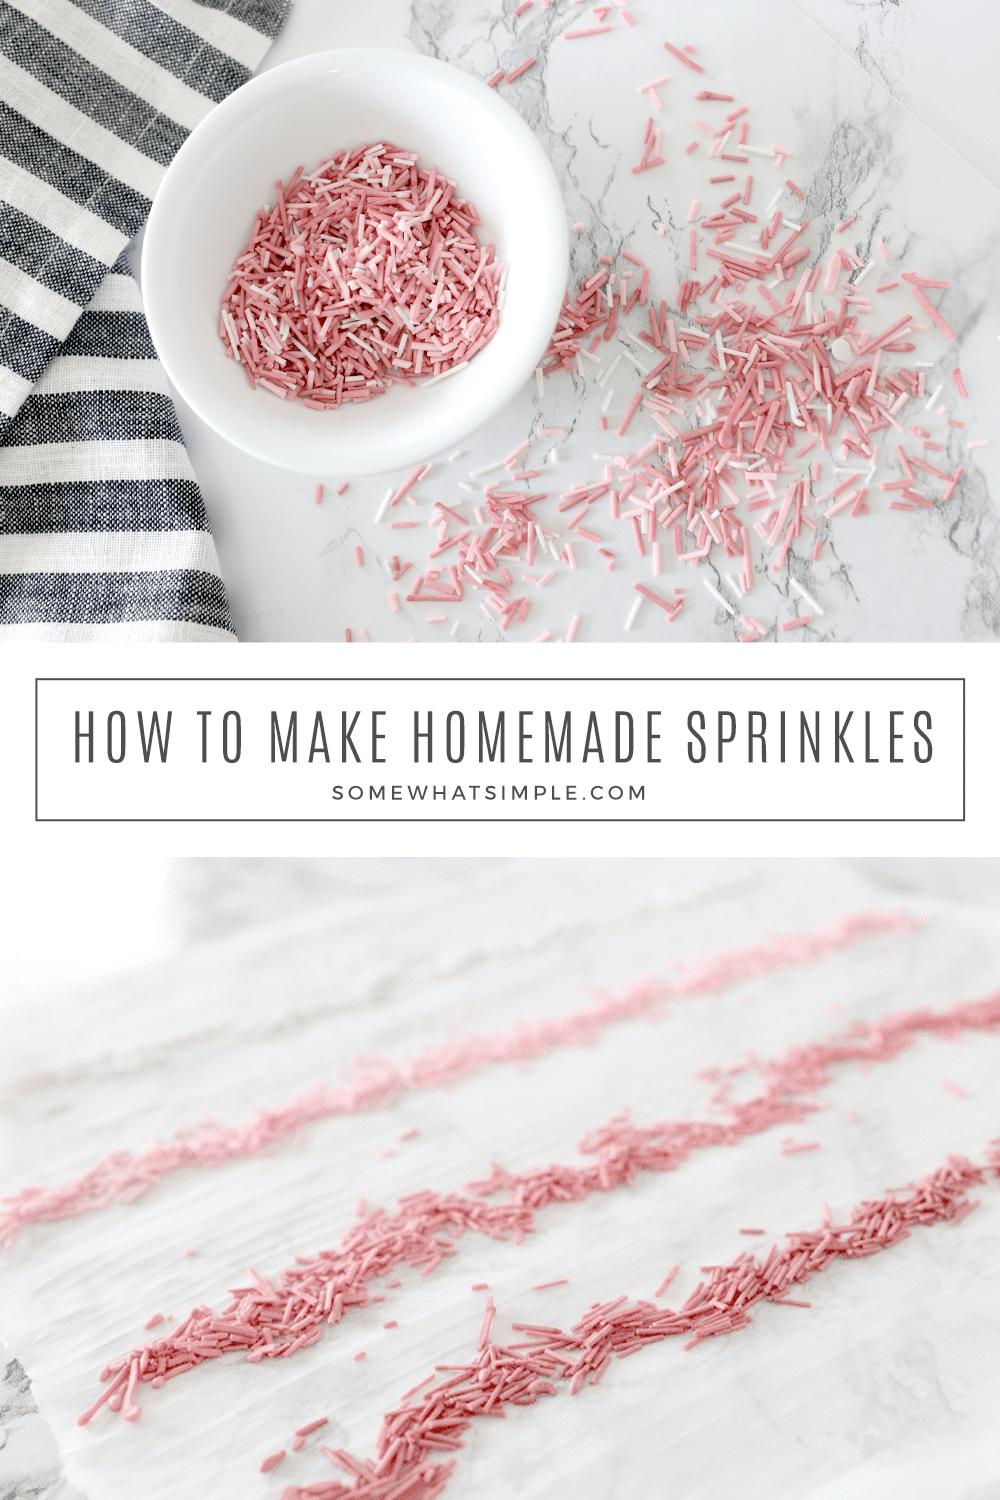
Homemade sprinkles are easy, delicious and perfect for all your baked goods. From cookies to cupcakes, they go on just about every dessert!
For more darling baking tutorials, be sure to check out How to Frost a Cupcake, and DIY Cupcake Liners.
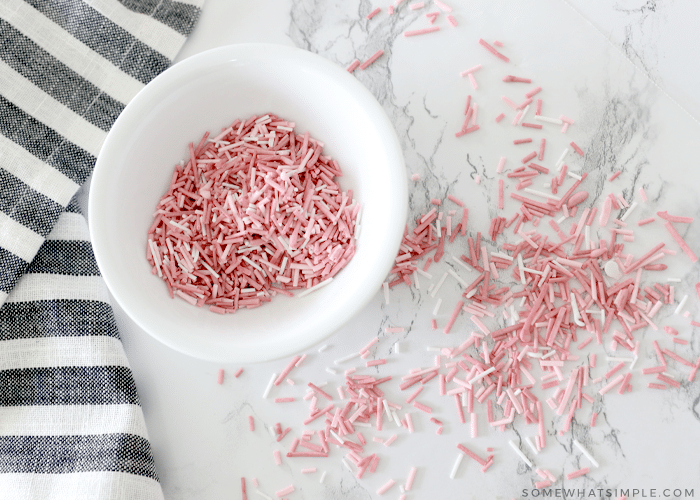
Easy Cake Sprinkles
If you’ve never made homemade sprinkles, you’re in for a fun treat! Not only do homemade sprinkles taste better than the waxy ones you buy from the grocery store, but they are also an affordable way to get a variety of colors, shapes, and sizes for all your baking endeavors!
From cakes, to cupcakes and everything in between, they’re perfect for decorating all of your delicious treats. Here’s how to make them-
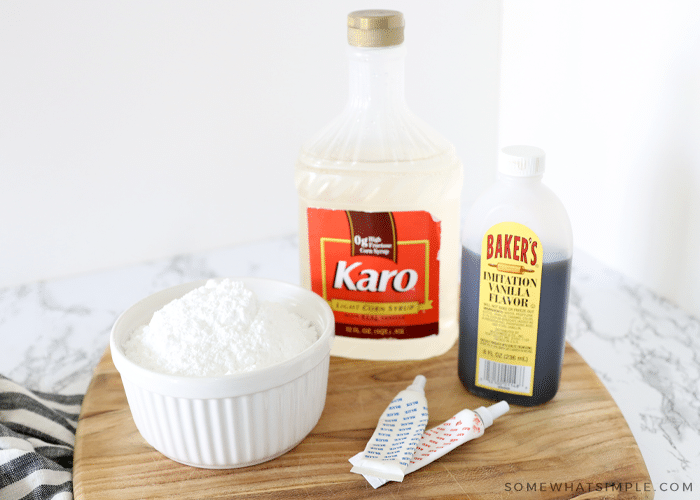
Things You’ll Need
- Powdered sugar
- Water
- Corn syrup
- Vanilla – you can use almond extract, lemon extract, or another favorite flavoring if you’d like!
- Food coloring – I like the vibrant colors of gel food coloring, but any kind will work.
- Wax paper
- Piping bags – I used sandwich baggies and cut the corner for my frosting tips.
- Piping tips – I used Wilton tip #2
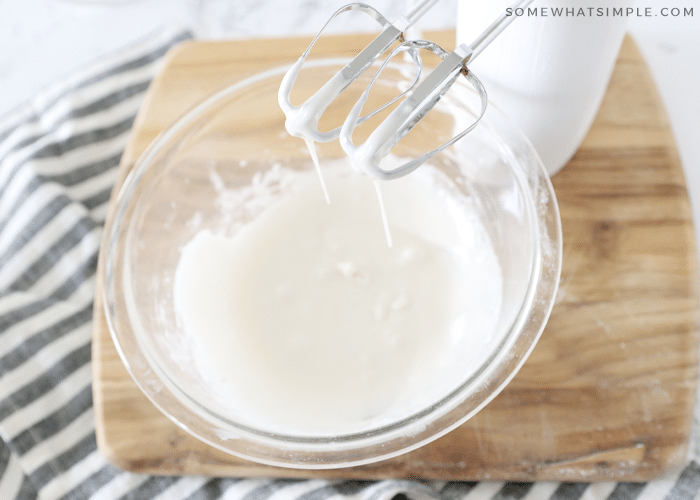
How to Make Homemade Sprinkles
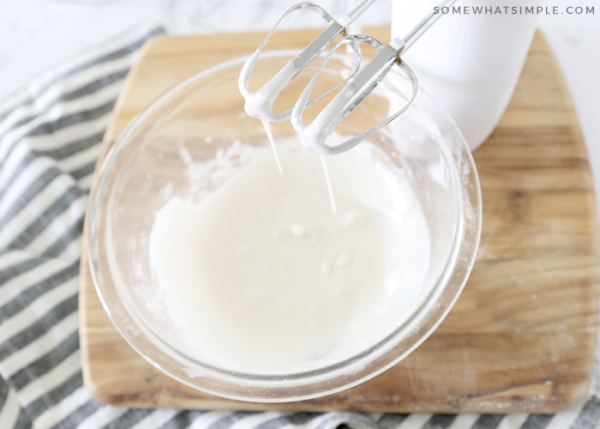
Mix – You’ll starting by taking one cup of powdered sugar and mixing it with the corn syrup in a large bowl. Stir in the vanilla and one and a half tablespoons of water. Then, beat everything until smooth, adding more water as needed. Once smooth, add the remaining half of a cup powdered sugar and mix until smooth.
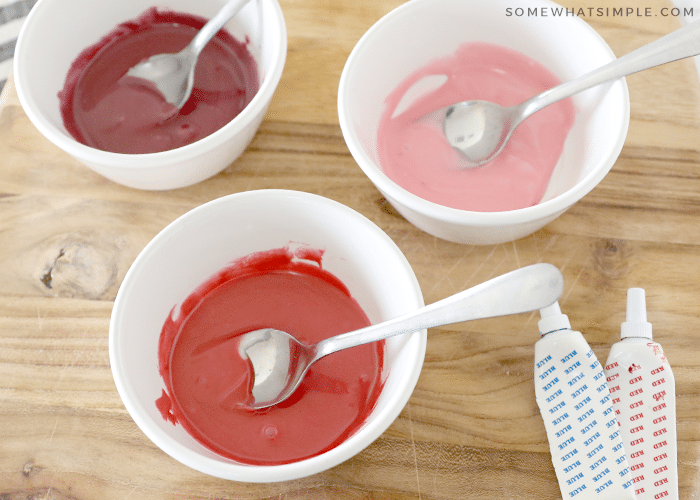
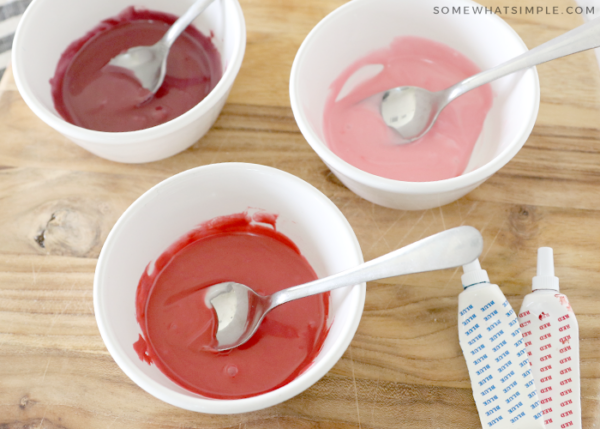
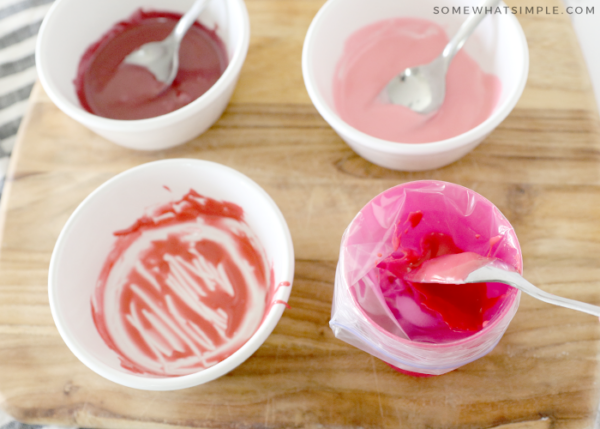
Split – Divide the batch into separate bowls for each color you’ll be using. Next, you’ll want to add the desired amount of food coloring to each bowl to get the color you want and mix well.
Coloring Tip – I always add more food coloring than I think I need because the colors will fade a bit as they dry.
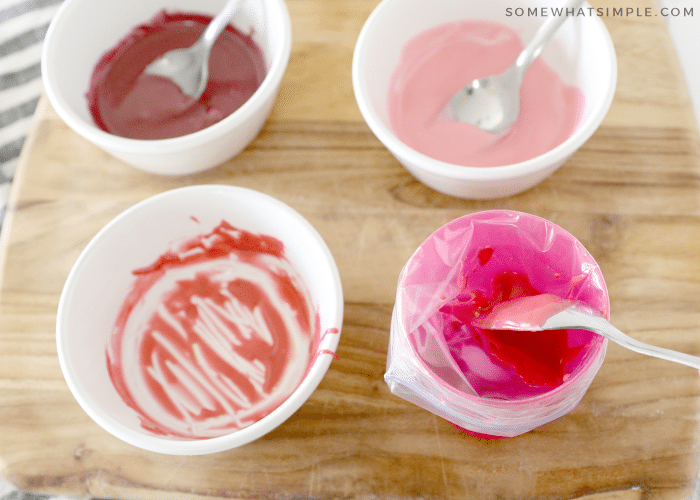
Get Ready To Pipe – Transfer to piping bags or sandwich baggies. This royal icing is a little bit on the thicker side, so I put the sandwich baggies inside a cup to help keep the bag sturdy while trying to fill it with frosting.
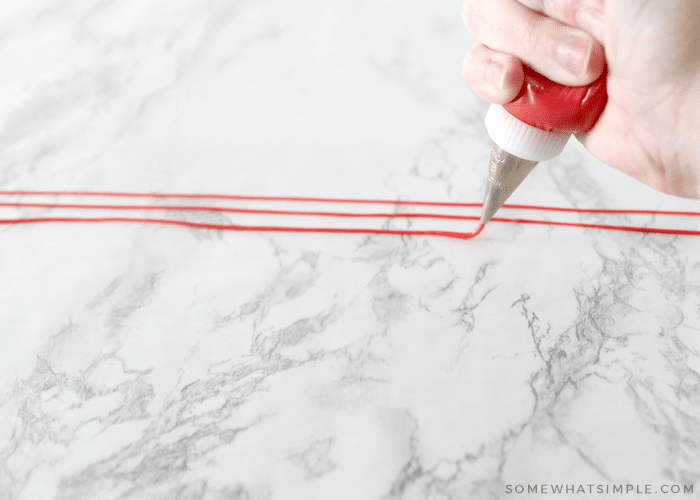
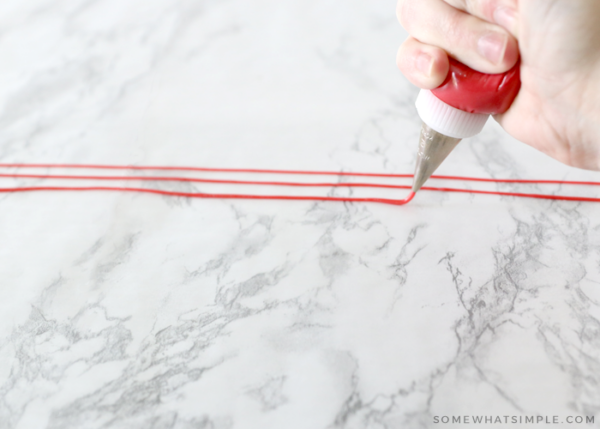
Spread – Pipe your desired shape of sprinkles onto a sheet of wax paper.
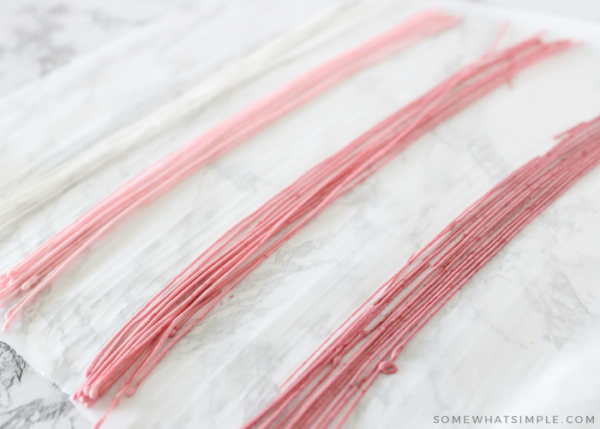
- For rod shapes, pipe long lines- they don’t have to be perfectly straight
- For confetti shapes, pipe small dots
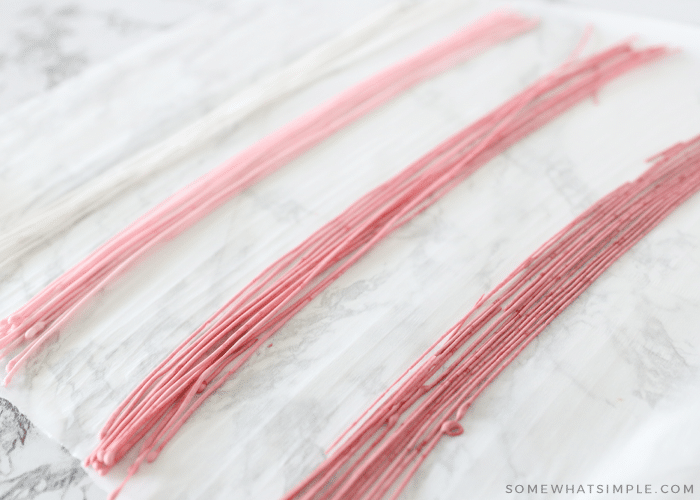
Dry – Let your icing dry overnight, or for about 12 hours. If you’re making confetti shapes, simply sweep them off the wax paper and they’re ready to go. For rod shapes, gather them in bunches and get ready for the fun part!
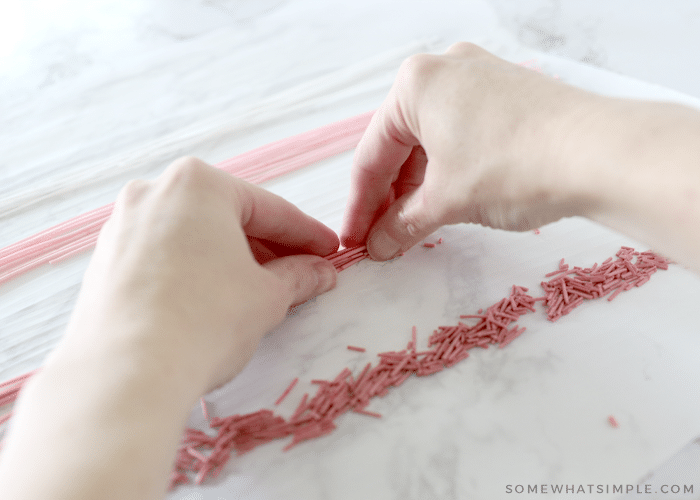
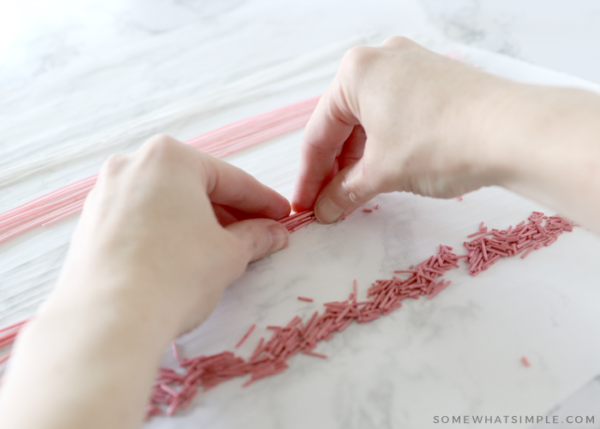
Break – Starting at one end, squeeze the lines of dried icing so they break into tiny pieces. Make them short, long, whatever size you’d like!
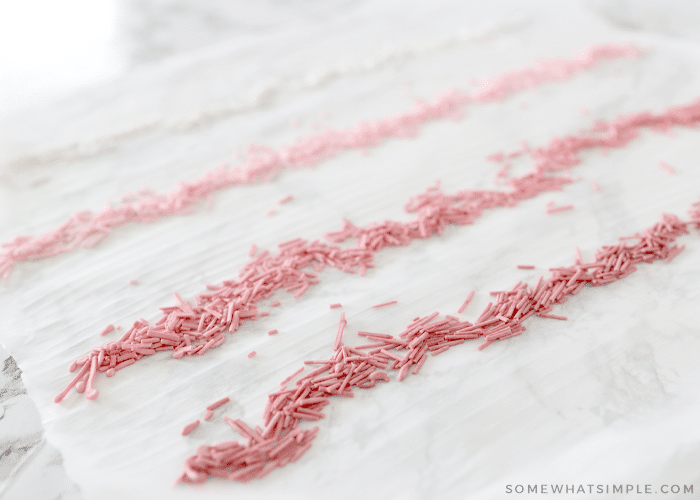
Decorate – Add your sprinkles to frosted baked goods and you’re good to go. You can store all the extras in an airtight container until ready to use, up to one year.
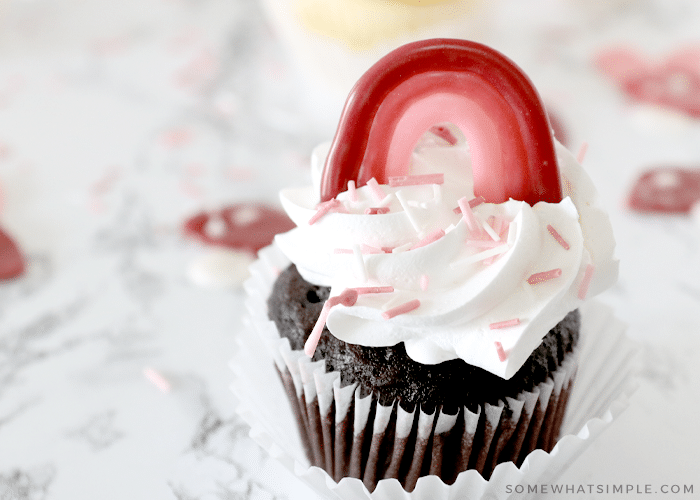
Other Ideas – You can use this same homemade sprinkle recipe and make different designs and shapes, like that darling rainbow! Read all about Royal Icing for Cupcakes HERE.
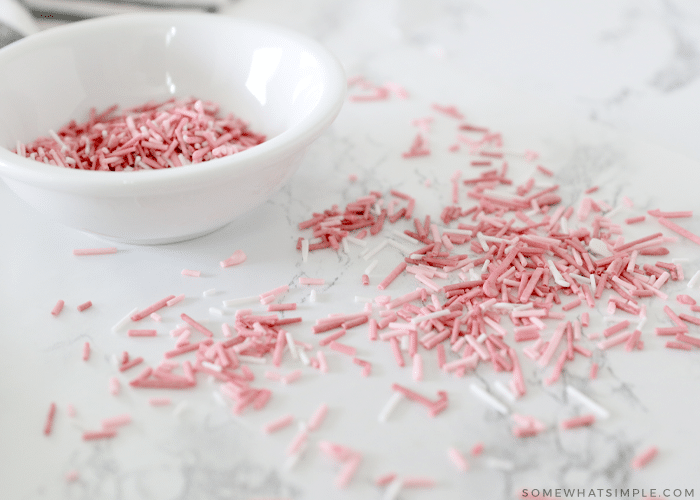
Desserts To Use Your Sprinkles On
- Cake Mix Cookie Recipe
- Old Fashioned Sugar Cookies
- Easy Piñata Cupcakes
- Chocolate Fudge Cupcakes
- Cake Mix Donuts
Here’s a printable recipe card for your convenience –
Homemade Sprinkles Recipe
Ingredients
- 1 1/2 cups powdered sugar, divided
- 2 tbsp water
- 1 tbsp corn syrup
- 1/2 tsp vanilla
- food coloring
Instructions
- Mix 1 cup of powdered sugar in a large mixing bowl with corn syrup, vanilla, and 1.5 tbsp of water. Beat until smooth, adding more water as needed. Once smooth, add the remaining 1/2 cup powdered sugar and mix until smooth.
- Divide the batch into separate bowls for each color you’ll be using, then add your desired amount of food coloring to each bowl and mix well. I always add more food coloring than I think I need because the colors will fade a bit as they dry.
- Transfer to piping bags or sandwich baggies. This royal icing is a little bit on the thicker side, so I put the sandwich baggies inside a cup to help keep the bag sturdy while trying to fill it with frosting.
- Pipe your desired shape of sprinkles onto a sheet of wax paper.
- Let your icing dry overnight, or for 10-12 hours. If you’re making confetti shapes, simply sweep them off the wax paper and they’re ready to go. For rod shapes, gather them in bunches and get ready for the fun part!
- Starting at one end, squeeze the lines of dried icing so they break into tiny pieces. Make them short, long, whatever size you’d like!
- Add your sprinkles to frosted baked goods and you’re good to go. You can store all the extras in an airtight container until ready to use, up to one year.
Nutrition
Other Notes



It was easier than I thought it would be, and I love that I can get the EXACT color of sprinkles I want. My daughter helped me and thought it was so fun!
Totally agree! They’re perfect for those special occasions when you need a specific color combo!
This looks so fun and perfect for when I run out of sprinkles! Excited to make these homemade sprinkles with my daughter soon!
This was way easier than I thought it would be! Love that there’s no preservatives and I know exactly what my kids are eating. Perfect fun topping for ice cream and cupcakes!
They really are super easy!
Wow so easy and so pretty!
Thanks!