Learn how to use royal icing for cupcakes and baked goods with this simple tutorial! It’s easy to do and tasty too!
For more darling cupcake tutorials, be sure to check out How to Frost a Cupcake and DIY Cupcake Liners.
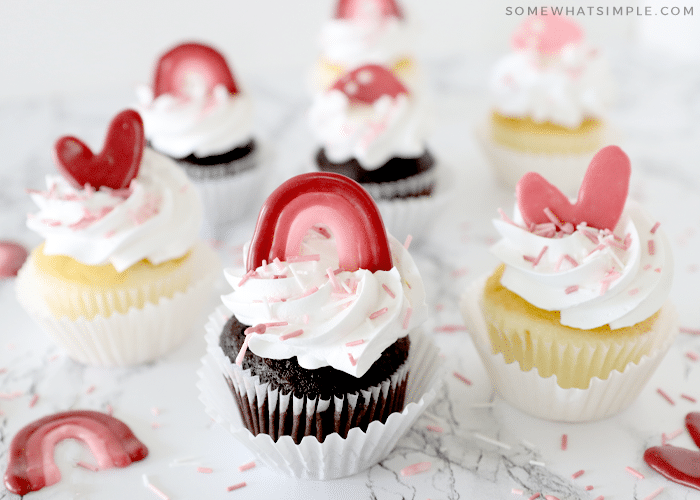
Easy Cupcake Decorating
Today I want to show you one of my favorite ways to decorate my cupcakes after they’re all frosted and looking sweet! This method will trick people into thinking you got these cupcakes from a fancy bakery, but it can be our little secret just how simple they are!
The thing I love most about using royal icing for cupcakes is how versatile this method is! You can create any shape in any color, and match any celebration or special occasion. This recipe is simple and affordable, and it tastes waaaay better than the waxy garnishes you buy at the store! (You can even use this same method to make your own sprinkles!)
Here’s how to do it –
Items Needed
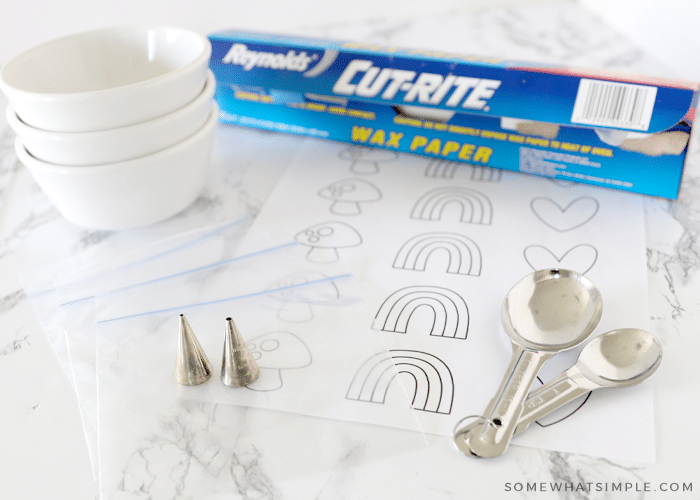
- Design template – if you’re good at free-handing, you won’t need this. You can make your own templates on the computer, or download the template I made at the end of this post.
- Wax paper
- Piping bags – I used sandwich baggies and cut the corner for my frosting tips.
- Piping tips – I used Wilton tip #4 for these designs.
- Toothpicks, optional
Ingredients You’ll Need
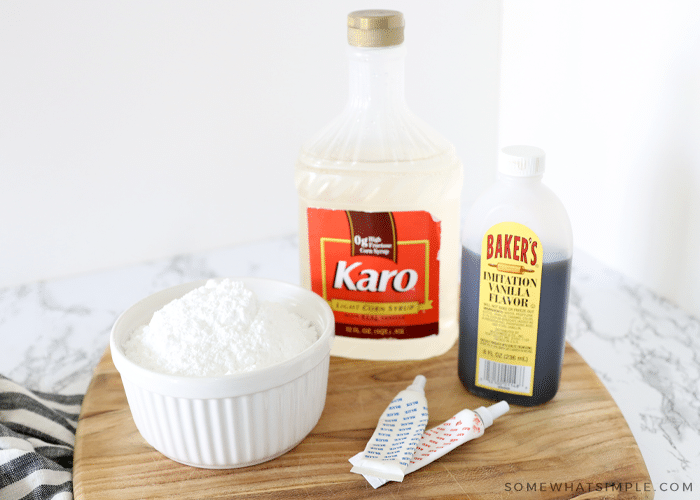
- Powdered sugar
- Water
- Corn syrup
- Vanilla – you can use almond extract, lemon extract, or another favorite flavoring if you’d like!
- Food coloring – I like the vibrant colors of gel food coloring, but any kind will work.
How to Use Royal Icing for Cupcake Garnishes
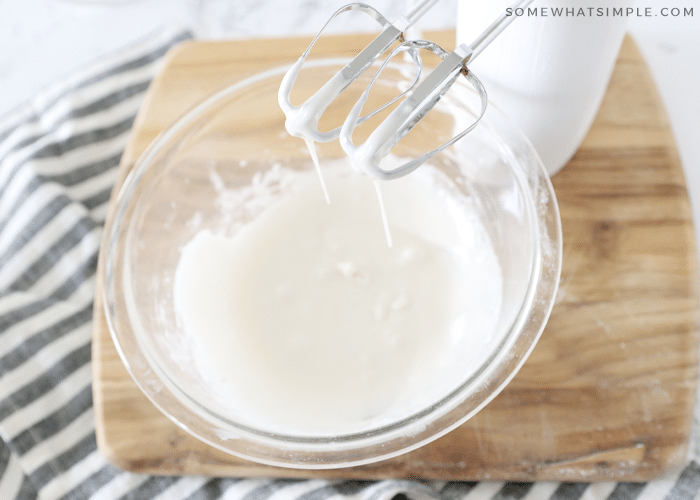
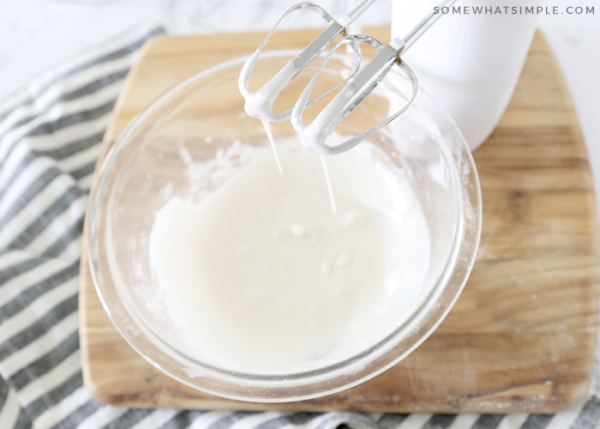
Mix – You’ll start by mixing one cup of powdered sugar in a large bowl with the corn syrup, vanilla, and one and a half tablespoons of water.
Get It Smooth – Beat until smooth, adding more water as needed. Once it’s smooth, add the remaining half of a cup of powdered sugar and then mix again until smooth.
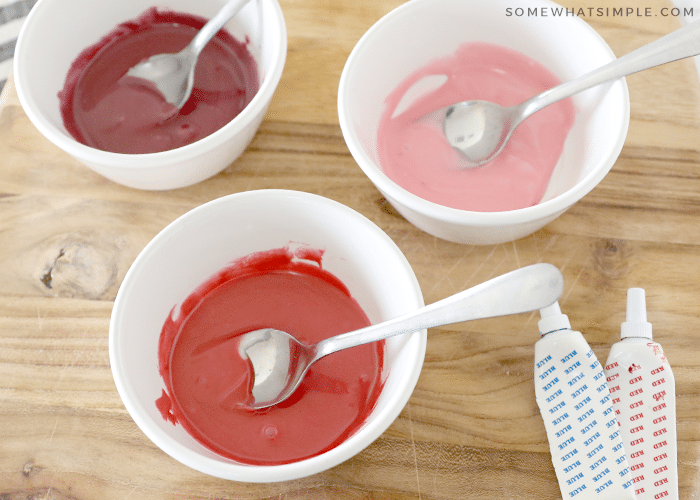
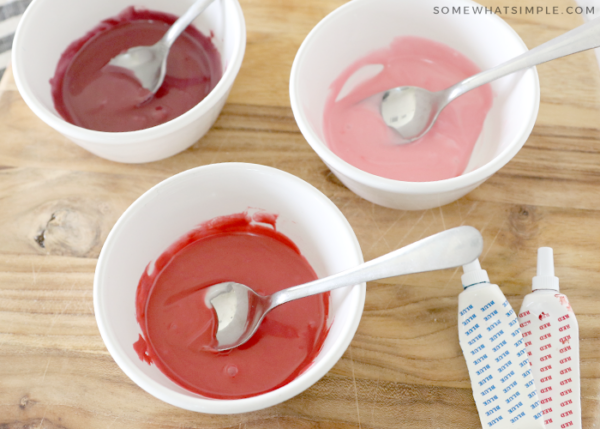
Split – Divide the batch into separate bowls for each color you’ll be using. Next, you’ll add in the desired amount of food coloring to each bowl and mix well.
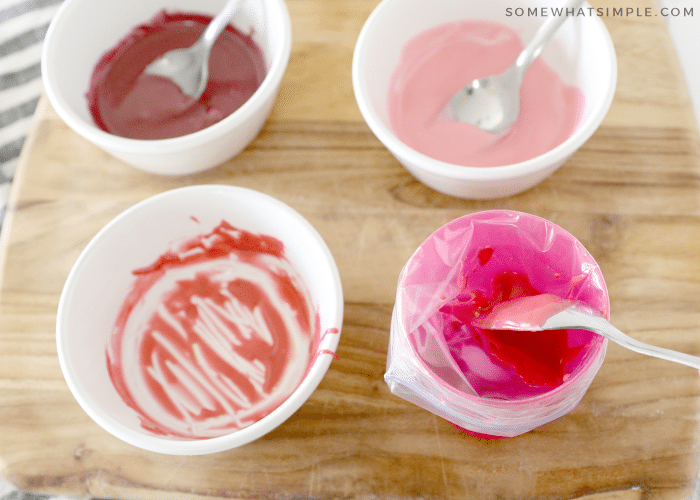
Get Ready To Pipe – Transfer to piping bags or sandwich baggies. This royal icing is a little bit on the thicker side, so I put the sandwich baggies inside a cup to help keep the bag sturdy while trying to fill it with frosting.
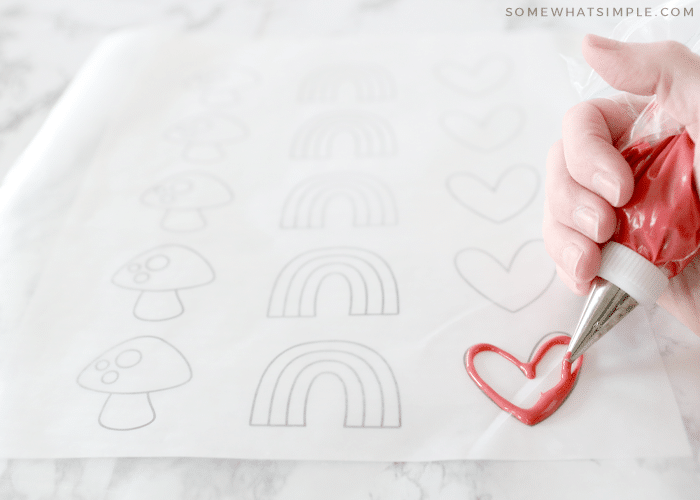
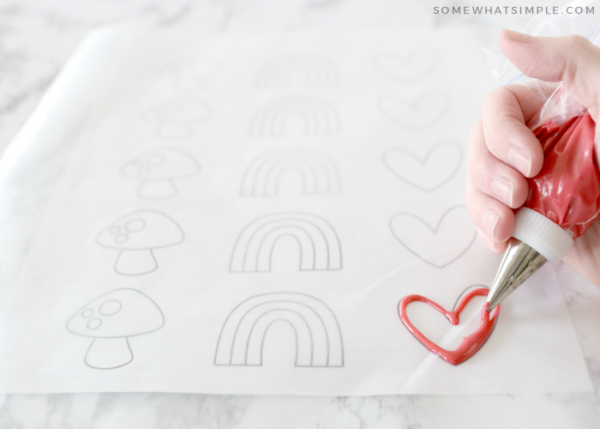
Create – Place a piece of wax paper over the template and pipe the frosting right on top of the wax paper.
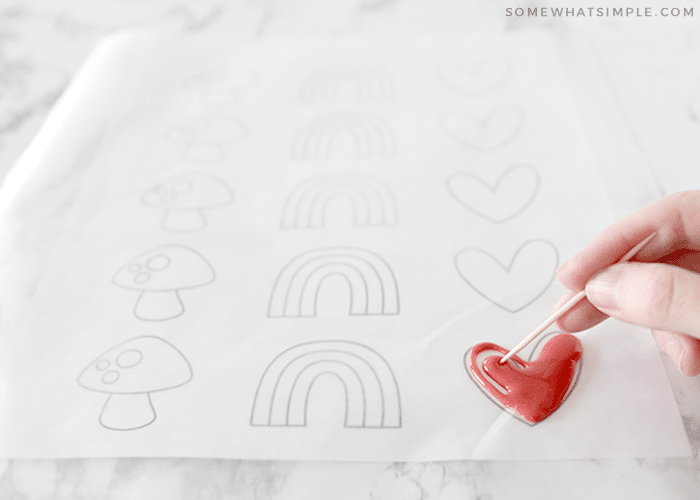
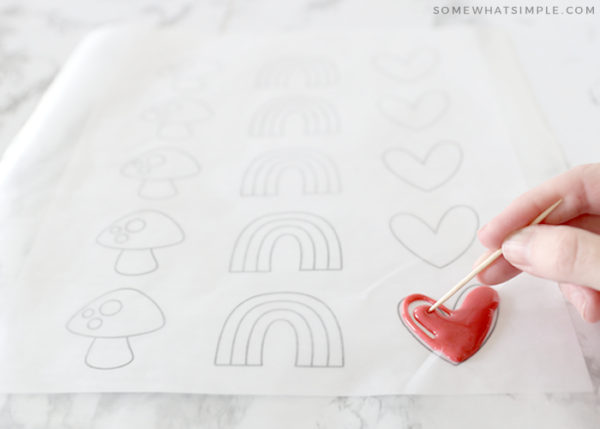
Tip – You can use a toothpick to spread the icing around and to pop any air bubbles.
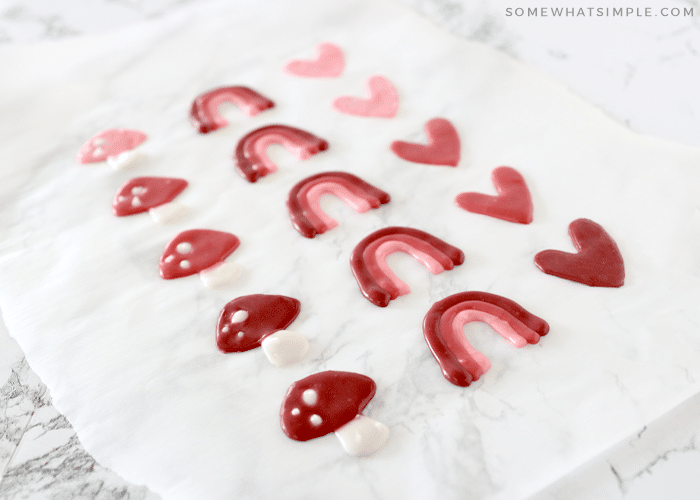
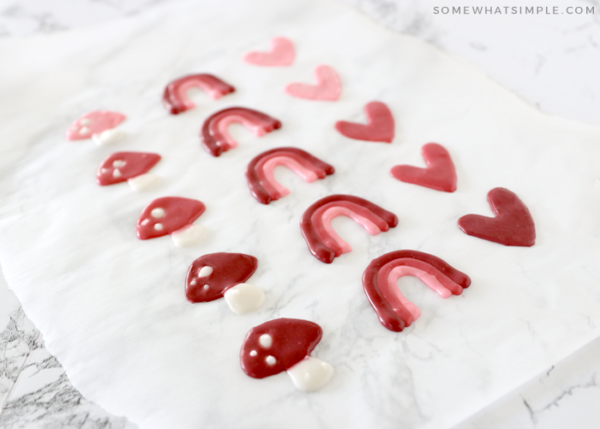
Dry – Let your icing designs dry overnight, or for about twelve hours.
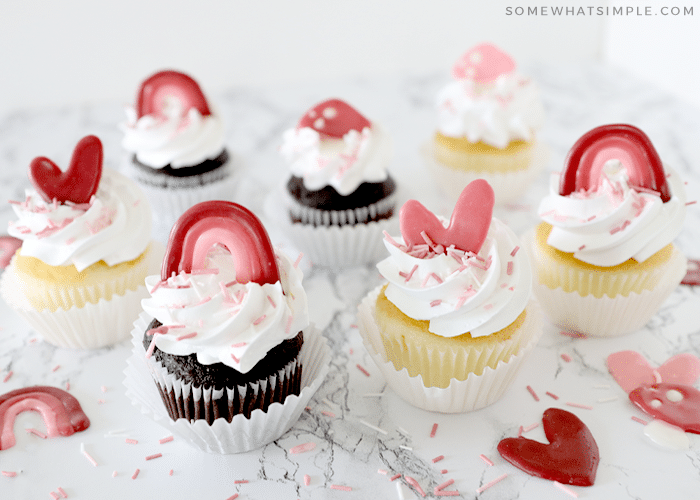
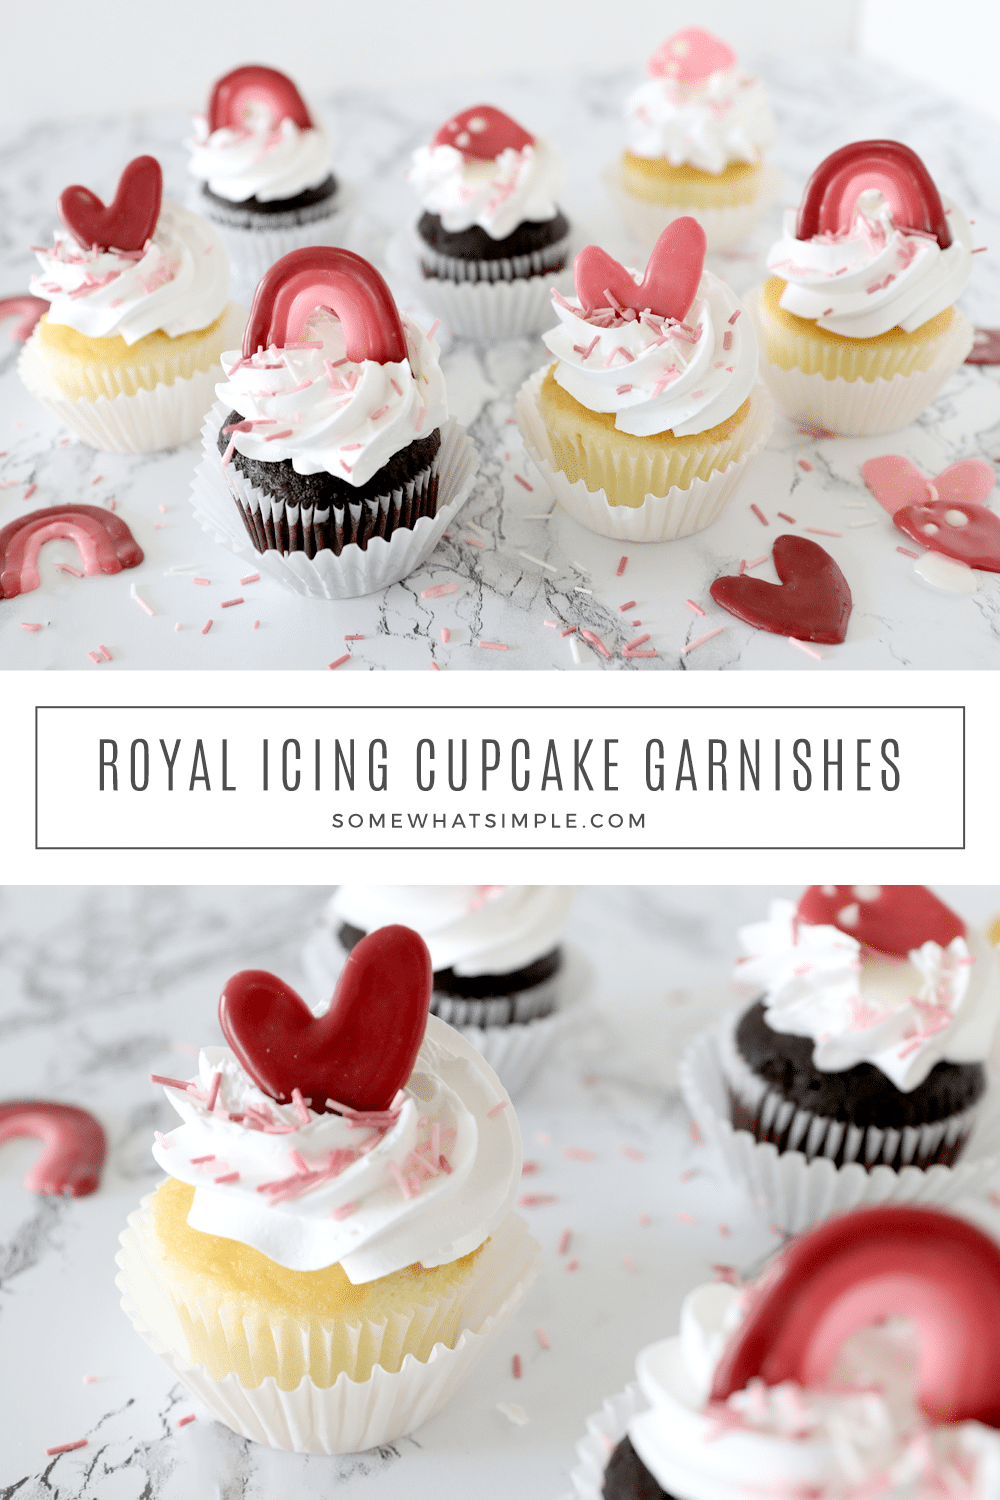
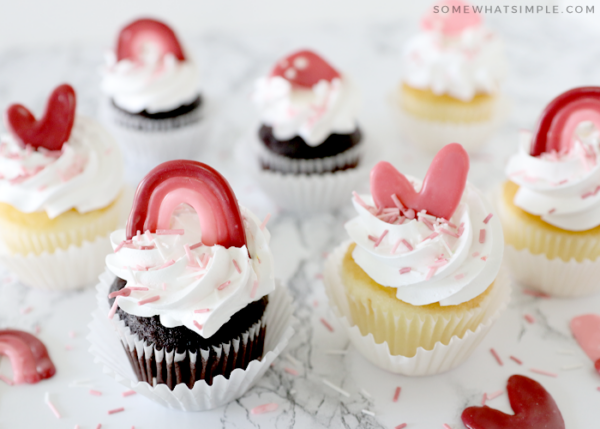
Decorate – Remove your designs from the wax paper and add them to frosted cupcakes. You can store all extras in an airtight container until ready to use, up to one year.
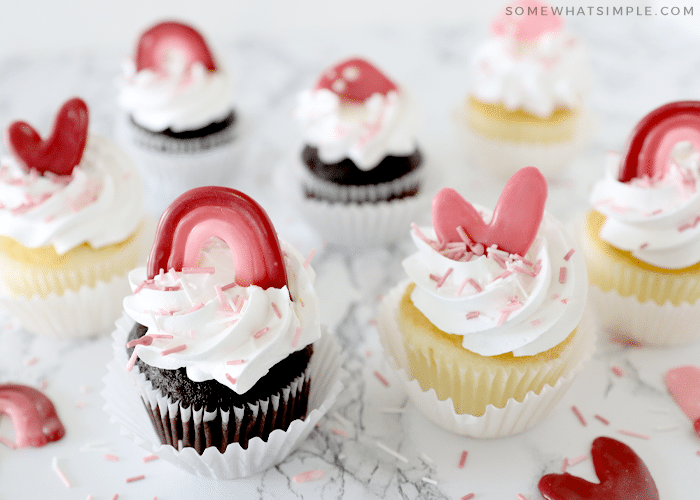
These little garnishes are edible and adorable.
Printable Cupcake Garnishes
Easy Cupcake Recipes
- Easiest Lemon Cupcakes
- Key Lime Cupcakes
- Cinnamon Roll Cupcakes
- Reese’s Peanut Butter Cupcakes
- Homemade Hostess Cupcakes
Here’s a printable recipe card for your convenience –
Royal Icing Cupcake Garnishe Recipe
Ingredients
- 1 1/2 cups powdered sugar, divided
- 2 tbsp water
- 1 tbsp corn syrup
- 1/2 tsp vanilla
- food coloring
Instructions
- Mix 1 cup of powdered sugar in a large mixing bowl with corn syrup, vanilla, and 1.5 tbsp of water. Beat until smooth, adding more water as needed. Once smooth, add the remaining 1/2 cup powdered sugar and mix until smooth.
- Divide the batch into separate bowls for each color you’ll be using, then add your desired amount of food coloring to each bowl and mix well. Transfer frosting to piping bags.
- Place a piece of wax paper over the template and pipe the frosting right on top of the wax paper.
- You can use a toothpick to spread the icing around and to pop any air bubbles.
- Let this dry overnight.
- Remove your designs from the wax paper and add them to frosted cupcakes. You can store all extras in an airtight container until ready to use, up to one year.
Nutrition
Other Notes
Now you’re ready to take your cupcakes to the next level!


This worked great! I had to do a cupcake order that was nut allergy safe and used this instead of my usual chocolate decorations. It was cheaper and much easier. The designs came out perfect and dried hard enough that I could use them. I was afraid they’d melt or not be sturdy enough, but they didn’t! Great alternative to chocolate decorations and I will definitely be using this recipe again! Thanks for sharing!
I’m so glad you found it to be successful! Thanks for stopping by!
This was so fun and I loved making these with my daughter! Definitely making these again with her! My hubby was all over these cupcakes!
So glad you guys loved’em!
I have always wondered how everyone makes these cute designs. Thank you for sharing. I’m going to practice a few times before but this will be perfect for our son’s upcoming birthday bash.
You’re so welcome!
These are amazing and I was nervous about trying to make them because I am not the best baker but they are amazing! Thank you so much!
I’m so glad they turned out for you!
What kind of royal icing did you use? I only ask because I have seen so many different recipes for the royal icing.
They look so fancy! Thanks for the tutorial and ideas!
You had me at cupcake! Oh, these are just too beautifully scrumptious! I’m going to try my hand at making some of these beauties!
Those are amazing. I especially love the black and white ones.
lexmallabooks.com
Love your site, I check it out weekly!! My Daughter is graduating college in May. Do you have any ideas for a cupcake topper with royal iceing?
Great idea! I’m still try to decide what I want to make for Easter…cake, cake pops? Maybe cupcakes with a royal icing egg on top? That could be cute because I was thinking cupcakes with fondant but I don’t think I want my first time playing with fondant to be at Easter.
How long it can stay on a frosting? I wonder if royal icing won’t “melt” ?
How fun! I’ve never seen this! TFS (:
Cute idea!! These turned out great!