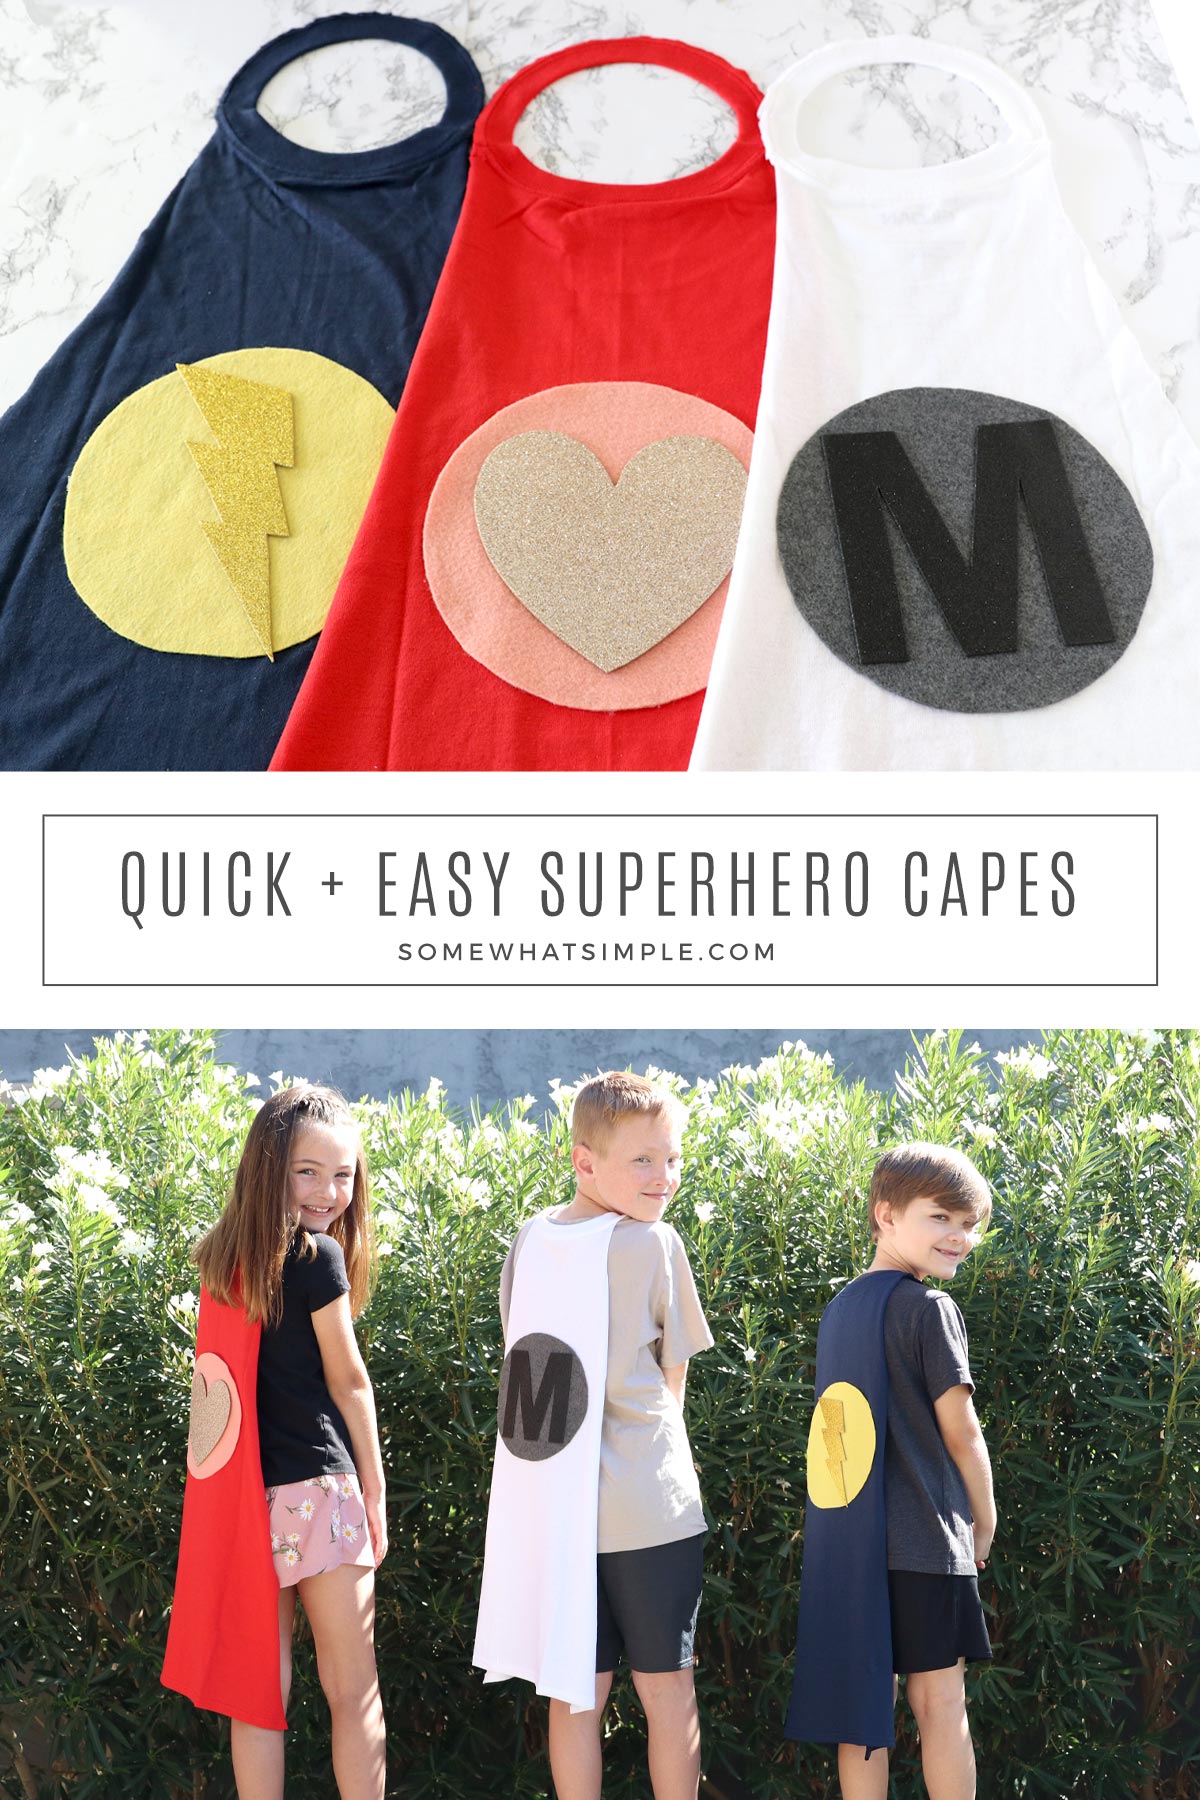
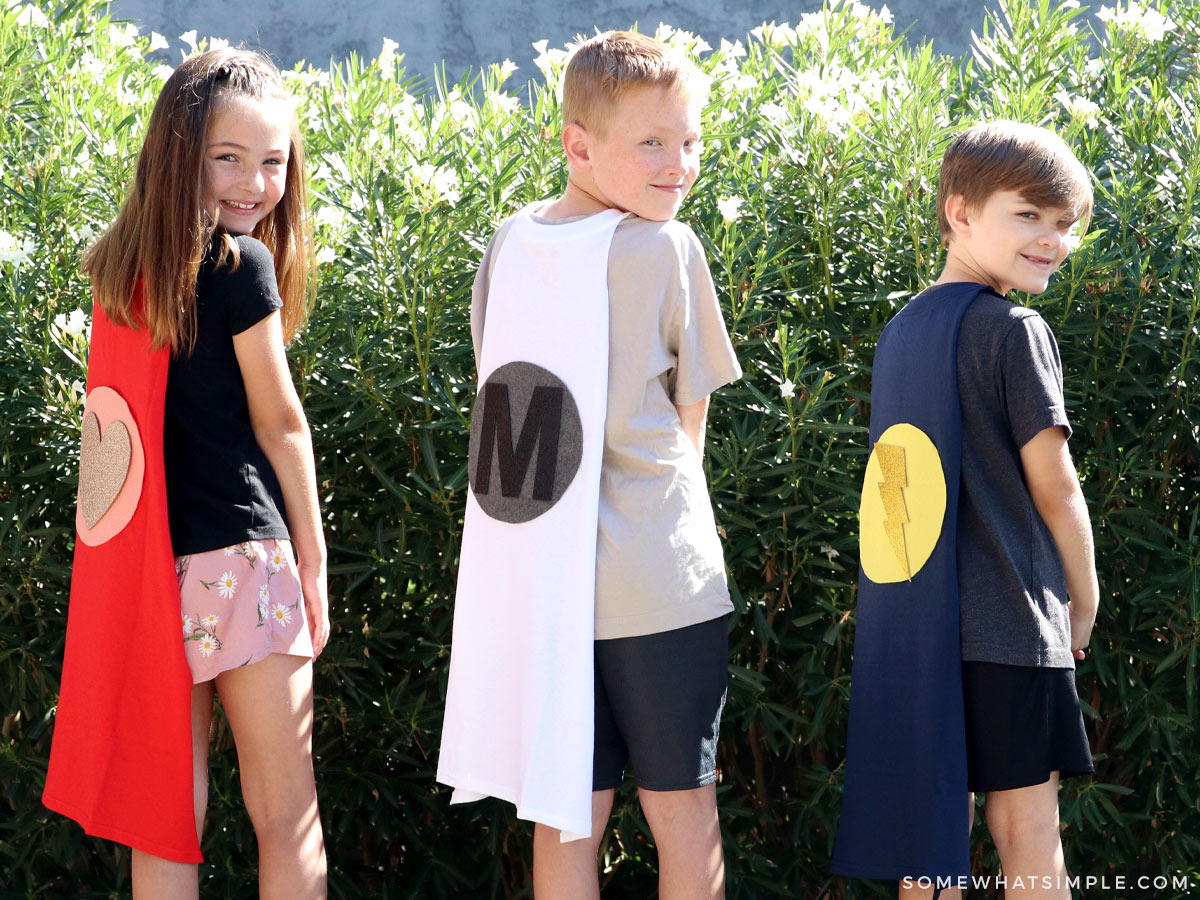
You don’t need lots of fancy supplies or sewing skills to make fun superhero capes for kids. These easy capes can be made with an old T-shirt, a hot glue gun, and about 10 minutes of your time!
Here are a few more no-sew projects we think you’ll love – My Little Pony Headband, Felt Banner, and Monogrammed Towels for Kids.
A Simple Way to Make Your Own Superhero Capes
My kids love playing pretend, and I love that they are still at the dress-up stage. Having a few kids superhero capes for them to wear when they “save the world” with their superpowers is a must, in my opinion.
But rather than bust out your sewing machine and a bunch of expensive supplies, I’ve found a simple way to make kid capes that require NO SEWING! (You’re going to love me for this one!)
T-Shirt Cape Tutorial
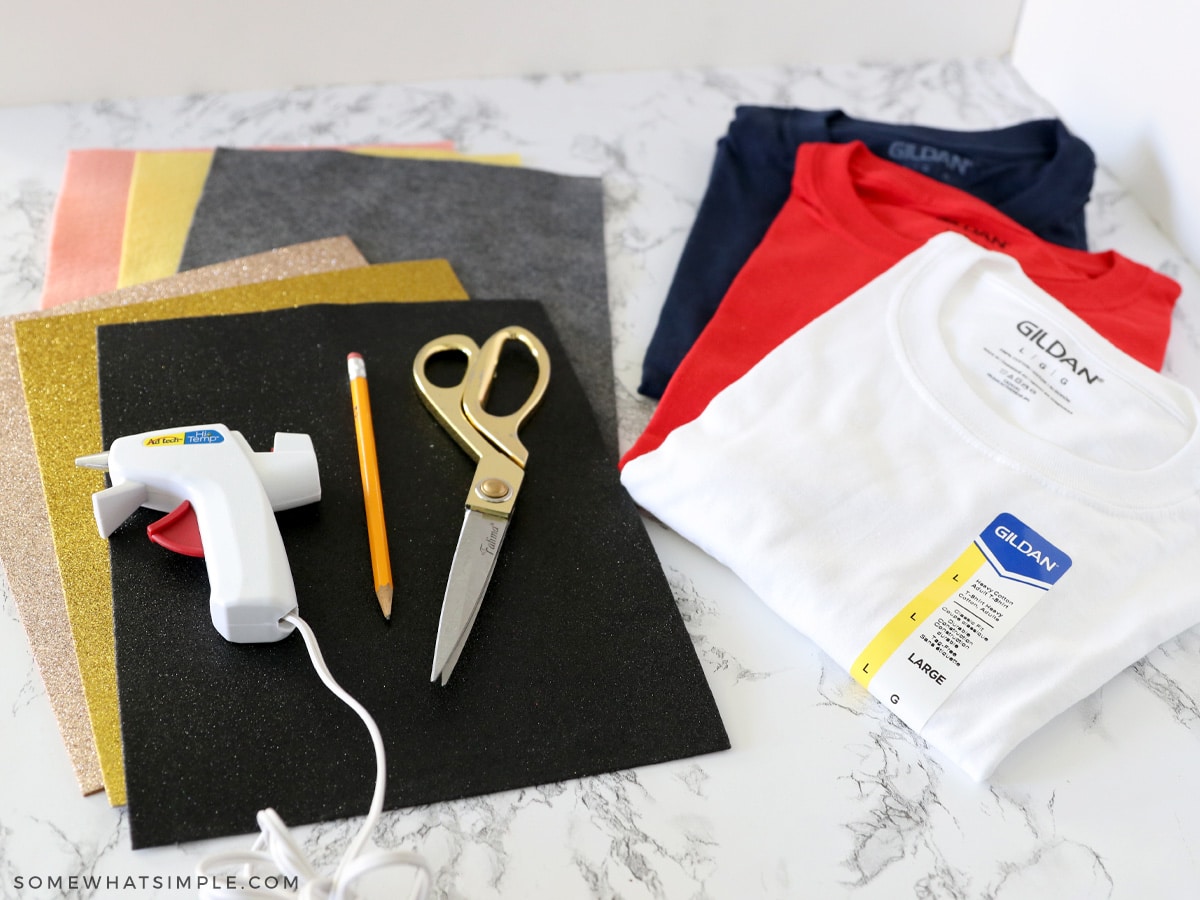
YOU WILL NEED –
- 1 large t-shirt
- scissors
- pencil
- felt sheets (for accessories and embellishments)
- hot glue gun
DIRECTIONS –
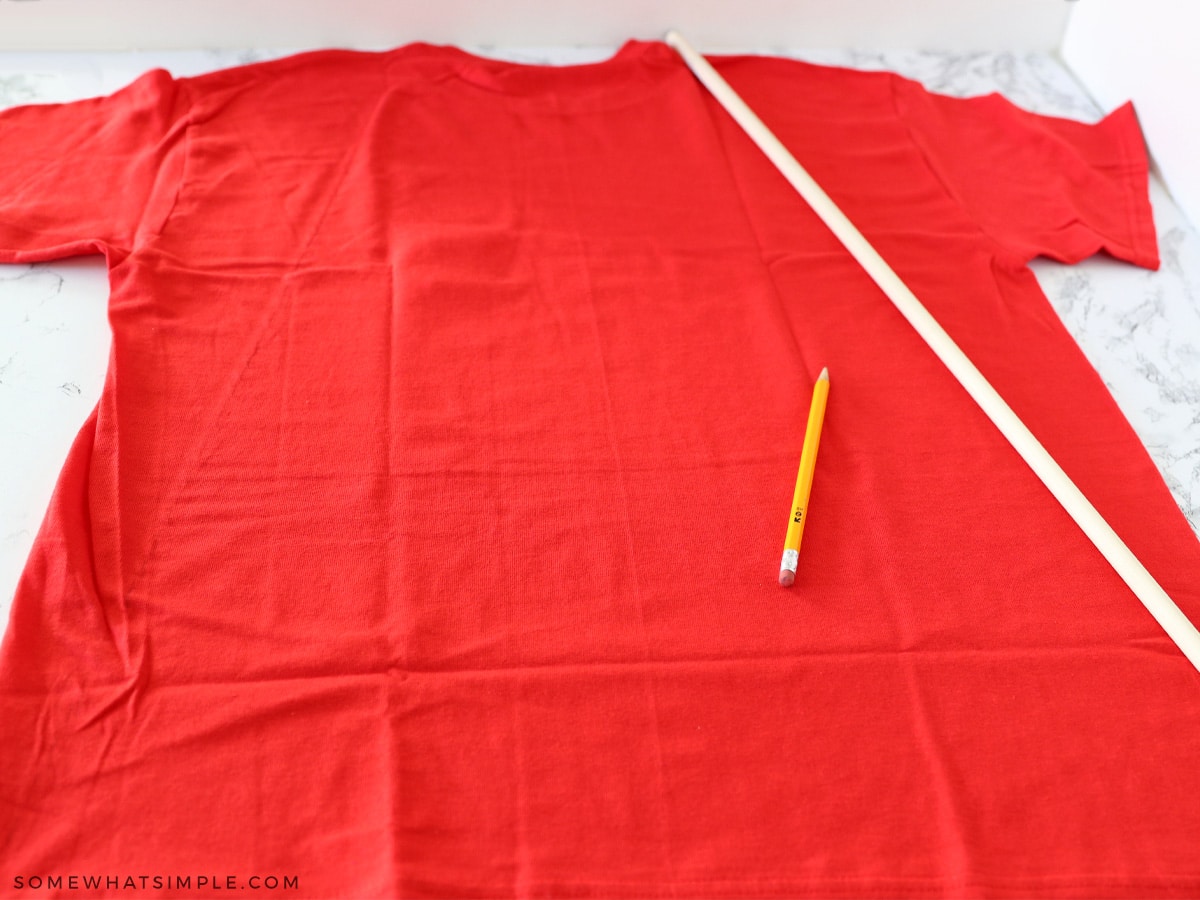
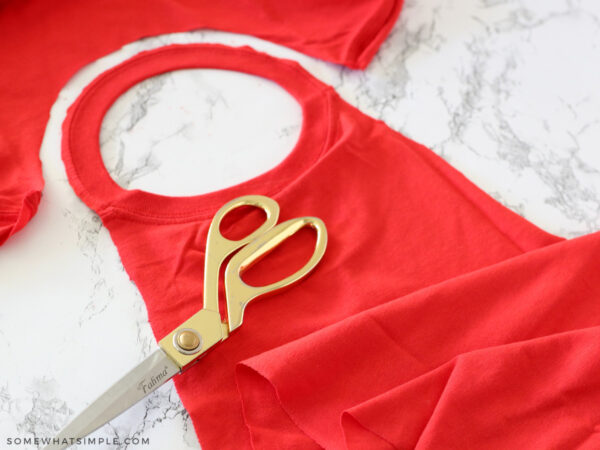
CUT IT OUT. On the back of the shirt, trace a straight line from the edge of the collar to the bottom of the shirt on a diagonal.

LEAVE THE COLLAR. Cut along the lines, but don’t cut the collar – this will go around the neck to hold the cape on. Once you get to the collar, just cut along the seam line.
Now you have a cape made from the backside of the t-shirt. You can save the front fabric if you want to make a mask for your little superhero, as we showed on our Kid’s Superhero Costume Tutorial.
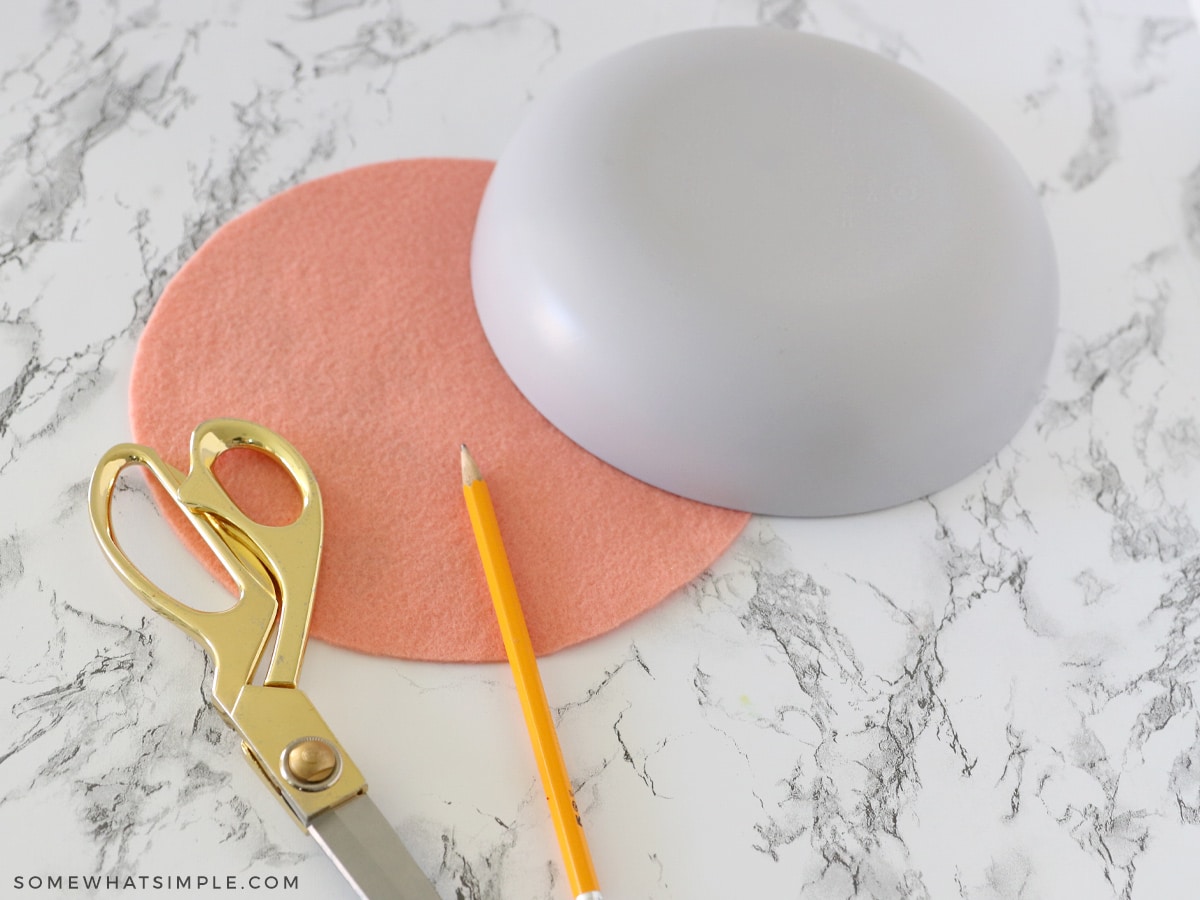
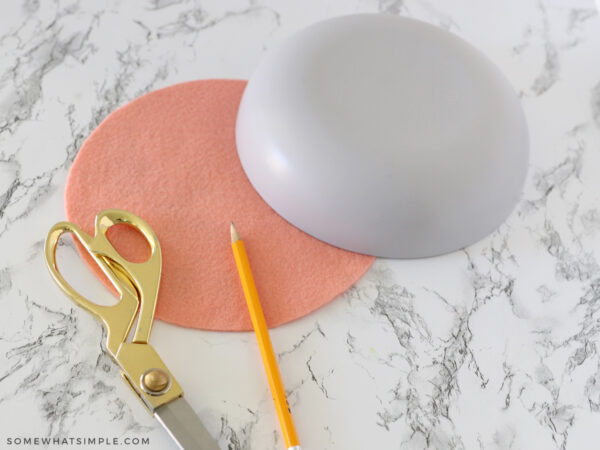
MAKE A SUPERHERO LOGO. Cut out your superhero “logo” from the pieces of felt.
I traced one color of felt around a plastic bowl so I could have a circle background, and then I cut another piece of felt into a fun shape or the child’s initial that would go on top of that circle.

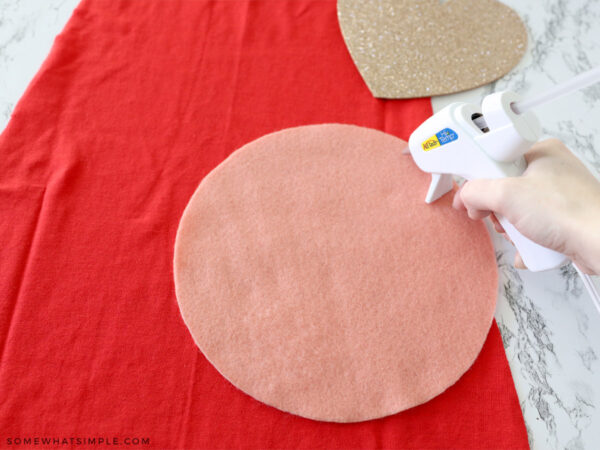
EMBELLISH. Hot glue the pieces onto the back of the cape.
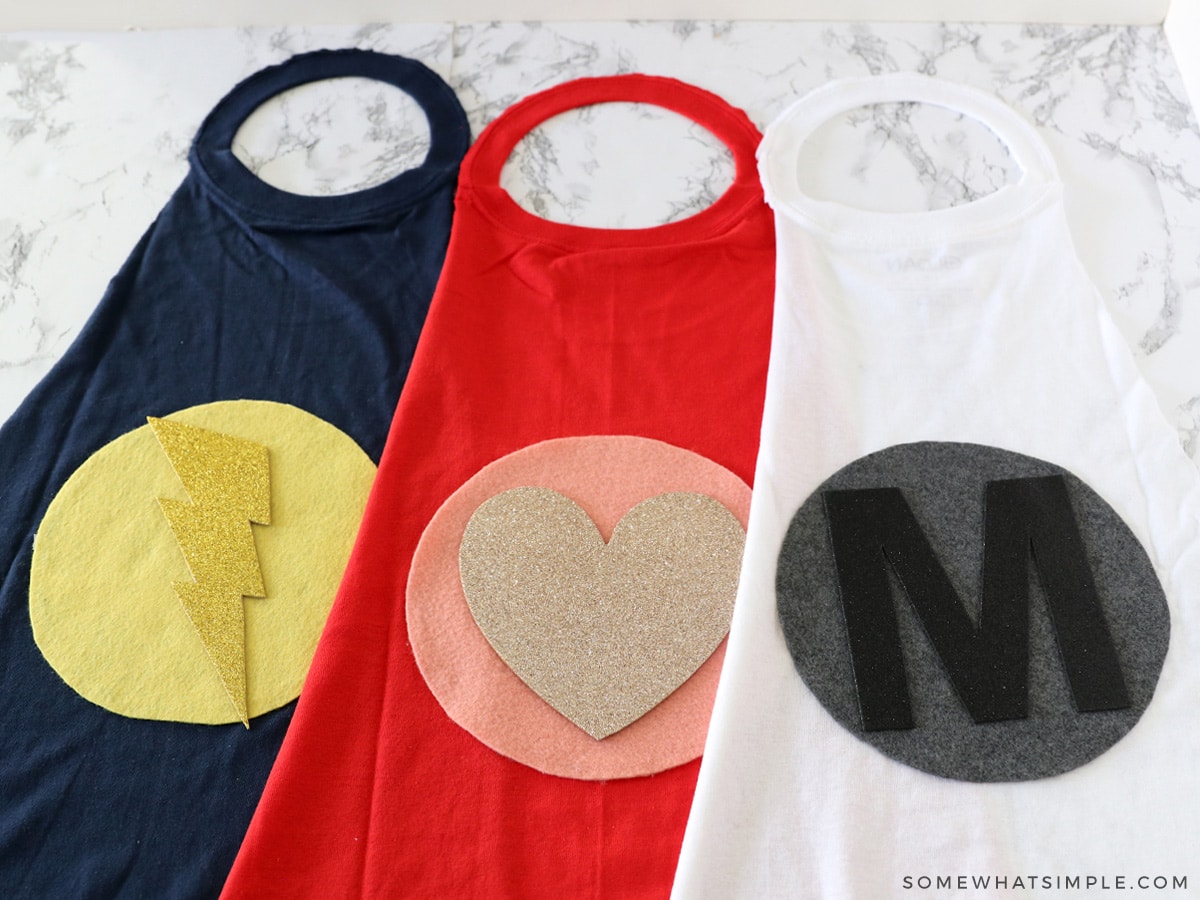
Here are some of the fun options I’ve made for my favorite superheroes. Aren’t they fun?
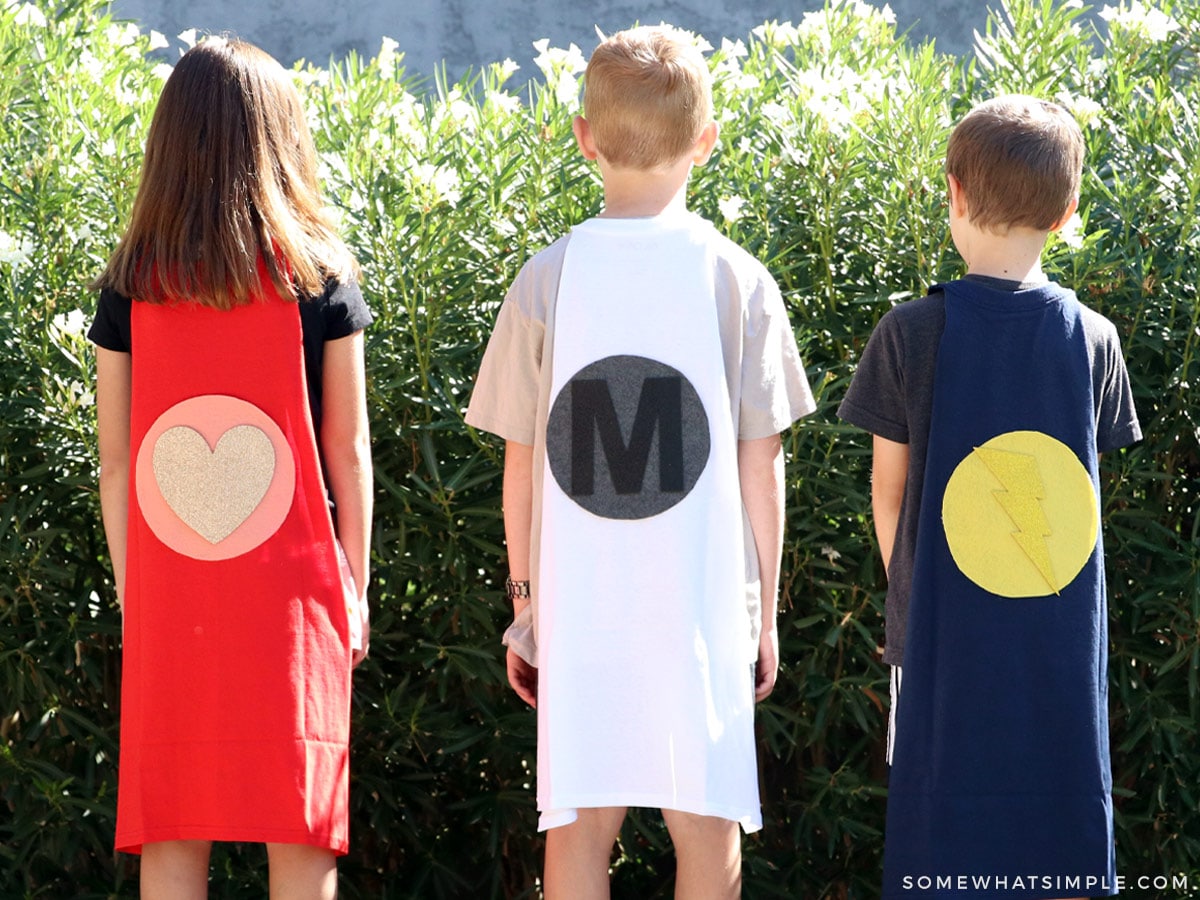
It literally doesn’t get any easier (or more fun!) than that! There’s nothing like making something for your kids that makes them want to go on more adventures!!
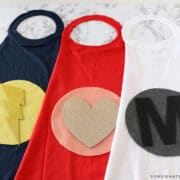
DIY Superhero Capes
Here’s a printable tutorial for your project convenience –
Superhero Capes for Kids
Ingredients
- 1 large t-shirt
- scissors
- pencil
- felt sheets for embellishments
- hot glue gun
Instructions
- On the back of the shirt, trace a straight line from the edge of the collar to the bottom of the shirt on a diagonal.

- Cut along the lines, but don’t cut the collar – this will go around the neck to hold the cape on. Once you get to the collar, just cut along the seam line. Now you have a cape made from the backside of the t-shirt. You can save the front fabric if you want to make a mask.
- Cut out your superhero “logo” from the pieces of felt.
- Hot glue the pieces onto the back of the cape.
- …and you’re done!


I love this tutorial thx for sharing! I need to to make about 16 of these how much fabric would you suggest I buy? I am making them all one color just fyi.
I love this idea! I am having a super hero party for my boys that are 6 and 7! I wonder if I could do this! How did you get the shape of the cape??
When you say tacky glue can I use regular elmo glue and should stay on? how long will that last to stay on?
Hi! Great Tutorial! Thanks!
How much do you think each cape cost?
I’m about to make about 20 of these-but what was the width of each cape?
Thank you so much for sharing. I even added an easier step (no sewing): sticky Velcro!
Love these! I wish I could sew but sadly …no. This makes me look like a superhero!!!
I featured it on my blog today. Check it out and let me know what you think!
dwellinthebliss.blogspot.com
Thanks Kelly! I am glad you liked the tutorial. I will check out the feature on your blog. Thank you!!
HI Tasha – can you contact me – rushelle72@yahoo.com
I need help to make these capes! Thanks!!
Those are awesome! It makes me sad that my guys have gotten too big . I am sure they will have a wonderful time with those.