Kids of all ages LOVE making and playing with their very own rain stick! These rain sticks are also budget-friendly, which makes parents love them, too. 😉
Make Your Own Rain Sticks
Who can resist picking up and listening to a cool rain stick when you randomly see them at a store?! They sound magical, but they can be a little on the pricey side! Several years ago me and the kiddos made our own rain sticks and we loved how they turned out! Fun and easy… and not expensive at all!
We’ve now made our own rain sticks a handful of times over the years, and we decided it was time to share this tutorial with all of you! Enjoy!
More Fun Activities For Kids
- Paint Chip Scavenger Hunt
- Best Slime Recipe
- The Best Homemade Playdough Recipe
- DIY Wacky Sack Stress Balls
Kid-friendly, Mom Approved Rain Stick Tutorial
SUPPLIES –
- Gift wrap tubes
- Cereal boxes
- Packing tape
- Pinto beans, rice, popcorn kernels, split peas etc.
- Embellishments: kraft paper, crayons, yarn, feathers, washi tape, beads, etc.
- Scissors
DIRECTIONS –
- Cover one end of the tube with packing tape, making sure it’s secure so that none of the “innards” fall out!
- Cut your cereal boxes into strips. Make sure they are thinner than your tube (about 1 inch wide should work). Then, fold the strips back and forth like a fan or accordion.
- Add your accordion-like cardboard pieces into the tube. I didn’t count how many strips we put in each tube, but you want the tube to be full of cardboard, but not stuffed or packed too tightly.
- Add your beans and grains to the tube. I used pinto beans, popcorn, and rice for these.
- When your tube has been filled, cover and tape the open end closed.
And now we decorate!
- Measure how much kraft wrapping paper you’ll need to cover your stick.
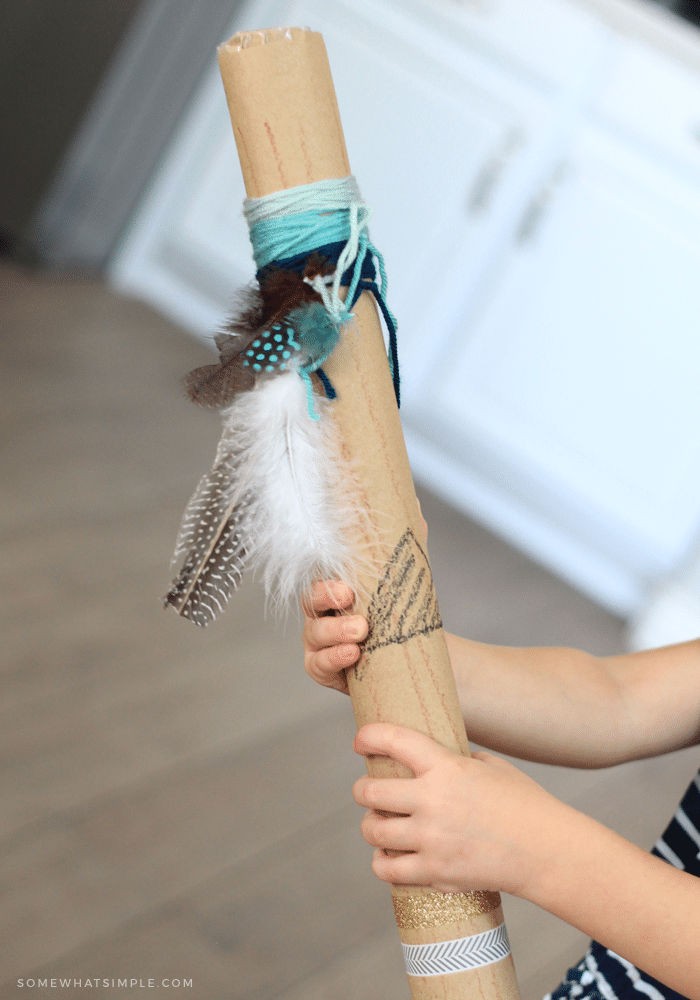
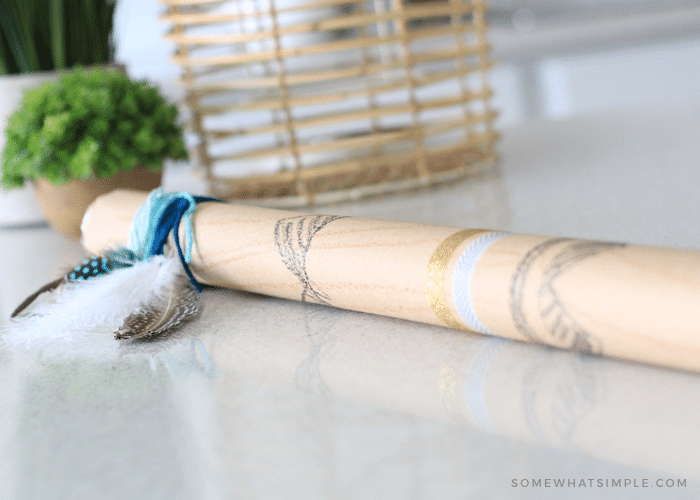
- Cut your paper, and then let the kids decorate! I love how these simple, uneven lines make it look like wood. They can add tribal markings and designs with crayons for a more “authentic” feel.
- Ones they’ve finished decorating, tape the wrapping paper onto the tube.
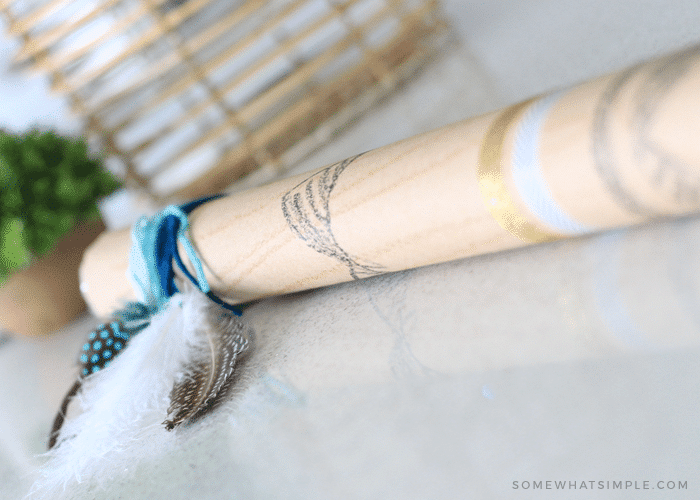
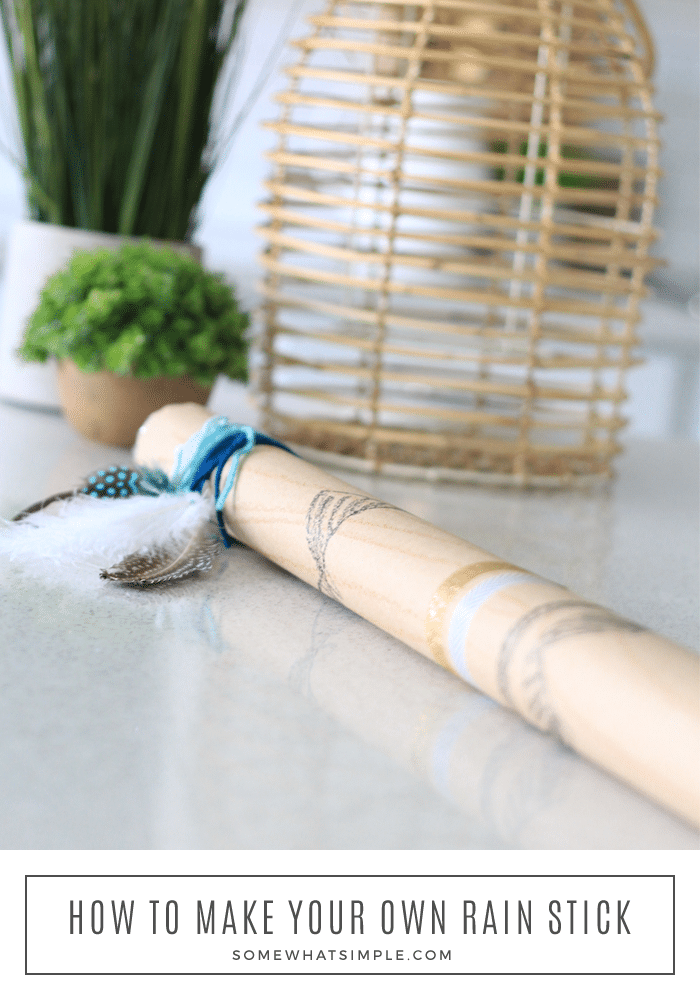
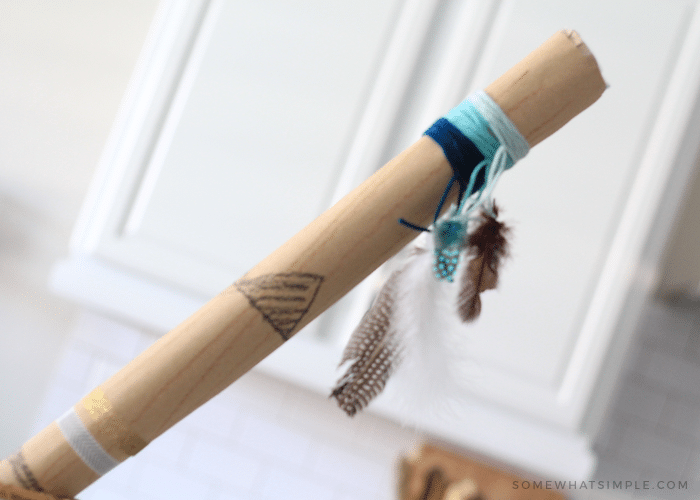
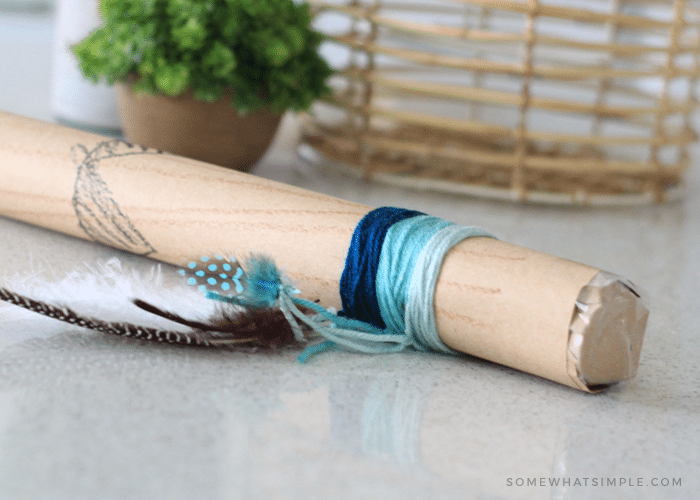
- Now it’s time to embellish: I wrapped some yarn and washi tape around the tube, then added some feathers to complete the look! You could also add pony beads, ribbon, or whatever you have on hand!
And that’s it! A fun project to create AND play with. And it doesn’t break the bank.
This is what we call a parenting win, folks. 😉
This post originally published in 2009, but was updated in 2018 with new images.


This is exactly what I need for primary next month. Thanks!
What a great idea! I’ll definitely have to give this a go! =)
That's brilliant! I've got a couple of wrapping paper tubes lying around here somewhere, I've got to go dig them up for this! Thank you for the tutorial!