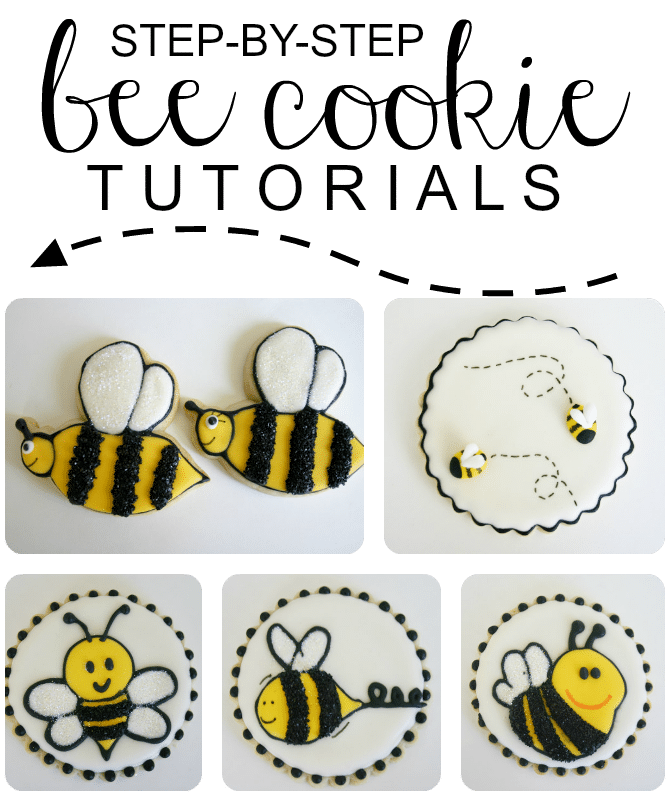
This easy step by step tutorial will show you how to easily make these bumble bee cookies. Start with your favorite sugar cookie recipe and then transform them into these adorable bee cookies.
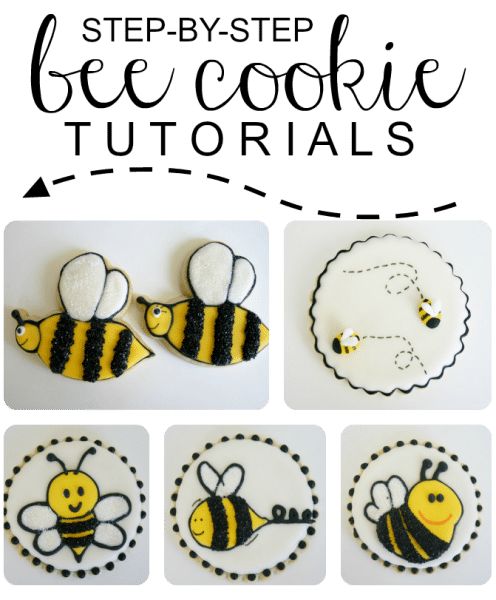
These cookies are so versatile and can be used on many different occasions. The word “bee” just lends itself so easily to cute favors and sayings. Make these bee cookies with a tag that says, “Will you BEE mine?” for Valentine’s Day. Or you can say, “Thanks for BEE-ing a great friend.” Today I went all out to show you a few scenarios on ways you can decorate some seriously BEE-utiful cookies. (See what I did there?) 🙂
How To Make Bumble Bee Cookies
This first thing you need to do is grab your favorite sugar cookie recipe. Using a bee cookie cutter you can cut these cookies into these adorable shapes. You will also need black and yellow royal icing to decorate the cookies once they’ve cooled.
If you need help on decorating your cookies, here are a few tips that will help you decorate using royal icing. I also added in some black sanding sugar and rainbow disco dust just for fun. After my bees are cut out, cooked and cooled you are ready for just 9 small steps to frost! Crazy? Yes. Hard? No.
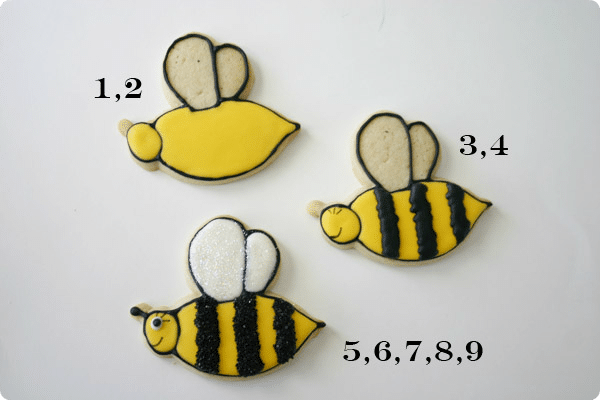
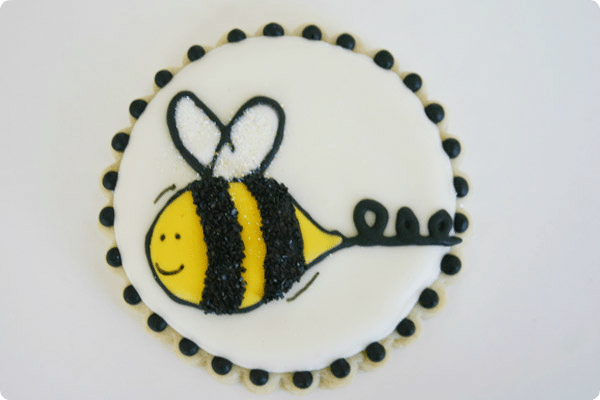
- Outline the wings and body with 20 (or higher) second black royal icing. Let dry. Black is known to bleed and the more time you let it dry between layers, the less likely that is to happen. I’d wait at least a few hours.
- Fill the body with flood consistency yellow icing. Let dry.
- Draw in eyelashes, if it is a girl bee, and a mouth. I used an edible pen for this.
- With the same black frosting you outlined with, zig-zag to make the bee stripes.
- Immediately sprinkle sanding sugar onto the black and shake off the excess.
- Draw the antenna.
- Fill the wings with flood consistency white.
- Immediately sprinkle rainbow disco dust on just the wing area. Tap off excess.
- Make the eye with a small drop of white and then while still wet, put a dot of black in the center.
More Fun Sugar Cookie Ideas
If you loved these cute bumble bee cookies here are a few more of our favorite ways to decorate sugar cookies.
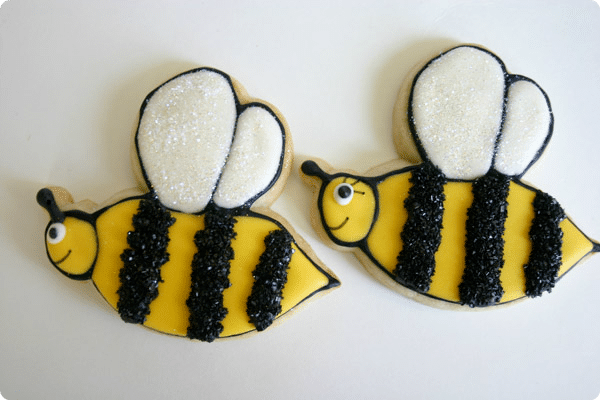
And there you have two cute little bugs!
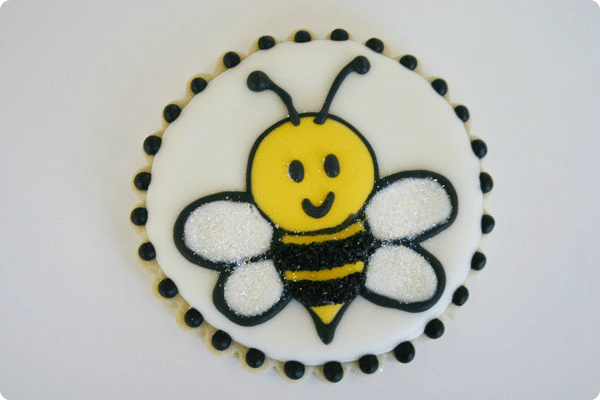
How To Make Bee Cookies Using A Projector
Next I made a few more bee cookies using my projector.
If you would like to know more about using a projector, check out this post!

Small Bumble Bee Cookies
If you don’t want a big yellow bee on your cookie, this one is for you!
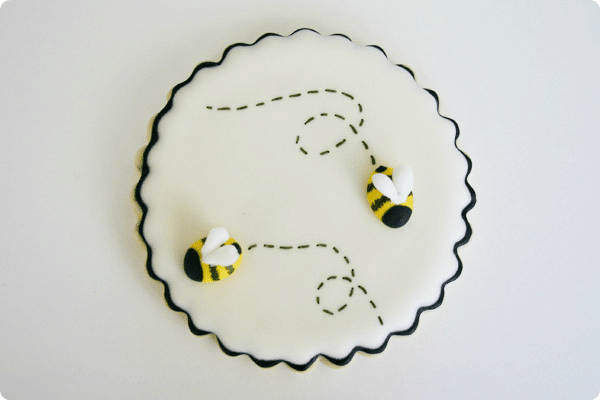
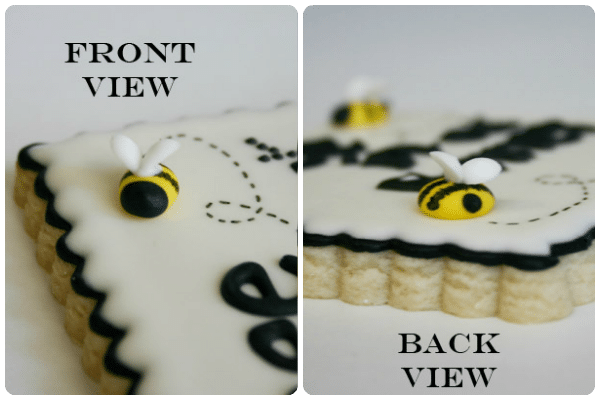
These are done simply by outlining and filling your sugar cookies, creating the bees on parchment paper and “gluing” them down with some fresh royal icing. Here is how to make those little bees:
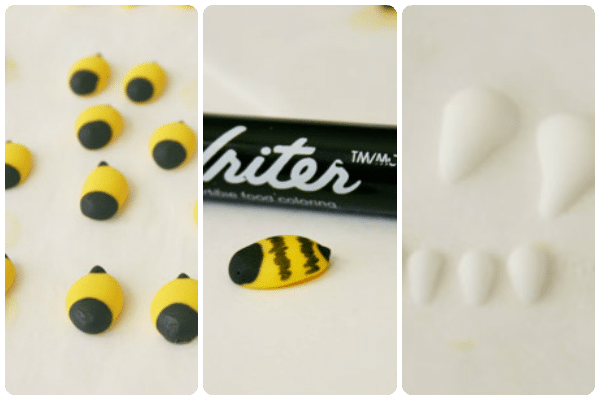
- Make a dab of yellow icing on your parchment paper. Then, while it’s wet, from the front angle squeeze a dot of black. Next, make a small dot on the back, but this time pull back quickly to make the stinger slightly pointy.
- Once they are dry, you can draw their little squiggly lines with that edible ink pen.
- The wings are icing transfers too. I made lots of different sizes, not knowing which ones would look the best. You just need a tiny dab of icing on top of the bee to hold your wings in place. I held them there for a minute until they were ready to stay up. I wanted them to look like flying wings, not flat wings! I absolutely love this 3D cookie effect!
Aren’t those fun?! Do you have a favorite?
– – – – – – – – – –
About the Author: Ashleigh is the creative mom of three and blogger from Bee in Our Bonnet . Ashleigh spent a few years blogging on Somewhat Simple as our Baking Contributor.
This post originally published on Somewhat Simple in August 2011


wow! its amazing i like it. thank you ..
These are the bees knees! Sorry, it slipped out! lol So nifty & with great, easy tutorial. I would love for you to show this off at my Wickedly Crafty Saturdays! http://wiccanmakesometoo.blogspot.com/2011/08/wickedly-crafty-saturdays-82711.html
Absolutely adorable. I saw it on Pinterest! I love all your variations too.
Those are adorable!!
This look Fantastic! I love the little bee’s and their tiny wings. Too Cute!
Such cute cookies and a great tutorial. I am pinning it. Joni