This easy tutorial will show you how to print on shrink film. You can use this to make shrinky dink bracelets, key chains, dog tags, party favors, and more!
If you’re looking for more fun things to make with your kids, here are a few of our favorites – Easy Slime, Homemade Playdough, Ribbon Wands, Bubble Snakes, and Homemade Puffy Paint.
Can I Print On Shrink Film?
Last winter I agreed to help someone at my church make some Shrinky Dink Christmas ornaments for all the kids in our primary. I made a cute design, printed it out on regular paper, and then started tracing allllllll the duplicates on Shrink Film.
After about a dozen ornaments traced, my hand was tired. Really tired. I knew I needed to come up with a better solution, so I discovered how to print on Shrink Film – and it worked great! I was able to knock out the remaining dozens of ornaments in a fraction of the time the first few- YAY!
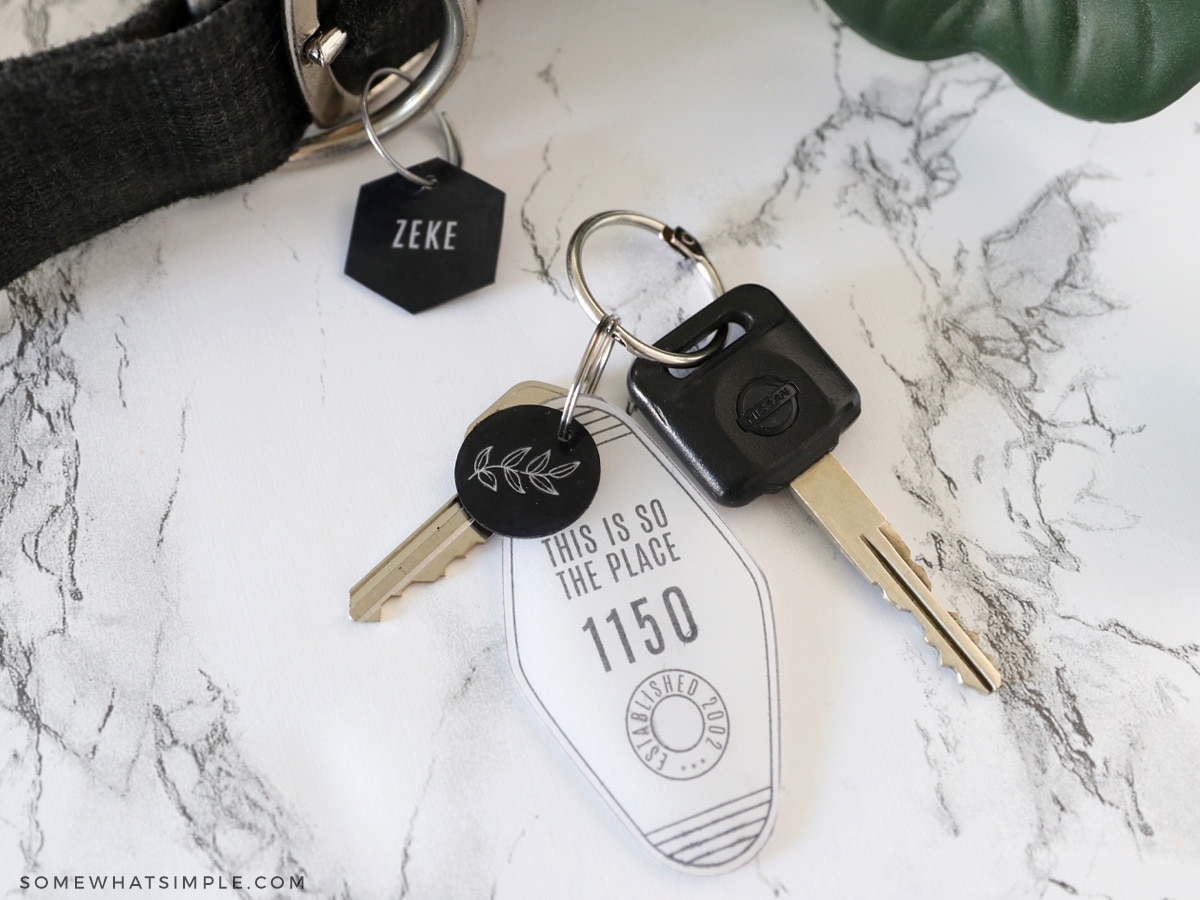
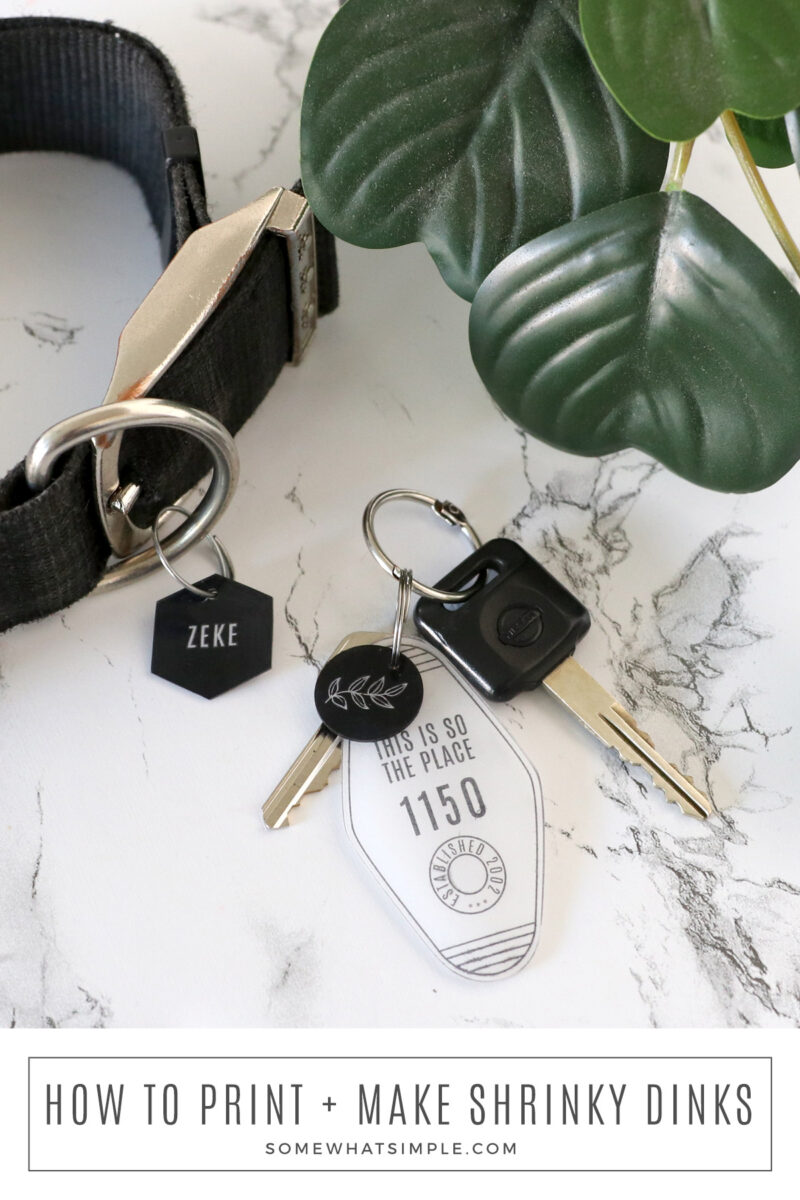
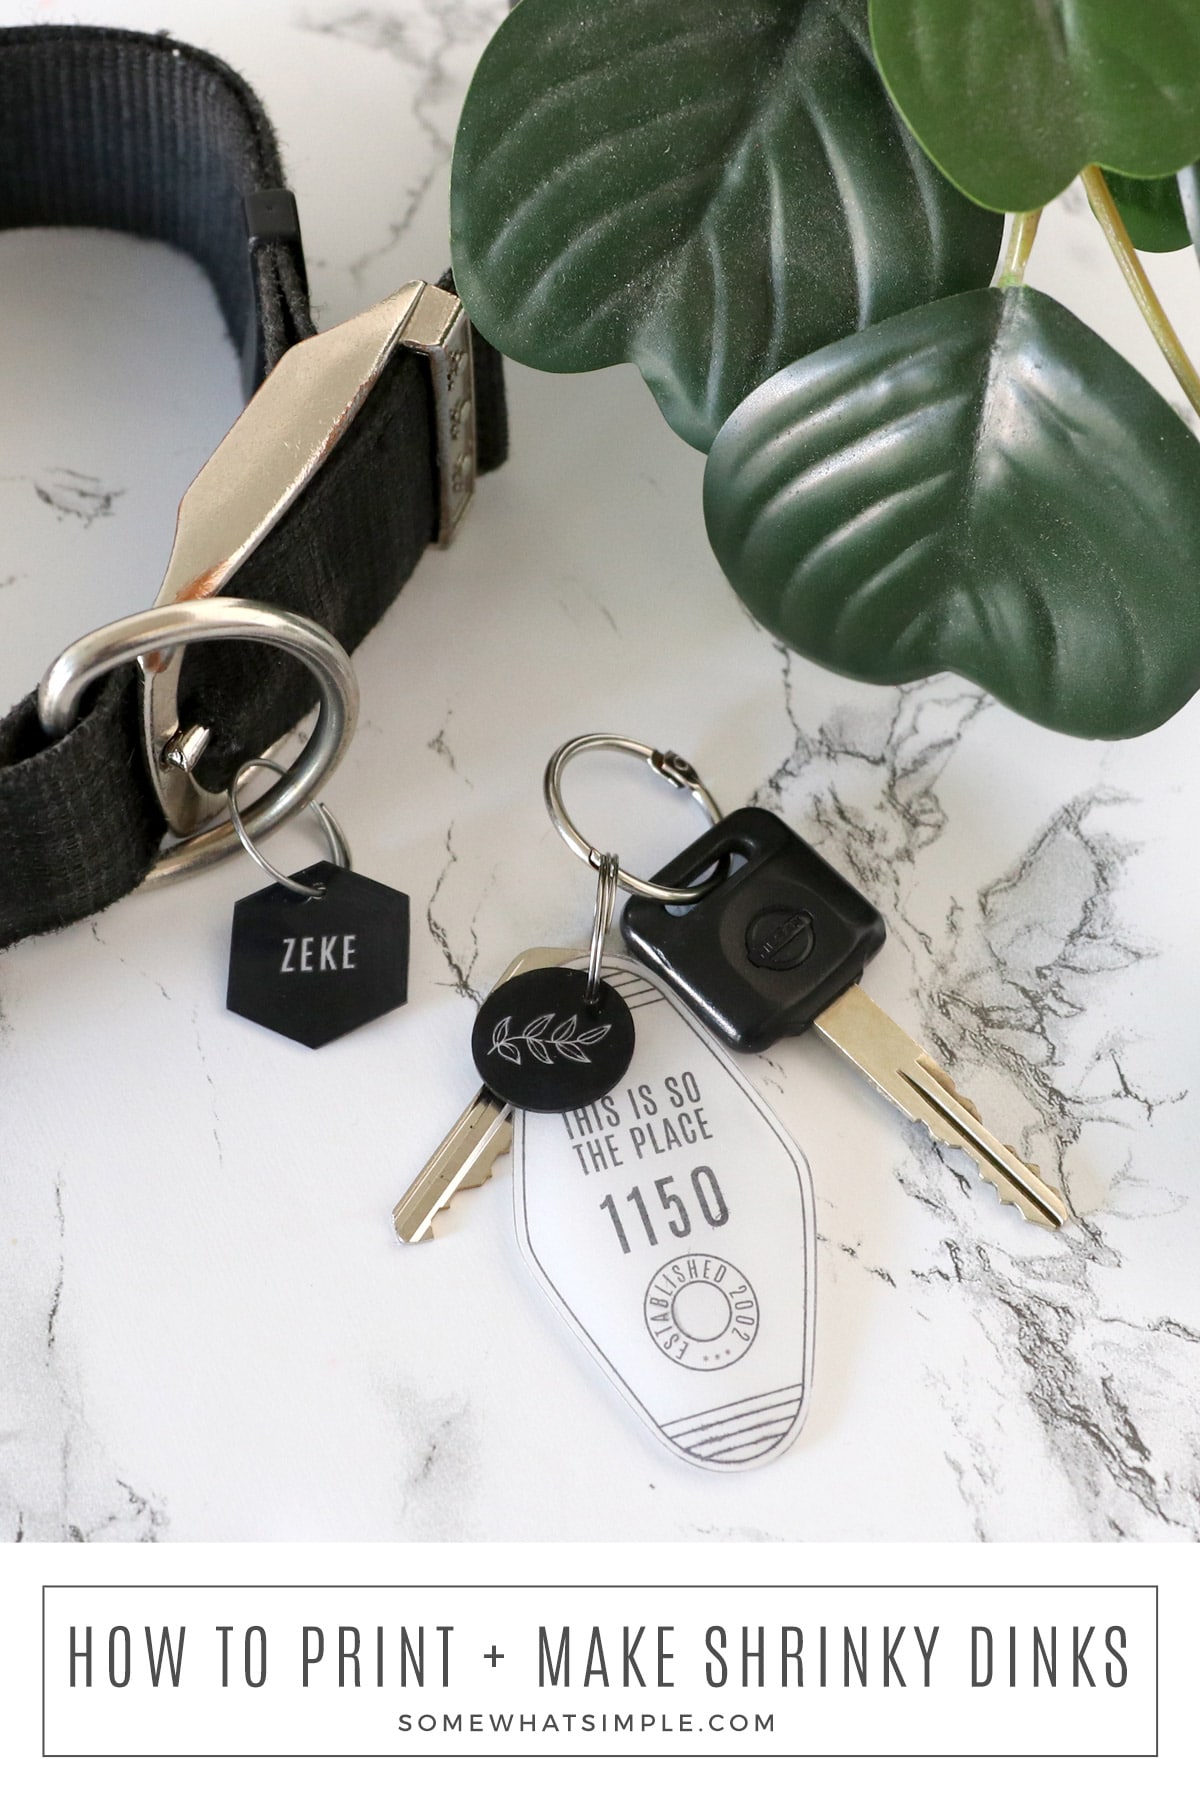
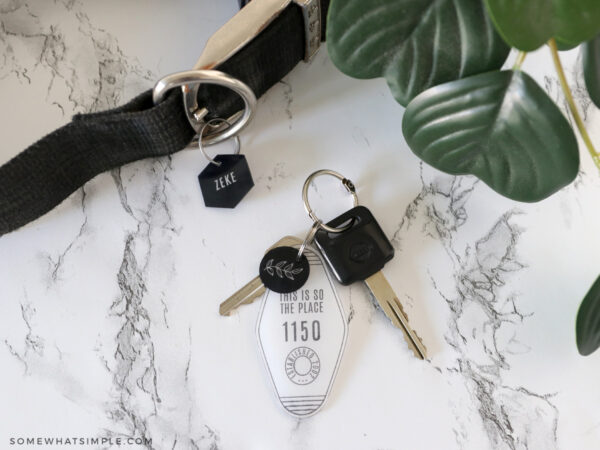
Today I am going to show you how I made a dog tag for my dog Zeke, and a keychain for our condo using this same technique. These charms can go on key chains, party favors… you name it and you can probably make it with Shrink Film!
The designs I used are very simple, but you could print out photos of your kids and other designs that are much more intricate. Here’s how:
How To Print On Shrink Film
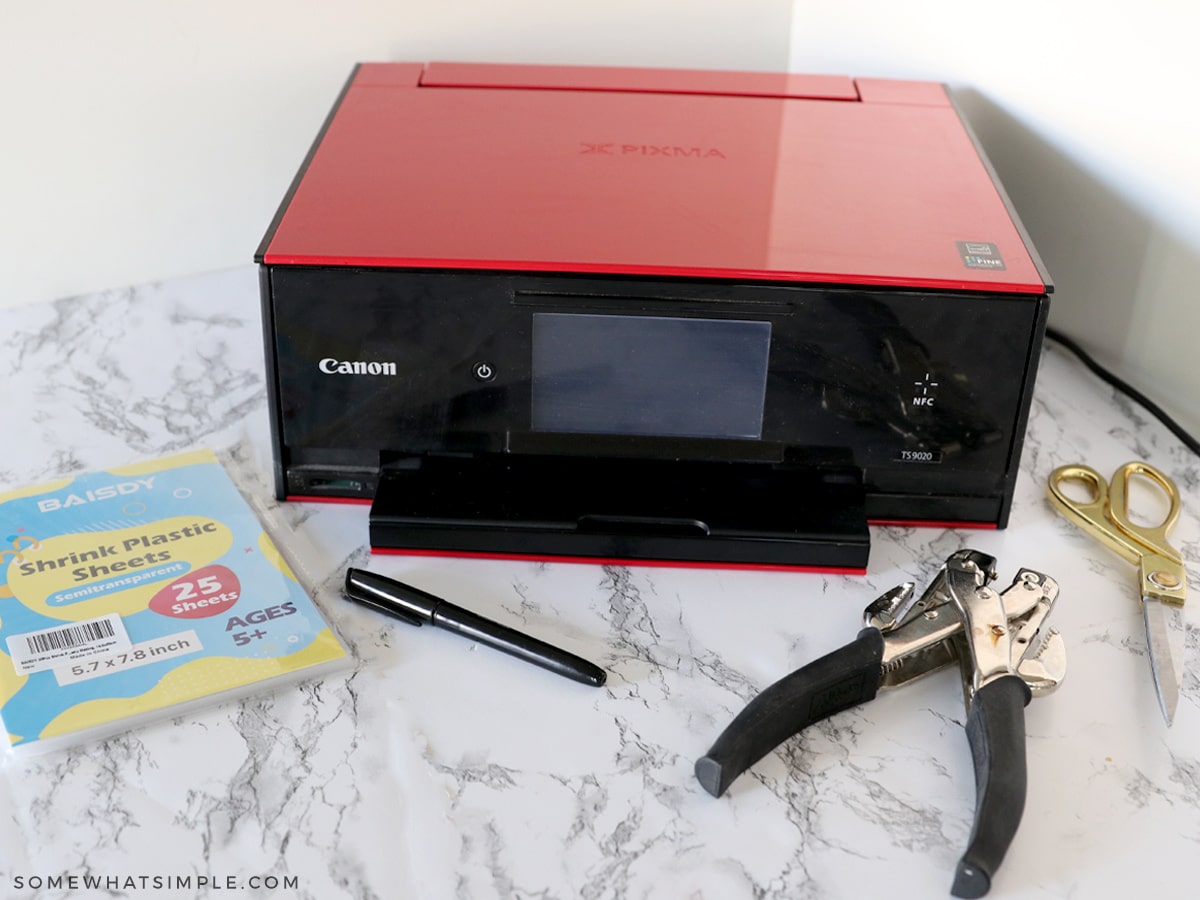
SUPPLIES –
- Shrink Film – I got mine on Amazon, but you should be able to find it at most craft stores.
- Inkjet printer – This is a must! Do not try to use a laser printer as the heat of the printer will melt your shrink film and ruin the inside of your printer.
- sharpie markers, optional
- hole punch
- scissors
- parchment paper
- baking sheet
- an oven
INSTRUCTIONS –
Choose Your Images. You can upload and resize your image in Microsoft Word. Keep in mind that once your shrink film is in the oven, it will shrink to be about 1/3 of its original size, so if you want your finished image to be 1″, you’ll want to start with an image that is 3-4″ in size.
NOTES –
- Be sure to invert your photo if you are printing any text on your image.
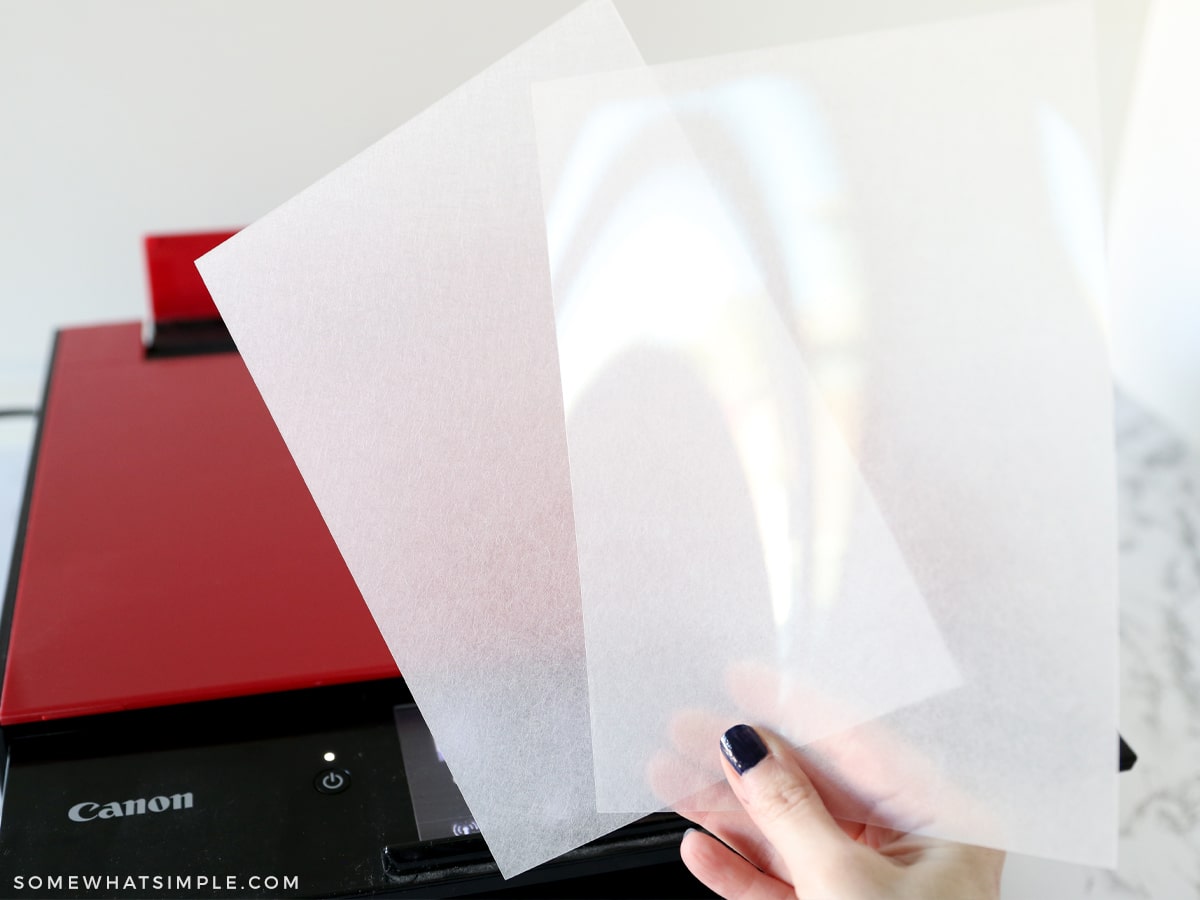
- Each piece of Shrink Paper will have a shiny side and a matte side. You will be printing on the matte side. Keep this in mind as you load your printer so that it prints on the right side.
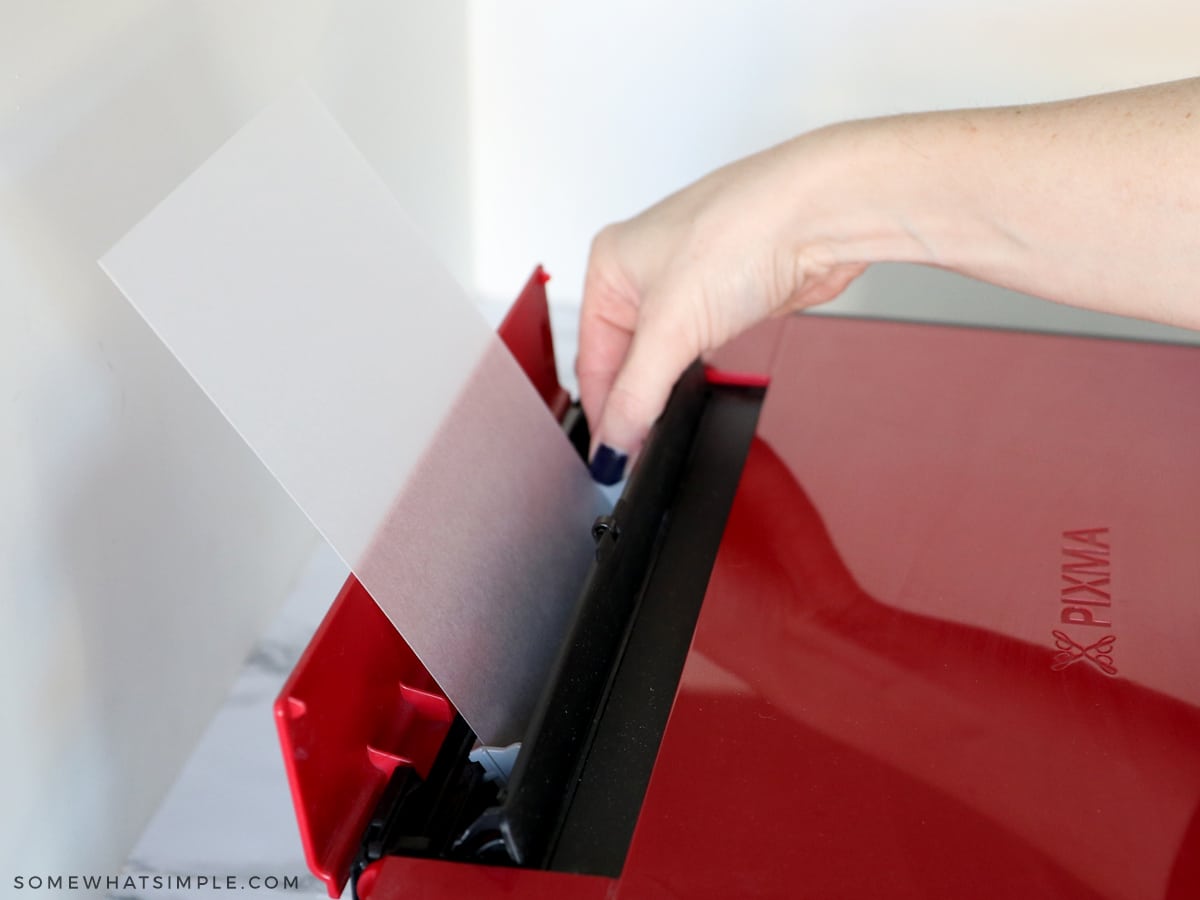
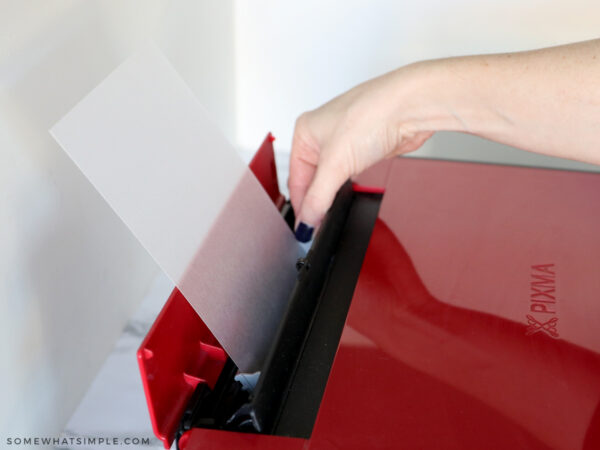
Load the paper. Place your paper into your printer, making sure it is loaded so that it prints on the matte side of the paper. Adjust the width of the printer clips to hold the paper nice and snug.
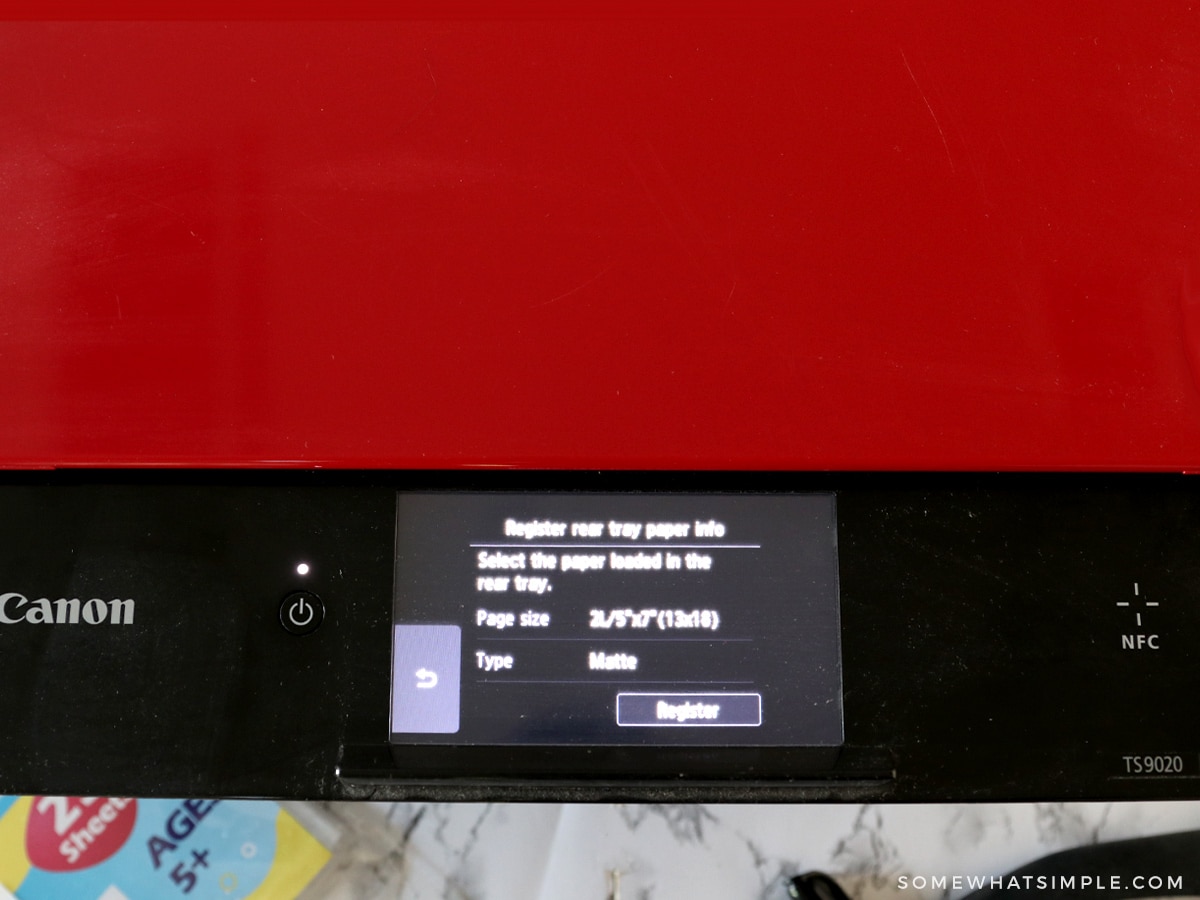
Printer Settings. Go into your printer properties and select “Matte Photo Paper” or “Transparency Film”, then print out your image.
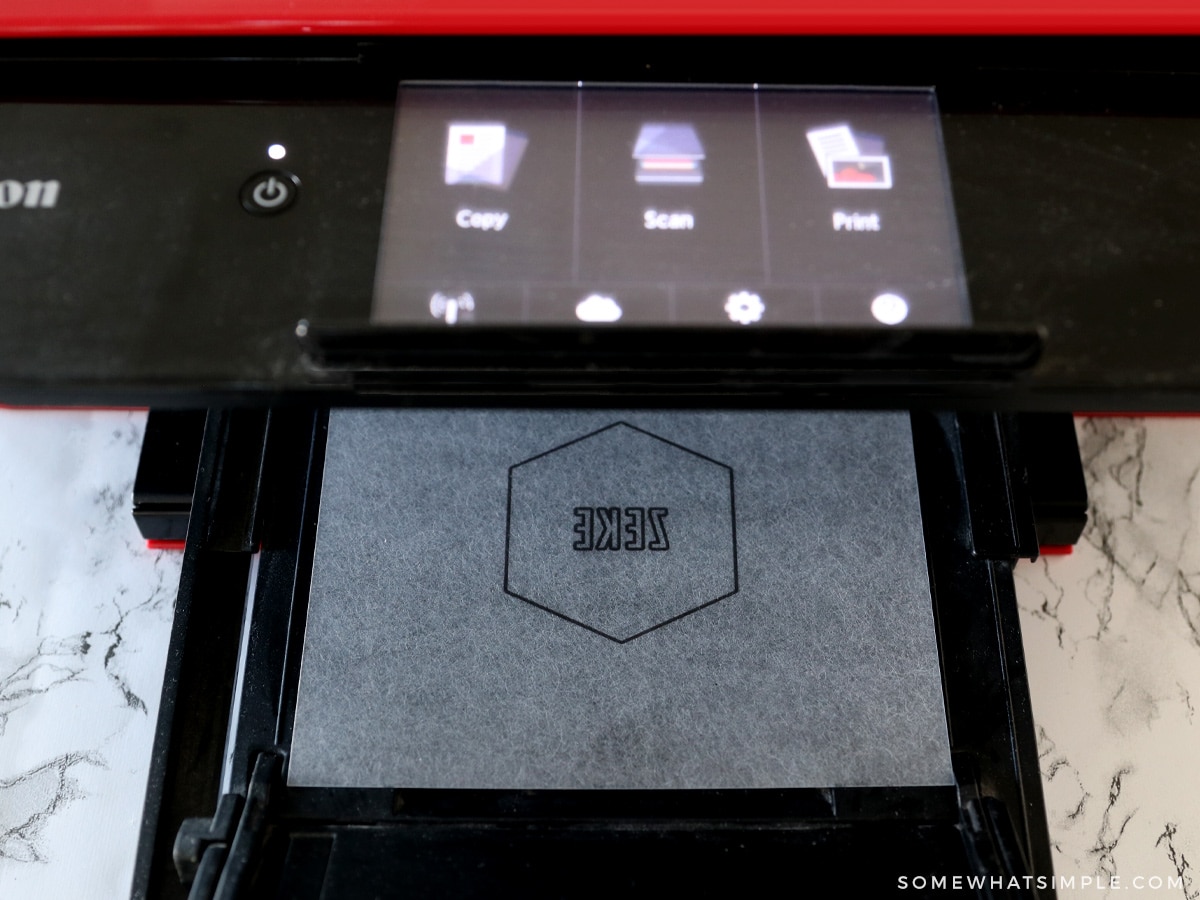
Use Caution. Once printed, your design will probably remain wet until you bake it, so be careful not to smear it.
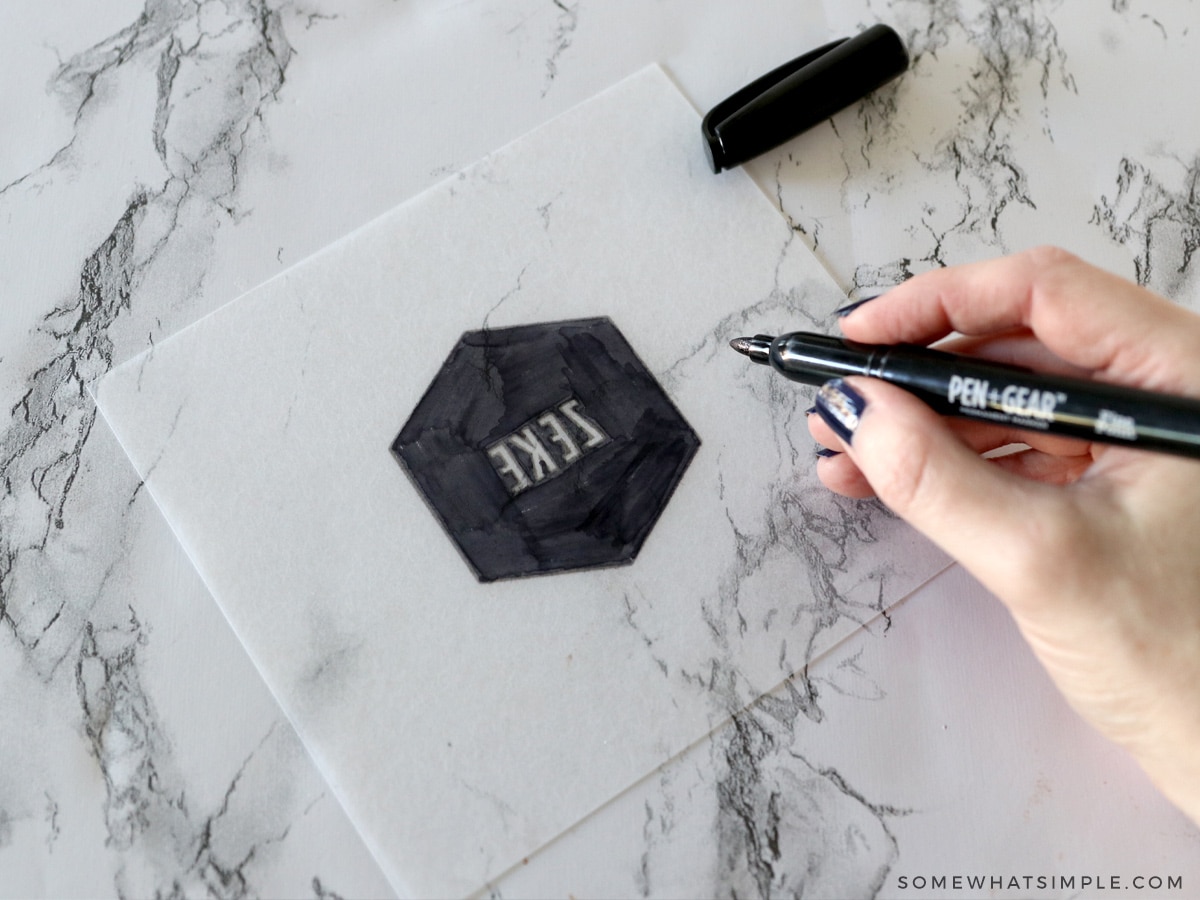
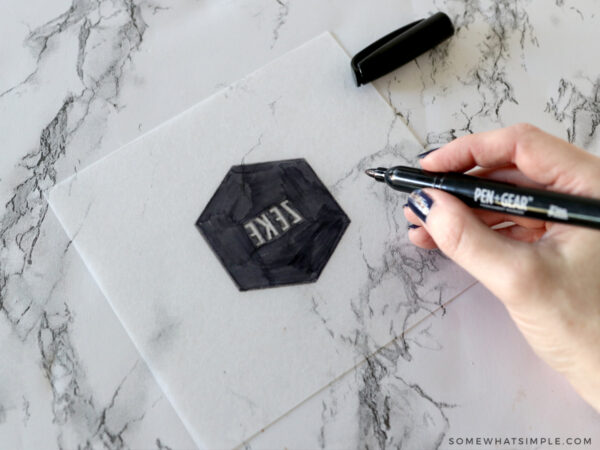
Color. If you printed in color, you can skip this part. I wanted to save ink for this design, so I went in afterward and colored in the design with a sharpie marker.
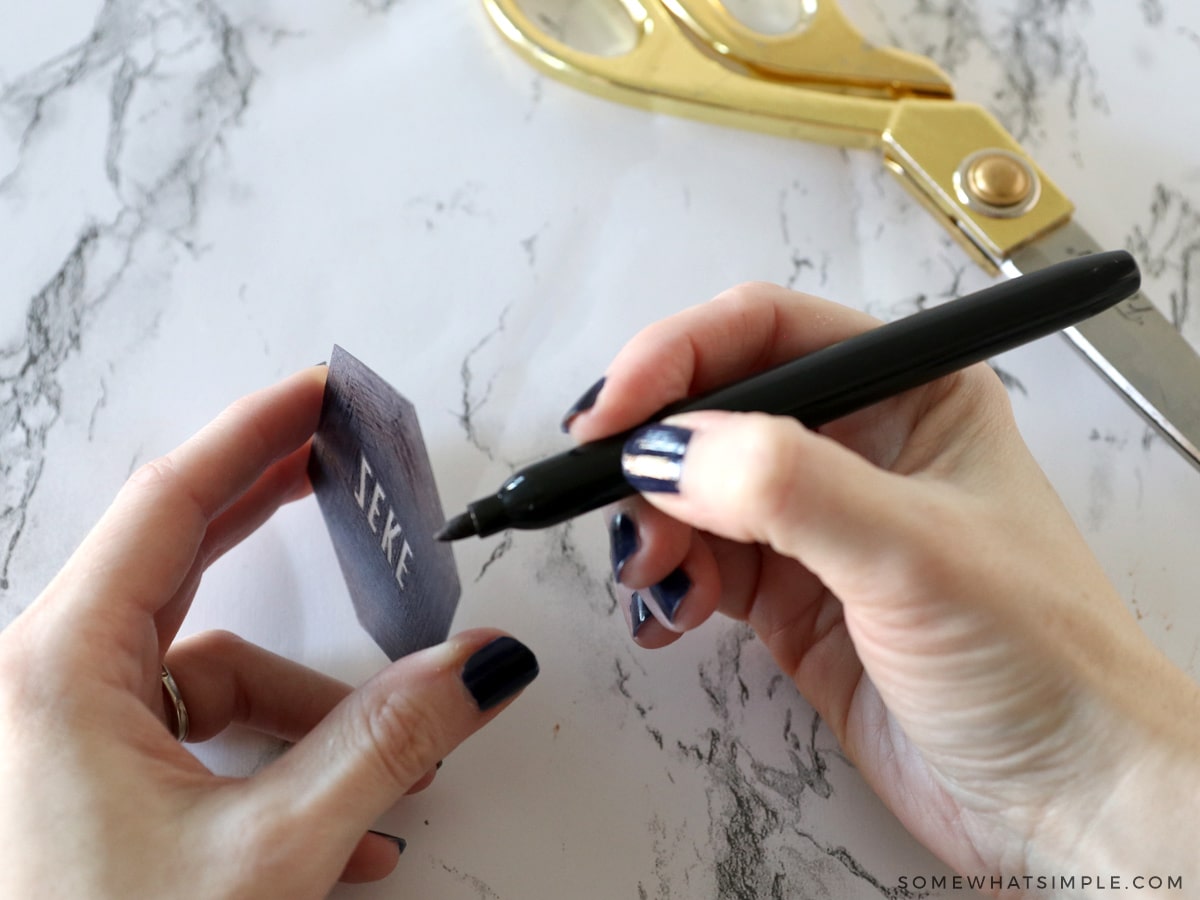
Trim. Carefully trim around the image and color the sides, if desired.
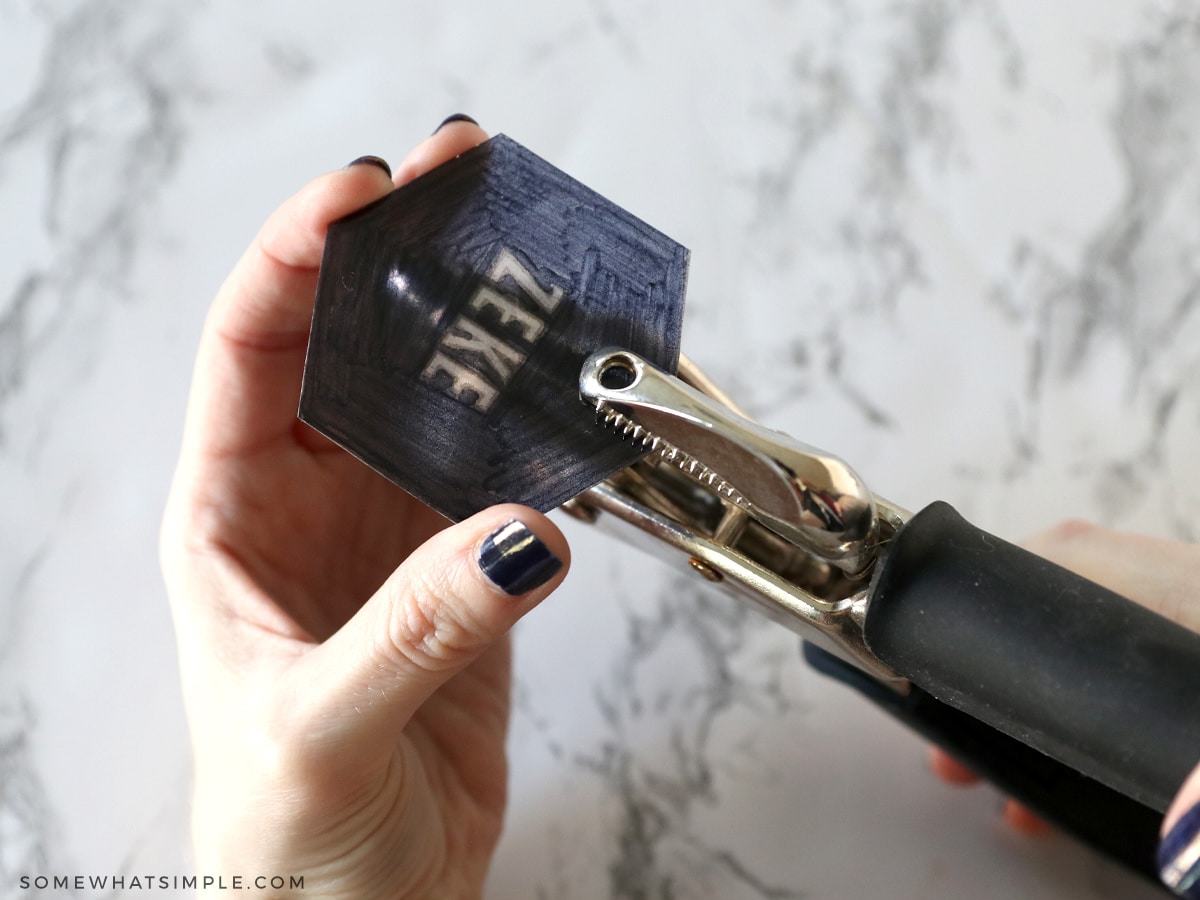
Punch a Hole. If you’re making a charm or keychain, punch a hole in your shrink film. (Once baked, the shrink film becomes really strong plastic pieces that are too hard to punch with a regular hole punch.)
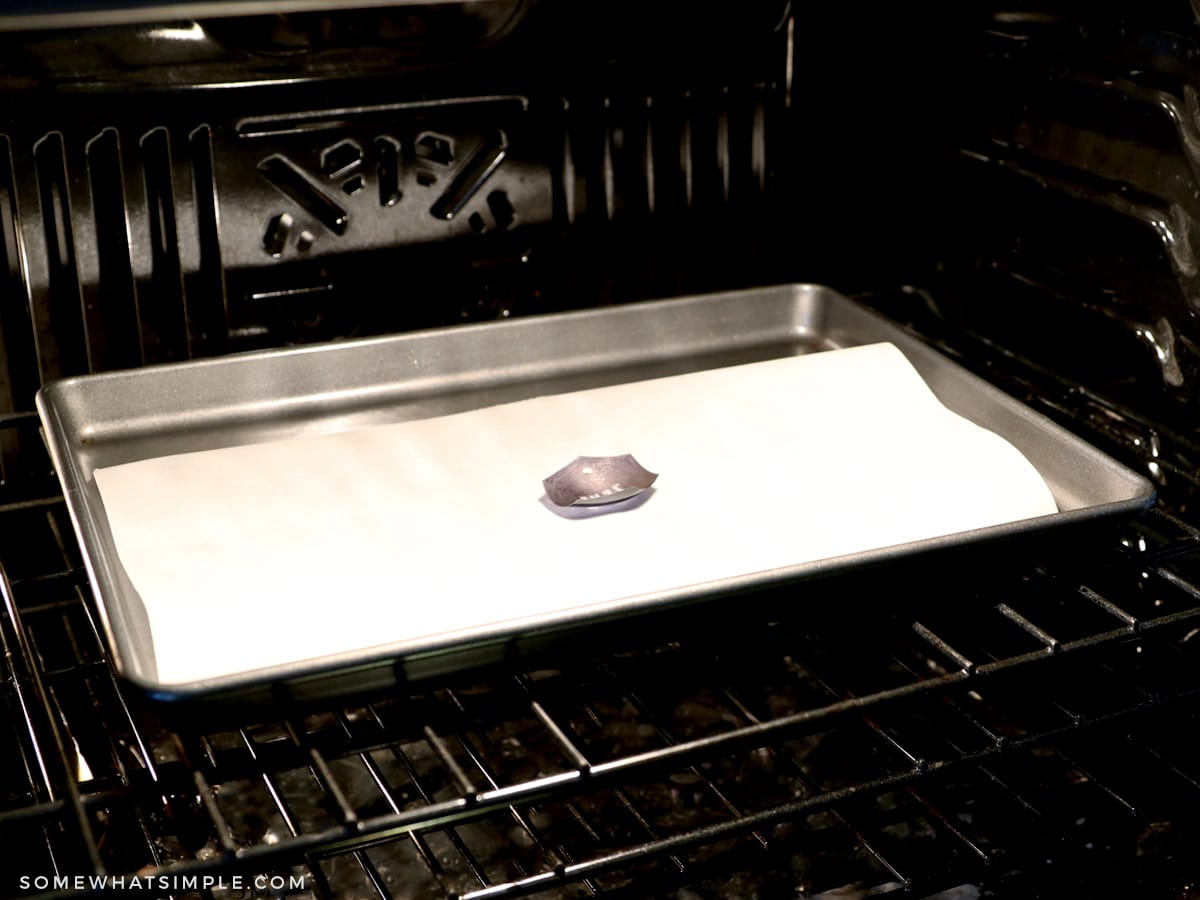
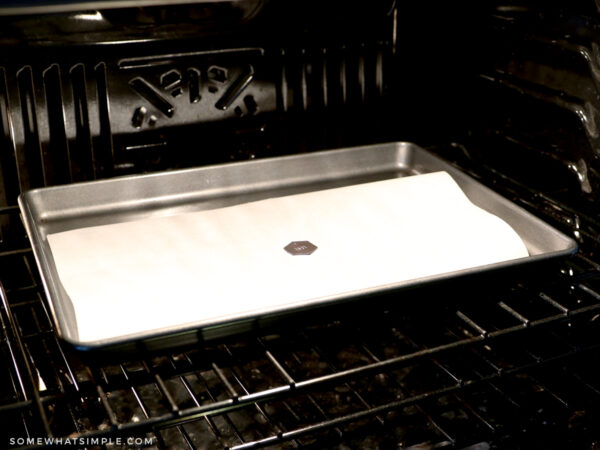
Bake. Place the shrink paper on a baking sheet lined with parchment paper, and follow the directions on the box to shrink your photo by heating it in your kitchen oven.
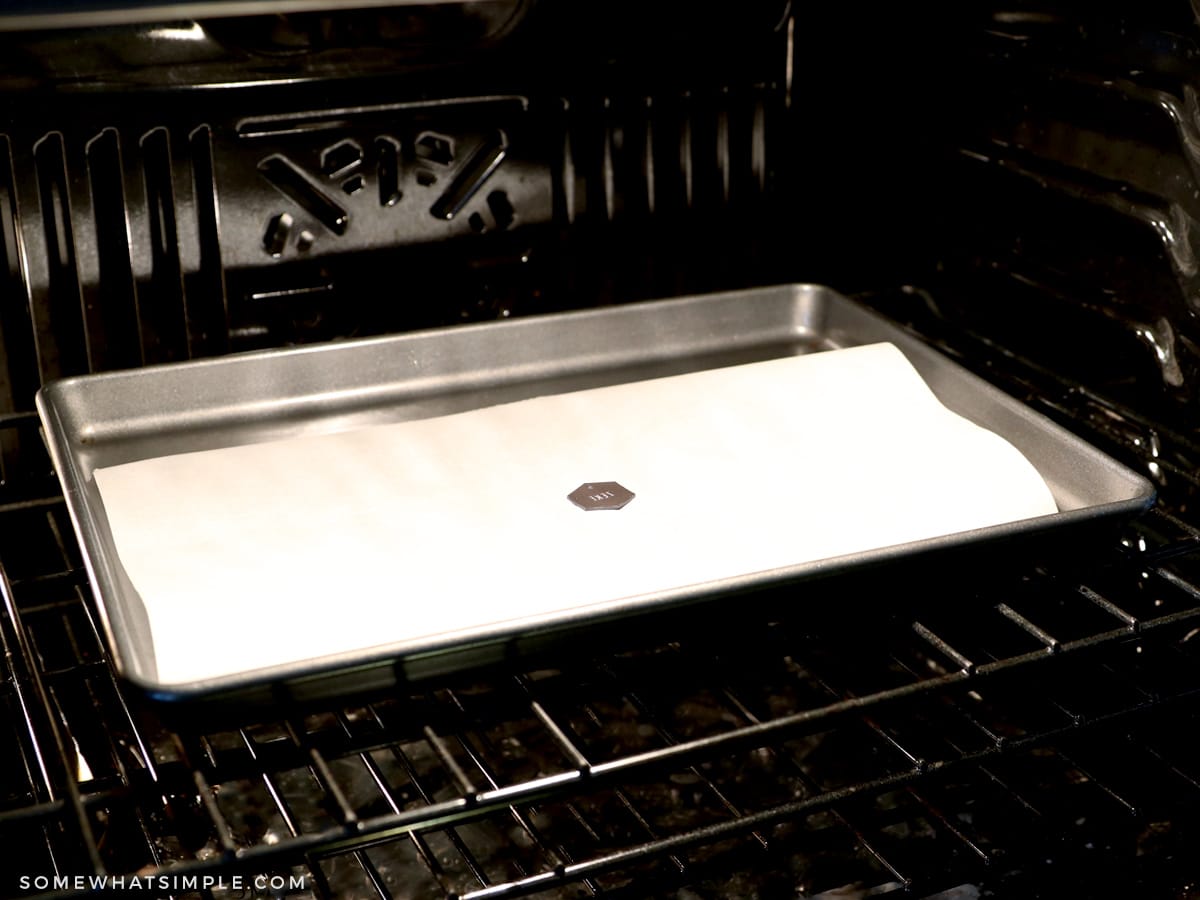
If your design curls up, heat for an additional minute.
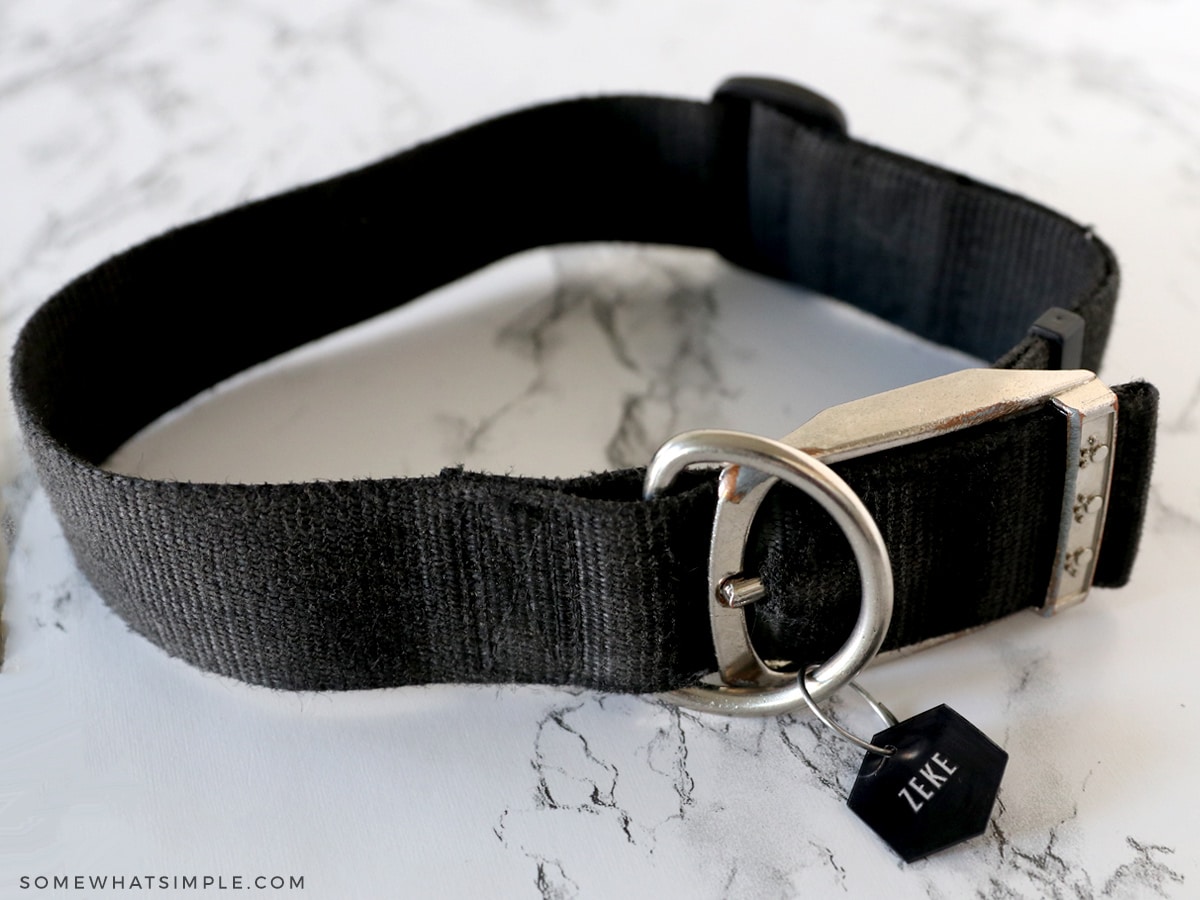
Cool. Remove from oven and let cool. The film should be thick and hard, and a lot smaller.
Create. Add a jump ring and make some jewelry, gift tags, or a key chain. Add a magnet and stick them to your fridge… you can literally make all sorts of odd things!
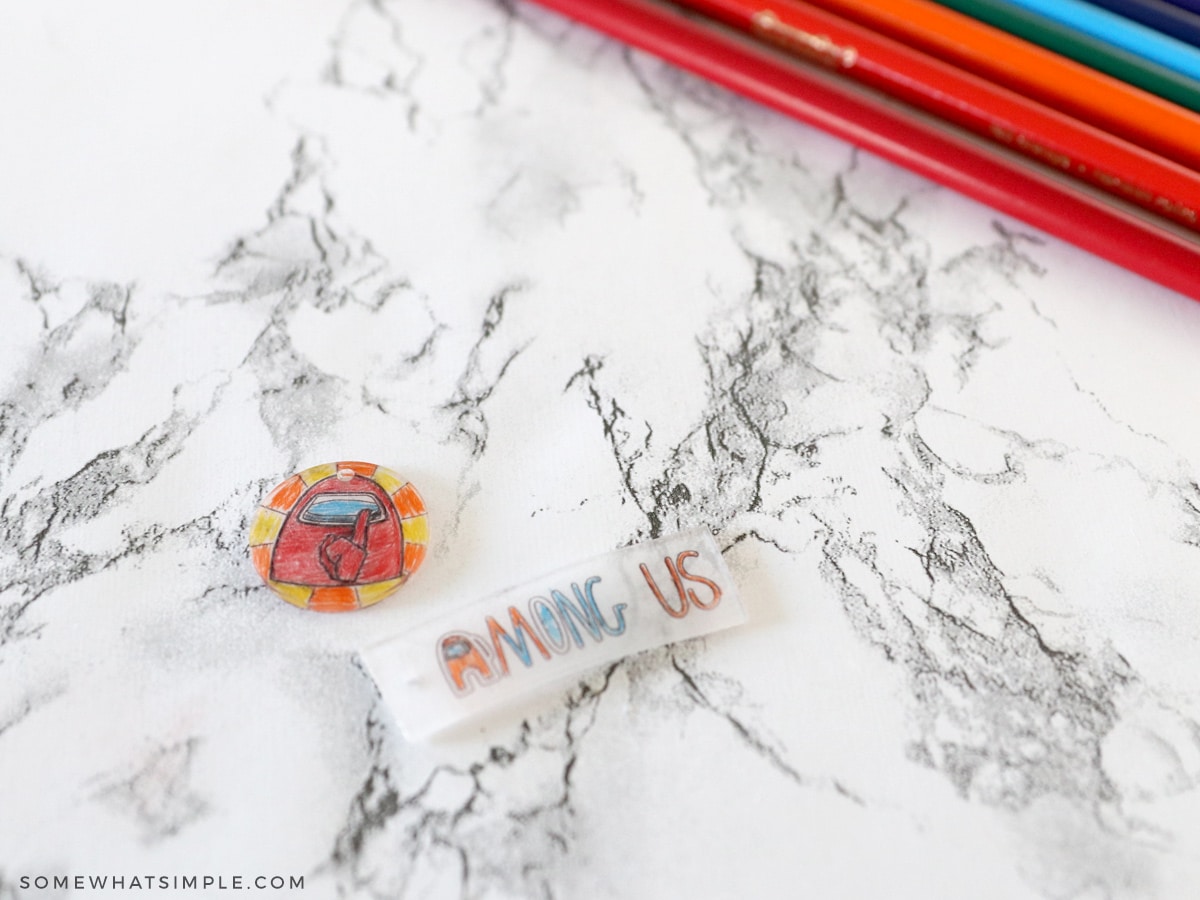
The Among Us keychain is one my son made that he was pretty stinking excited about!
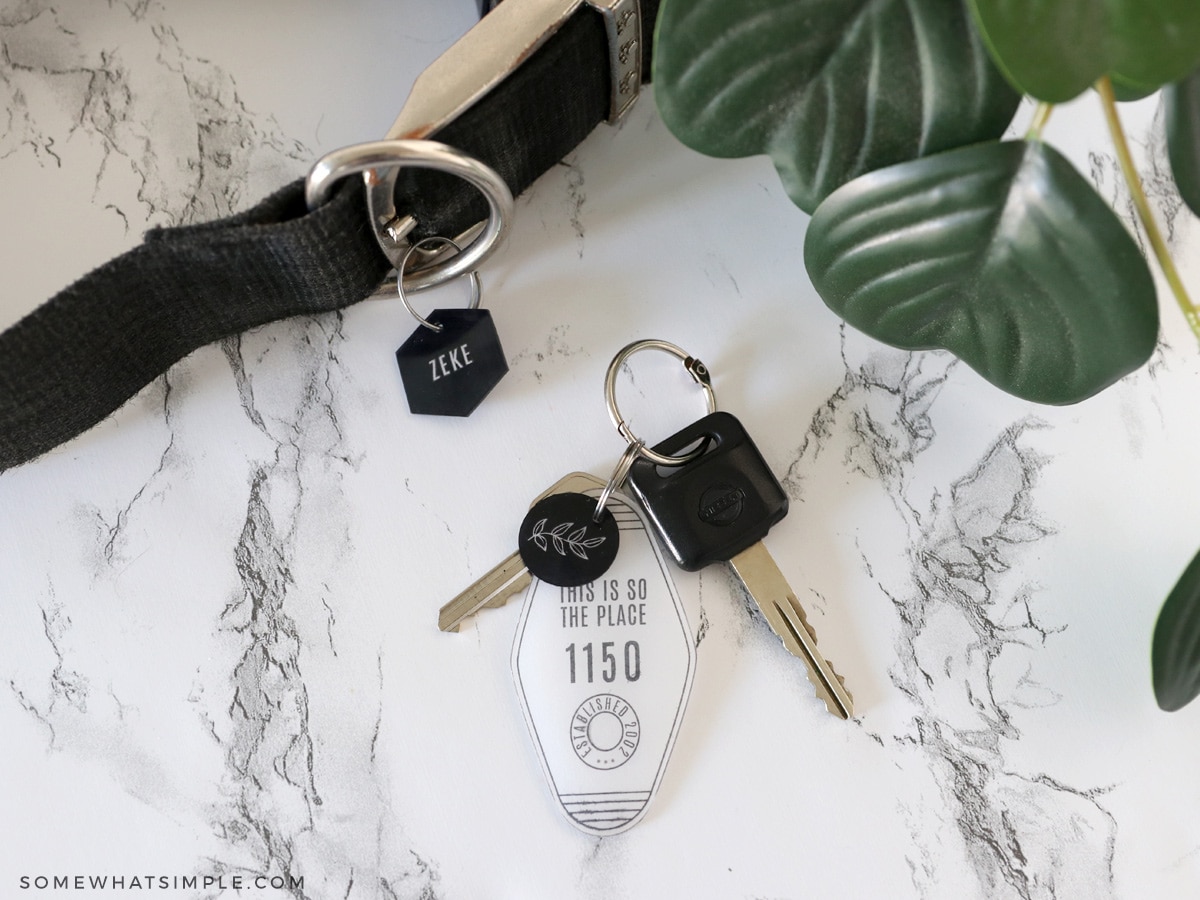
This craft is so fun and easy, you definitely should try it!
HERE’S A PRINTABLE CRAFT TUTORIAL SO YOU CAN SAVE THIS IDEA TO MAKE LATER –
Printable Shrinky Dinks
Equipment
- Shrink Film
- sharpie markers, optional
- hole punch
- scissors
- parchment paper
- baking sheet
- an oven
Instructions
- Upload and resize your image in Microsoft Word. Keep in mind that once your shrink film is in the oven, it will shrink to be about 1/3 of it’s original size, so if you want your finished image to be 1″, you’ll want to start with an image that is 3-4″ in size. *** Be sure to invert your photo if you are printing any text on your image.
- Place your paper into your printer, making sure it is loaded so that it prints on the matte side of the paper. Adjust the width of the printer clips to hold the paper nice and snug.
- Go into your printer properties and select “Matte Photo Paper” or “Transparency Film”, then print out your image. Once printed, your design will probably remain wet until you bake it, so be careful not to smear it.
- If you printed in color, you can skip this step. I wanted to save ink for this design, so I went in afterward and colored in the design with a sharpie marker.
- Carefully trim around the image and color the sides, if desired.If you’re making a charm or keychain, punch a hole in your shrink film. (Once baked, the shrink film is too hard to punch with a regular hole punch.)
- Place the shrink paper on a baking sheet lined with parchment paper, and follow the directions on the box to bake and shrink your photo. If your design curls up, heat for an additional minute.
- Remove from oven and let cool. The film should be thick and hard, and a lot smaller.
- Add a jump ring and make a necklace or charm bracelet, make a key chain, add a magnet, or whatever you want!



Thanks for the advice. Just searching for a rear feed/top feed printer for this reason. I wondered if you are still happy with your Canon ts9020. Was thinking about buying a used one, but the reviews on the canon site don’t seem great. It seems like it would be good for my purposes but tough to ignore the reviews.
We’ve had this printer for years and really like it! It’s been perfect for what we use it for! Good luck!
You can try using a heat gun or hairdryer set on low speed. The heat should cause the bubbles to pop. Try it on low speed so you are not creating ripples or causing the mod podge to run off the pieces. I have not tried this myself, but know this is a technique by used by woodworkers with varnishes.
Once I print a picture of a pony on my Shrink film.Can I let my kids color the pony .Then cut picture out and place on parchment paper and put in oven to shrink.
Thanks fkr the information! I, too, had problems with the ink coming off even after it dried. I tried to paint mod poge on the ink, but that just smeared the ink more. I, then, simply dunked the image into a pile of mod podge. That worked to eliminate the ink from coming off, but since I couldn’t paint the podge on, there were some air bubbles. Anyone have any ideas? Tips?
Clear nail varnish or if you have a UV nail lamp, then clear UV nail varnish works a treat.
Use fixative spray for setting art (like for Chalk crayon art) before mod podge
Have you had any problems with the ink on your charms bleeding after being baked and cooled? Mine bled when it got a drop of water on the back and I am wanting to make them more permanent
I haven’t made these in a while but I never had problems with the ink bleeding.
Hi! Thank you for the tutorial. I was just wondering if it was normal that I was seeing scratches on my shrink film once it’s out of the printer? I sanded it with a 220. Good day! 🙂
Hmmm…. I don’t notice scratches, but I don’t think I inspected it too closely. Make sure you are just sanding it verrrry lightly and it should be ok!
I find sandpaper is not necessary. I have never used the sandpaper technique and it has always printed great. I print onto the matte side of the plastic.
I wonder if a laser printer would work?
Laser printers get too hot for the shrink film. Haven’t tried it myself so not sure if you’ll wreck the printer or just the shrink film, but would advise against this.
Didn’t use sandpaper, copier jammed, will try again tomorrow, very excited.
I hope you love it!
Thanks so much! I knew that there had to be a way to print on regular shrinky dinks just hadn’t had time to experiment. This will be perfect for my kids pokemon party for party favors to put in poke ball balloons that they are going to pop. 🙂
Becky, I am glad you found this post! I like to say that I’m a rebel (but I am actually just cheap) and had to find a way to print on the less expensive regular shrink film. It really works well. Good luck with your party favors, it sounds like it will be a hit!
So fun Haley! I’ve never used shrink film before- I bet my kids would LOVE it!
Thanks Stephanie! I first tried Shrink Film a couple years ago and am now in love with it. It’s fun for the kids but secretly I make stuff with it because I love it so much.