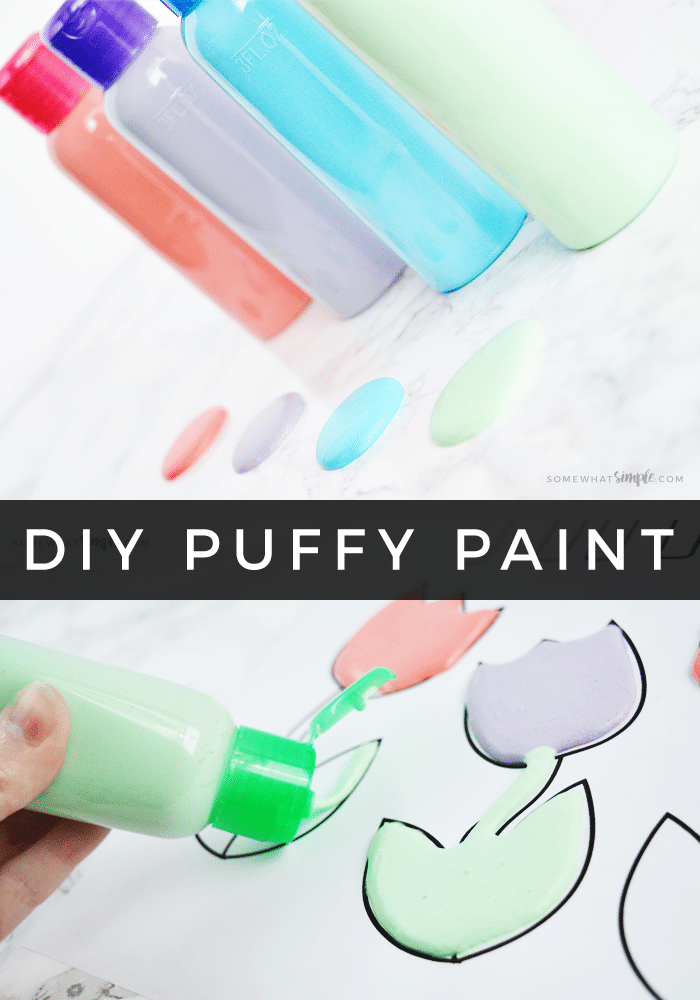
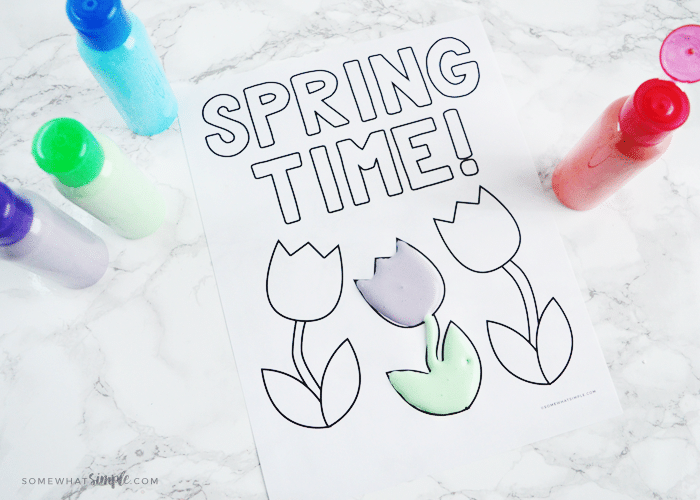
Using just a few supplies you have laying around the house, kids will love making their own puffy paint and using them with our fun spring coloring pages!
Besides this fun paint, my family loves activities like How To Make Slime, making Ribbon Wands or this easy Homemade Playdough.
Easy DIY Puffy Paint
Raise your hand if you had a shirt or two decorated with puffy paint when you were a kid. (I may or may not have had a pair of sweatpants that I meticulously painted with neon puffy paint to match my layered socks and shoelaces!)
Puffy paint is still so much fun to use, especially when it’s homemade! Using just a few supplies that you probably have around the house, homemade puffy paint makes a great craft for the kids hanging around the house saying “I’m bored!”
How To Make Puffy Paint
If you’re a visual learner like me, there’s a short video tutorial at the end of the post that will show you how to make this easy puffy paint recipe. Otherwise, here are the written instructions:
Materials Needed:
- Shaving cream
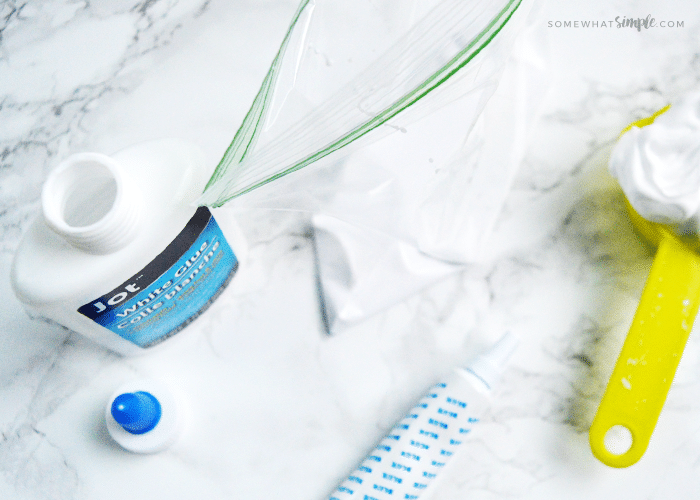
- White glue
- Food coloring
- Ziplock baggies
- 1/4 cup measuring cup
- Scissors
- Spring coloring pages (download below)
- plastic squeezable containers (optional – see below)
Directions:
Combine Ingredients – First, add 1/4 cup of glue and 1/4 cup of shaving cream into a ziplock bag.
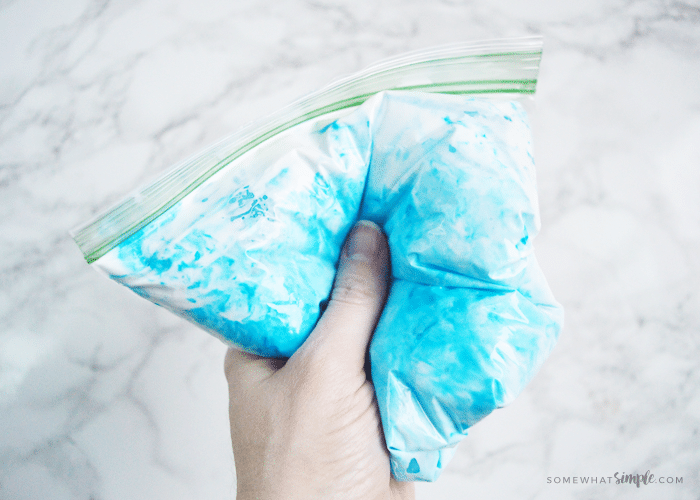
Add Coloring – Add as much food coloring as you want to the mixture and seal the bag, making sure to get out as much air as possible. Otherwise, there might be some extra clean-up if the bag pops open in the next step.
Mix It Together – Now for the fun part! Let the kids squish and squeeze the bag to mix all of the ingredients together.
Make Additional Colors – Repeat steps 1-3 for each color of puffy paint you would like to make. Get creative with the colors – mix two colors, add more or fewer drops of coloring to create pastels or bright colors.
Transfer To Squeeze Bottles – Squish all of the puffy paint to one bottom corner of the ziplock back and snip off a tiny bit of the bag. The bigger the hole, the more puffy paint…so start with a small snip and cut more off as needed. Or you can snip off a larger portion to squeeze into a plastic bottle.
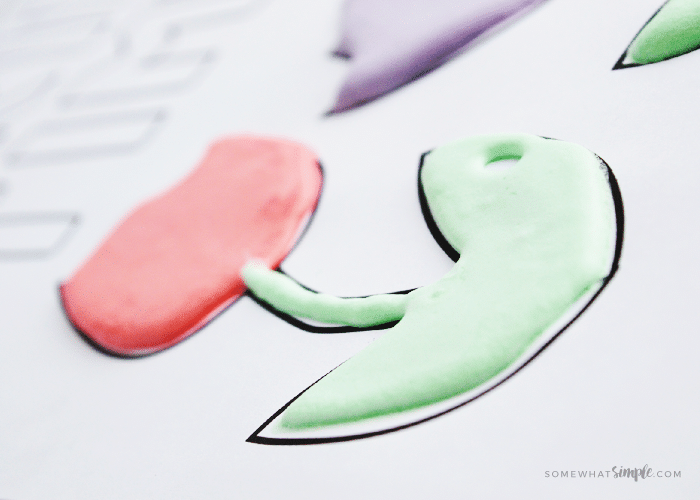
Create – And finally, print off as many coloring pages as you want, and get creating!
Tips For Making DIY Puffy Paint
Easy Measuring – If you don’t want to use your measuring cup for the glue, just pour half of a 4 oz. bottle into your bag.
It Will Expand – The shaving cream will expand, so don’t worry when it ends up being a little more than a 1/4 cup.
Best Way To Mix – You can mix this all together in a bowl, but we prefer the bag – more fun to squish, and cleanup is a breeze!
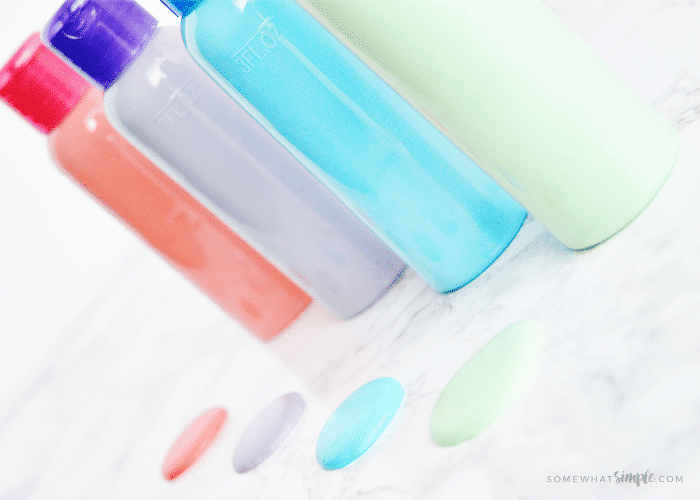
Storage – Use travel-size shampoo bottles to store the paint. I found mine at Walmart for less than a dollar each!
How Long Does Puffy Paint Take To Dry – It’s definitely tempting to poke at the puffy paint while it’s drying because of the fun texture! Be sure to let the projects dry for a few hours before hanging them up. The colors will become more vibrant as the paint dries.
Art Project Ideas
Now that you’ve made your own puffy paint, here are a few suggestions on ways you can use it
- Download of adorable spring coloring sheet below
- Paint something fun on an old T-shirt that you were about to throw away
- Create fun texture on your next arts and crafts project
More Fun Painting Projects
Coloring Pages Printable
I just love how puffy this stuff is! Are you ready to create your own masterpieces? You could have the kids create their own pictures, or try this out on black construction paper! Enjoy
Click here to download our FREE Spring Coloring Pages!
Homemade Puffy Paint Recipe
Equipment
- Pair of scissors
- Ziploc bags
- Measuring cup
Ingredients
- 1 Can Shaving cream
- 1 Bottle White glue
- Food coloring
Instructions
- First, add 1/4 cup of glue and 1/4 cup of shaving cream into a ziplock bag.
- Add as much food coloring as you want to the mixture and seal the bag, making sure to get out as much air as possible. Otherwise, there might be some extra clean-up if the bag pops open in the next step.
- Now for the fun part! Let the kids squish and squeeze the bag to mix all of the ingredients together.
- Repeat steps 1-3 for each color of puffy paint you would like to make. Get creative with the colors - mix two colors, add more or fewer drops of coloring to create pastels or bright colors.
- Squish all of the puffy paint to one bottom corner of the ziplock back and snip off a tiny bit of the bag. The bigger the hole, the more puffy paint...so start with a small snip and cut more off as needed
- OR: Snip off a larger portion to squeeze into a plastic bottle.
