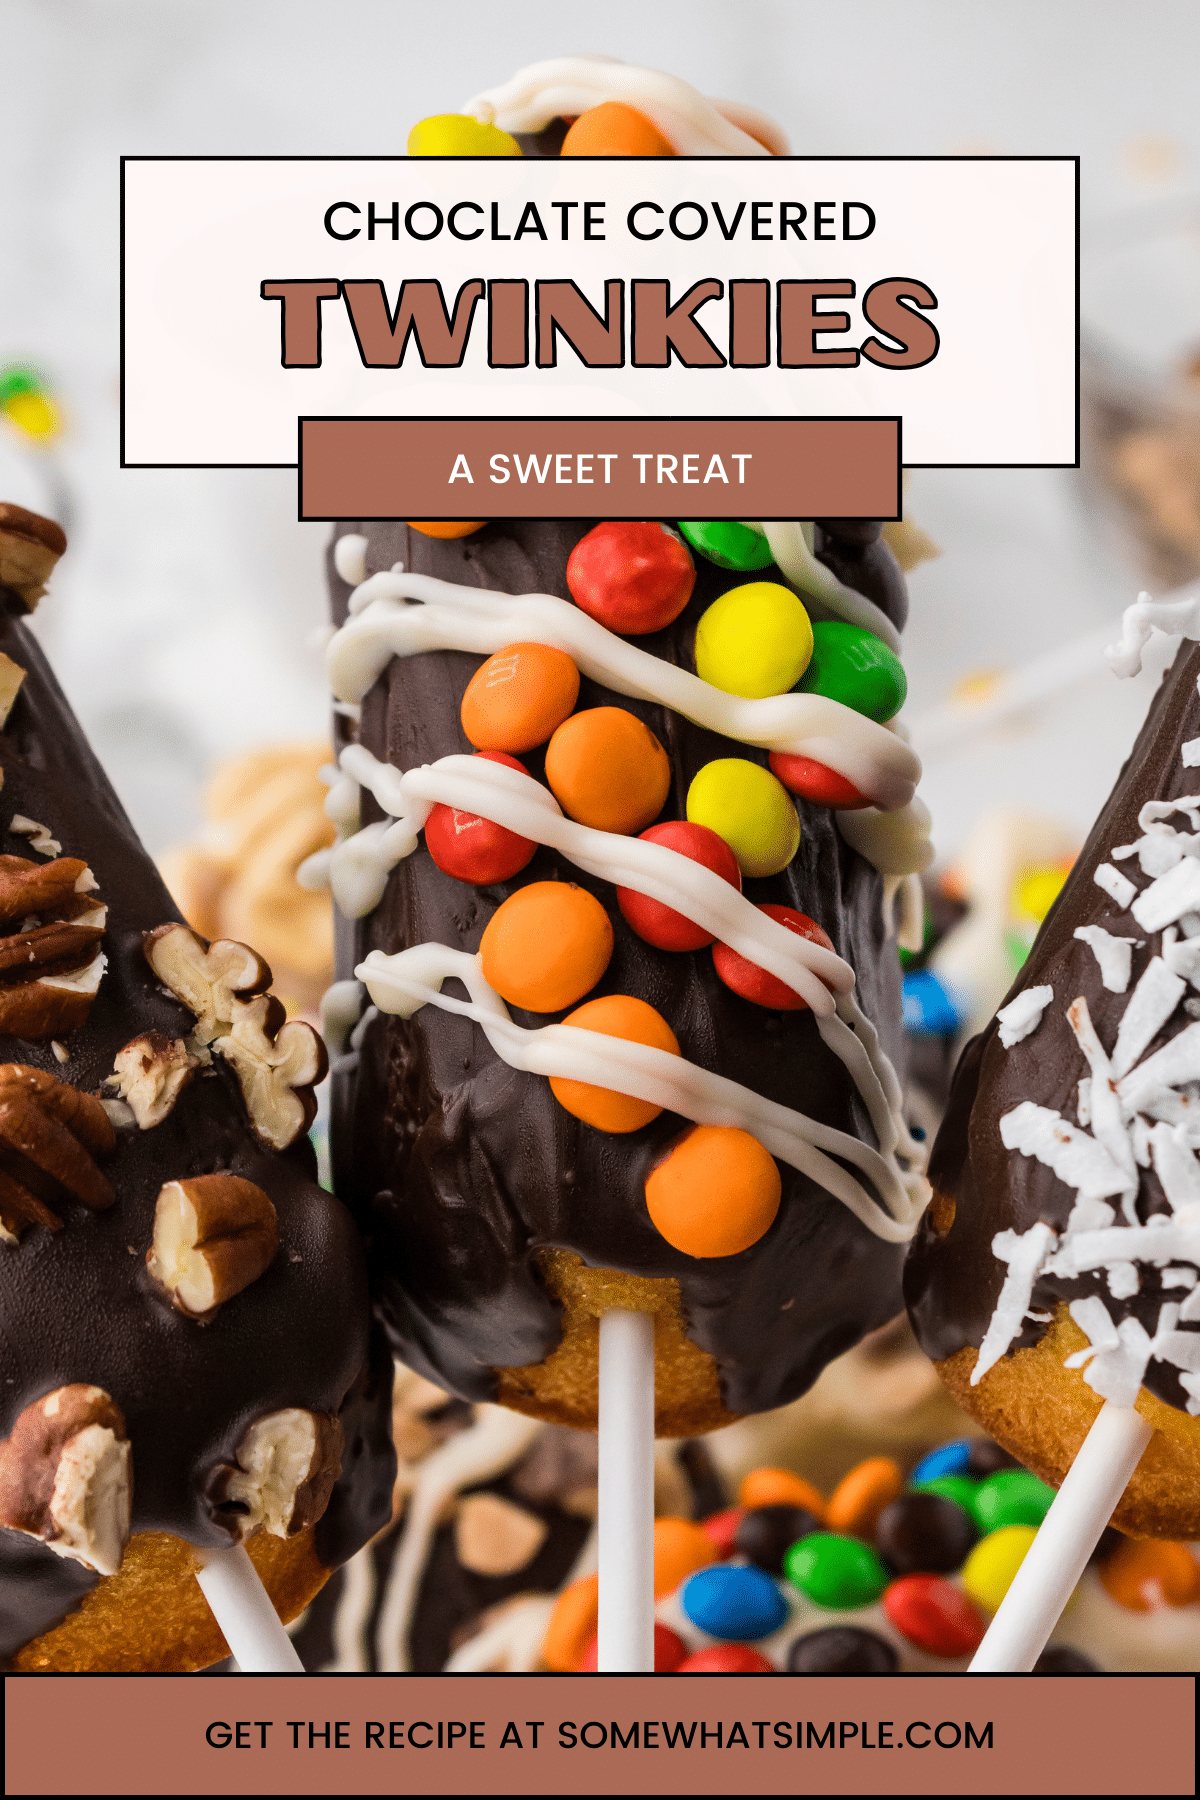
Level up those nostalgic Twinkies by putting them on a stick and dipping them in chocolate! These Chocolate Covered Twinkies are covered in your favorite toppings and are a fun and delicious treat!
Here are a few more nostalgic treat recipes we think you’ll enjoy: Rice Krispie Treats on a Stick, Oreo Ice Cream Sandwiches, and Super Soft Snickerdoodles.
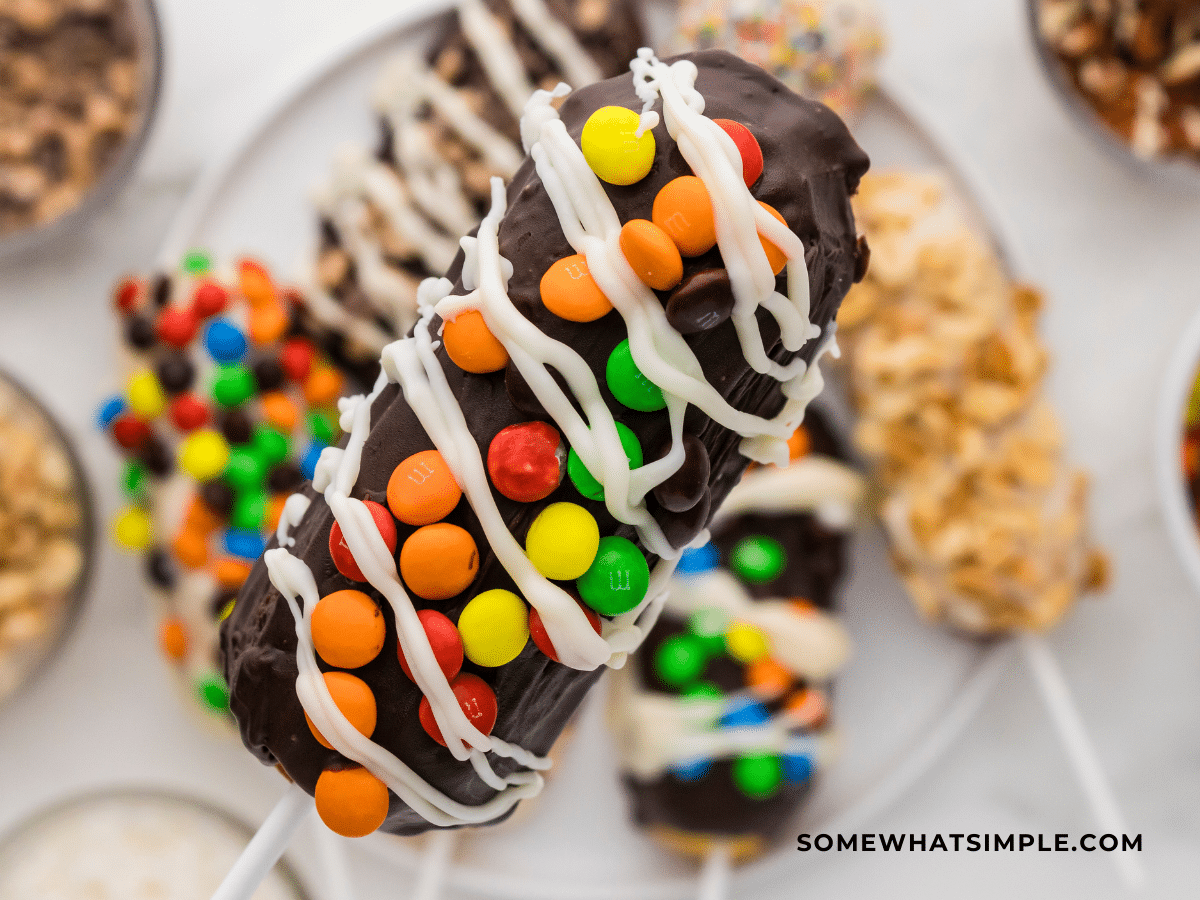
Who can resist the nostalgic charm of a Twinkie? That golden sponge cake with its creamy filling has been a beloved treat for generations.
But what happens when you take this classic snack to the next level?
Enter the Homemade Chocolate-Covered Twinkie.
Take it from someone who’s actually not a huge Twinkie fan – I couldn’t keep my hands off of these! Even my husband, who has been staying away from sweets for a while, couldn’t resist!
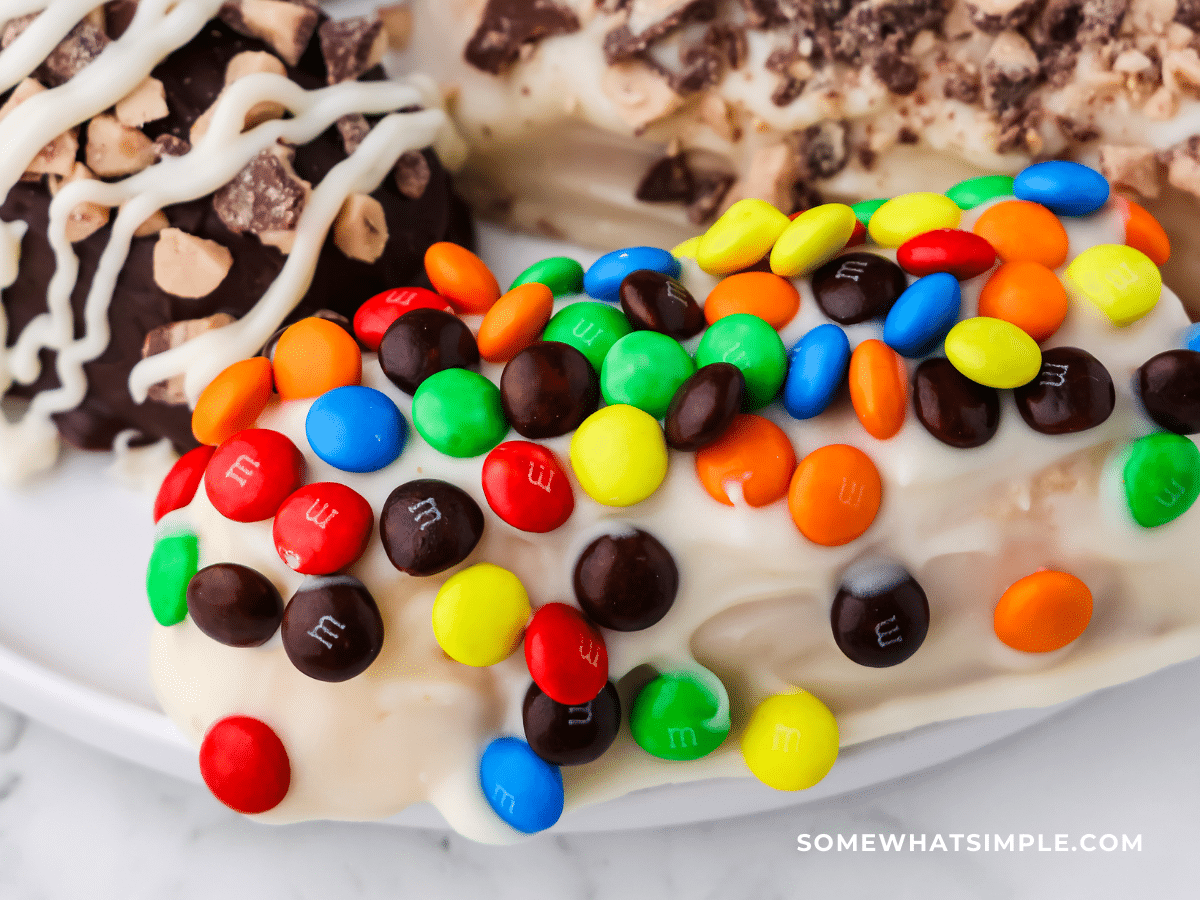
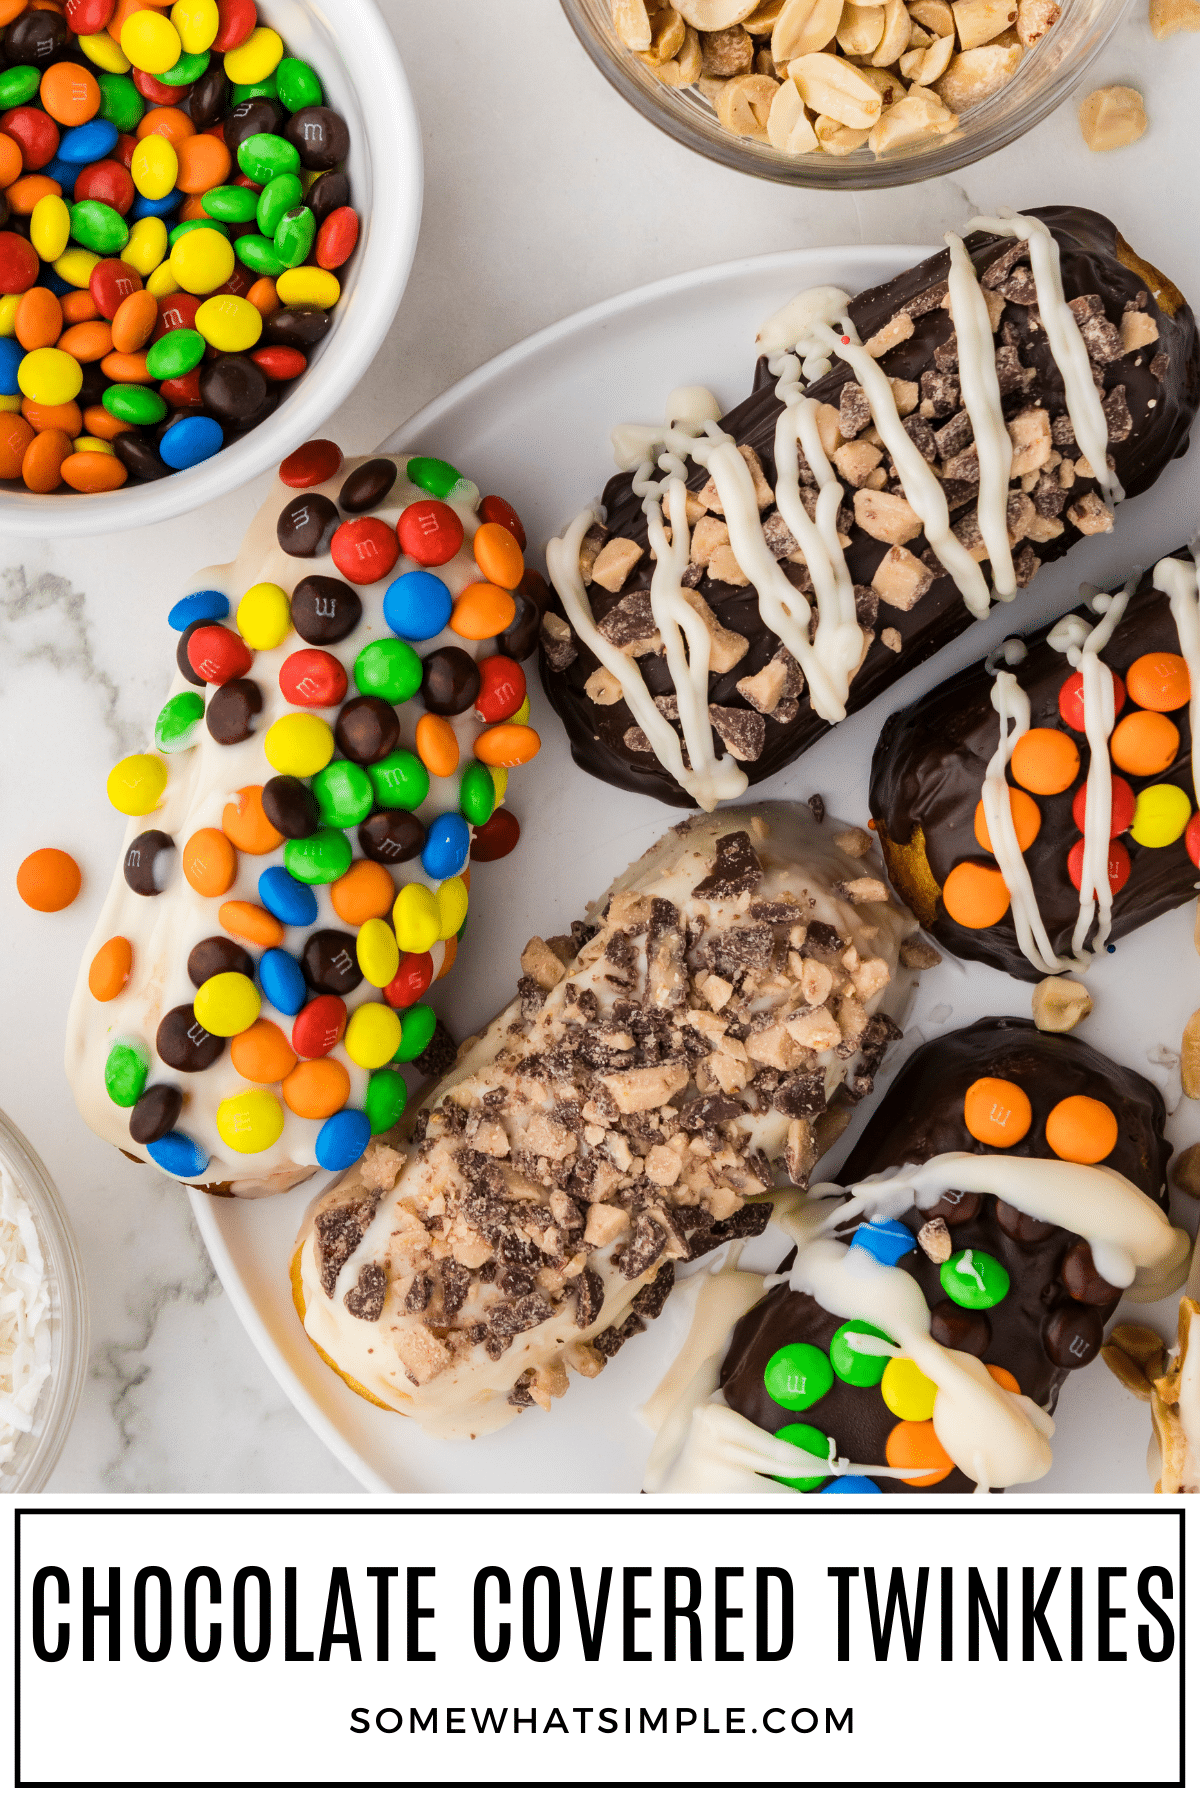
Cover them in your favorite topping and you’ll have a treat that pretty darn delicious. My favorite was the coconut-covered one, my husband loved the one with toffee bits, and my kids… well, they loved them all!
How to Make Chocolate Covered Twinkies
INGREDIENTS –
- 1 box of Twinkies (10 count)
- 12 oz. Candy-Making Milk or Dark Chocolate (I used Ghirardelli’s® Dark and White Melting Wafers.)
- Various Toppings:
- melted white chocolate
- sprinkles
- pecans
- toffee bits
- coconut
- M&M’s
- 10 Lollipop Sticks
DIRECTIONS –
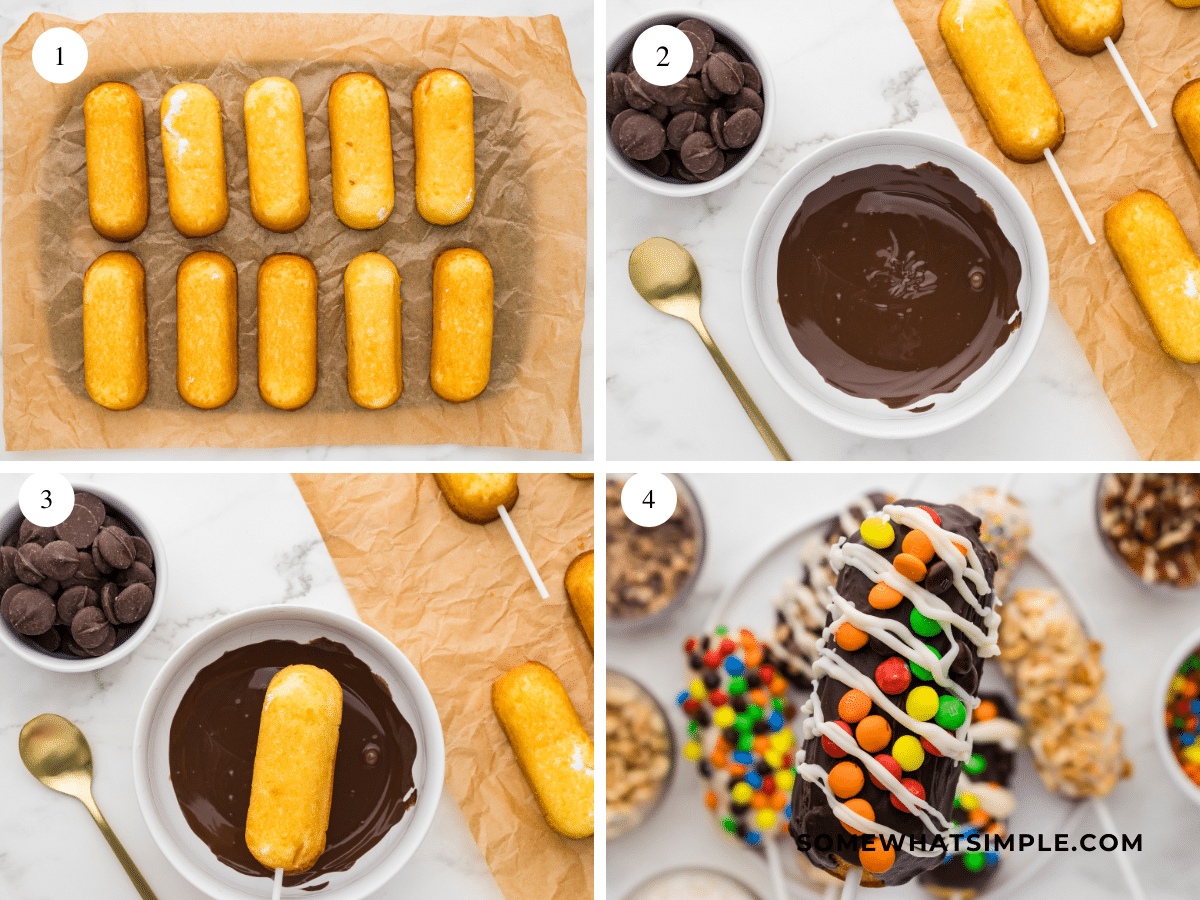
- Prep and Freeze: Remove Twinkies from wrappers and insert lollipop stick into one end. Place on a cookie sheet lined with wax paper. Place in freezer for at least 3 hours. You want each Twinkie completely frozen so the weight of the chocolate doesn’t pull them off of the sticks.
- Melt: Melt chocolates according to directions on their packages until they are completely melted and smooth.
- Dip: Remove Twinkies from the freezer, and one at a time, coat them in the melted chocolate. I found it easiest to hold the Twinkies over the bowl of melted chocolate and use a spoon to drizzle and coat them, rather than submerge them completely into the melted chocolate. Let any excess chocolate drip off and lay back down onto wax paper.
- Top: Add desired toppings and let sit until chocolate hardens..
… and that is it!
Whether you’re indulging in these heavenly treats solo or sharing them with loved ones, they’re sure to satisfy even the most insatiable sweet tooth. Pair them with a cold glass of milk or your favorite hot beverage for the ultimate indulgence!
More Fun Twinkie Recipes
If you loved these chocolate covered Twinkies, you’ll love these other fun Twinkie ideas.
HERE’S A PRINTABLE RECIPE CARD FOR YOUR CONVENIENCE –
Chocolate Covered Twinkies
Ingredients
- 10 Twinkies
- 12 oz. Milk or Dark Chocolate melting wafers
Toppings
- melted white chocolate
- sprinkles
- pecans
- toffee bits
- coconut
- M&M’s
- 10 Lollipop Sticks
Instructions
- Prep and Freeze: Remove Twinkies from wrappers and insert lollipop stick into one end. Place on a cookie sheet lined with wax paper. Place in freezer for at least 3 hours. You want each Twinkie completely frozen so the weight of the chocolate doesn’t pull them off of the sticks.
- Melt: Melt chocolates according to directions on their packages until they are completely melted and smooth.
- Dip: Remove Twinkies from the freezer, and one at a time, coat them in the melted chocolate. I found it easiest to hold the Twinkies over the bowl of melted chocolate and use a spoon to drizzle and coat them, rather than submerge them completely into the melted chocolate. Let any excess chocolate drip off and lay back down onto wax paper.
- Top: Add desired toppings and let sit until chocolate hardens.
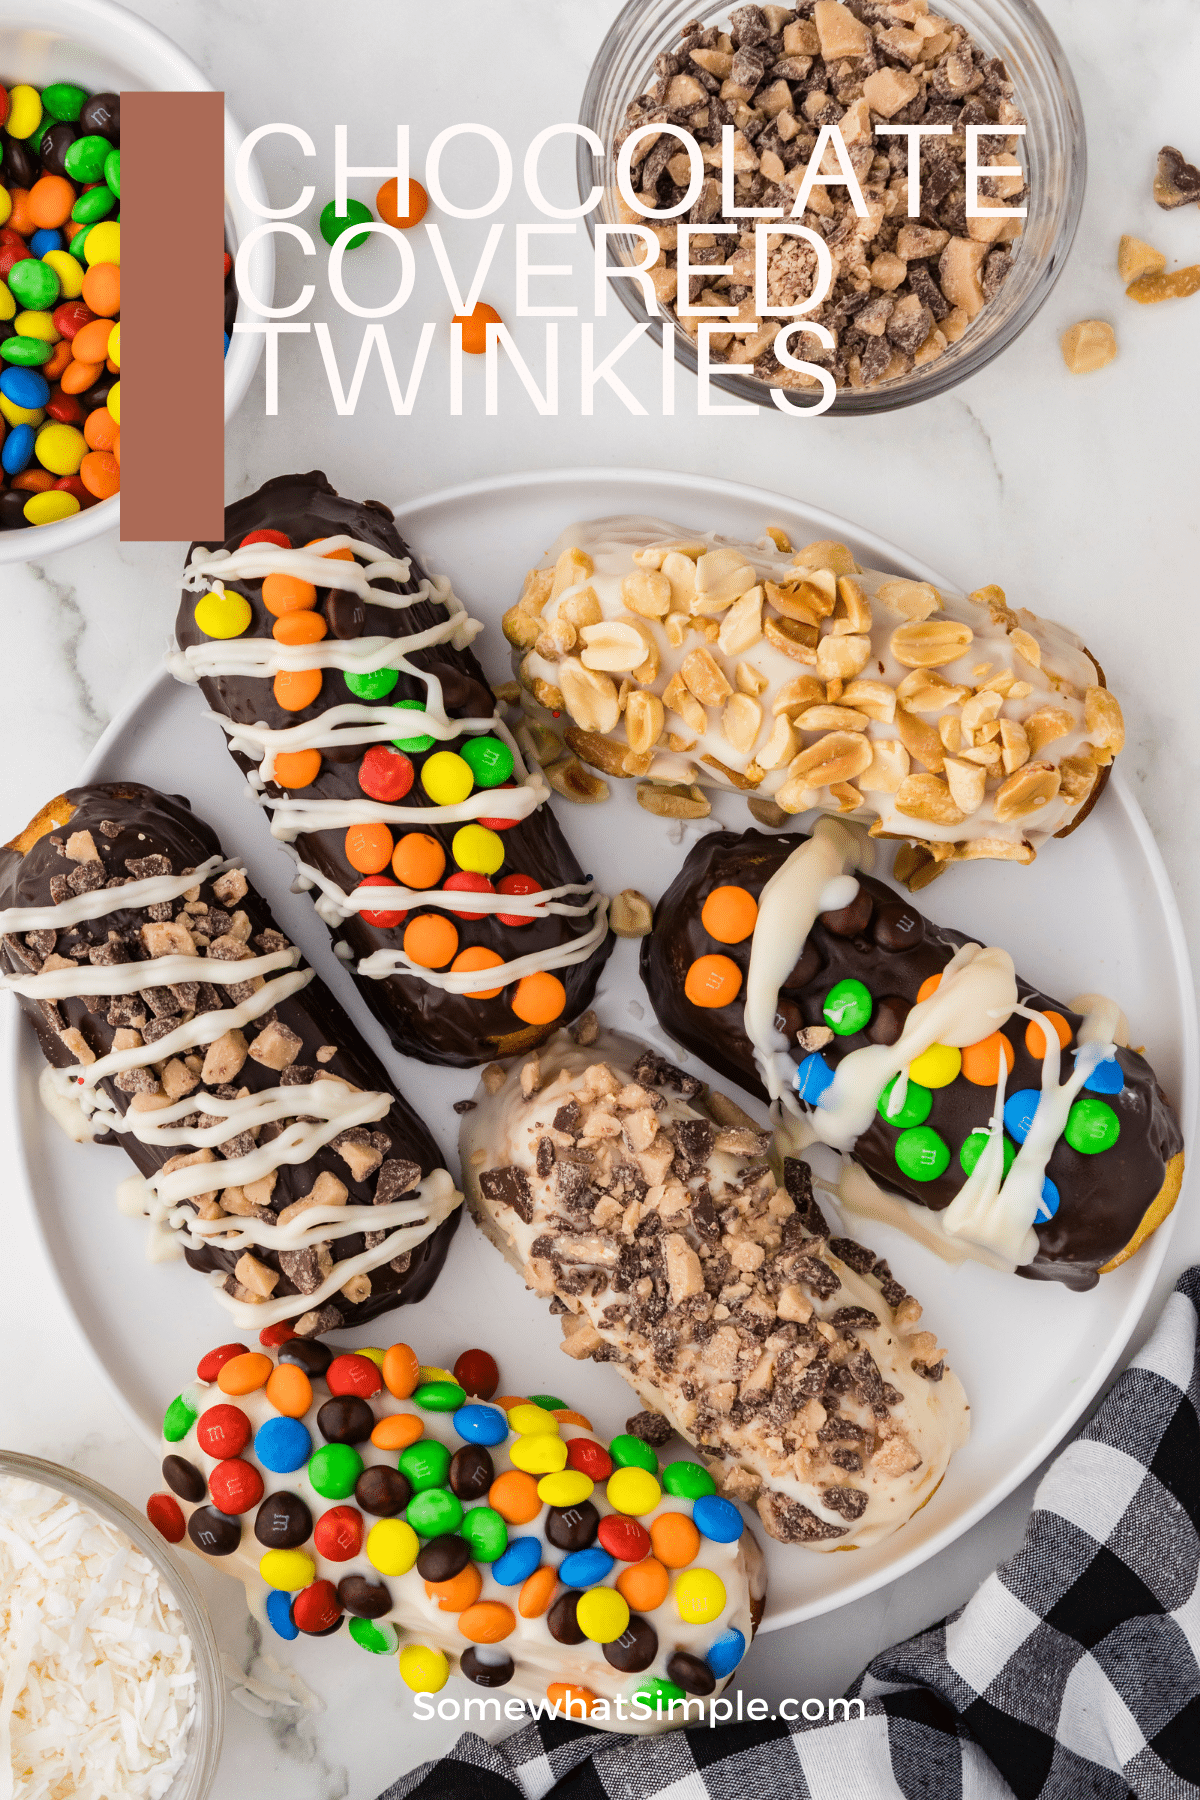


Okay, yes, please, I would like one of each! These look incredibly delicious, rich, fun and festive! I love your idea of freezing the Twinkies first, so they don’t fall apart while you are coating them with the chocolate! I am heading out to share and pin these treats!
Oh my gosh, this is genius! We went to the Smithsonian in Washington D.C. several years ago and bought a Twinkie Cookbook from there. They didn’t have this in there! Although they did have fondant-covered Twinkies arranged into a wedding cake that was pretty impressive. But I think your idea would be perfect for parties. Or even weddings!
Love this. These look like such fun to make.