How to hang a picture without making hundreds of holes in your walls! Get it right the 1st time with one simple tip that changes everything!!!
Looking for more ways to decorate your walls? Here are a few of our favorite ideas – How to Decorate a Blank Wall, 48 Printable Wall Hangings, and Adding Color to Your Home.
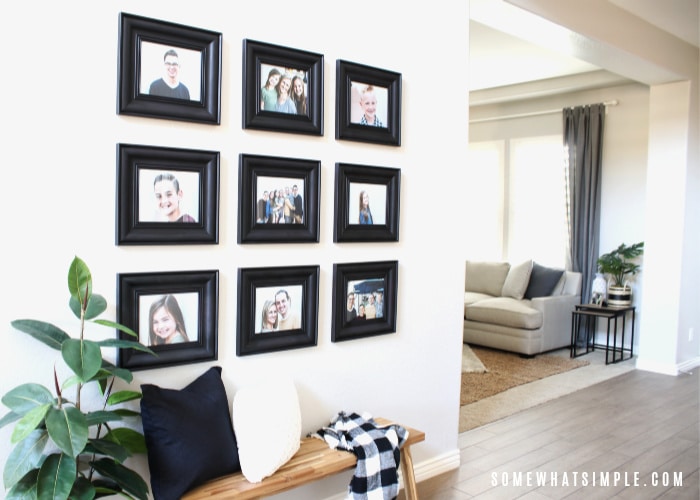
Picture Collage Hallway Decor
Last month for our #SimpleSpacesChallenge, I finally tackled the large wall in my entryway. (For the full reveal on this space with product links, check out our gallery wall blog post.)
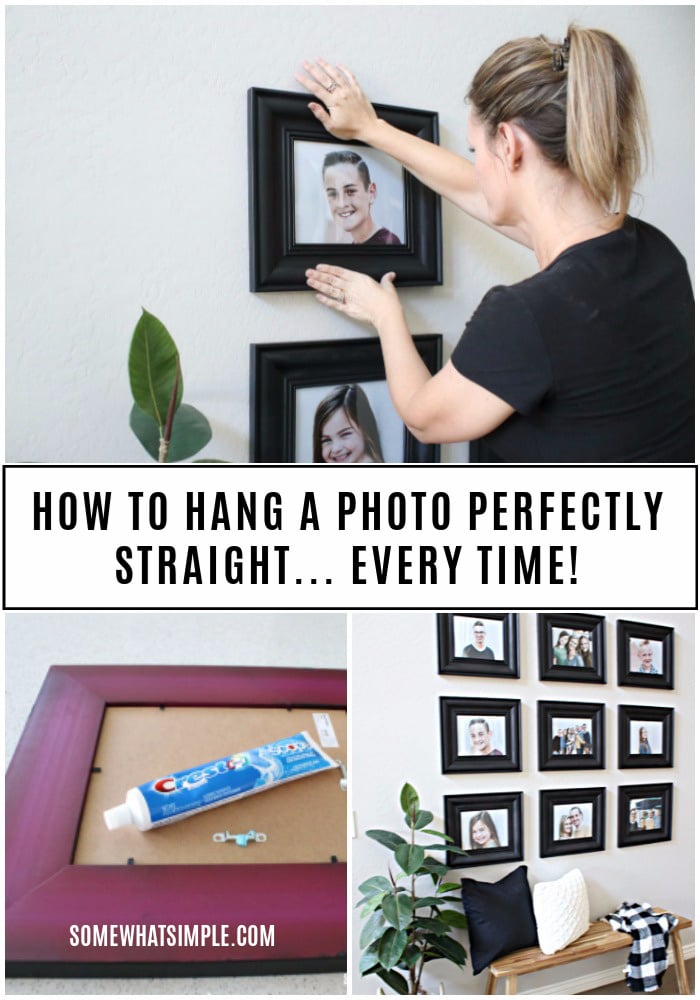
Along with a darling bench and minimal decor, I hung 9 framed pictures in a simple collage. I was able to hang all the pictures by hammering just 9 holes in my wall with a simple decor hack that I’ve been using for years.
When it comes to hanging pictures or collages on the wall, I’ve seen people go to great lengths to hang a picture straight – they’ll use paper patterns or paper templates, they’ll use a long piece of painters tape and level that first… each method is so time consuming, and there is still a margin of error that could leave your artwork looking crooked.
But gone are the days of hammering a nail into the wall and then realizing afterward that it’s not in the right place. This hack ensures perfectly straight pictures are hung every single time without adding 100 nail holes in your walls.
It is the BEST way I’ve found to hang a collage with all the pictures lined up perfectly straight. It’s also a lifesaver for frames with 2 sawtooth hangers/ hanging hardware that need to be perfectly level. (I wish they’d just include hanging wire on those frames!)
Frankly, I’m surprised more people don’t know this trick, but I’m going to show you exactly how to do it.
How to Hang a Picture Perfectly Straight
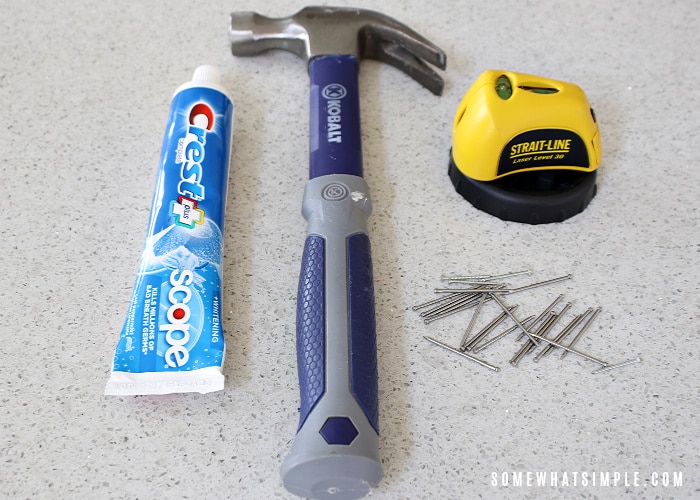
YOU WILL NEED –
- Hammer and Nails – Depending on what type of wall you have (drywall, plaster walls, brick walls, etc.) you could also use a screwdriver and screws or picture hangers. For heavy frames, consider using a stud finder to find the wall studs, or use a wall anchor for each piece of wall art you are going to hang.
- Laser Level – I got mine from a local hardware store over 15 years ago, but HERE is a similar one on Amazon for only $20 – it’s worth every penny!
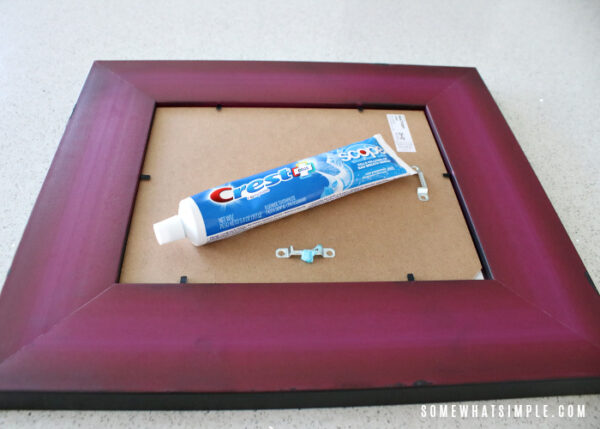
- Toothpaste – Crest did not sponsor this post, although the should have! They are my very favorite toothpaste, and I would be an awesome spokesperson! 😉
INSTRUCTIONS –

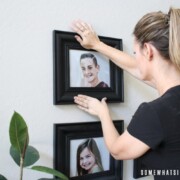
Once you know the layout you want and the placement of all your frames, place a small dab of toothpaste on the back of the frame where the nail(s) will go.

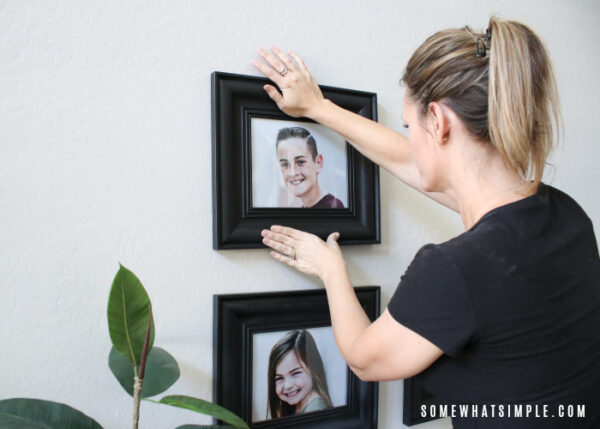
Press the picture frame where you want it on the wall so that the toothpaste leaves a mark on your walls.
The general rule of thumb is that you want the center of your artwork to be at eye level. If you are hanging a gallery wall, the center point of all your pictures or artwork should be eye level.
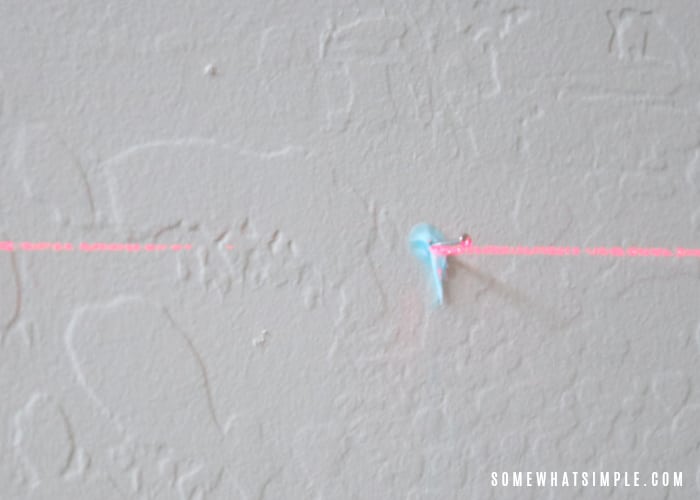
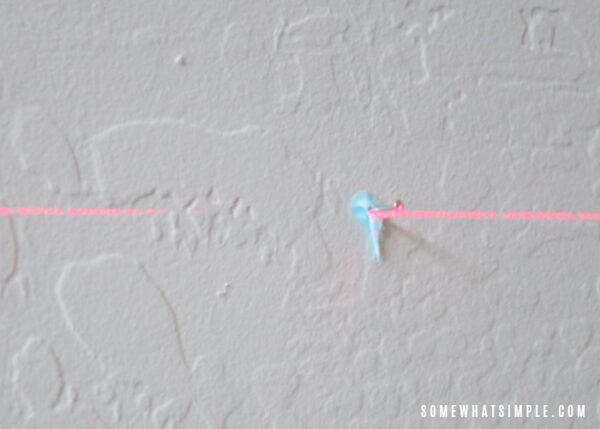
Set your laser level so that the laser points towards the toothpaste on your wall in a straight, level line. Put your nail right where the toothpaste meets the laser.
Wipe off any toothpaste from your wall and the back of your frame, then hang your piece of artwork on the nail in the wall and you’re good to go!
How simple is that? Go ahead, thank me for saving you time and a bazillion holes in your walls!
More Home Decor Ideas
- The Best Interior Grey Paint Color
- Entry Way Decorating Ideas
- Simple Dining Room Decor Ideas
- Boy’s Hockey Bedroom Idea
- How To Decorate An Apartment
Here is a printer-friendly version of the entire process so you can hang a picture collage absolutely perfect every single time. Leave us a comment below and let us know what you thought of this easy method.
How to Hang a Picture
Equipment
- Hammer
- Laser level
Ingredients
- toothpaste
- nails
Instructions
- Add a small dot of toothpaste to the back of your picture where the nail(s) will go.
- Press the picture frames to the wall where you want to hang it. The toothpaste from the back of your frames will then stick to the wall.
- Set your laser level so that the laser points towards the toothpaste on your wall in a level line. Put your nail right where the toothpaste meets the laser.
- Hang your picture on the nail, and you’re good to go!

This post was originally published on Somewhat Simple in February 2012


Great tip! The laser leveler you linked though goes to a $450 one…not sure if the product was swapped. Please relink if you can!
Thanks! Unfortunately, it doesn’t look like they sell the one I used on Amazon any more. I updated the link to show a variety of options. There is a Black & Decker one that’s only $15 that looks similar to the one I used.
I love your tip to put a small dab of toothpaste on the wall to help you put the nail in and hang the picture. My partner and I want to redecorate our house this year by using more art on the walls. We need to be careful and make sure everything is lined up properly and looks neat.
I know, it’s such a simple thing but makes a huge difference when you’re hanging pictures!
Thanks for the tips you shared about how to hang pictures. My wife and I have a bunch of pictures that we want to put up so the timing was perfect!
I’m so glad I could help!
I love this tip! I commented on your tip on my blog:
This is a great idea. I can’t wait to try it.
Very inventive!
I shared on my blog here: http://kittnspurrfections.blogspot.com/2013/02/diy-tips-tricks-from-around-web.html?m=1
If you would rather I take it down, please let me know.
Amazing!!!. Thanks for DIY.
Thanks Ester, I appreciate your comment!
So— did you use a laser level once you had one nail as a starting point?
YEP!
Great idea!! I used this idea just a couple of days ago and it turned out great!!!
Thanks for the post!
Great tip will use it often. Thanks
Great tip will use it often. Thanks it will be a great help.
Great tip. Will be using this tip often. Thanks
What a fantastic idea! Never have thought about doing this before, but will do it now! Thanks for the tip!
This sounds great, but what happens when the toothpaste dries out?
Thanks
What sizes did you use? I need to put some pictures I just got made of my kids on the wall and this would be a great way to do it!
My pictures were 8x10s
What an awesome tip! And the wall display looks so great! I loooove it 😉
Looks great Steph!!! Now that room is almost done! I still vote for more color but you know me!
Color color color! I totally agree- that front room is in serious need of some color and I am on the hunt for the perfect rug, but first i need to finish my bathroom and then I will tackle the front room. When are you coming back to AZ to help?
Thanks for the toothpaste tip! Brilliant idea.
This is such a great tip and I love your comment about being a spokesperson for Crest. Too funny! I’m hosting a bloglovin’ blog hop today until Sunday. If you get a chance stop by and link up. Bloglovin’ is a great tool that is similar to GFC so when it gets phased out I’ll still be able to read my favorite blogs (ie — yours)!
Amazing photo hanging tip! Thanks for sharing.