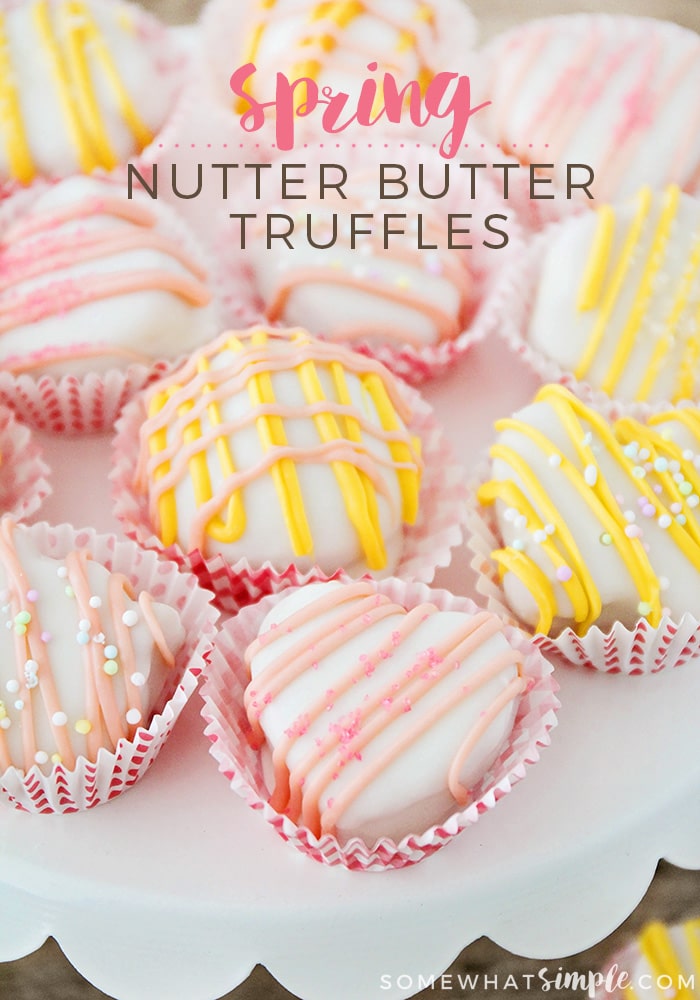
Nutter Butter Truffles are creamy, chocolaty and absolutely delicious! Our simple recipe can be made in minutes and uses just a few ingredients!!
If you love sweet treats as we do, try these Cheesecake Cookie Bars, Lemon Pistachio Shortbread Cookies, or our Black and White Brownie Cookies
An Easy Spring Treat
We make truffles all the time in my home because they’re simple to make, totally delicious, and they’re easy to dress up for any holiday or season. (I love a good recipe I can make year-round, don’t you?)
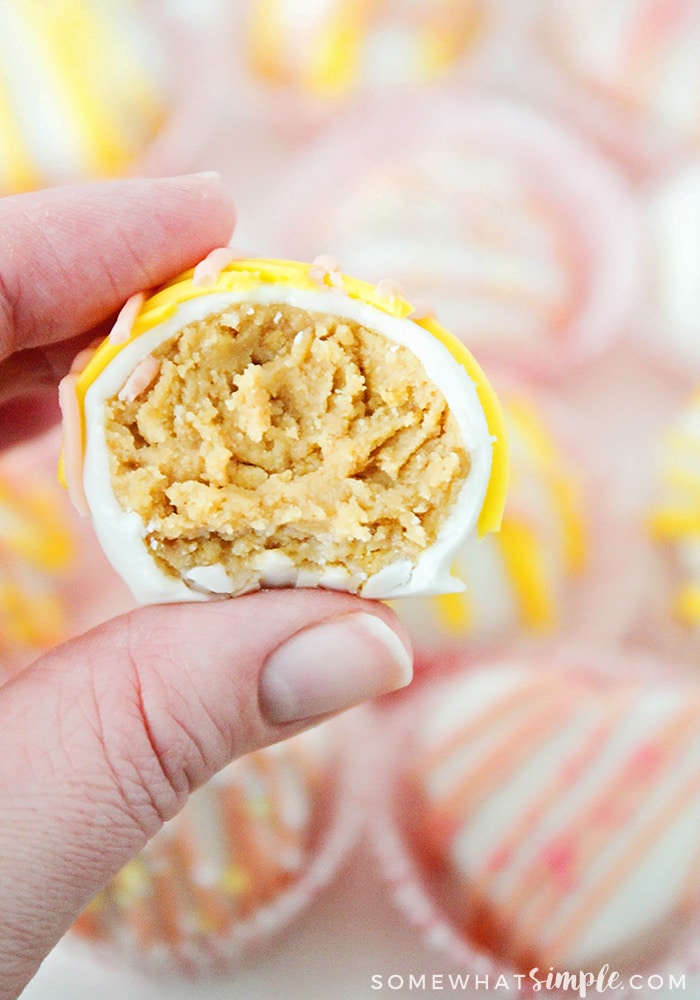
These Nutter Butter Truffles are some of our very favorites! Creamy peanut butter dipped in sweet chocolate… what’s not to love?
You can make these truffles with white or milk chocolate. I was feeling extra spring-y today and decided to use white chocolate so I could decorate them with some pastels for the season. Here’s how to make them –
Ingredients You’ll Need
For these delicious truffles, you will need 3 ingredients –
- Nutter Butter cookies
- Cream cheese
- Dipping chocolate
If you want to decorate them, you will also need –
- Melted peanut butter or colored almond bark
- Sprinkles
How To Make Nutter Butter Truffles
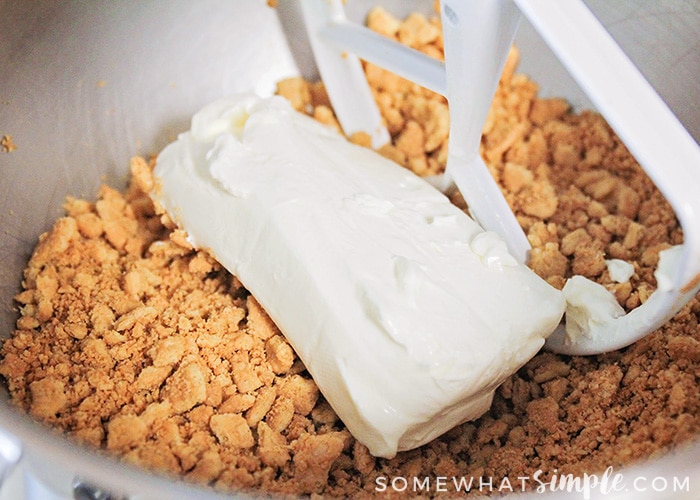
Mash – Start by finely crushing the Nutter Butter cookies by putting them in the bowl of your stand mixer and crushing them at low speed using the paddle attachment.
Mix – Add the cream cheese and mix until thoroughly combined. (I use cream cheese right out of the refrigerator and it works perfectly!

Scoop – Use a medium cookie scoop to scoop balls of the cream cheese mixture onto a parchment-lined baking sheet. You’ll want to roll the truffle balls between your hands to make them smooth and round.
Shape Them – If you want to make fun Spring shapes, roll some dough between your hands to smooth it, then take a fondant cut-out and press it down over the top of the truffle ball. Press the cut-out between both hands so the truffle dough is flush with the top and bottom. Remove excess to use in another truffle. Gently press truffle out of the cut-out.
Chill – Once all truffles are shaped, put them in the refrigerator for 15-30 minutes to harden.
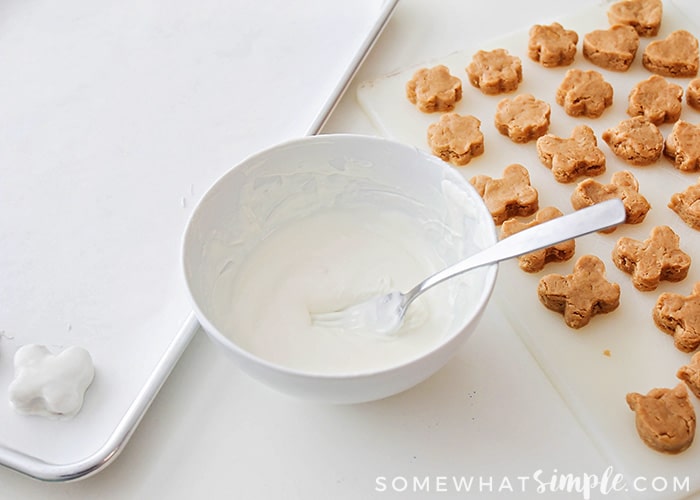
Prep Chocolate – Melt the chocolate according to package directions.
Cover – Dip your truffles into the chocolate to coat completely. If the chocolate cools too much during dipping, warm it again in the microwave for 15 seconds.
- For flat truffles, use a fork to dip them. The excess chocolate drips through the tines when gently tapped against the side of the bowl. Use a toothpick to gently push the truffle onto the parchment paper.
- For rounded truffle balls, I like to use a spoon (they always roll off my fork!) and then use a long toothpick to wipe away the excess chocolate.
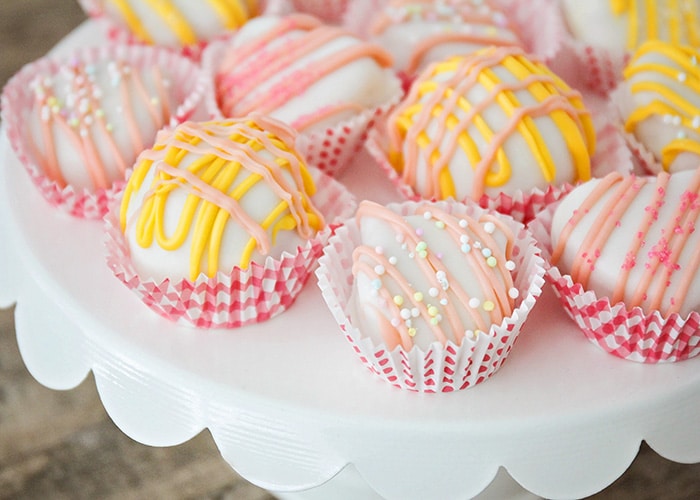
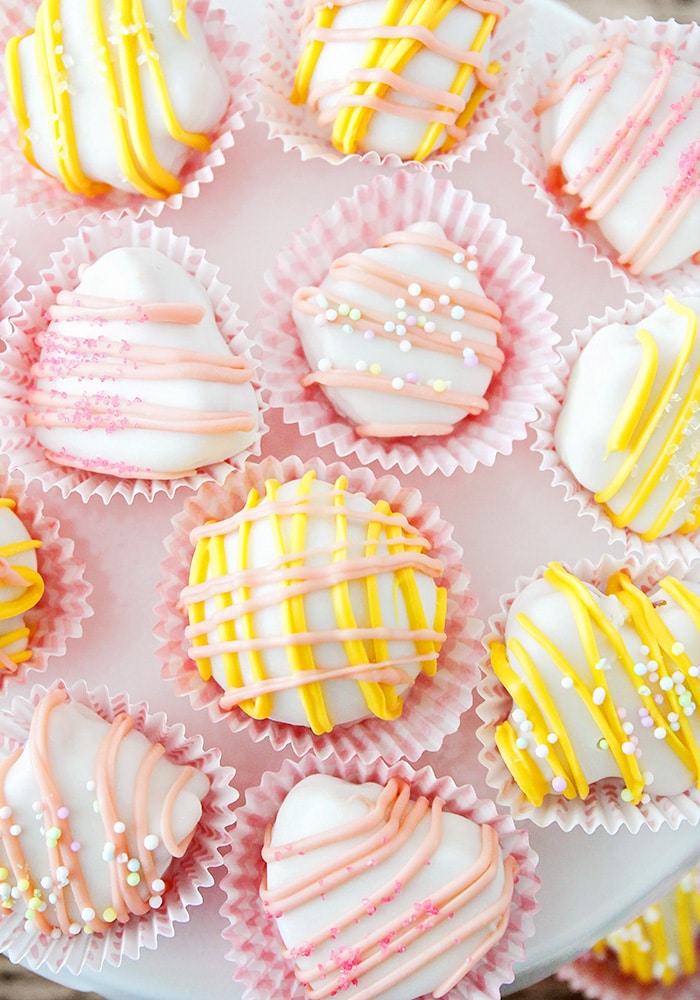
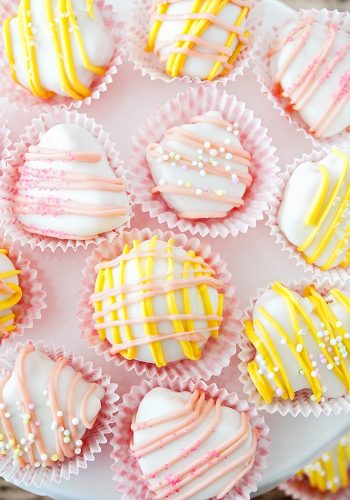
Decorate – Drizzle with colored bark or decorate with sprinkles while the chocolate is still wet, then place the decorated truffles in a mini cupcake liner to cool before serving.
These Nutter Butter cookie truffles make a beautiful spring treat!
More Easy Dessert Recipes
Here is a printable recipe card for your convenience –

Nutter Butter Truffles
Ingredients
- 1 – 16 oz package of Nutter Butter cookies
- 1 – 8 oz package of cream cheese
- 16 oz dipping chocolate
- melted peanut butter, colored almond bark, sprinkles, etc. for decoration, optional
Instructions
- Add the Nutter Butter cookies to the bowl of your stand mixer. Using the paddle attachment, crush the cookies at low speed until finely crushed. Add the cream cheese and mix until thoroughly combined.

- Use a medium cookie scoop to scoop balls of the cream cheese mixture onto a parchment-lined baking sheet.
- Roll the truffle balls between your hands to make them smooth and round. If you want to make fun Spring shapes, roll some dough between your hands to smooth it, then take a fondant cut-out and press it down over the top of the truffle ball. Press the cut-out between both hands so the truffle dough is flush with the top and bottom. Remove excess to use in another truffle. Gently press truffle out of the cut-out.
- Once all truffles are shaped, put them in the refrigerator for 15-30 minutes to harden.
- Melt the chocolate according to package directions.
- Dip your truffles into the chocolate to coat completely. If the chocolate cools too much during dipping, warm it again in the microwave for 15 seconds.

- – For flat truffles, use a fork to dip them. The excess chocolate drips through the tines when gently tapped against the side of the bowl. Use a toothpick to gently push the truffle onto the parchment paper.
- – For rounded truffle balls, I like to use a spoon (they always roll off my fork!) and then use a long toothpick to wipe away the excess chocolate.
- Drizzle with colored bark or decorate with sprinkles while the chocolate is still wet, then place the decorated truffles in a mini cupcake liner to cool before serving.
Nutrition
Other Notes
This post originally published on Somewhat Simple in April 2014.


These turned out so yummy! I couldn’t stop eating them:)
I’m so glad you liked them!
These truffles were a huge hit with my family! They are so fun to make and decorate for any holiday. Thank you for the recipe!
Aren’t they so good? I’m glad you liked this recipe, thanks for stopping by!
I’m so glad your family enjoyed them! Thanks for stopping by Anna!
Oh wow! These look amazing and so yummy! These are going to be a hit here! So excited!
My family loved these, I can’t believe how easy they are to make!
Aren’t they delicious! And SOOOO easy!
So cute! The pictures are great! Sage and I will be trying these out next weekend 🙂
Thanks Lisa, you are so sweet!! Hope you like them!
we all knew you were awesome .
Thanks for stopping by to take a peek…you are awesome!
Nice work Becky! You’re going to do amazing things on this website! These look yummy and super cute!!
Thanks Barbara! I’m still pretty excited about all of it, so glad you stopped by!!
Those are beautiful! I can’t wait to try this recipe. I am a visual learner and so I appreciate all the pictures. Looking forward to more posts from you.
Thanks Kirstin! Mike liked the ones with sprinkles the best because it gave them a little bit of a crunch. Let me know how you like them!
Looks so yummy and easy, which is essential for me! Ha! I’m excited to see what else you’ll be sharing with us!
Thanks for taking a peek! Pretty much everything I do is easy, so I hope you find some things you’ll love to make!! 🙂
Awesome Becky! This is so exciting! Can’t wait to see your posts and try some of your ideas. Truly, you rock!
Thanks Joni, I’m super excited!