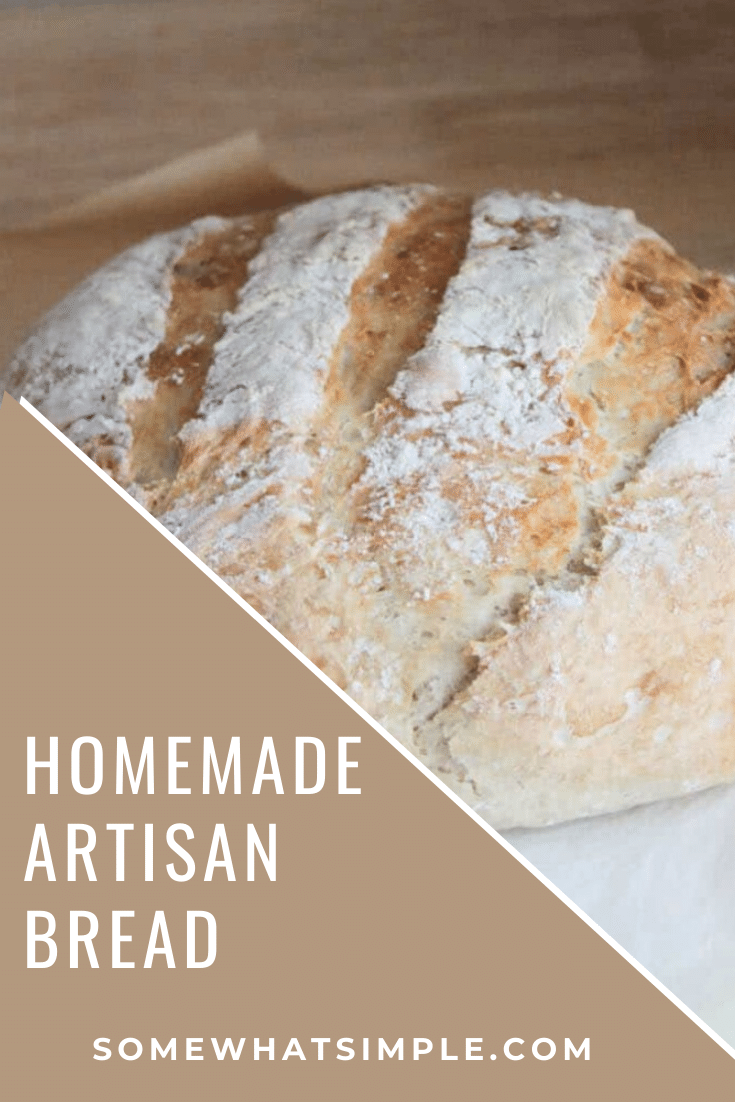
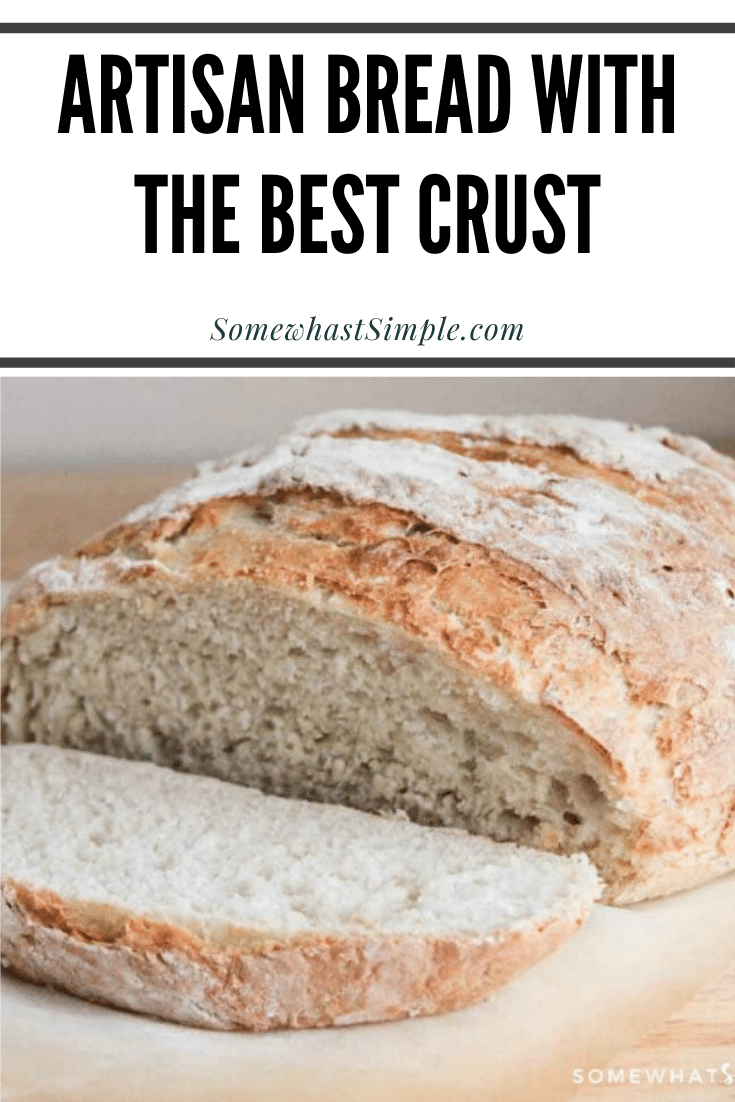
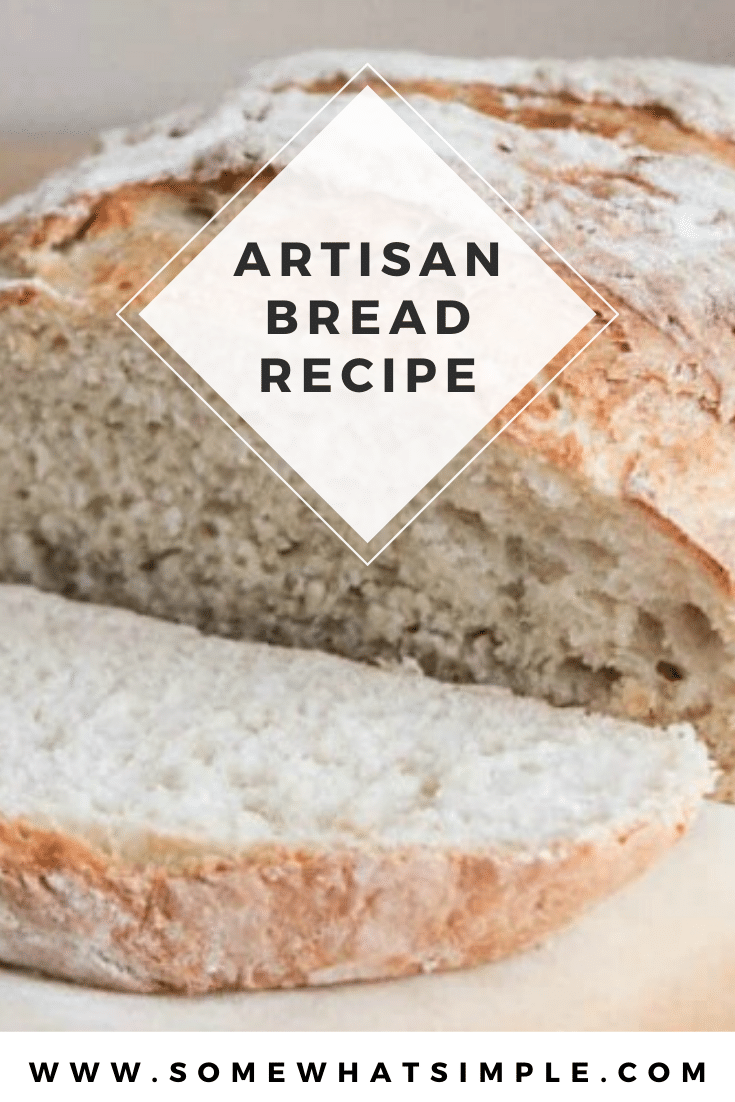
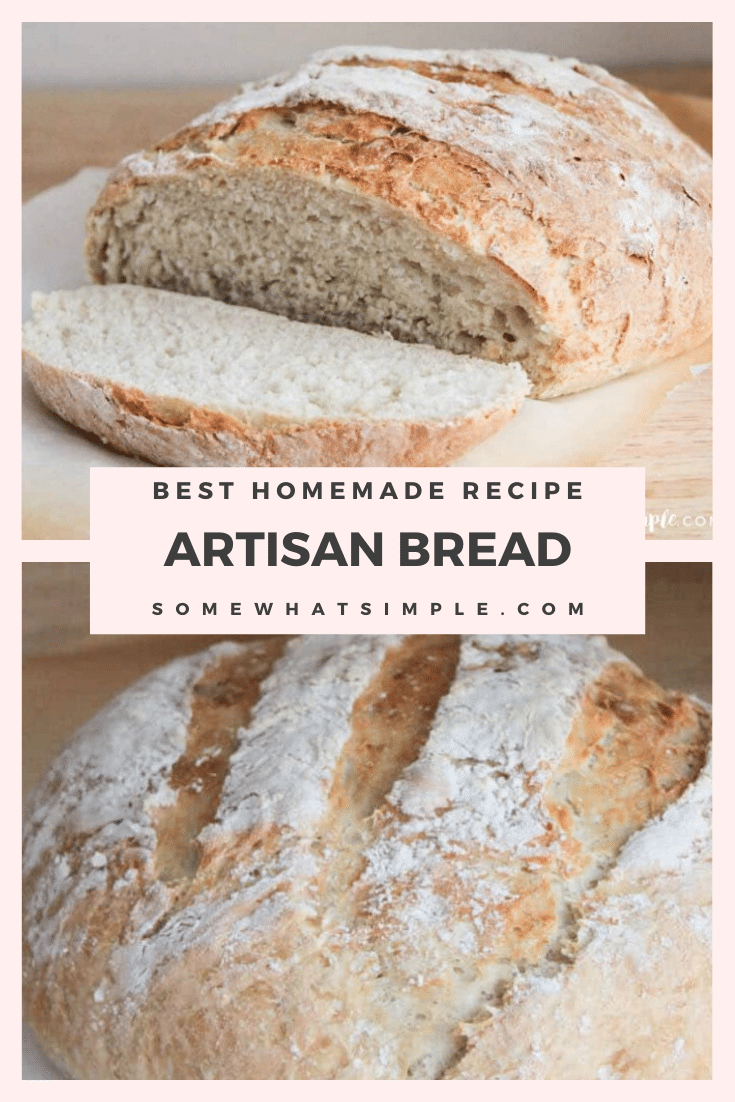
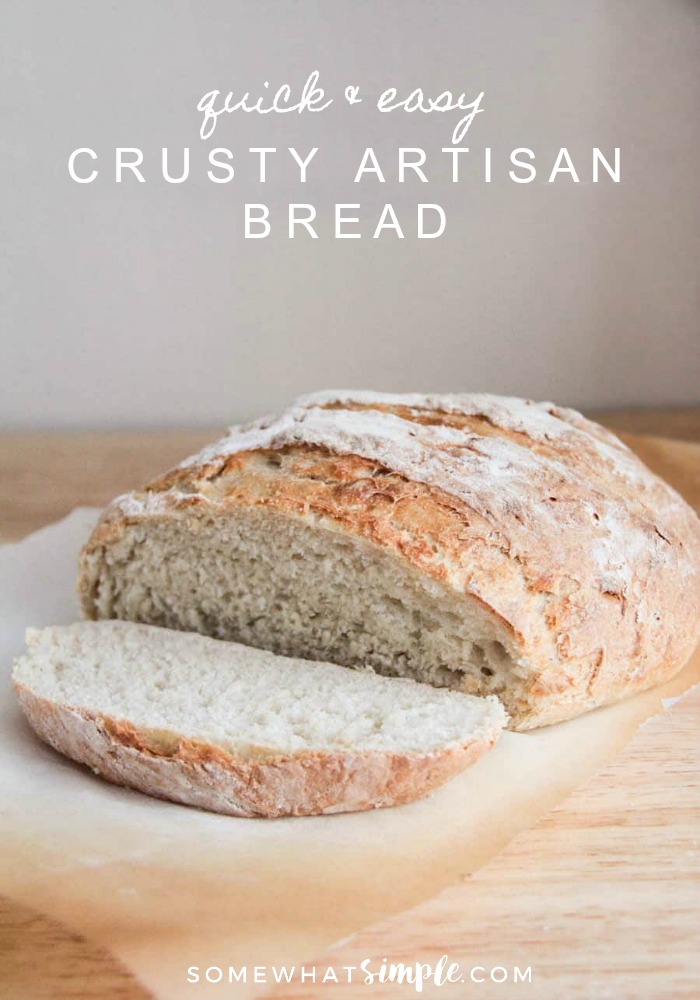
Are you looking for a delicious no knead bread recipe? This crusty Artisan bread recipe comes together quick and easy without all of the extra work!
I love serving bread with virtually every meal I make. Whether you’re dipping a slice in a warm bowl of Albondigas Soup, making a Caprese Sandwich or smothering it in Whipped Honey Butter, this bread recipe handles it all like a champ!
No Knead Artisan Bread
I am a huge bread lover, and would prefer a piece of fresh-baked bread to pretty much anything else… even dessert! I’ve been experimenting with bread recipes a lot during the last year, and have found a few fail-safe recipes that always turns out well. This quick and easy artisan bread recipe is now one of my favorites!
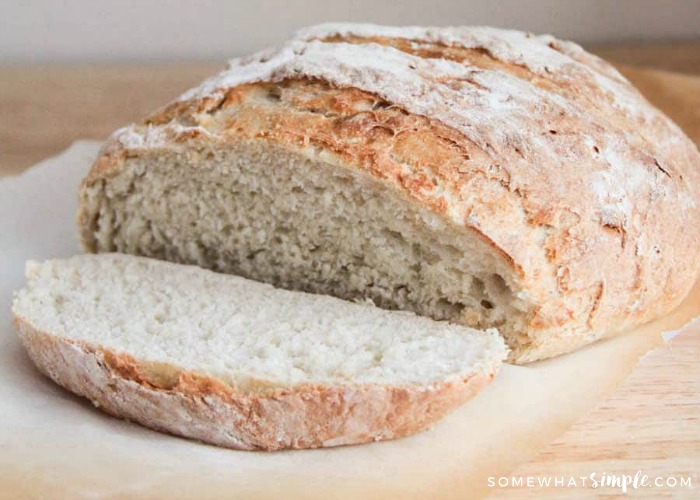
There’s a couple things about this recipe that I just love. First, the crust is amazing! It turns out nice and crunchy every time. Second, this bread recipe doesn’t require any kneading. Just mix the ingredients, let it rise and then bake it. It’s really that simple!
Items Used To Make Artisan Bread
- Large mixing bowl
- Parchment paper
- Baking stone
- Broiler pan
- My favorite kitchen knife
How To Make Artisan Bread
Prep – Preheat your oven to 450 degrees with a pizza stone inside. If you don’t have a pizza stone, you can use a cookie sheet turned upside down. On the shelf below the pizza stone, place a broiler pan or cake pan.
Yeast – You start this artisan bread recipe out by first adding yeast and salt to warm water, and letting it proof.
Dough – Next, you stir in the flour until there are no dry spots. This will make a very loose dough.
Rise Up – Cover the dough and place it in a warm spot and let the dough rise for about 2 hours. It will look different than your typical bread dough, but that’s okay!
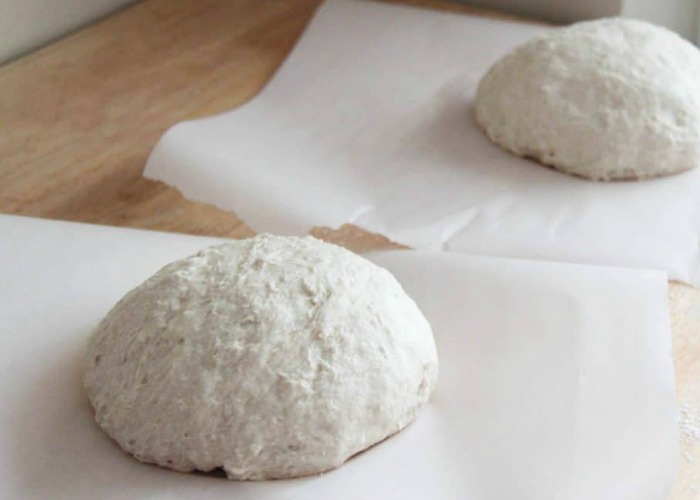
Divide & Conquer – After it has risen, split it in half and shape it into two sticky balls. Let them rest on parchment paper for about 40 additional minutes.
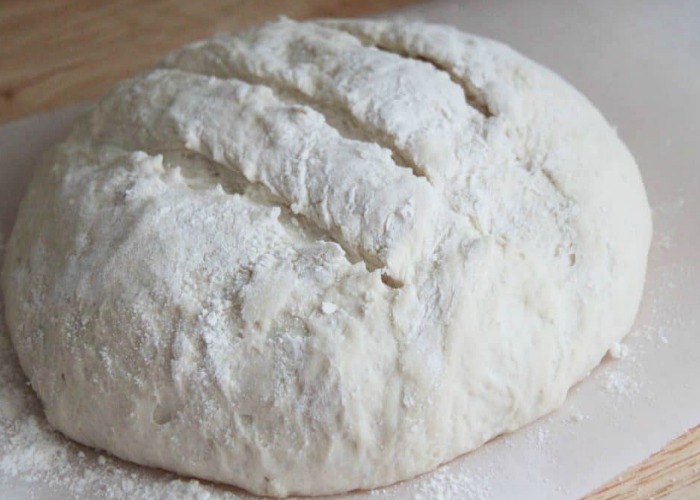
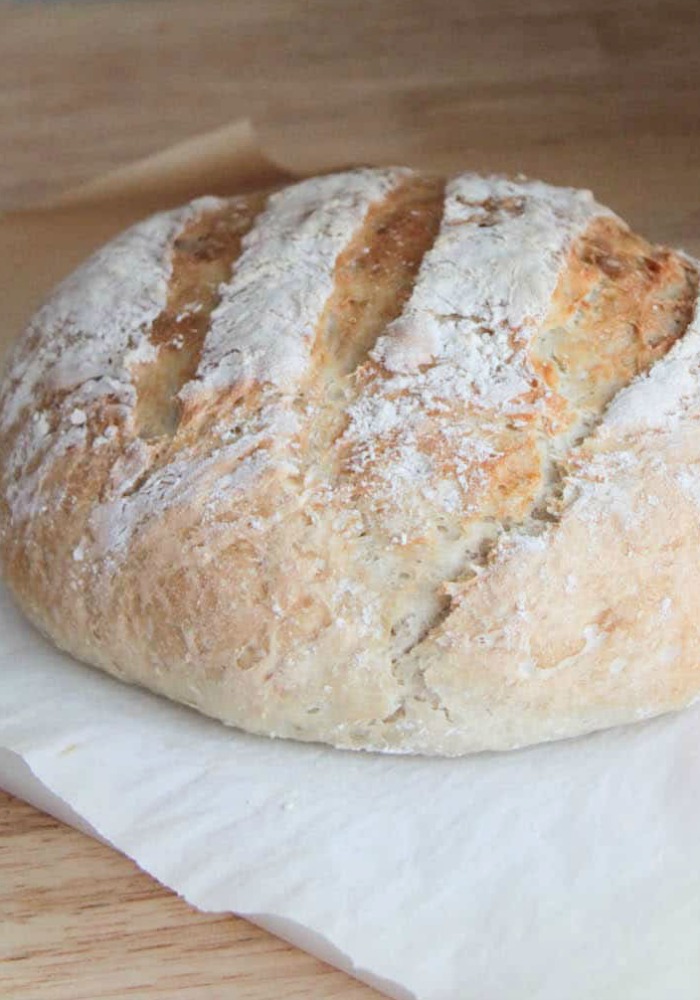
Slash & Dash – When the dough has risen again, dust the top with a dash of flour and cut three deep slashes in the top with a sharp knife. Using a pizza peel (or a cutting board if you’re like me and don’t own a peel), transfer the dough carefully to the pizza stone.
Bake To Perfection – Pour 1 cup of water into your broiler pan or cake pan, and close the oven door quickly so the steam will stay inside. Bake the loaf of artisan bread for about 24-28 minutes, and enjoy!
Serve – My favorite way to eat it is just slathered with butter (and sometimes a little honey). We also love dipping it in soup! My husband’s favorite way to eat it is to spread it with butter, sprinkle with salt and pepper, and toast in the toaster oven for a few minutes. No matter how you eat it, it’s this artisan bread recipe is delicious!
Storage & Freezing
Keeping It Fresh – Whatever you do, don’t put the loaf in the fridge. Refrigerating bread makes it go stake pretty quickly. If you’re going to eat it within a day or two, wrap the loaf in a linen cloth and store it at room temperature. If you have a large enough paper bag, you can store in there with it wrapped in the cloth as well.
Freezing – Wrap the loaf tightly in plastic and then store it in the freezer for up to 2 months. When you’re ready to use it, I like to put it back in the oven to get it nice and crunchy again. Simply preheat your oven to about 425 degrees F and then place the loaf in the oven until it has been heated throughout.
More Homemade Bread Recipes
- The Best Banana Bread Recipe
- Homemade Whole Wheat Bread
- Sweet Cranberry Orange Bread
- Deliciously Sweet Cornbread Recipe
- Chocolate Zucchini Bread
This really is a great no knead bread recipe! I hope your family loves it as much as mine does!
Crusty Artisan Bread
Ingredients
- 1 1/2 tablespoons instant yeast
- 3 cups warm water
- 1 tablespoon salt
- 6 1/2 cups unbleached, all-purpose flour, plus more for dusting dough
Instructions
- In a large bowl, dissolve yeast in warm water.
- Mix in salt and flour, stirring until there are no dry patches. The dough will be very soft and not like a typical bread dough.
- Cover with a kitchen towel and let rise in a warm place for 2 hours.
- After rising, divide dough into two pieces and shape each into a round ball.
- Place each ball of dough on a piece of parchment paper, and let rest 40 minutes.
- During the second rise, preheat oven to 450. Place a baking stone or overturned baking sheet on the upper oven rack, and a broiler pan or metal cake pan on the lower shelf. Heat the baking stone at least 20 minutes before baking.
- When the dough is ready to bake, dust it with flour and cut three deep slashes across the top. Slide the dough on the parchment paper onto the baking stone using a pizza peel (or a thin cutting board).
- Pour a cup of water into the broiler pan/cake pan and shut the oven door quickly. Bake until golden brown, 24-28 minutes.
Nutrition
Other Notes


I make 2 of these almost every morning.. The kids eat at least 1 a day.
Best bread I have ever made!
Thank you.
Wow, I can’t believe you make bread every morning! I wish I were more like you.:) I’m so glad you guys love it so much!
Can you make a loafs with this recipe?
I’ve never tried it, but if it works for you, I’d love to hear about it!
My friend recommend the recipe so I had to make it and it turned out perfectly!
That’s awesome!
You had me at no knead! Mmm..homemade, crusty bread is the best! Great recipe, thank you.
You bet!
There is nothing in the world better than homemade bread and yours was exactly what I hoped for!
You made my day, thanks Paige!
Do you leave it on the parchment when baking?
Hi Alicia,
I tried baking your bread recipe. I hope you can help me. All was going well until I cut the slits the top of the loaves. The dough collasped. I put it in the oven as directed but it never regained any height. What do you think happened? Please help me, I’m married to a bread king.
Thanks
Cinldy
Your knife needs to be absolutely so sharp. I use a razor blade. I buy them at Ace or Walmart in a dispenser pack of a few. The’yre also great for cleaning off stuck stuff on the cooktop. When they’re too dull for bread theyll still work for the cooktop 🙂
This is very similar to another recipe that I use where I preheat a cast iron (enameled) dutch oven and bake it. Comes out very crusty and delicious! I have varied the recipe to make raisin bread a I allow it to proof for about 12-18 hours on the countertop and it has an almost sourdough flavor.
Thank you!! This was a great recipe to make (that didn’t require resting the dough for 8 hours) and both my loaves turned out beautiful! Saving this recipe!!
I found your recipe on Pinterest & tried it yesterday – easy & delicious! I wasn’t sure how it would turn out because my two dough balls almost completely collapsed during the second rise, they didn’t want to hold their shape at all! But I went ahead & baked them anyway on my stoneware pie plate from Pampered Chef. The first loaf was a bit underdone when I cut into it but the crust was excellent, so I just kept the second one in a bit longer (I think 30 min). Maybe you could add some tips for how to tell when it’s done? For a relative newbie to bread-making, I wasn’t quite sure what to look for. Thanks for sharing your recipe, though!
Can I use my pizza stone instead? Im all out of yeast heading to store now and home to bake this with beef stew… just need to know if pizza stone plate will work also.
Yes, the pizza stone works great. That’s how I always bake it.
This is my favorite go to recipe for bread. It is easy and delicious!
This looks great. Do you think it would turn out if I used white whole wheat flour instead of regular white flour?
Just came across this on pinterest. I am anxious to give it a try. Thanks for the recipe.
can i use a cast iron pan instead of a pizza stone?
The directions say put a pan on top shelf and pan on “lower shelf”
does this mean the lowest bottom shelf ??
is that the shelf that I put the bread on to bake it ?? seems like it is too low on the lowest shelf and will burn
also, why do you need a pan on the top shelf ??
I just completed the dough, on second rise and am stuck on the baking directions
The pan or baking stone on the upper shelf is to actually bake the bread on. I always use my baking stone but you could also use an overturned cookie sheet. It needs to preheat in the oven so the bottom of the bread will be nice and crusty. The second pan (on the lower shelf) is to put water in so the oven will fill with steam and make the bread chewy.
I only had 1 packet of Rapid Rise Yeast (about 1 Tbsp), so I cut the recipe by 1/3. I also used half whole wheat and half white flour, added a little extra water, and about 1tbsp of honey. Only had to bake it about 22 minutes and it started to get too brown.
1 Tbsp rapid rise yeast
2 cups warm water
2/3 Tbsp salt
1 Tbsp honey
2 cups whole wheat flour
2 1/3 cup white flour
NOTE: DO NOT preheat a glass dish in the oven then add water. It will SHATTER as mine did :/
I didn’t have the steam effect due to that and the oven temperature reduced to about 400 while I was trying to clean up that mess, but the bread still turned out to be delicious! Perfect recipe for an inexperienced bread maker!
So I am at the second rise stage right now, and I can tell you that it is impossible to form this stuff into a ball, it just kind of is a blob. I definitely put in the right amounts of everything, maybe it just needs more flour in the recipe. Also, it stuck to the parchment immediately.
you definitely need to flour your hands, the parchment paper, and the dough, you might need a helping hand with it. it’s common for artisan bread to be very sticky, don’t be afraid of using flour. a tip on making a ball out of the dough is to grab the dough and tuck the dough underneath itself over and over until you get a ball. it’s a bit difficult to explain, but with practice and maybe a quick youtube tutorial on it, you’ll get it. wish i had seen this earlier! i love when people try out baking. don’t quit on account of one bad try =] good luck and i hope my advice helped you out a little
Oh my…I just made this and it is the BEST bread I have ever tasted. I brushed on a layer of olive oil, sea salt and garlic to form a tasty crust before and after baking and it is amazing. I have eaten 2 pieces already! Thank you Alicia for such a wonderful recipe. It will be my go-to bread recipe for my next soiree.
Can you use bread flour for this one? Thanks!
I haven’t tried it personally, but I’m guessing bread flour would work great!
Love the simple recipe, one question. Do you back both loaves at the same time on two separate pizza stones (I have two, but they would have to be on two different levels of the oven)? or just one at a time? Not sure my oven is tall enough.
Hi Meleah! I usually bake the loaves separately, since I have a tiny oven and a small baking stone, but when I baked it at a friend’s house I was able to fit both loaves on her baking stone in the oven. They do fine, though, if you bake them separately. If you’re worried about the second loaf rising too much you can just keep it in the fridge while the first loaf is baking.
That looks so yummy & my mouth is watering. Thanks for sharing the recipe. 🙂
Hi! Besides shaping the dough into a round ball, is there any kneading involved? Thanks!
Nope, no kneading! That’s one of my favorite things about the recipe. I usually flour my hands and flour the countertop to make it easier to handle the dough, but I like that it’s a little looser and stickier than a typical bread dough.
Alicia, thank you for responding so quickly. I am definitely going to make this. ♥
Making bread always scares me, but this looks easy enough and super yummy!